
Fun with Filters and Frequencies
Fall 2024
In this project, I demonstrate some interesting things you can do with filters and frequencies.
Table of Contents
----- Fun with Filters -----
Finite Difference Operator
In this part, I make 2 simple filters, Dx and Dy. Dx is a 1x2 array with values 1 and -1. Dy is a 2x1 array also with values 1 and -1. By convolving an image with these filters, I can get the partial derivative of the image in x and y.

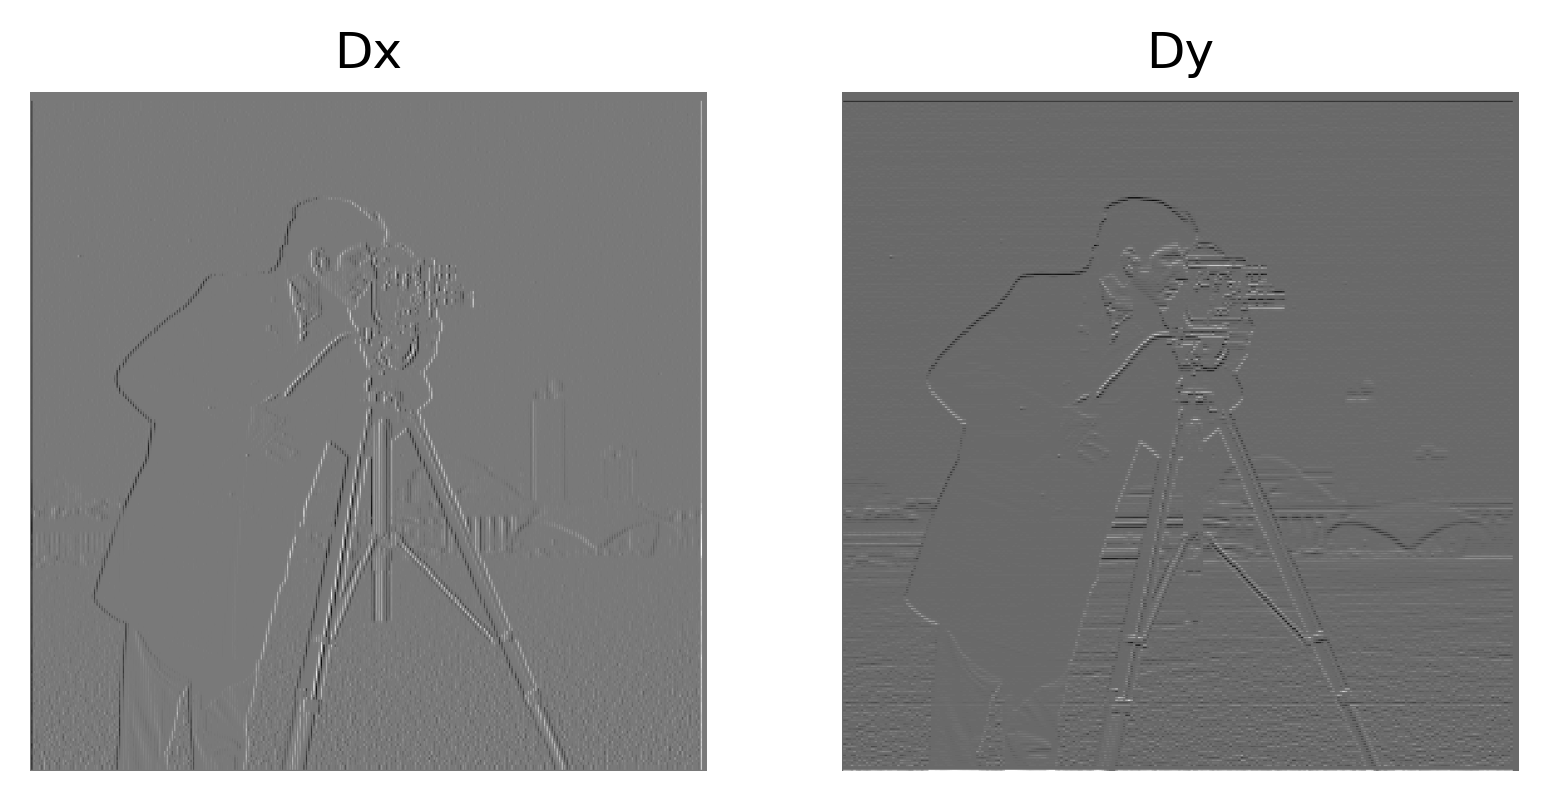
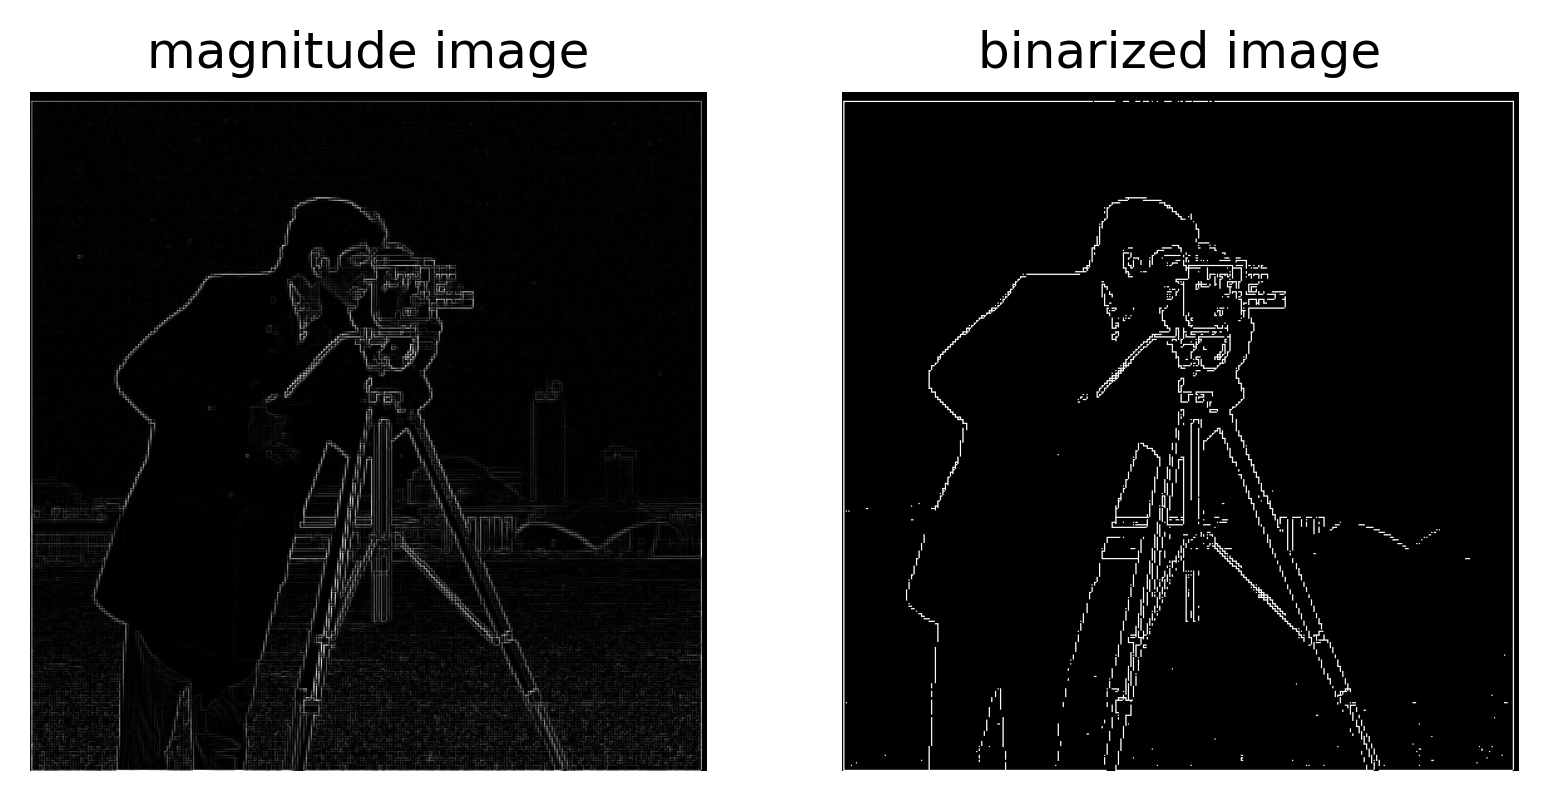
Additionally, I can obtain the gradient magnitude of an image by taking the square root of the sum of squares between the images convolved by Dx and Dy (aka between the two images shown from above). Gradient magnitude then essentially gives us the magnitude of change at each location in the image.
After taking the gradient magnitude, I binarize the image by determining a cutoff pixel value, then I setting all pixel values above that value to 1 and the remaining pixel values to 0. I tried to pick a cutoff value that keeps the cameraman’s main outline.
Derivative of Gaussian (DoG) Filter
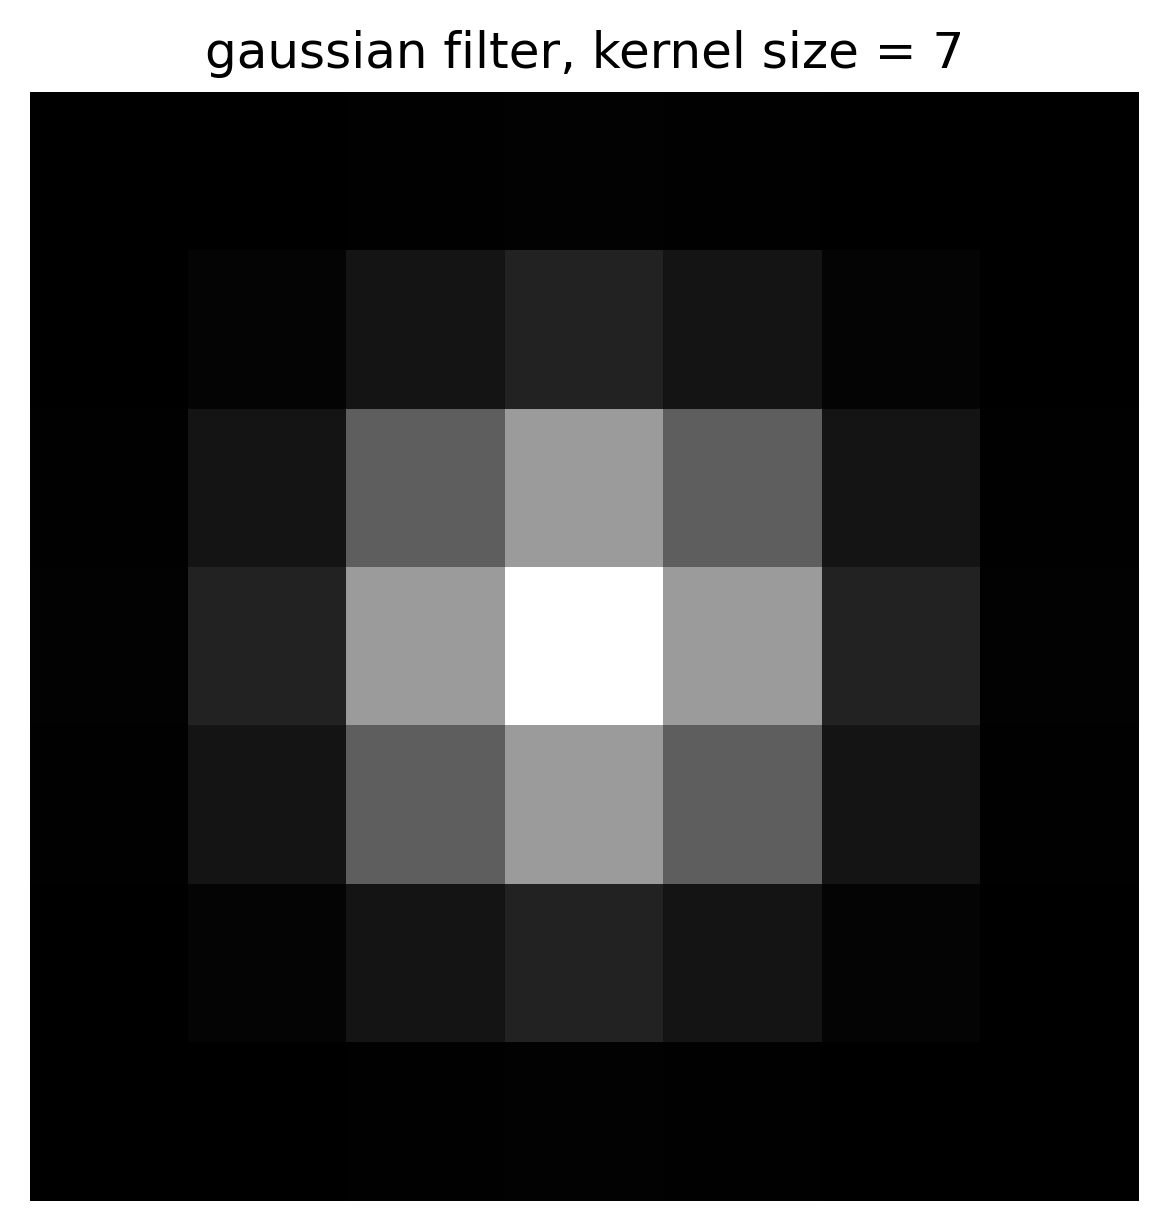
The results from directly using the Dx and Dy filters were a bit noisy. Here, I first blur the image with a Gaussian filter before applying Dx and Dy.
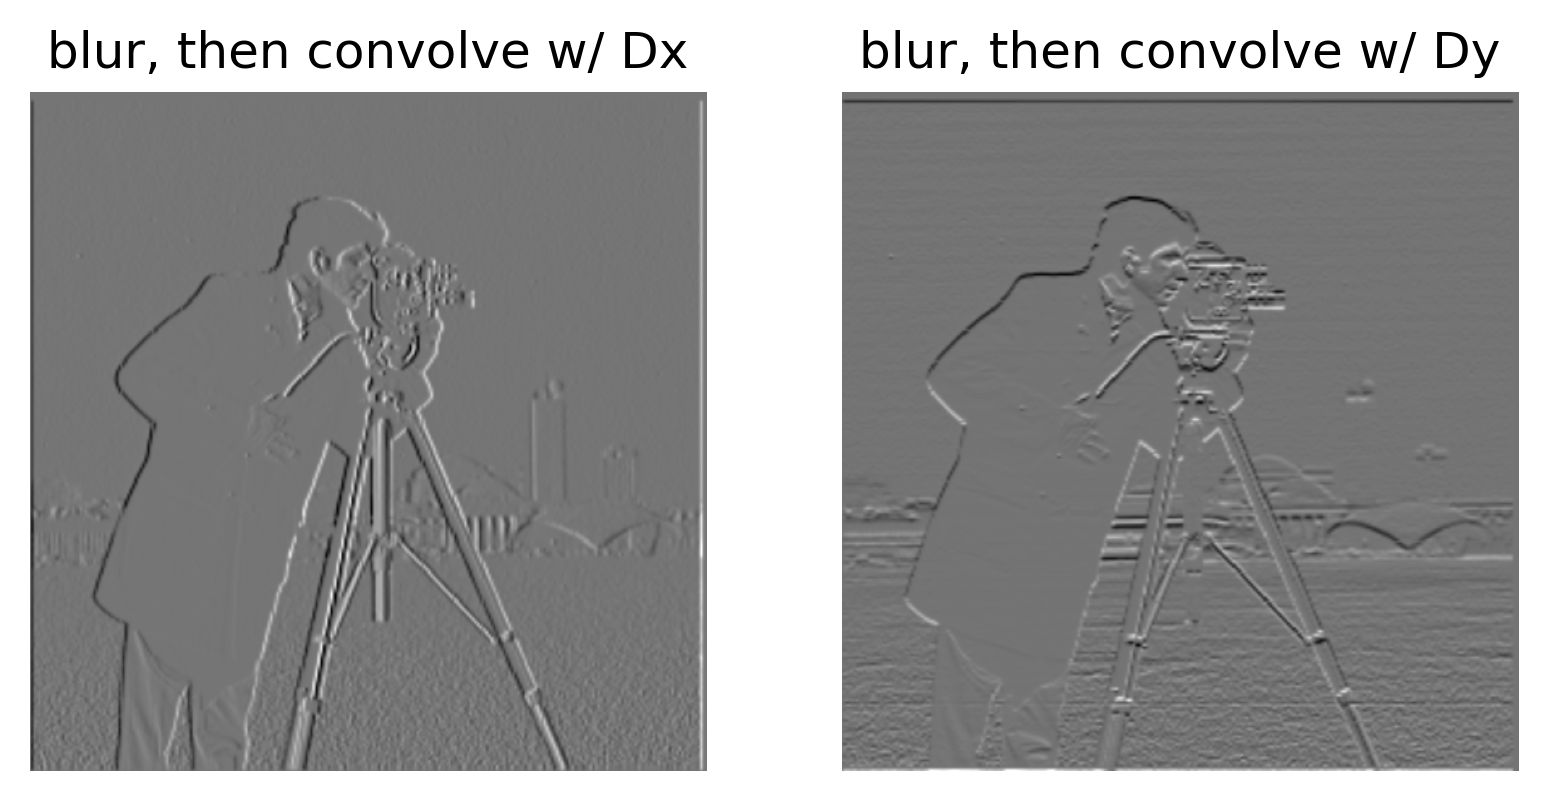
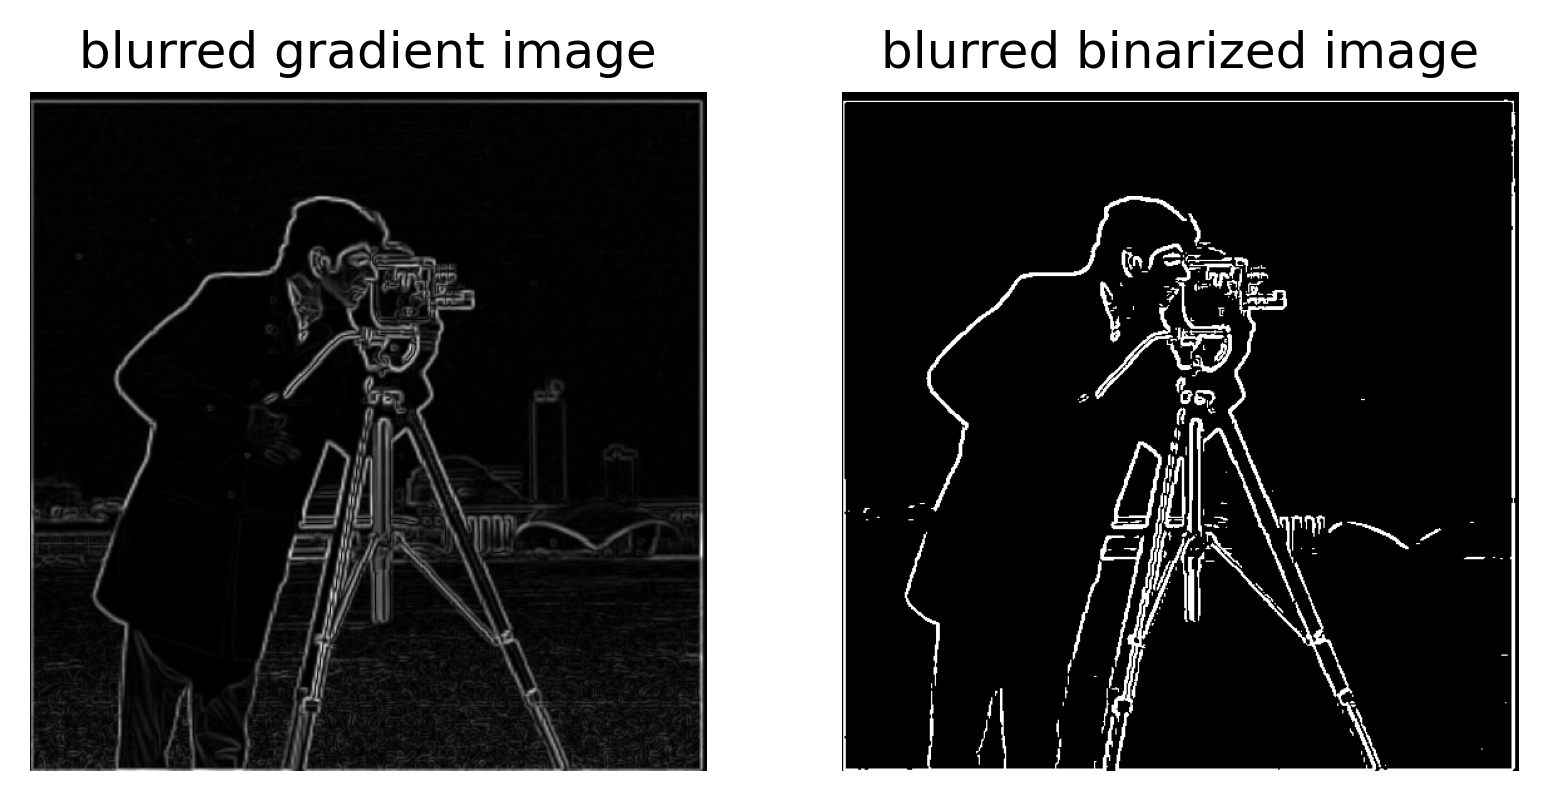
Compared to the images from earlier, these images have much smoother edges. The smoother edges can be observed in all of the images (DxDy, gradient magnitude, and binarized). The lines are also thicker in the gradient magnitude and binarized images.
It is possible to shuffle the steps to obtain the same results as above. We can convolve the Gaussian filter with Dx and Dy first, and then apply the convolved Gaussian filter to the image. Having one final convolution step can be advantageous in storage and computational efficiency.
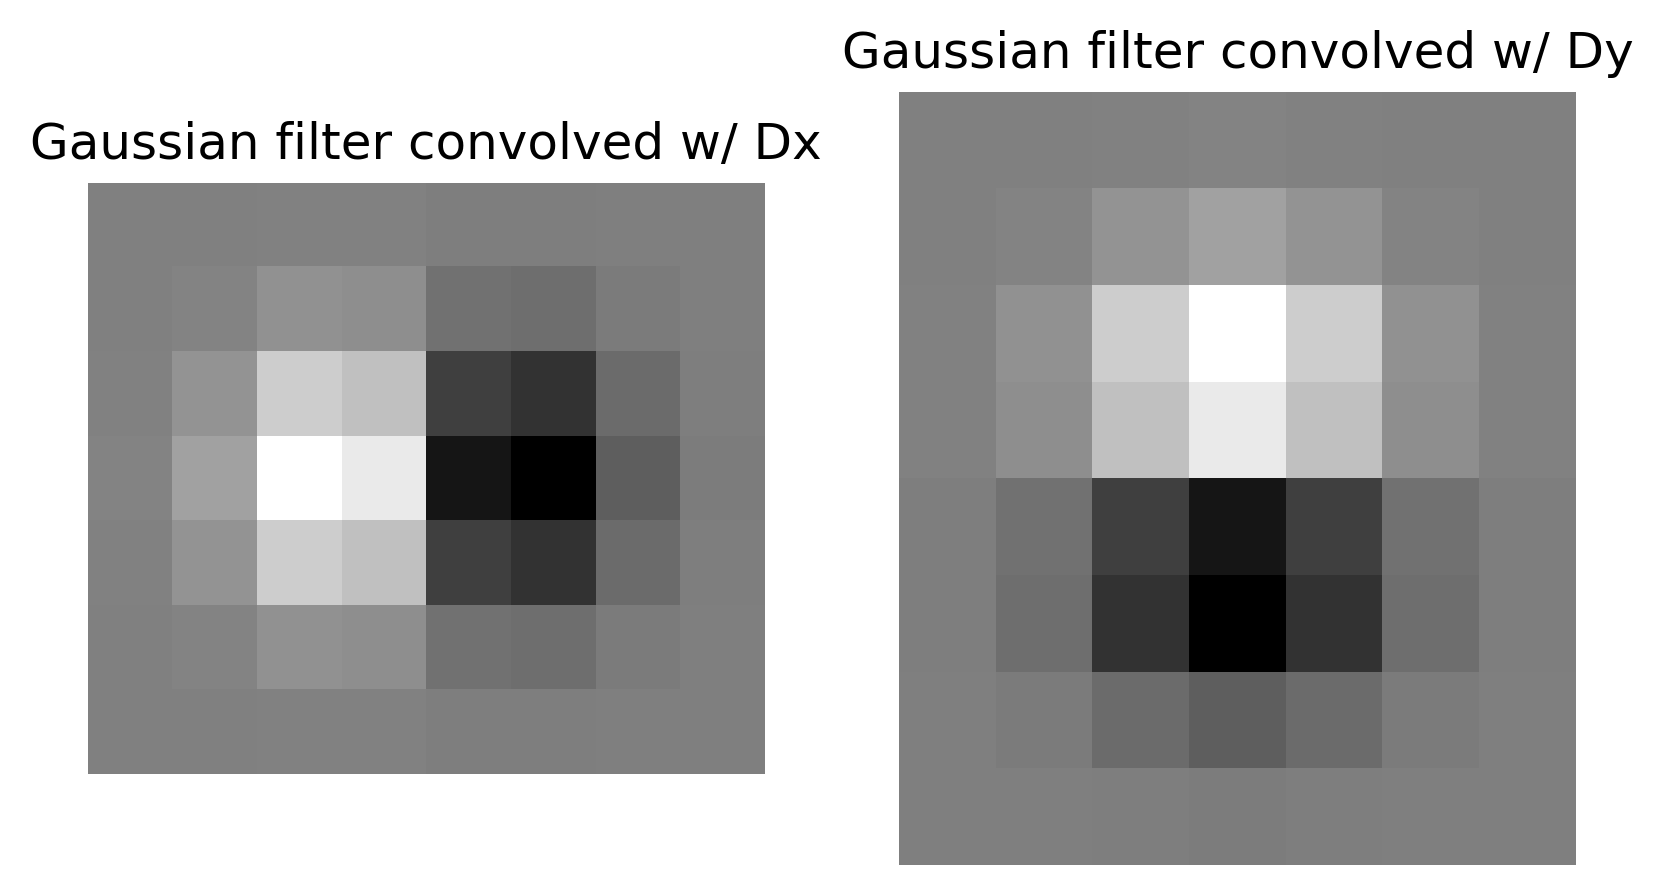
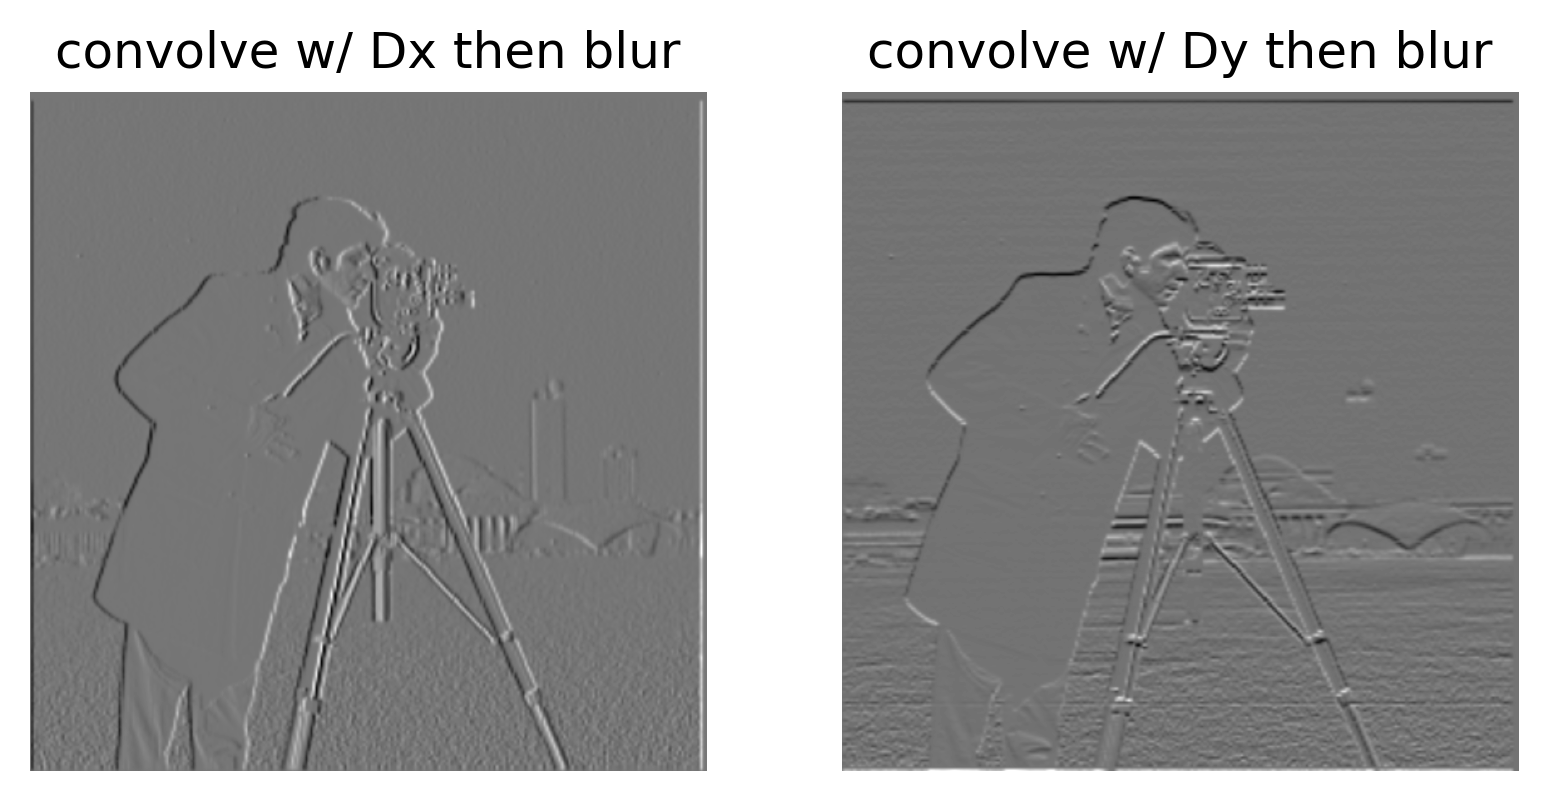
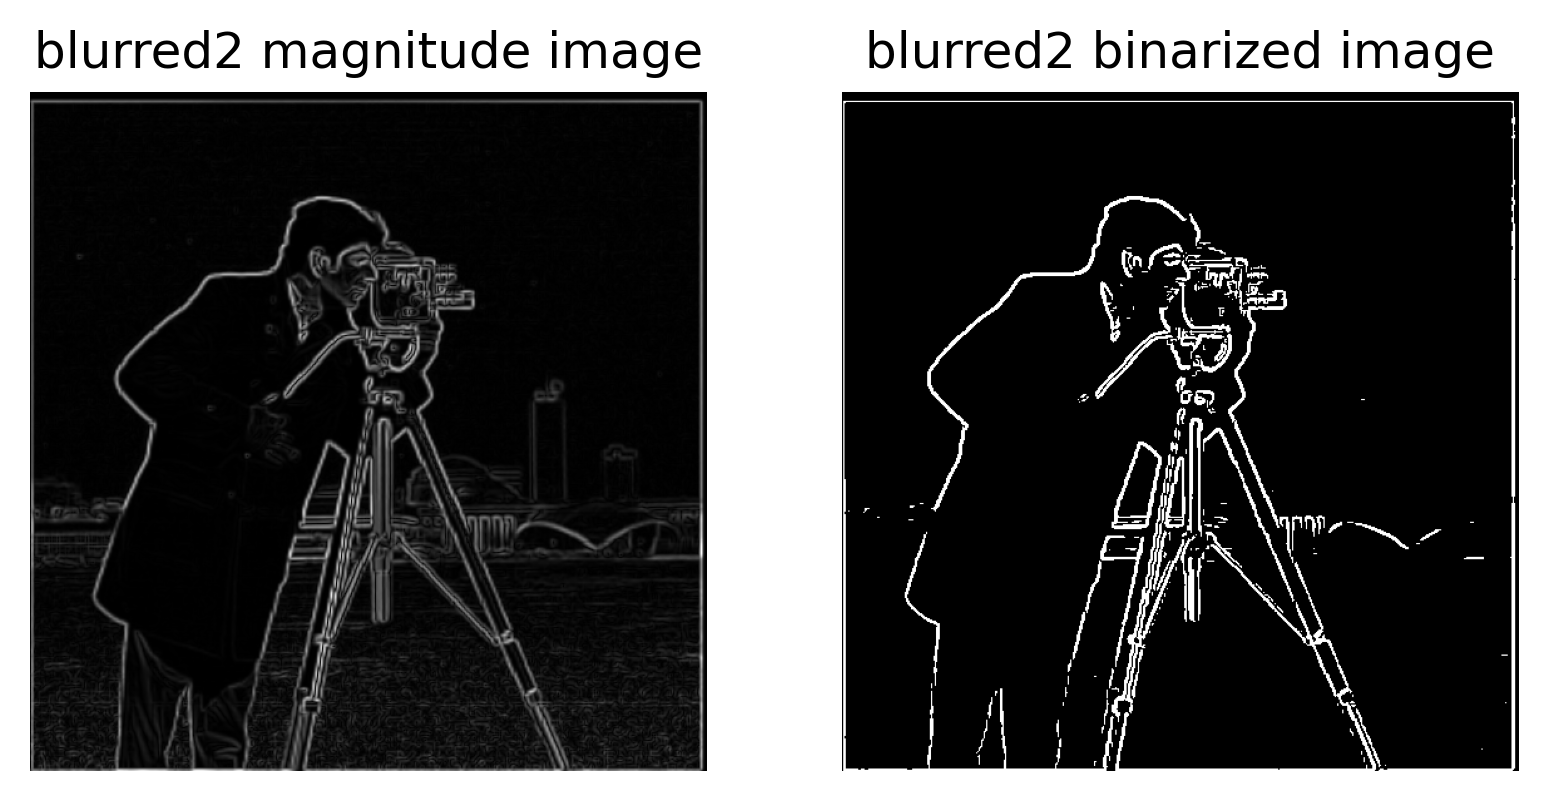
As we can see, this set of images look exactly the same as the set of images from earlier.
----- Fun with Frequencies -----
Image ‘Sharpening’
In this part, I attempt to ‘sharpen’ various images by adding a bit more of the high frequencies into the image. To do this, I first apply a low pass (Gaussian) filter onto the image and the lowpass image from the original image to isolate the higher frequencies. Then I add these higher frequencies back into the original image, multiplied by some scaling coefficient alpha. There is some clipping of pixel values when this happens, but it does not seem to negatively affect the quality of the final result.
I initially tried to implement the formal definition of an unsharp mask filter so that I could pre-compute a single filter to use on the original image. For some reason this did not work out so well, so for a while I stuck to the earlier (and, in my opinion, more intuitive) steps of blurring, subtracting, then scaling and re-adding the higher frequencies. Eventually I found out that I was implementing the definition of a unit impulse matrix incorrectly; once I fixed that, it was working fine. Comparing both implementations, the results were identical, indicating that they are mathematically equivalent.

The results for taj.jpg look pretty good for alpha=2; you can see the bricks on the building more clearly. However, when alpha is further increased, some unwanted artifacts start to emerge. At alpha=10, some contrasting edges start to appear too thick, giving the image a bit of a fried look.
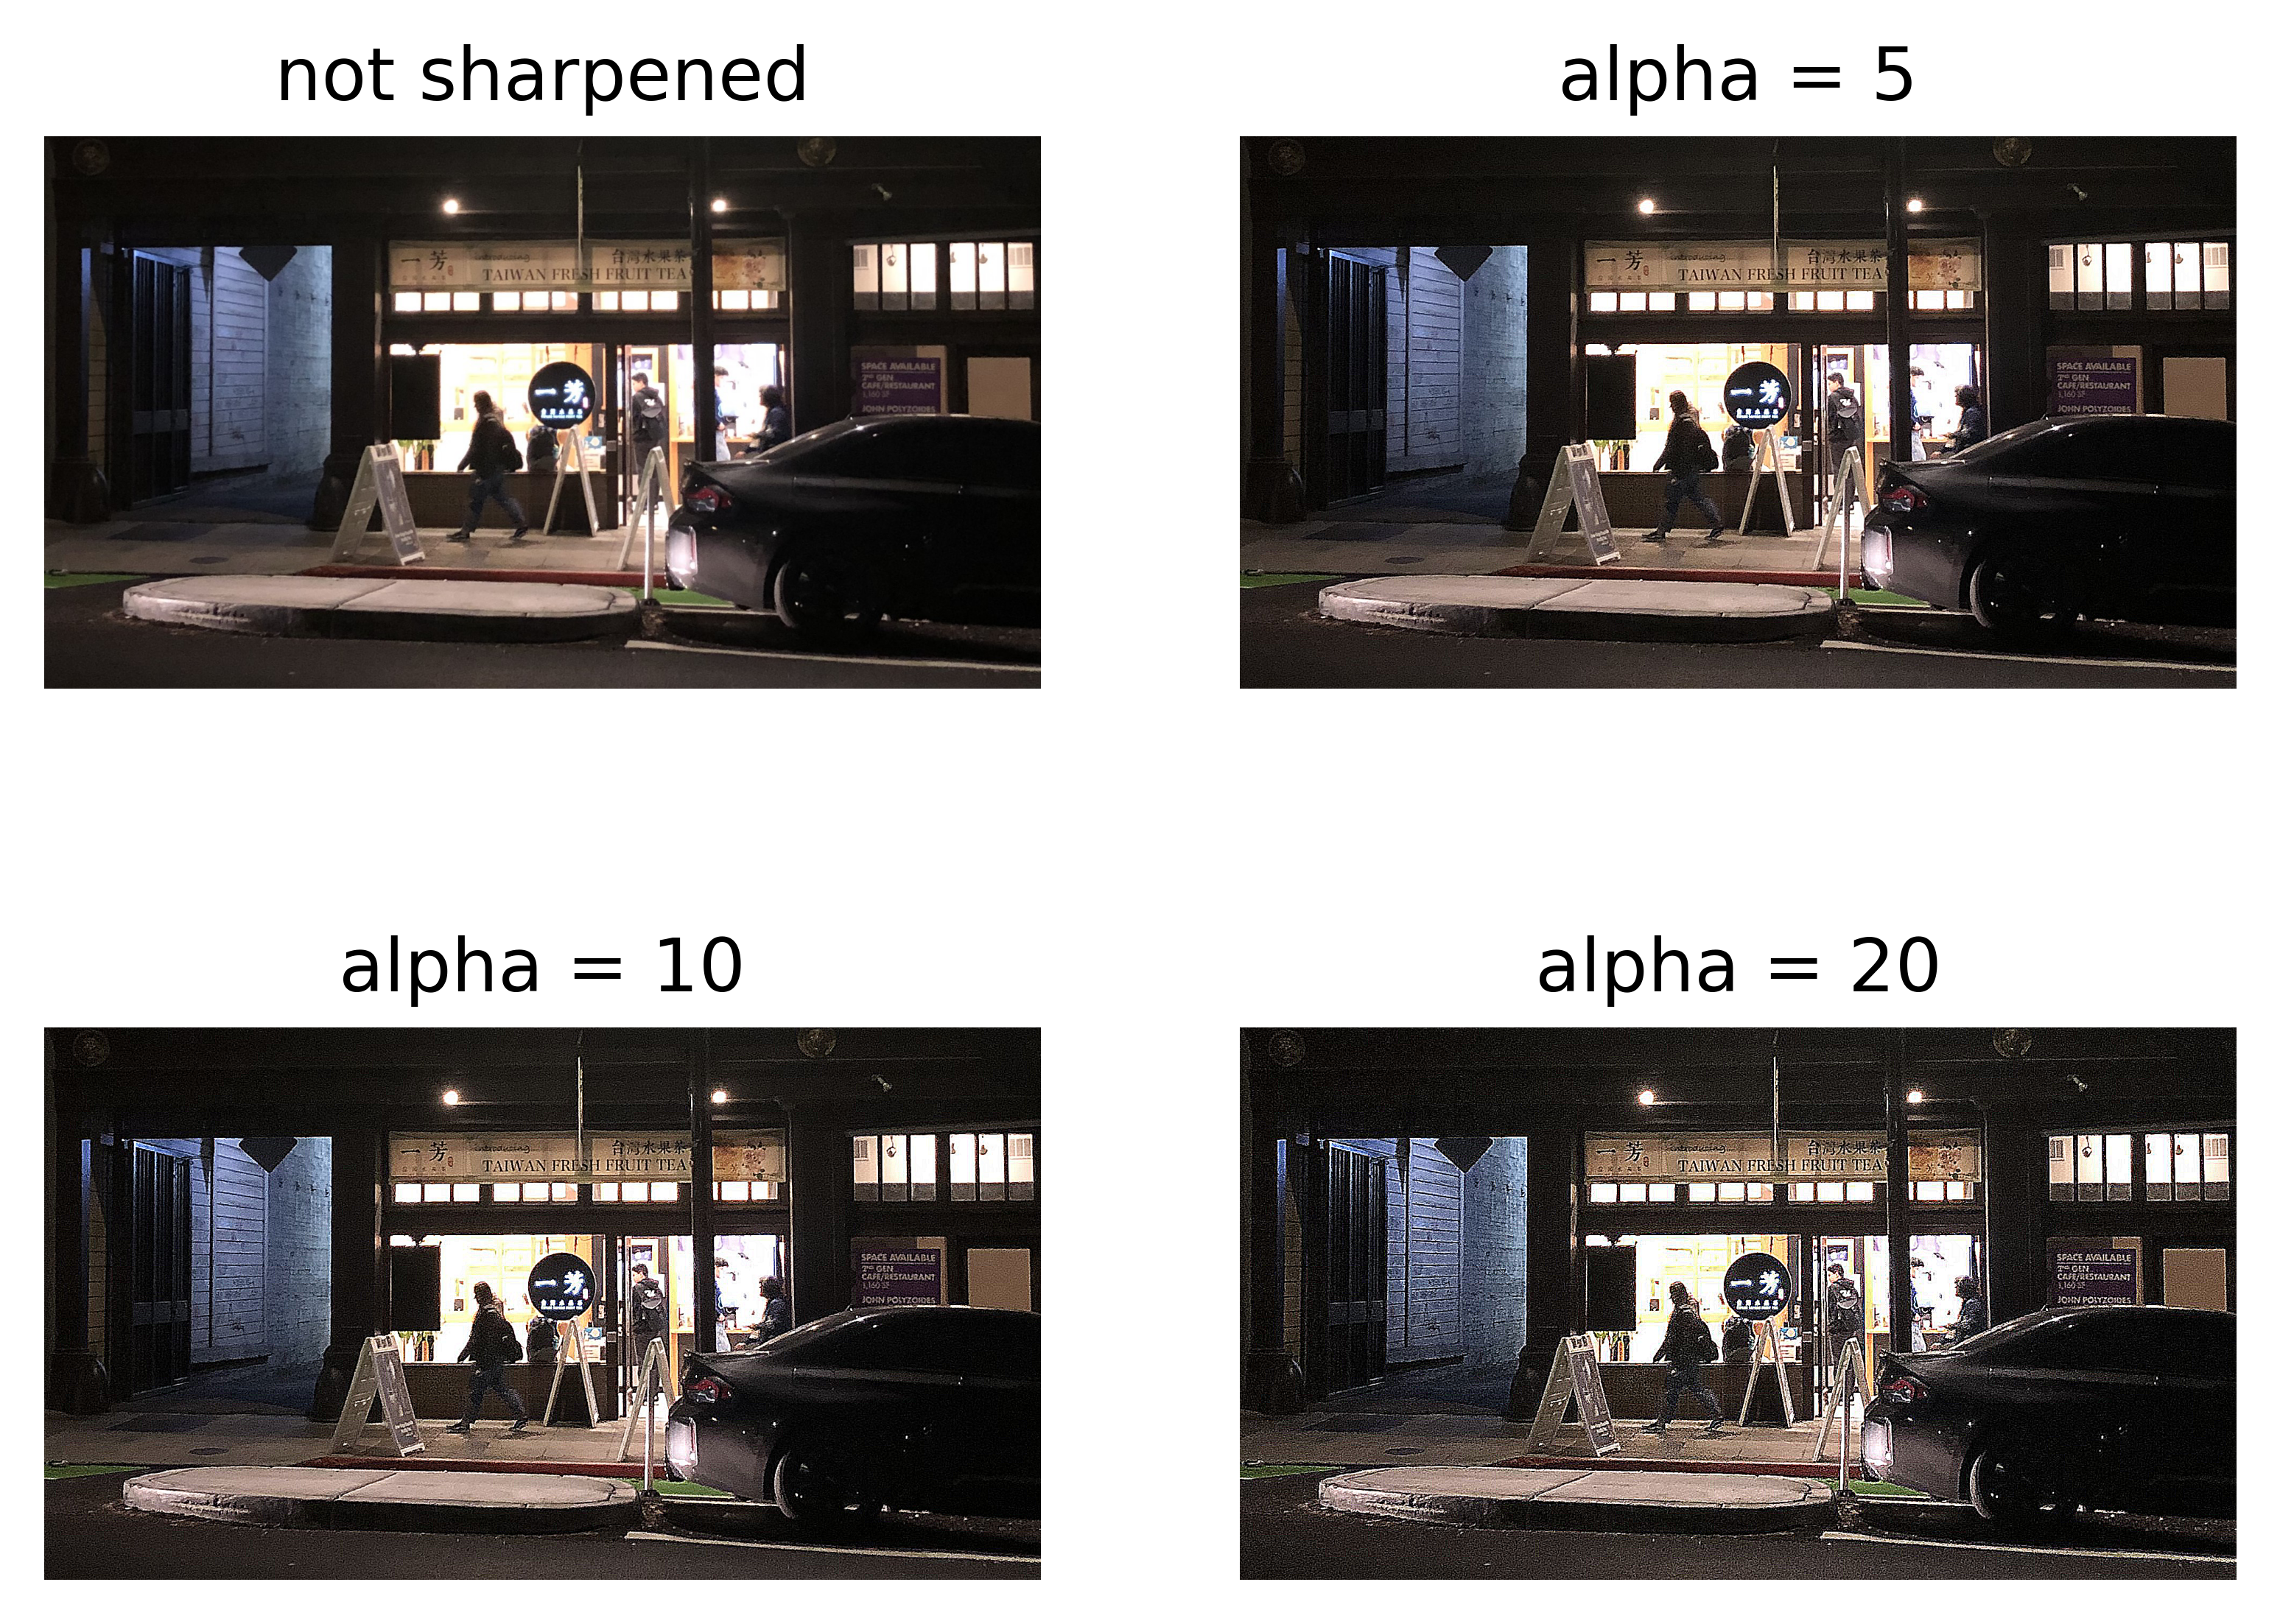
You might need to open the image in a new tab and zoom in a bit to see this one. I really like the effect of ‘sharpening’ on this image as it makes the letters on the Yifang banner sharper, as well as the wall in the alleyway beside the shop. Similar to taj.jpg, you can see the introduction of some artifacts and graininess by alpha=10, and they are more obvious at alpha=20.
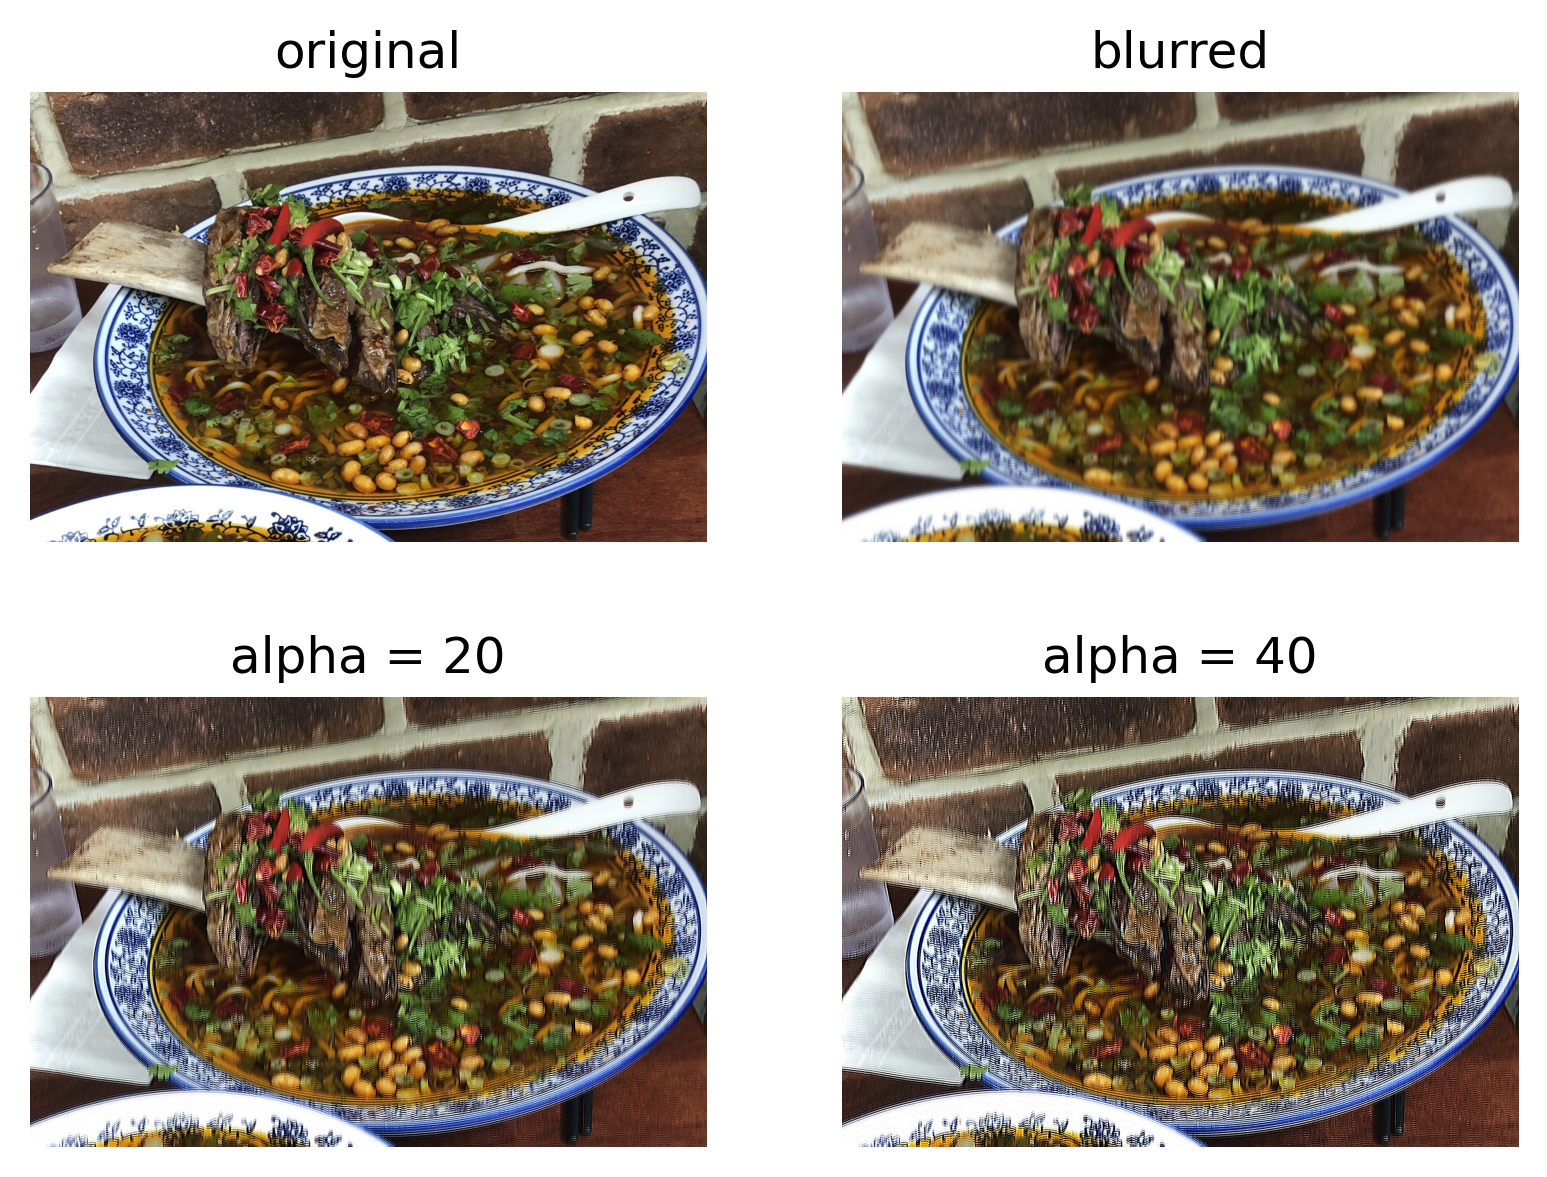
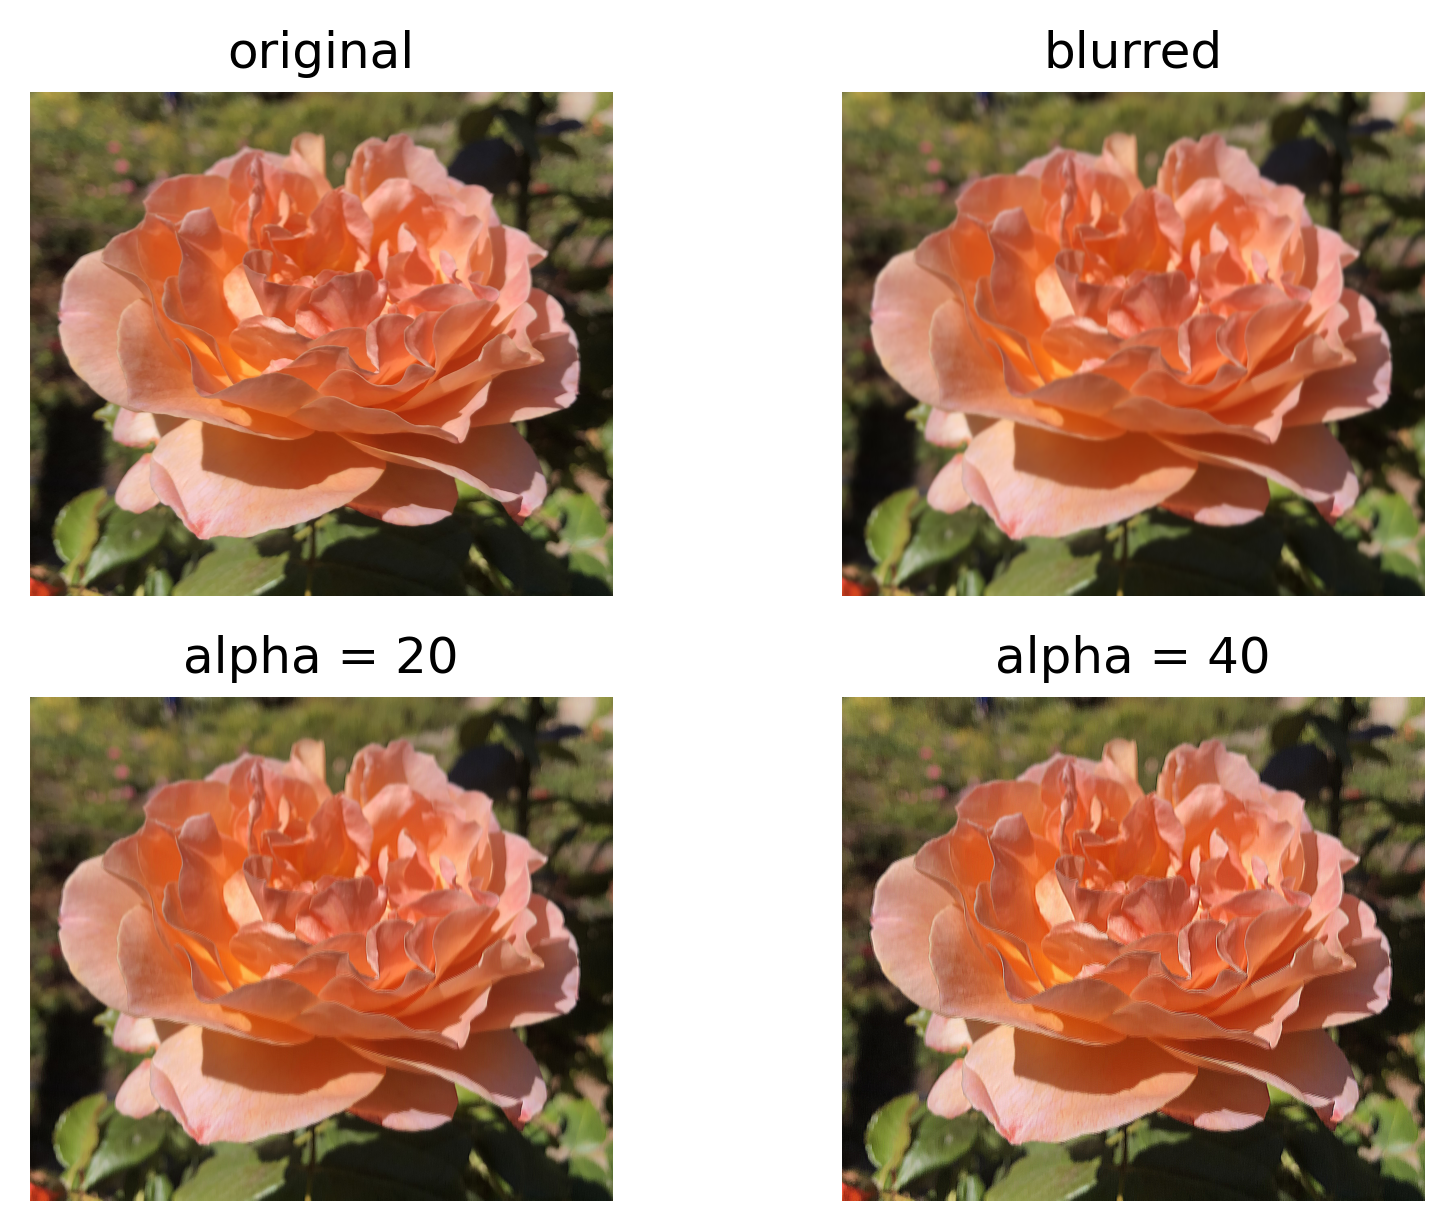
In addition to sharpening images, I try to ‘recover’ the sharpness of an image by blurring it and applying my sharpening function on the blurred image. I found this to somewhat work depending on the image and the level of blur. The below example hurts my eyes a bit…
A more subtle yet successful example:
Hybrid Images
In this part, I try to create various hybrid images by taking advantage of our perception of frequencies at different distances. High frequencies dominate our perception, but at a distance, only the lower frequencies can be better seen.
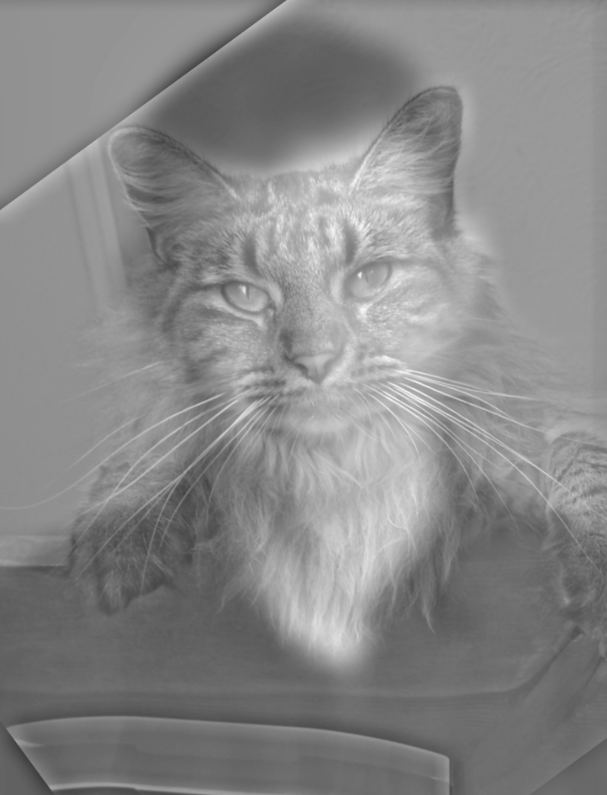
To make a hybrid image, I align two images in a way that makes the illusion more effective. Then, I put one image through a lowpass filter and the other through a highpass filter. Finally, I add the two images together. For lowpass, I applied a Gaussian filter. For highpass, I subtracted the Gaussian blurred image from the original image.
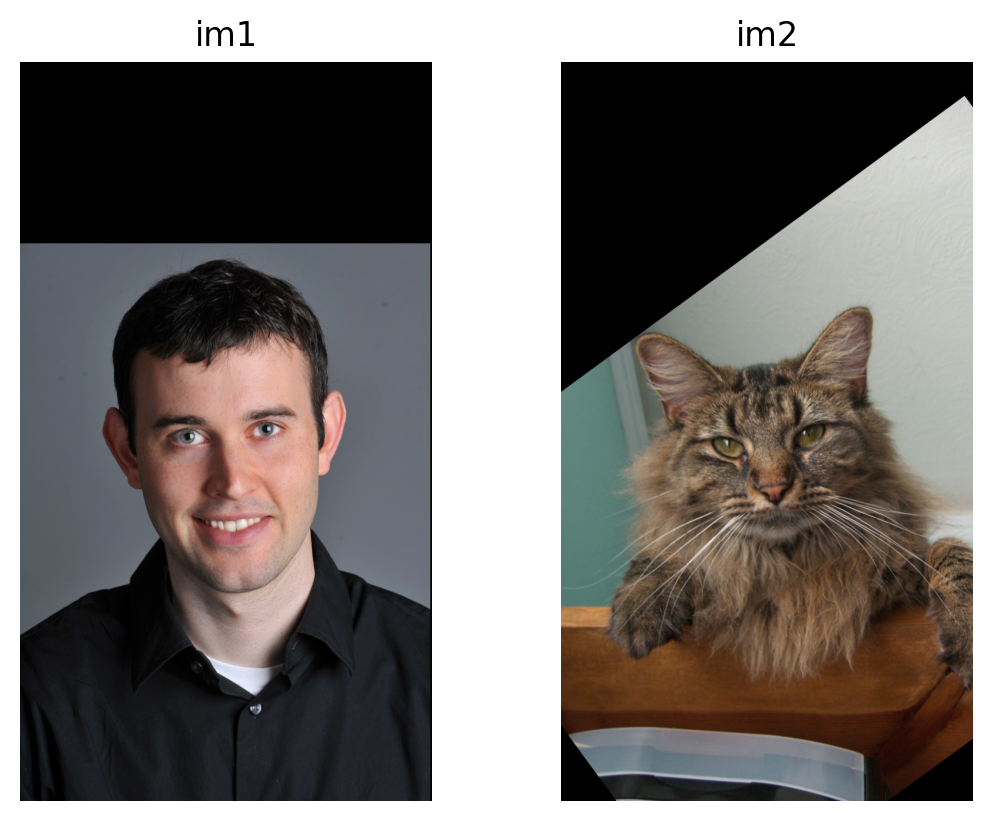
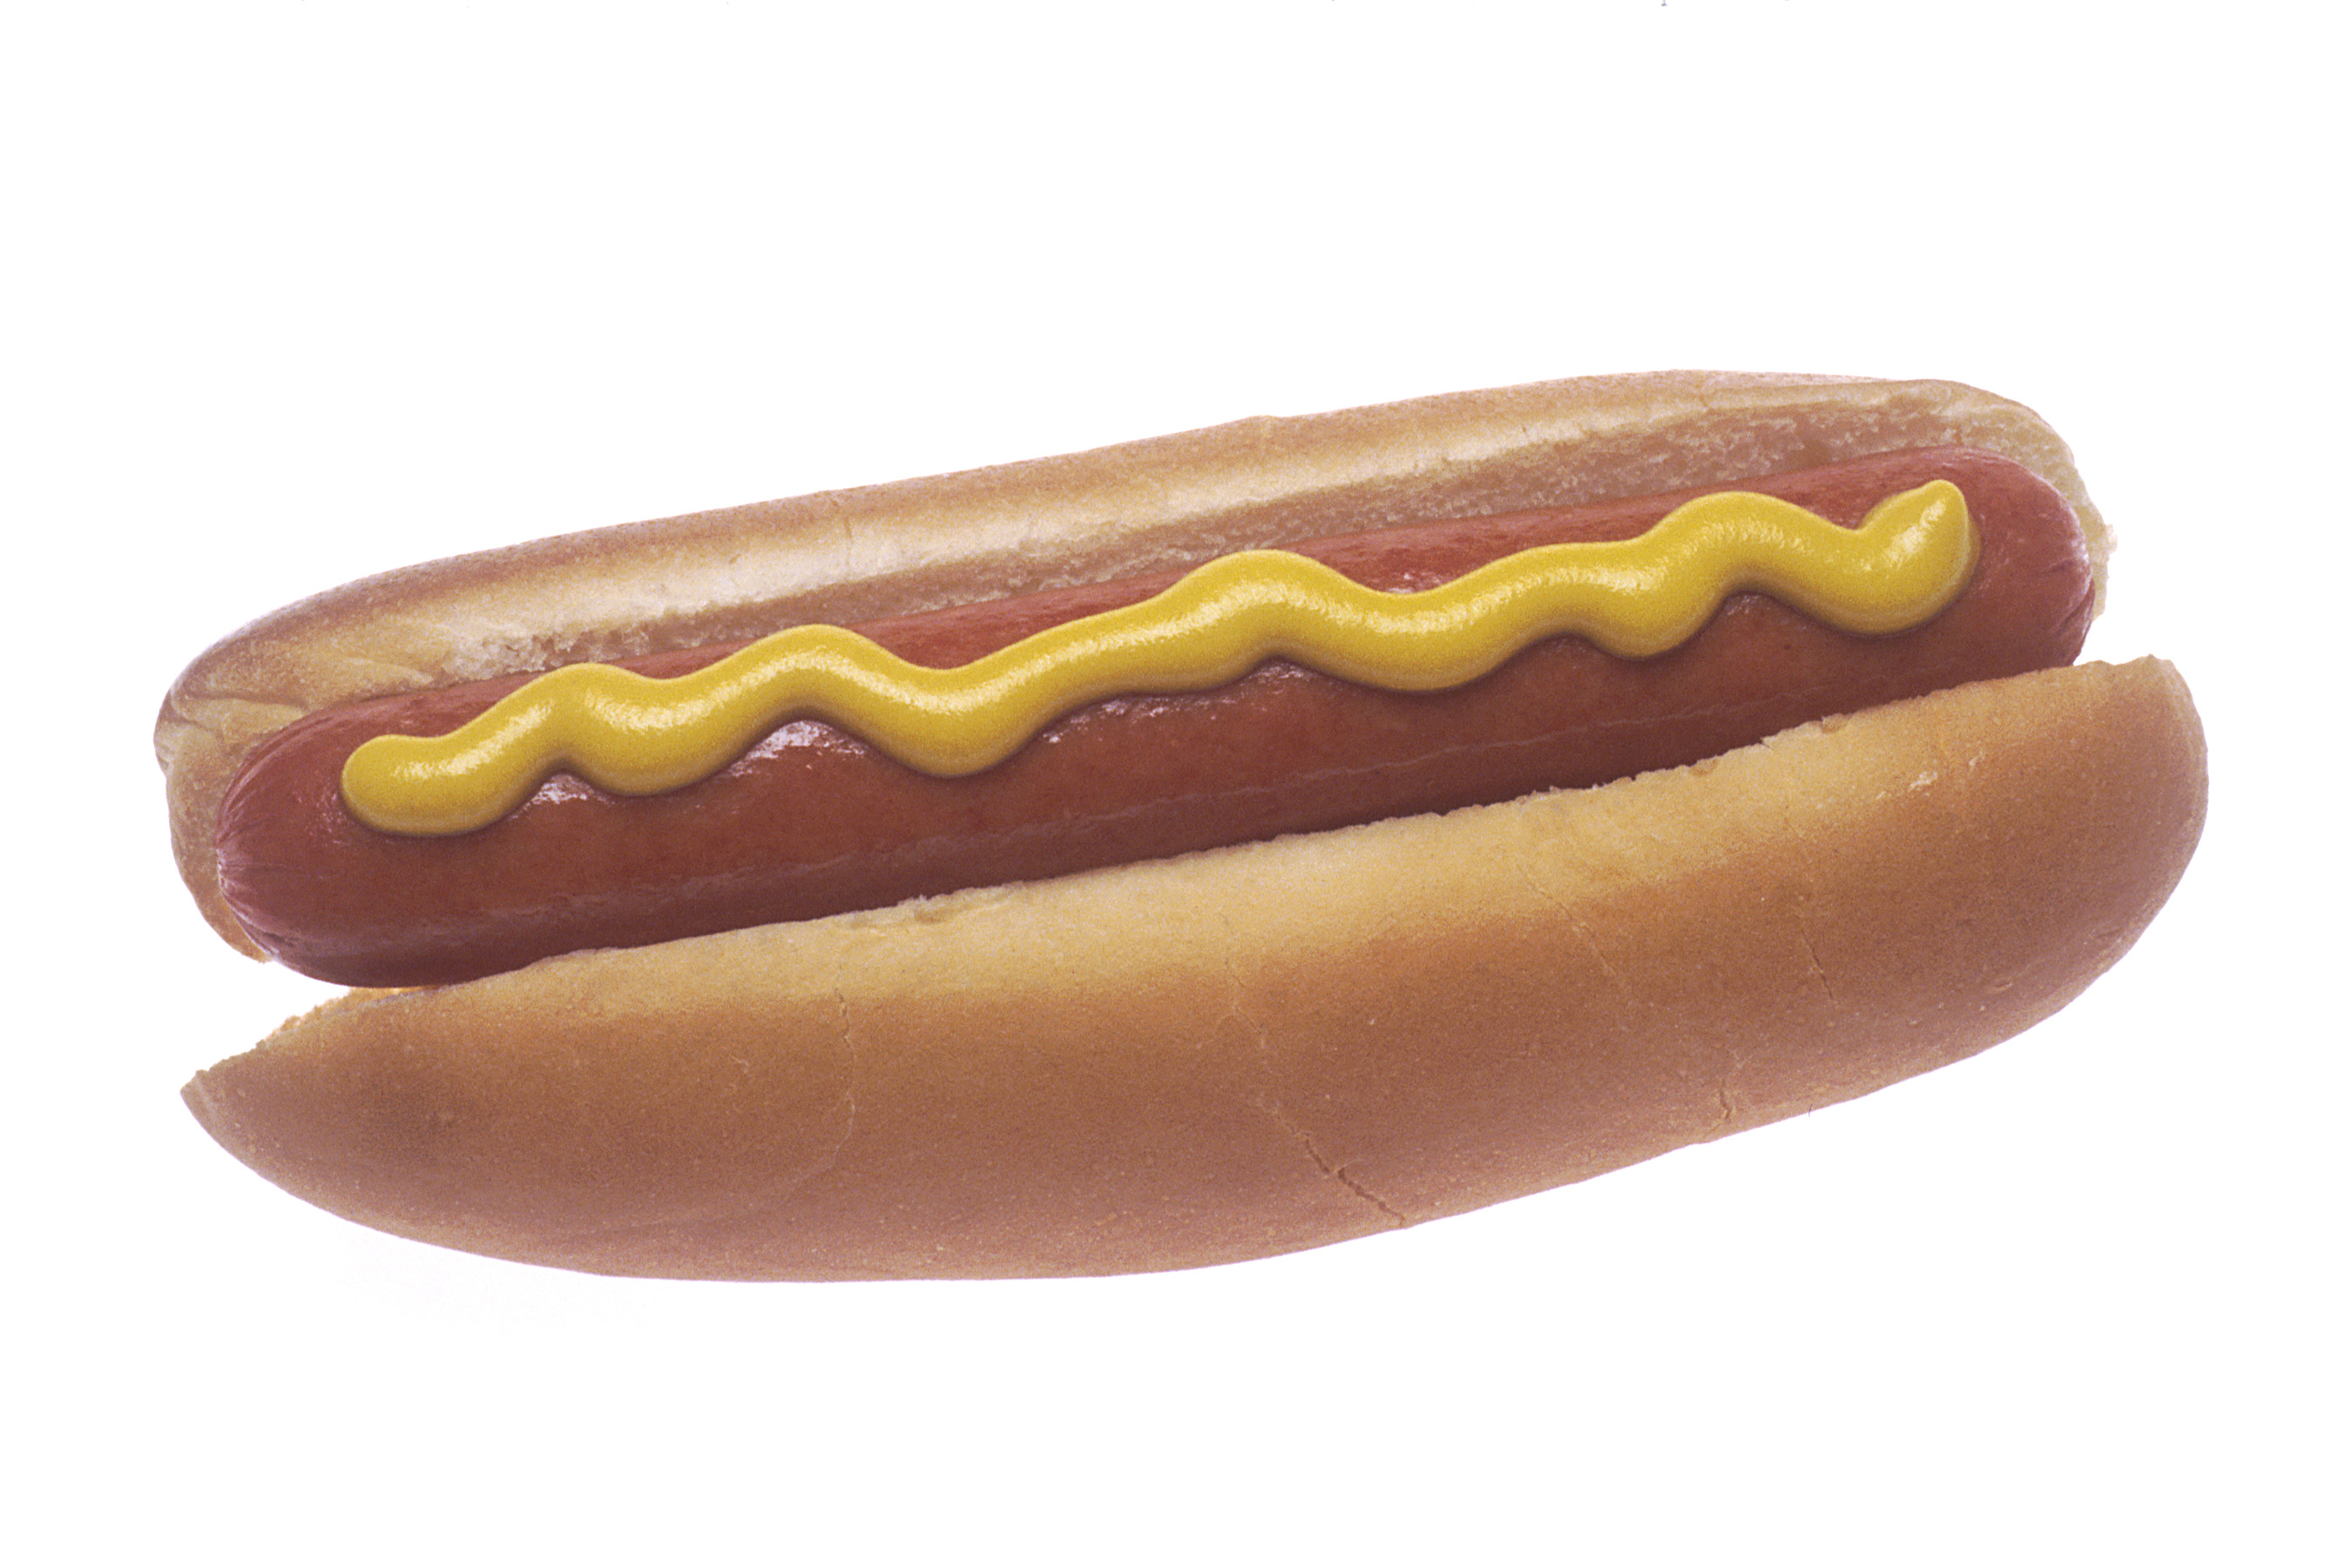
A hotdog:
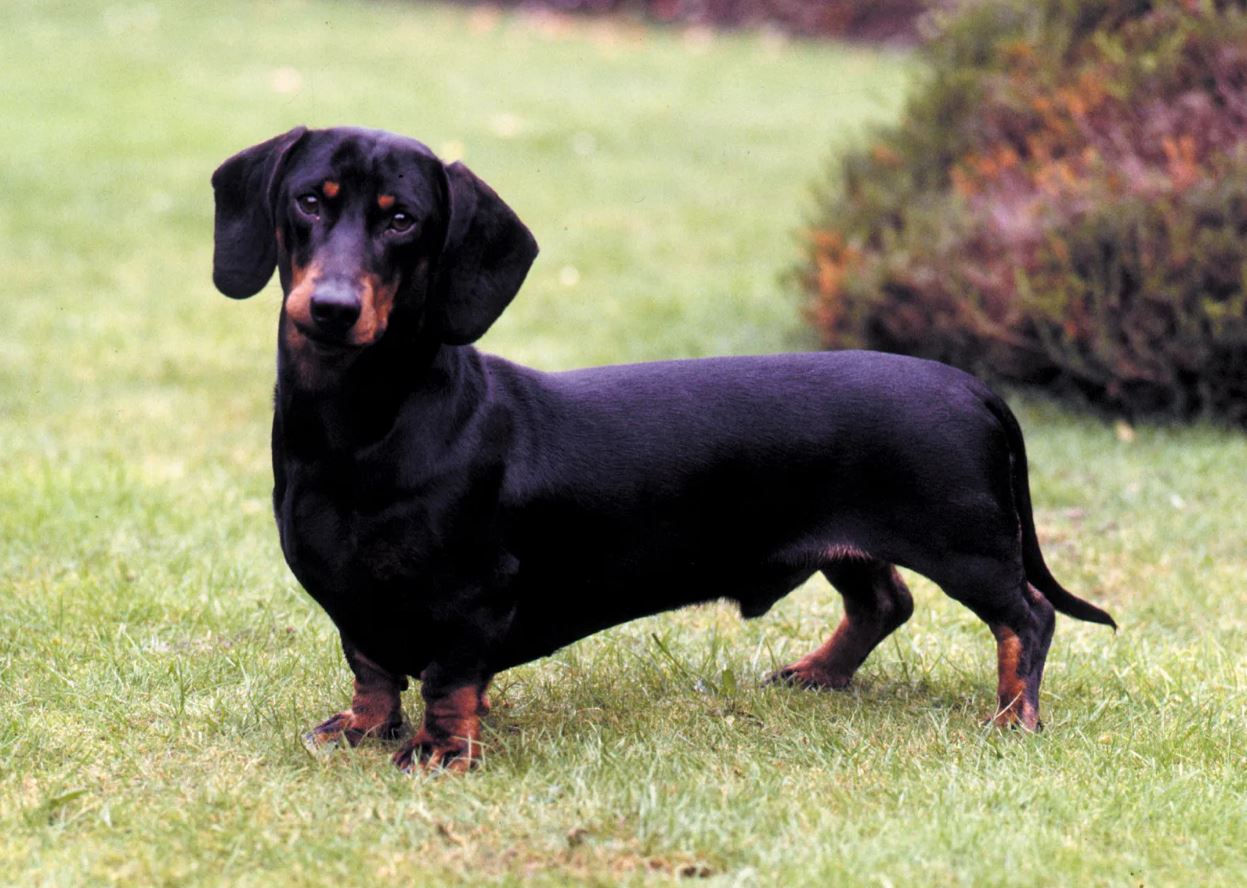
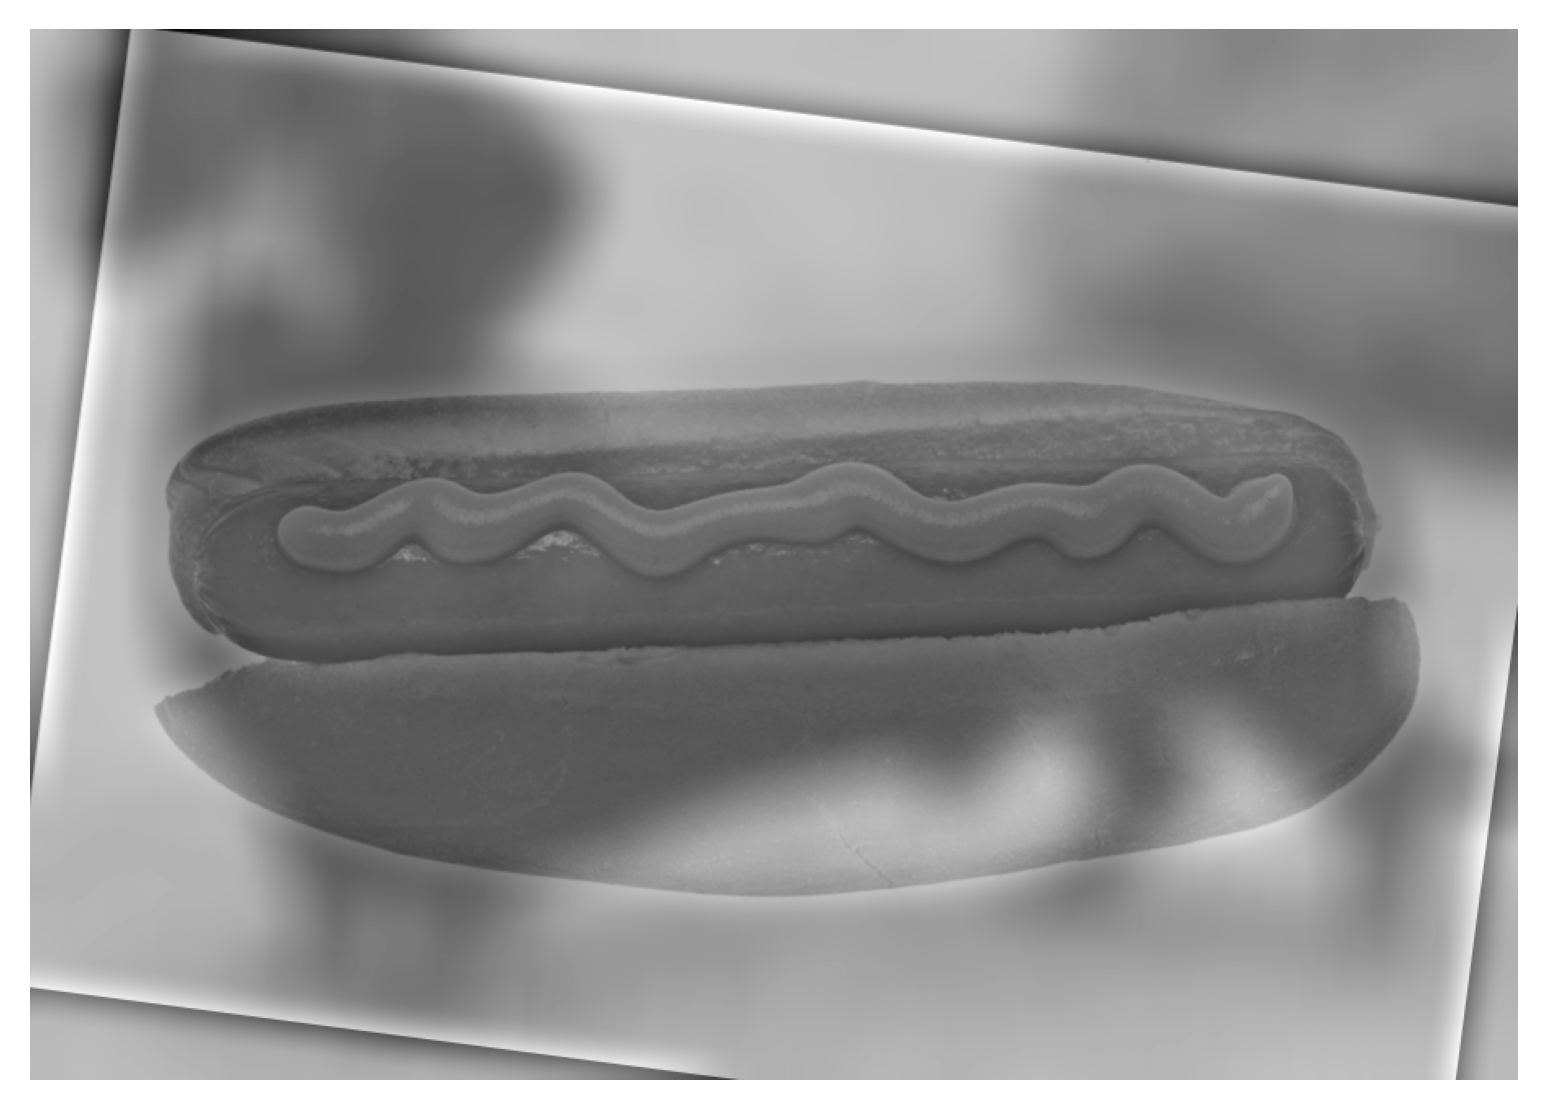
In hopes of improving the hotdog example, I tested the effect of color on each of the images. However, because the dog is much darker relative to the hotdog, I feel that the color images made the hotdog even less visible… I think I would stick to the grayscale version for this example.
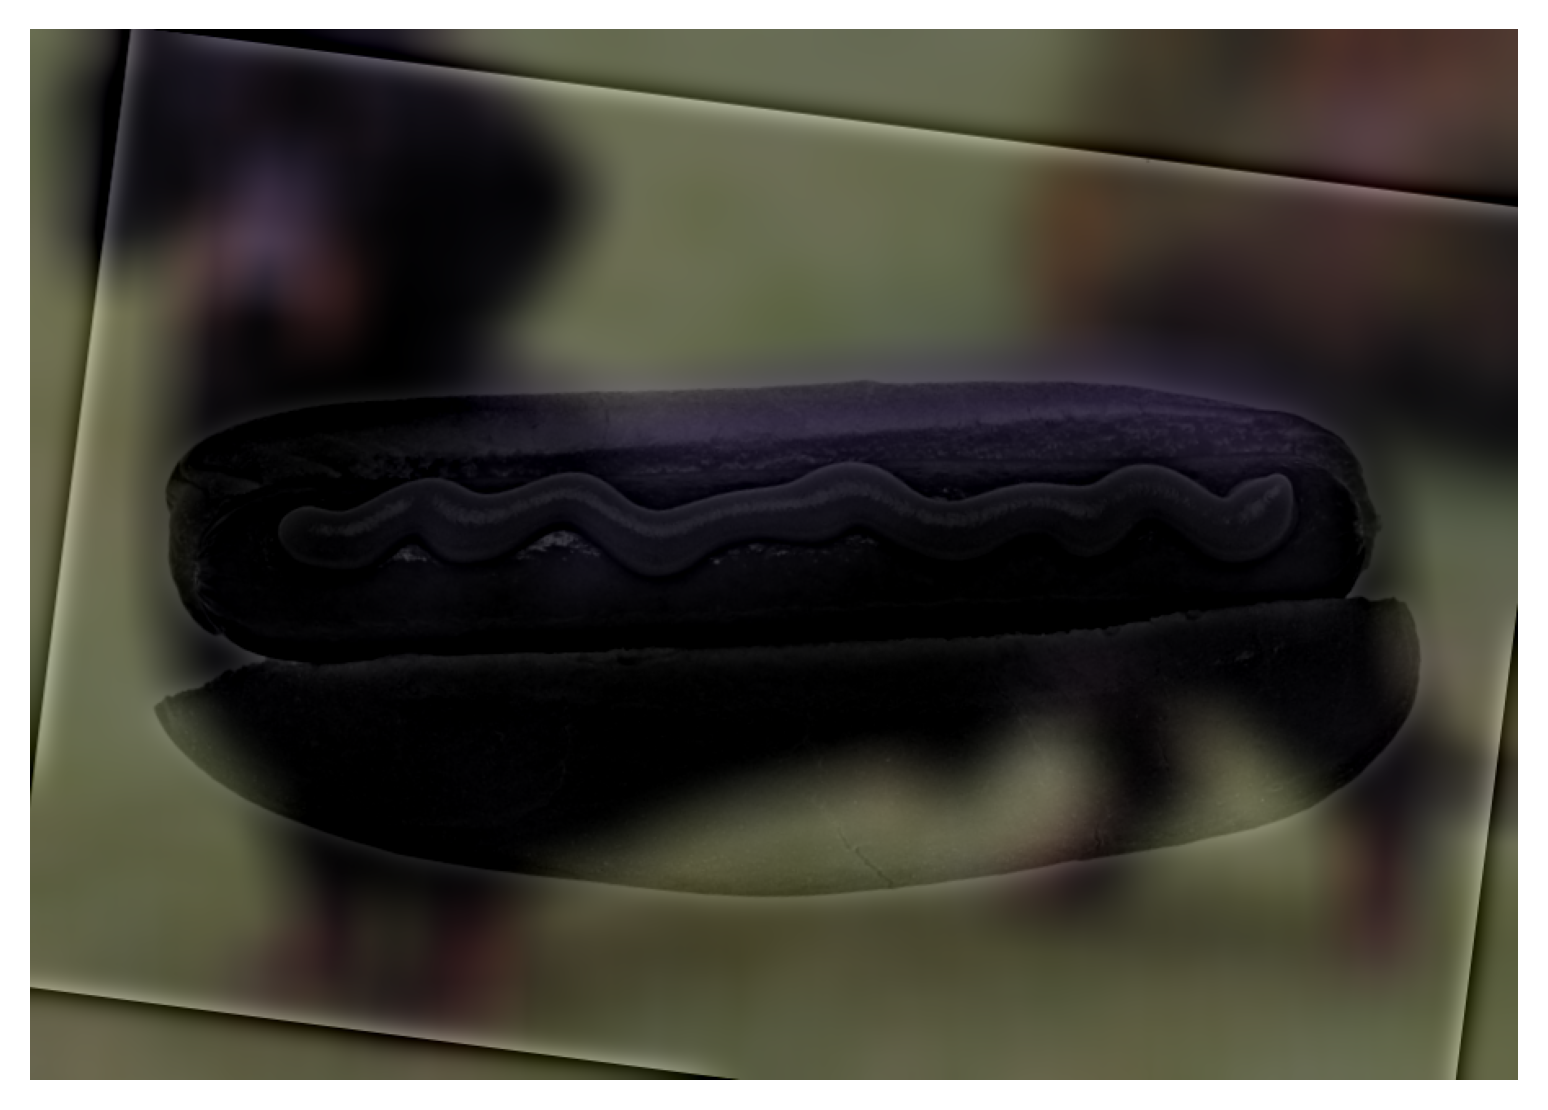
color on lowpass image
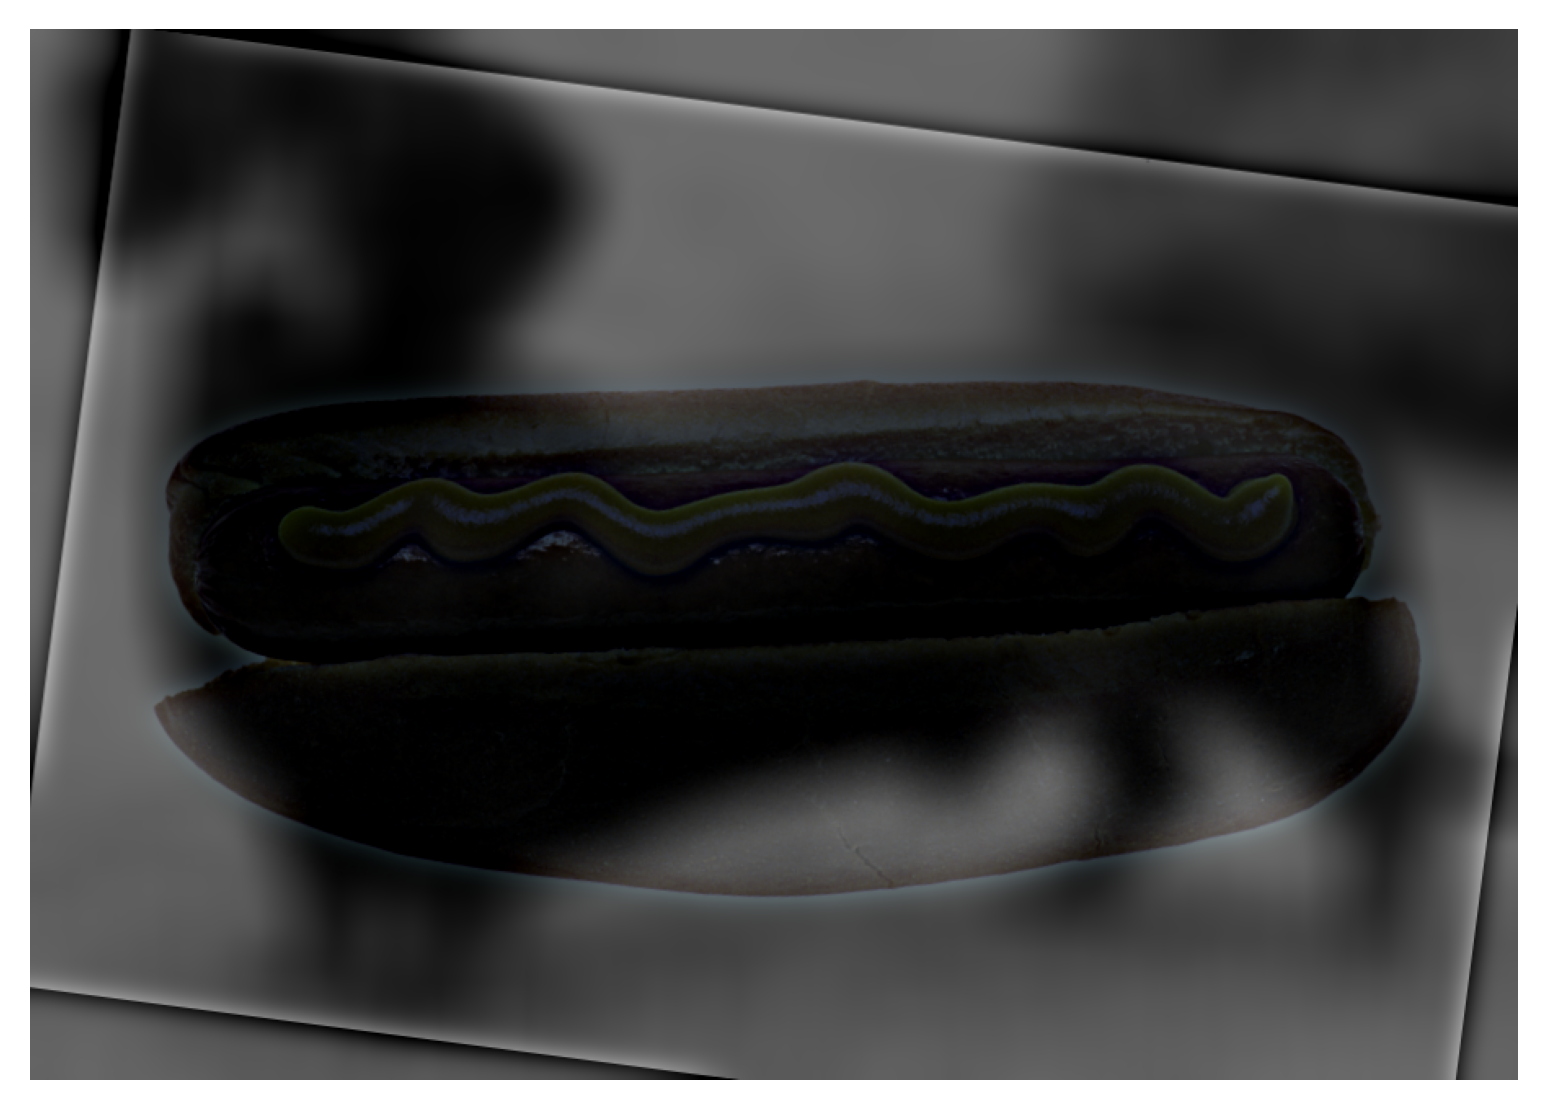
color on highpass image
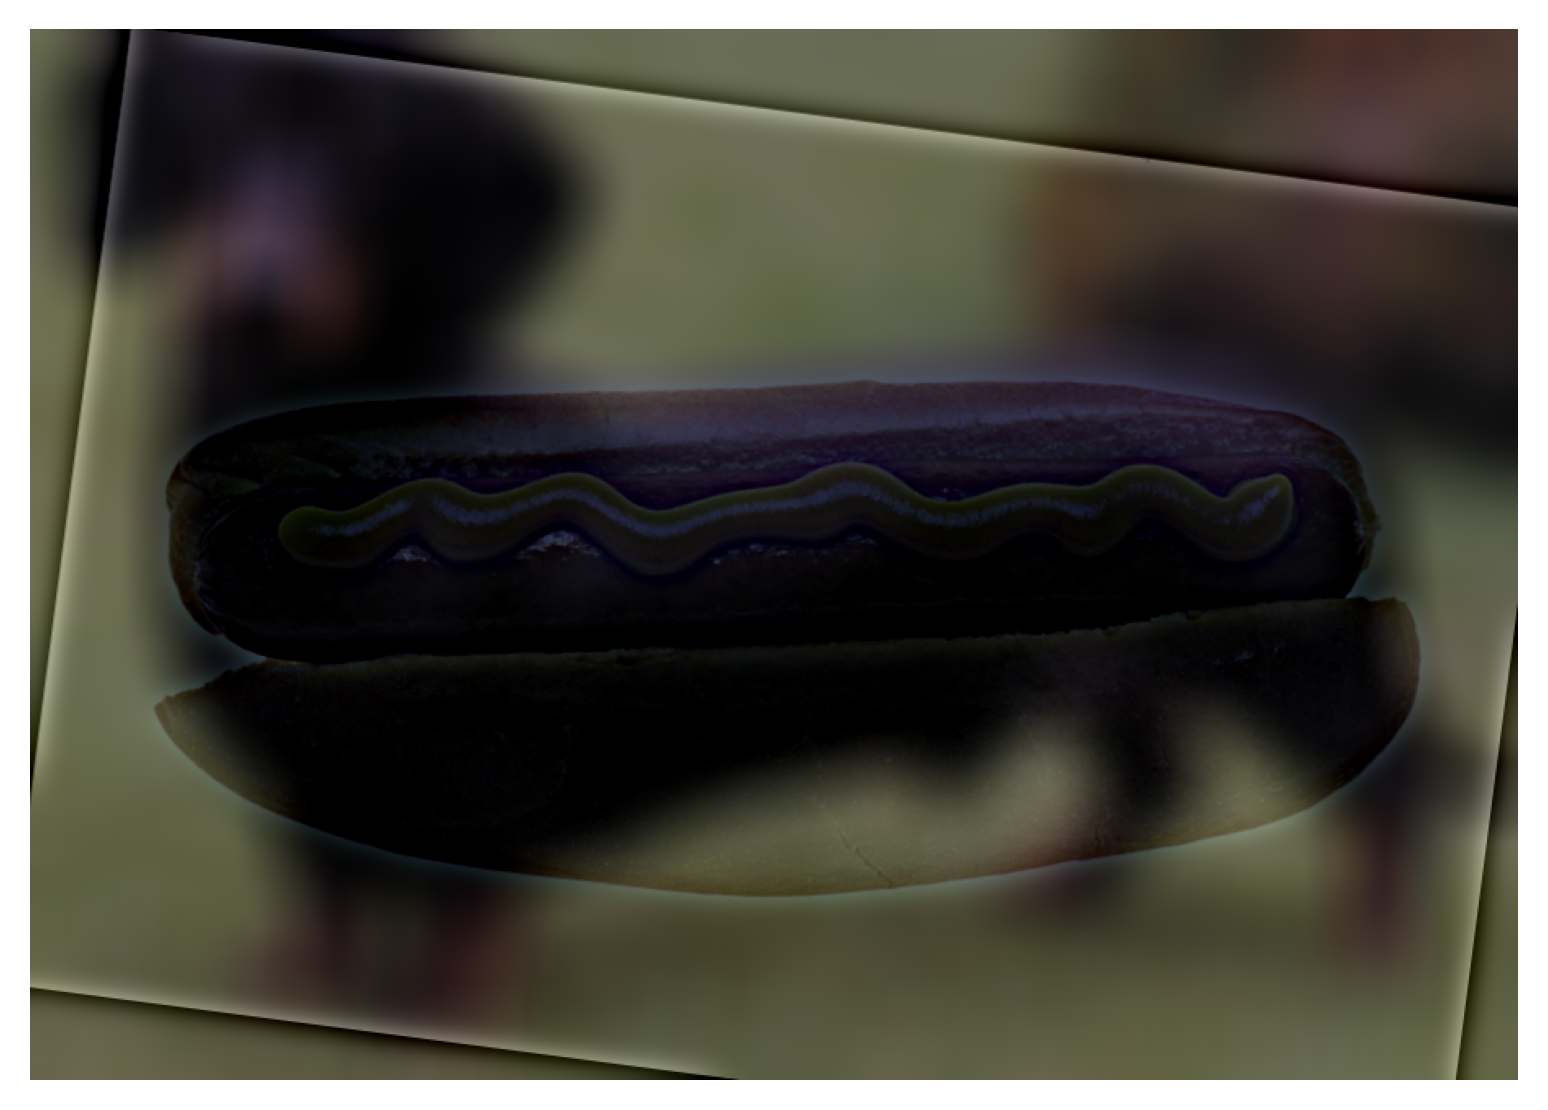
color on both images
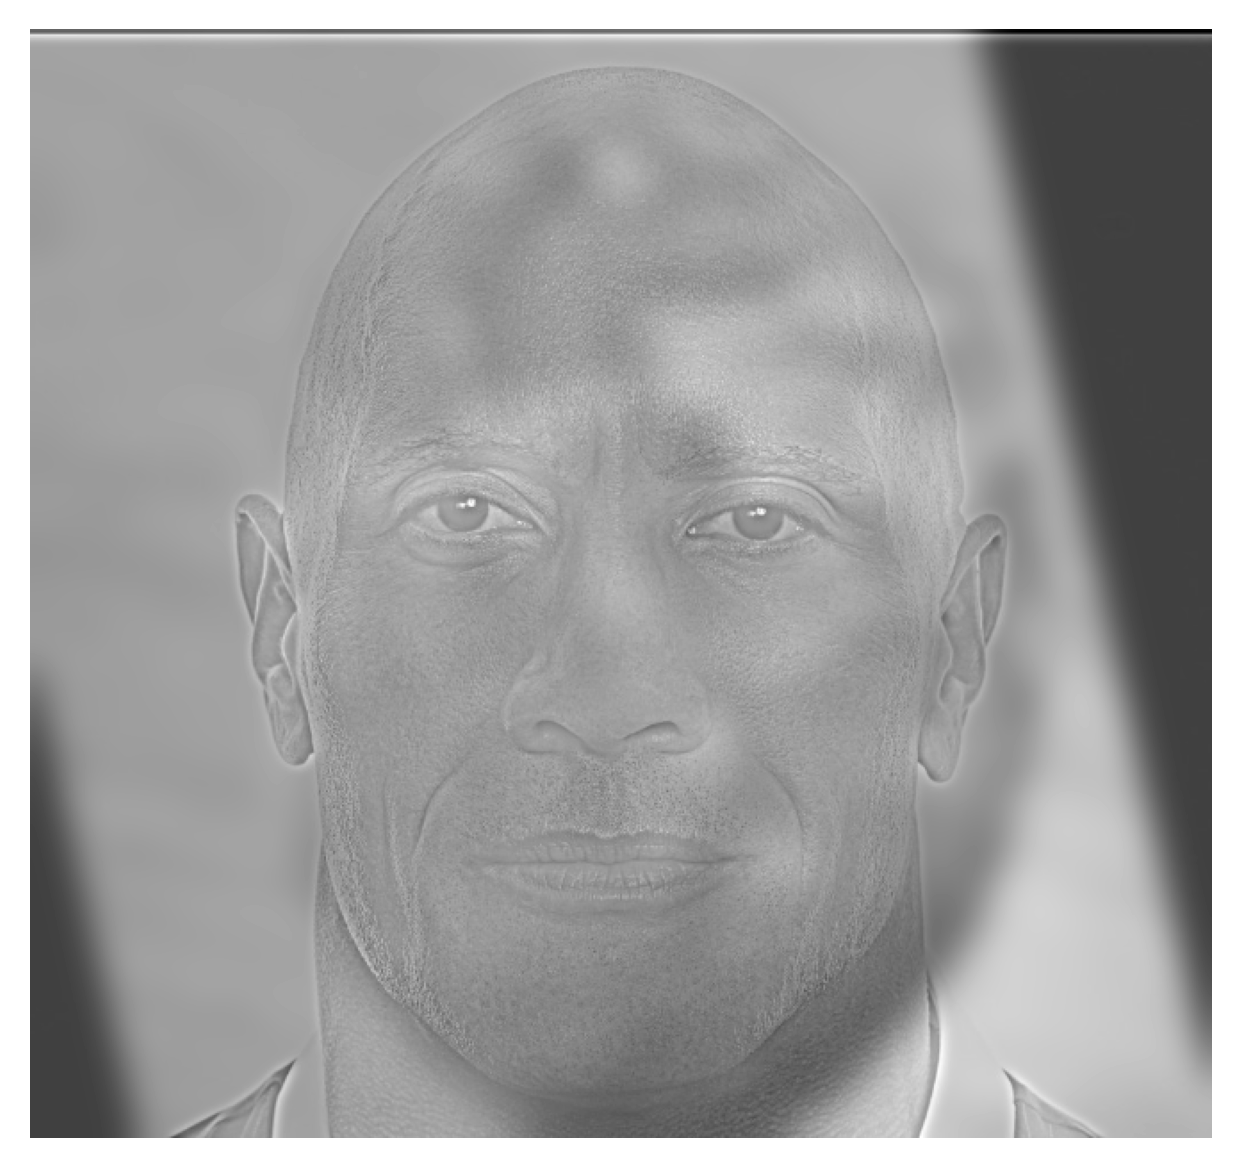
I really like the outcome of this one:
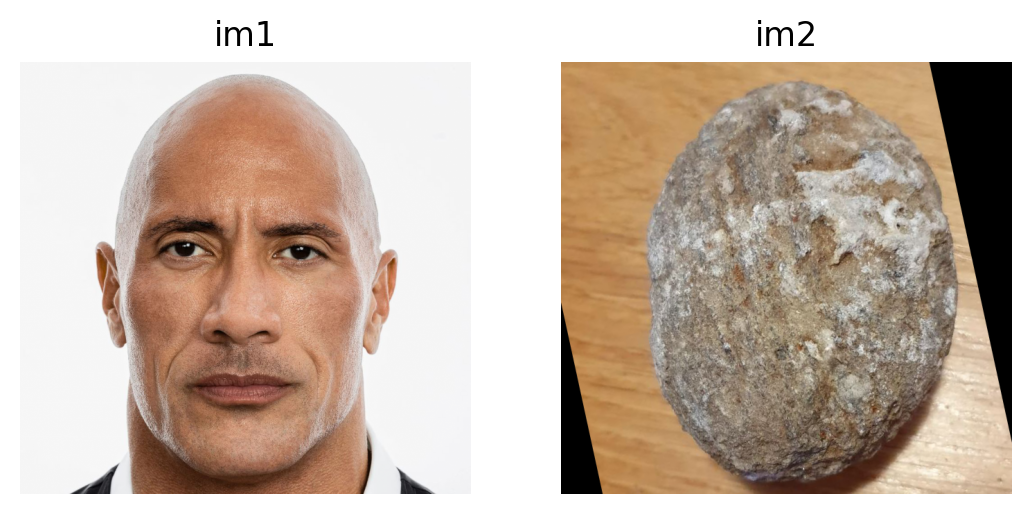
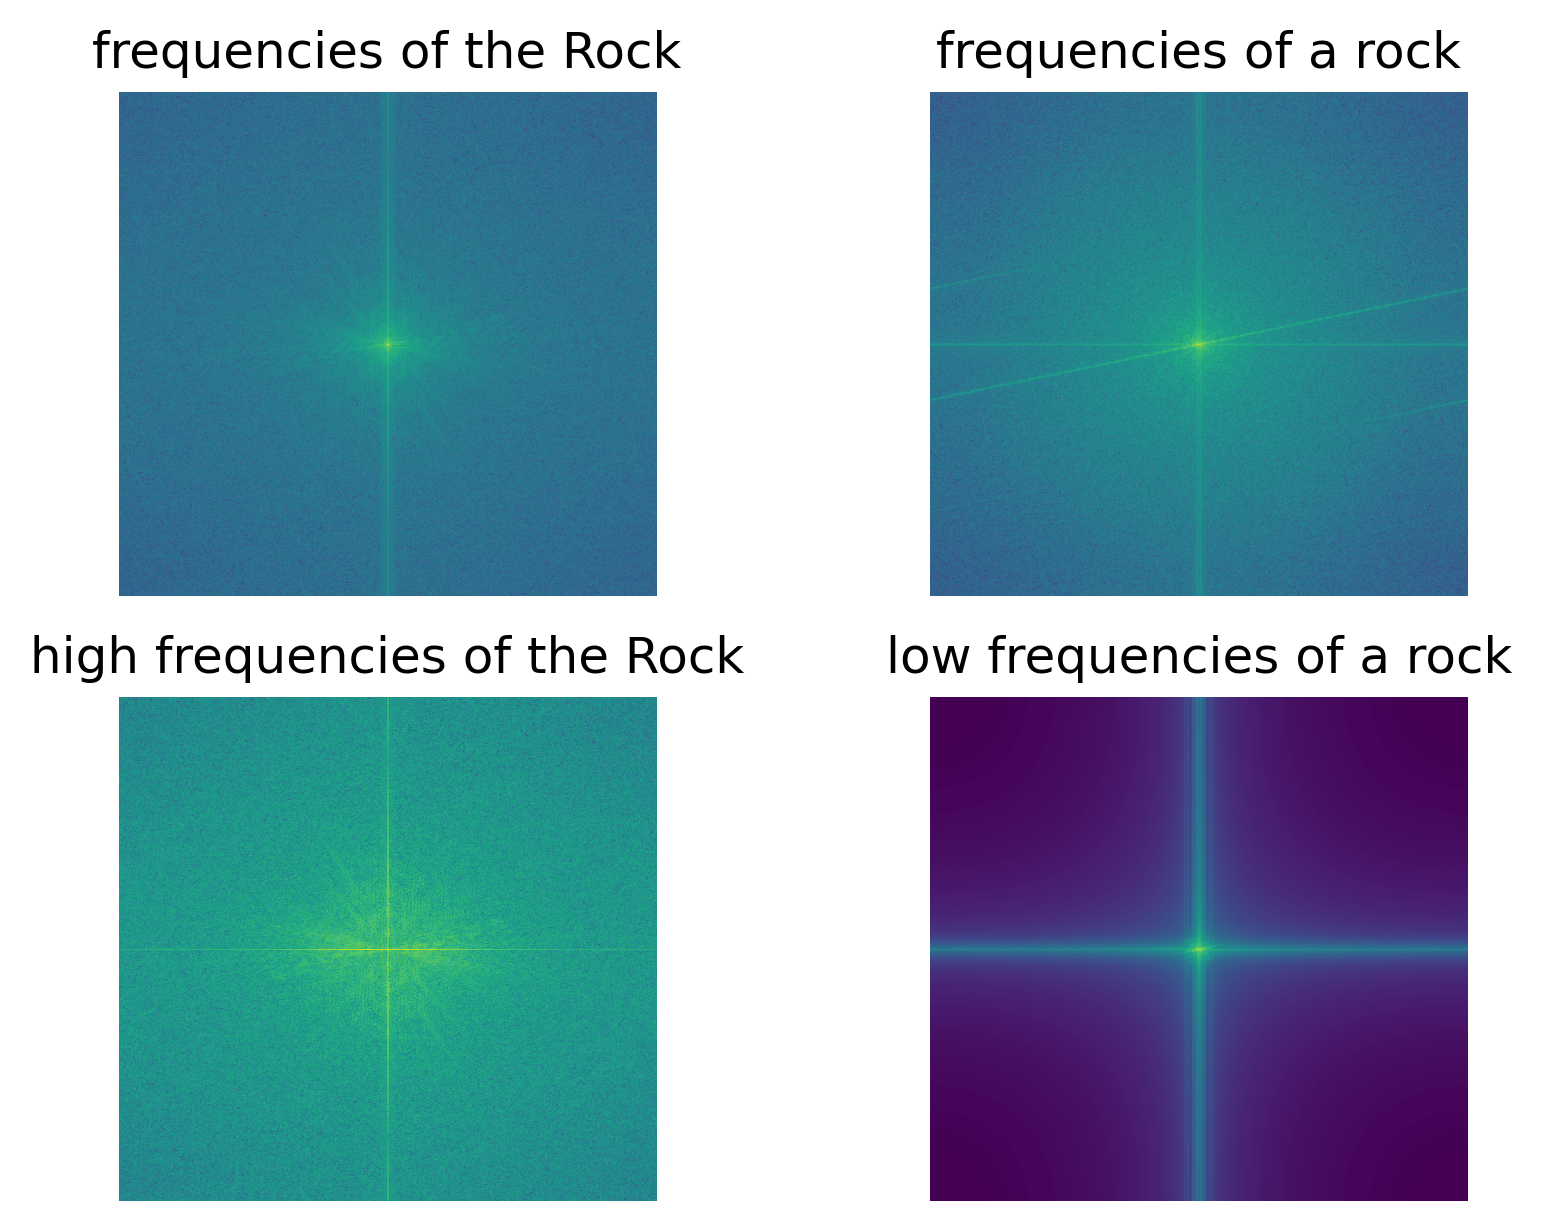
Log magnitude of Fourier transform of the Rock and the rock:
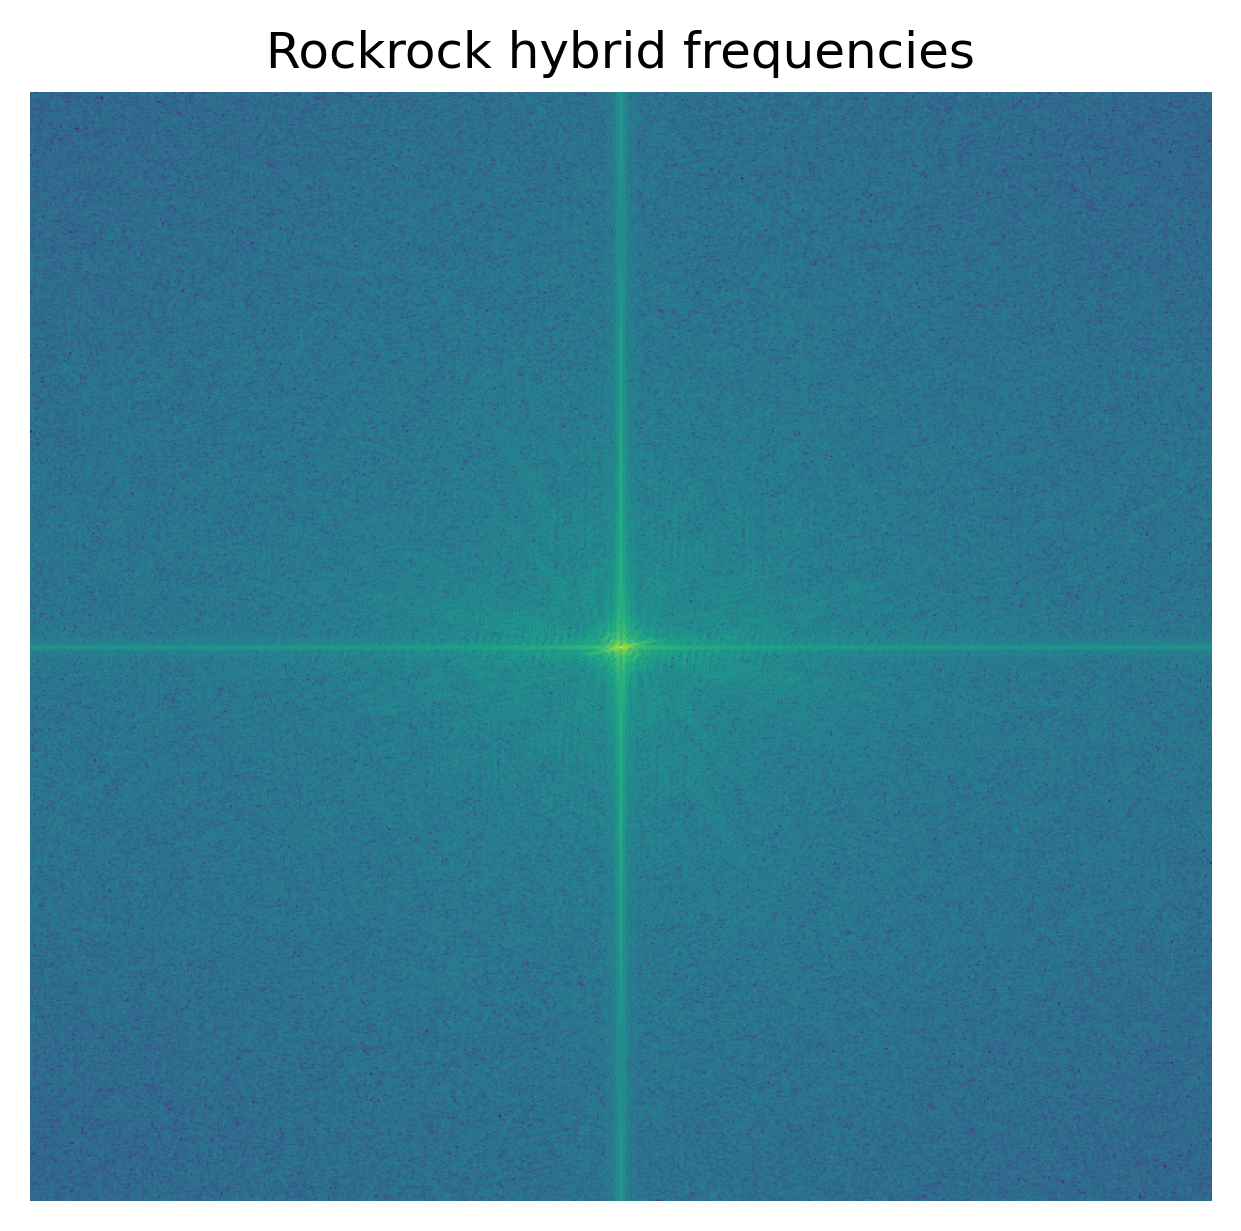
Additionally, I tried adding colors to this example. There doesn’t seem to be too much of a difference in terms of effectiveness, but I do like the addition of color to the lowpass image; it makes it more obvious that we are looking at a rock from a distance.
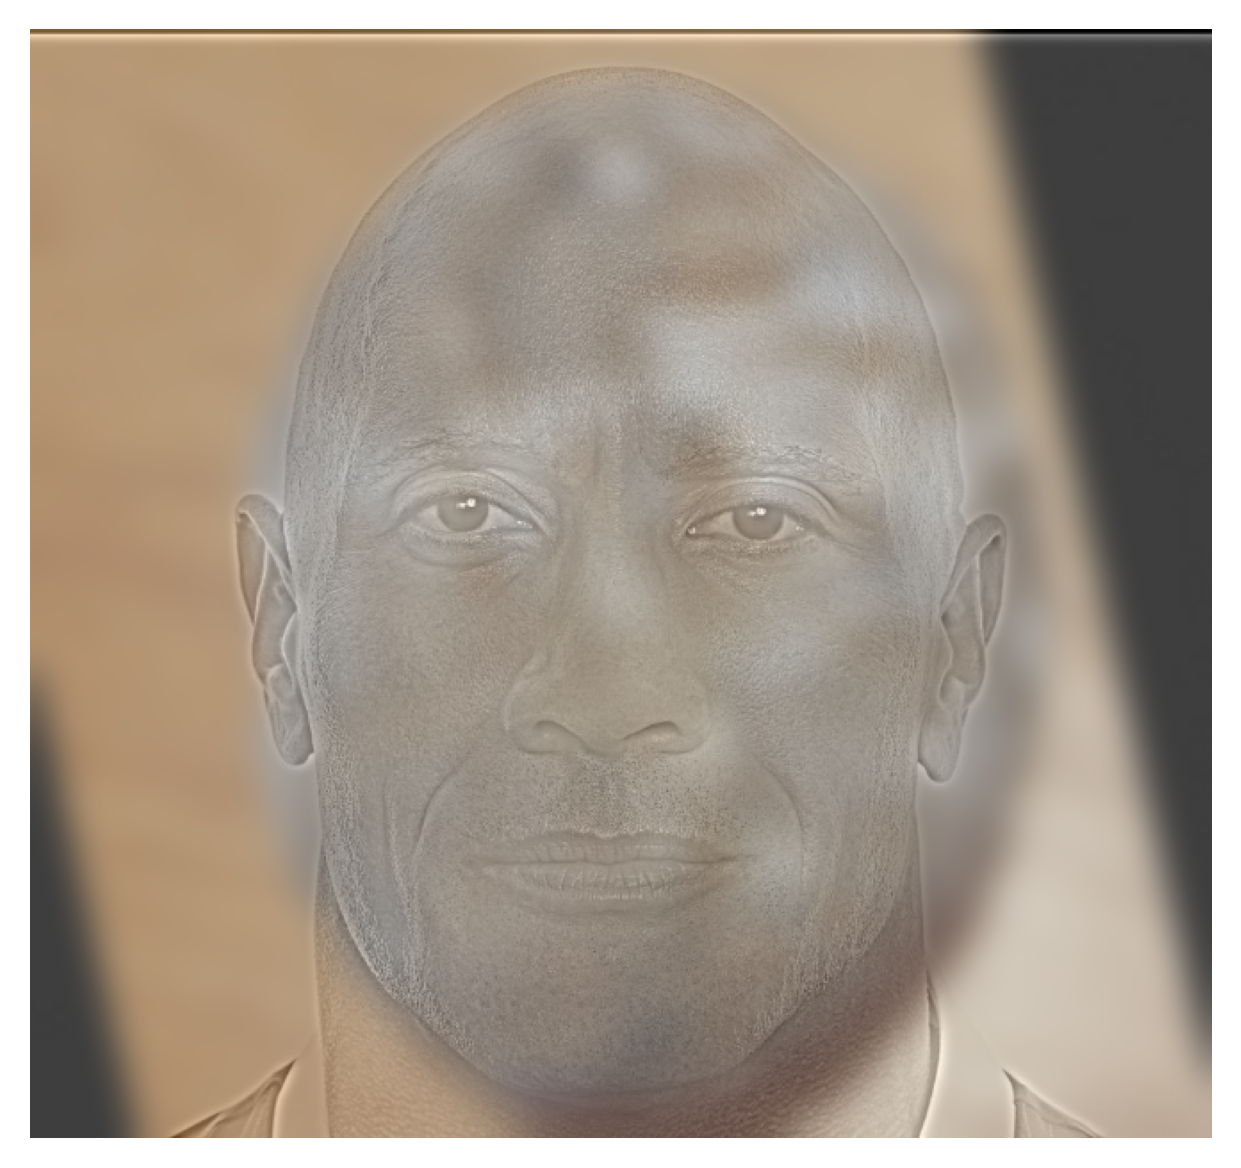
color on lowpass image
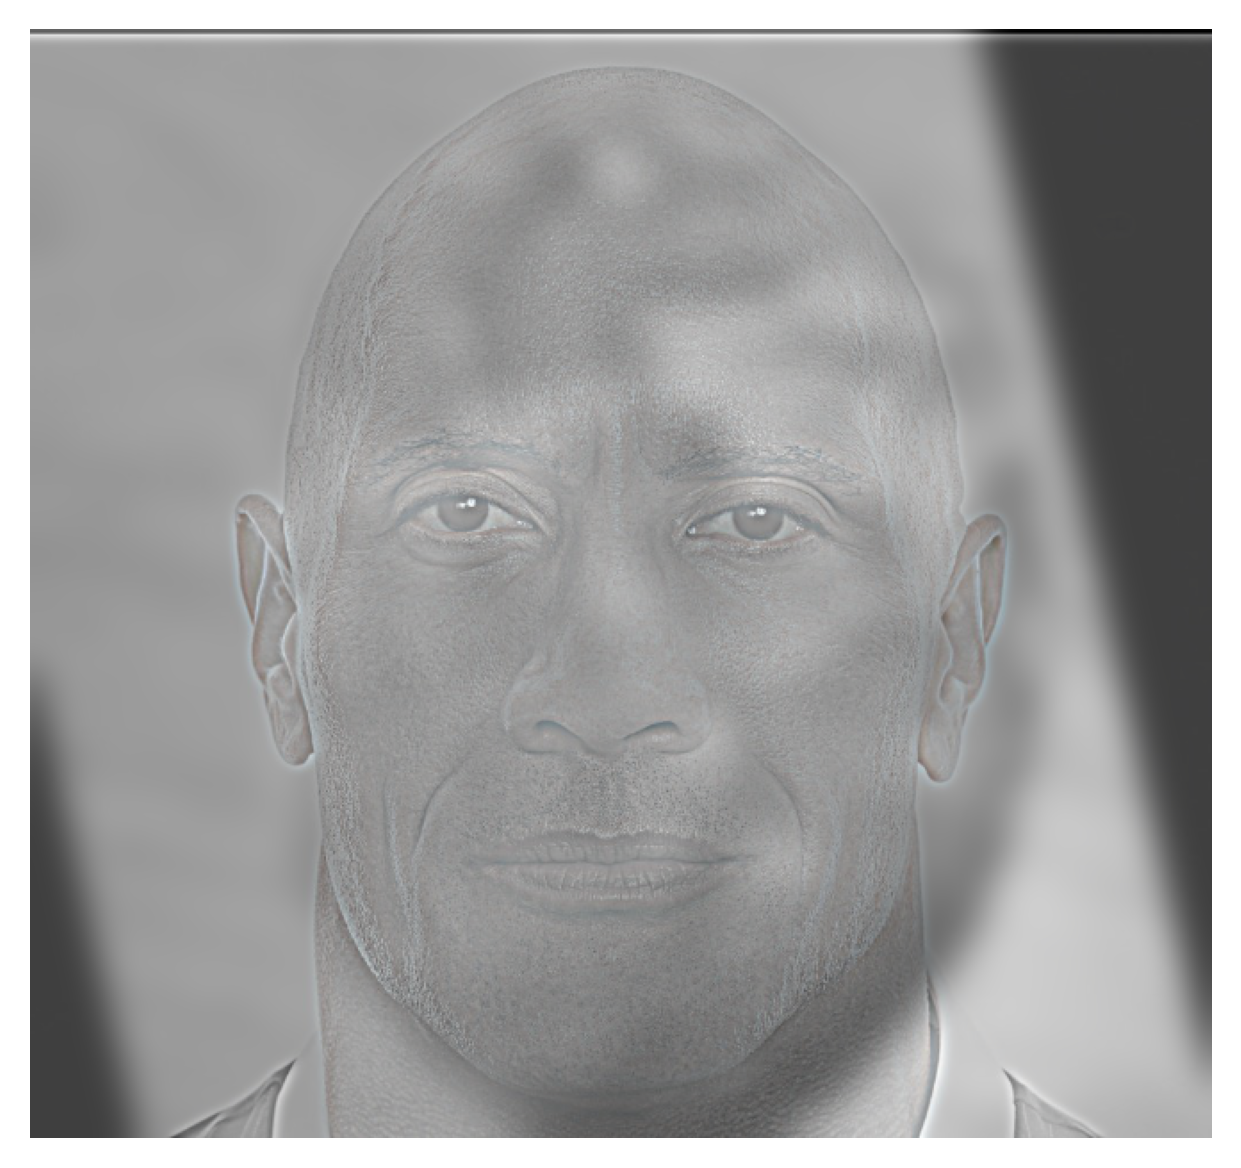
color on highpass image
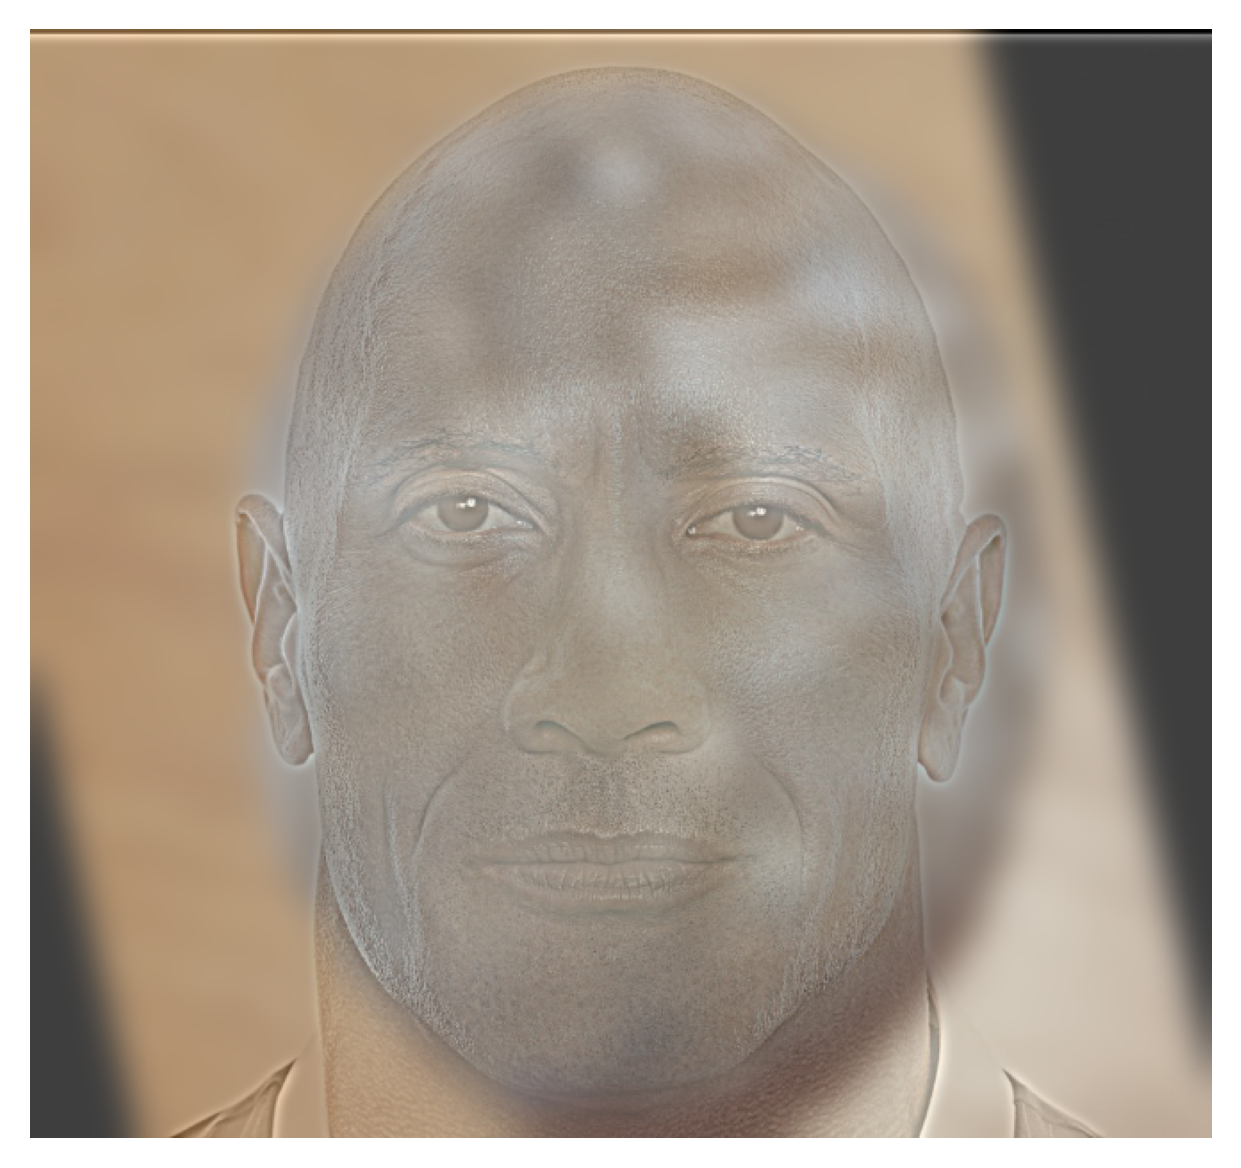
color on both images
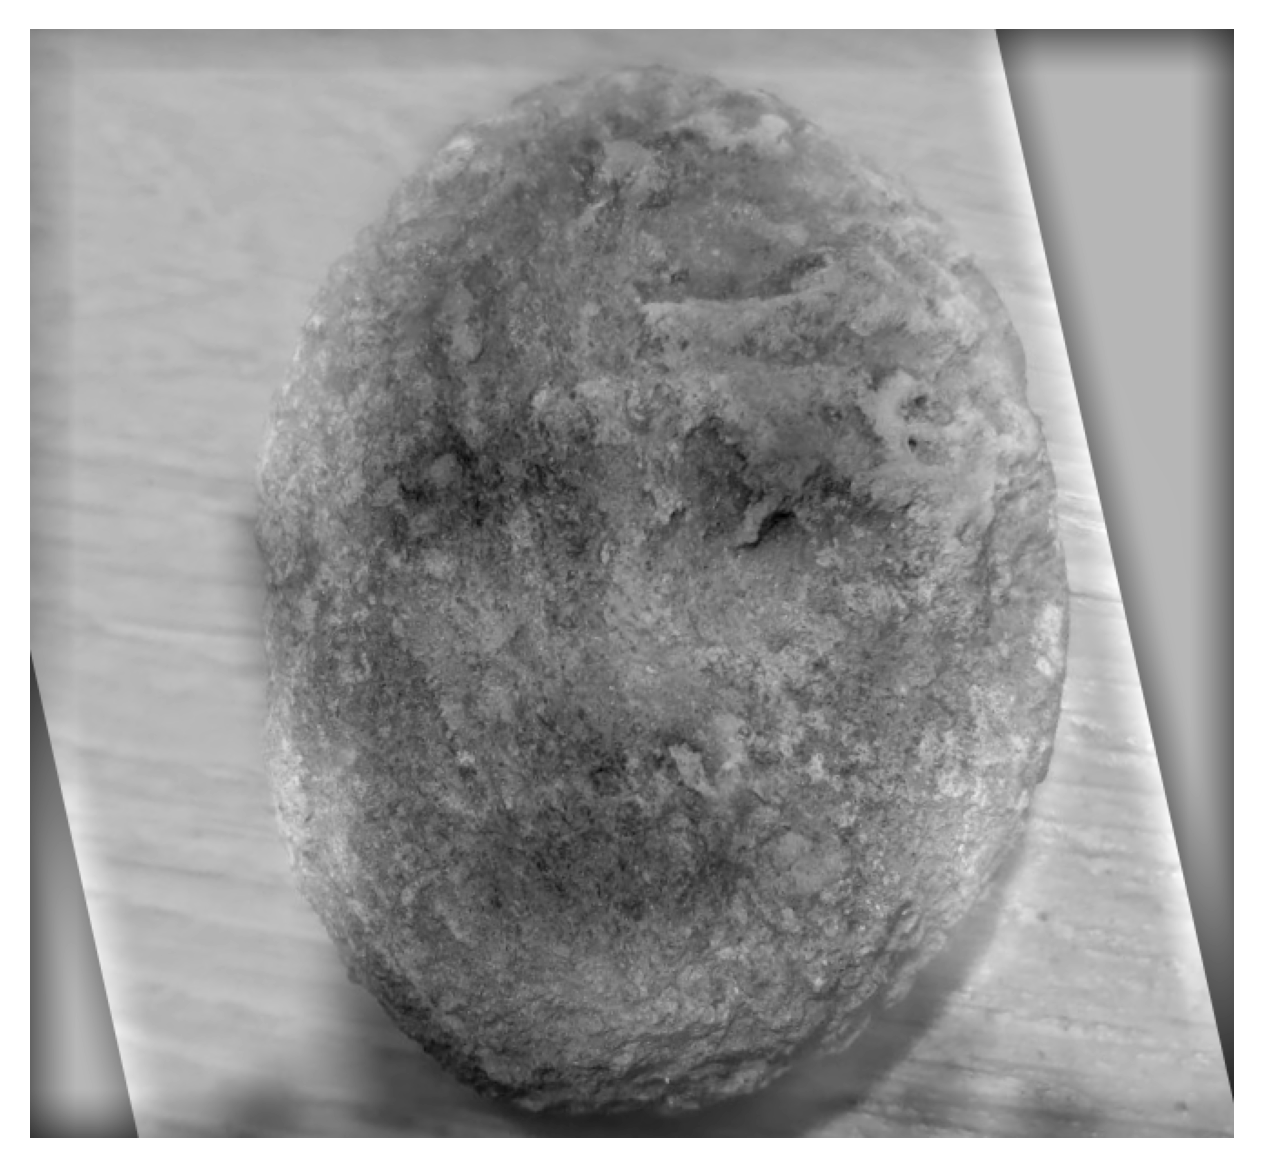
I also tried a high-frequency rock and a low-frequency Rock, but I don’t think it turned out as well as the other way around.
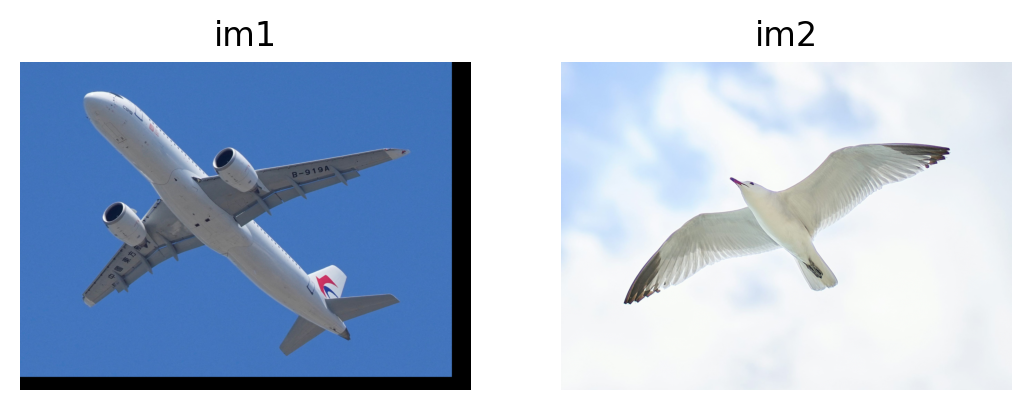
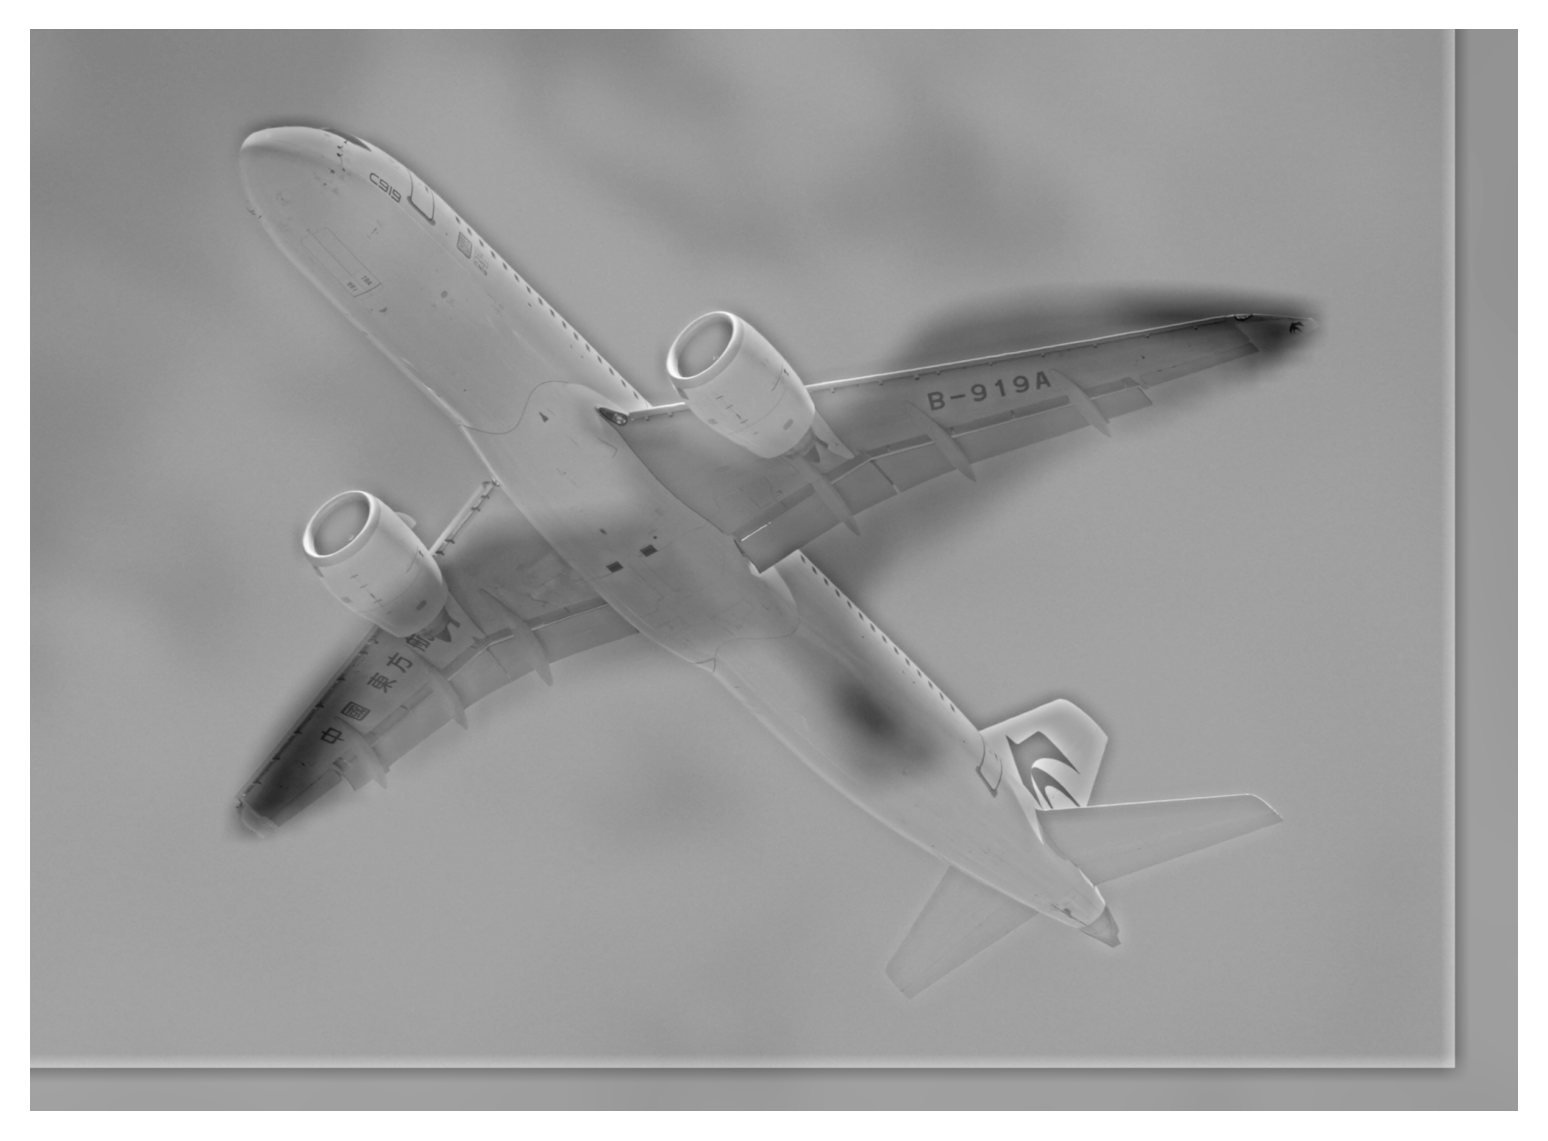
Finally, I tried combining a bird and a plane. This one did not turn out so well either. I think it’s due to the large contrast between the bird and its background, in addition to the plane being bigger than the bird when overlapped.
Gaussian and Laplacian Stacks
In this part I implement a Gaussian stack and a Laplacian stack for two images from the 1983 paper by Burt and Adelson. These stacks, as demonstrated in the next part, are useful when we want to blend two images together.
Note that unlike an image pyramid, the image does not get progressively smaller in a stack. For the Gaussian stack, I apply the same Gaussian filter 5 times, each time making the original image a bit blurrier. For the Laplacian stack, I take the difference between two neighboring images in the Gaussian stack and normalize the result. The Laplacian stack displays sub-band images, where at each level you get a the set of frequencies that is removed between Gaussian layers.
Gaussian and Laplacian stacks of the apple:


Gaussian and Laplacian stacks of the orange:


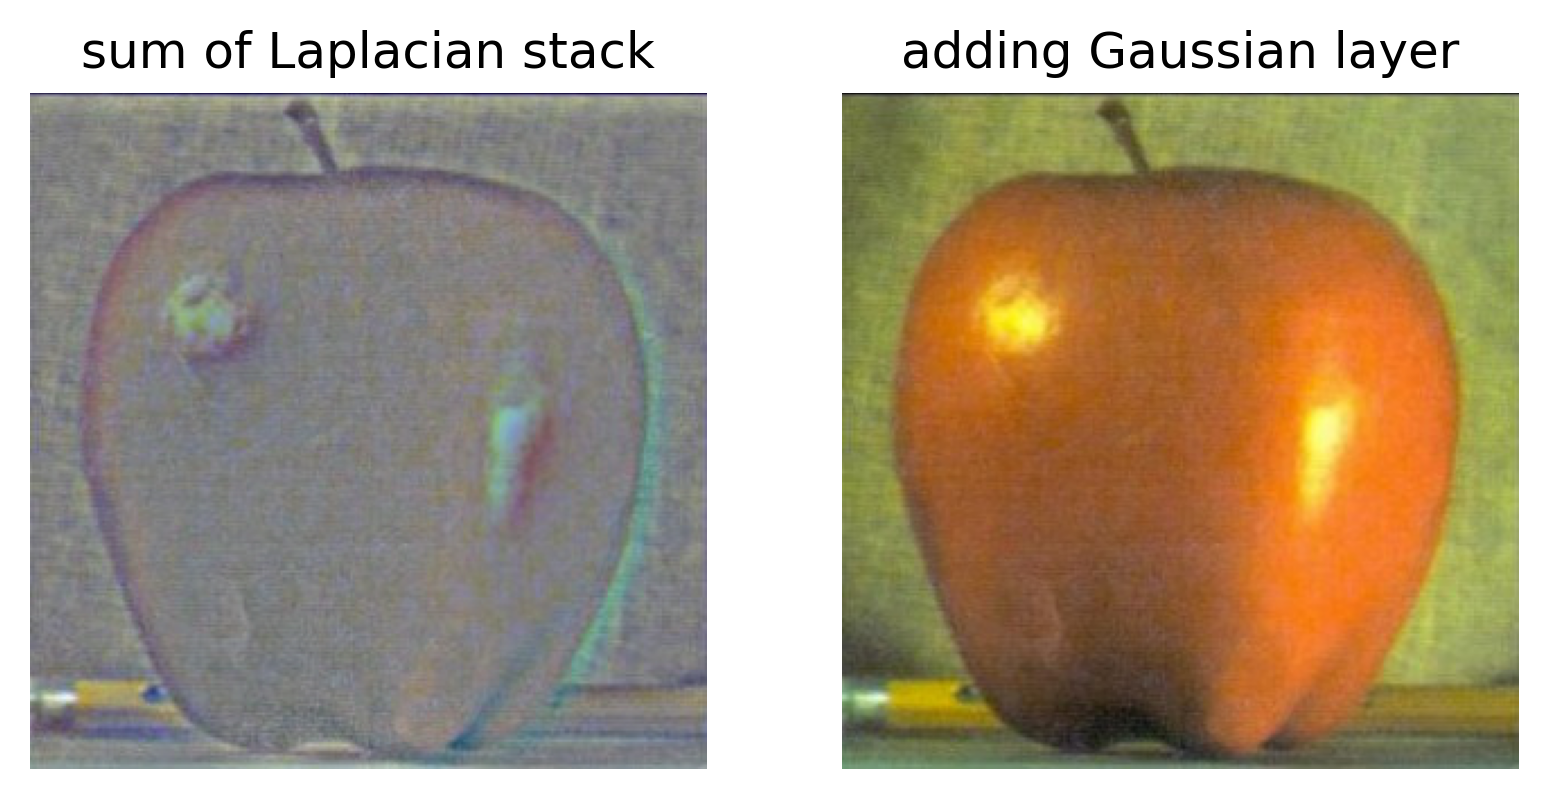
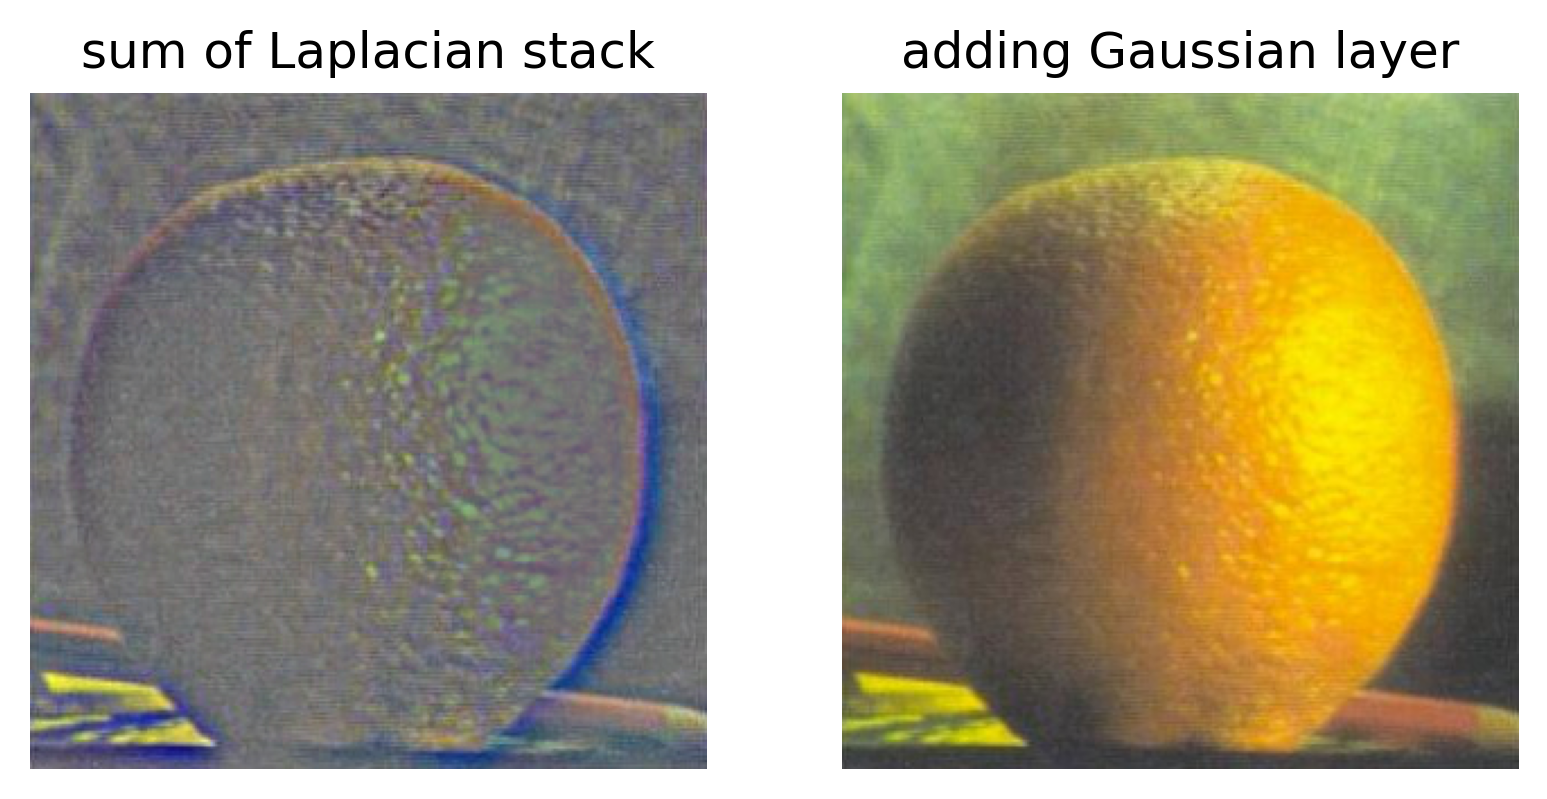
Something really cool about Laplacian stacks is that if you add all of the unnormalized levels up along with the blurriest Gaussian level, you can recover the original image.
Multiresolution Blending
Using the knowledge of Gaussian and Laplacian stacks, we can summon the oraple.
I first created a mask, split vertically so that the left half was white and the right half was black. Then I created a Gaussian stack of the mask and multiplied each mask level elementwise by the corresponding Laplacian stack level of the apple and orange images. Note that for the orange image, I multiplied by (1 - mask) to obtain the correct side of the orange. Afterwards, I took the sum across all of these products, then added the blurriest Gaussian levels multiplied by their corresponding mask level. After one final normalization, I obtained the beautiful oraple.
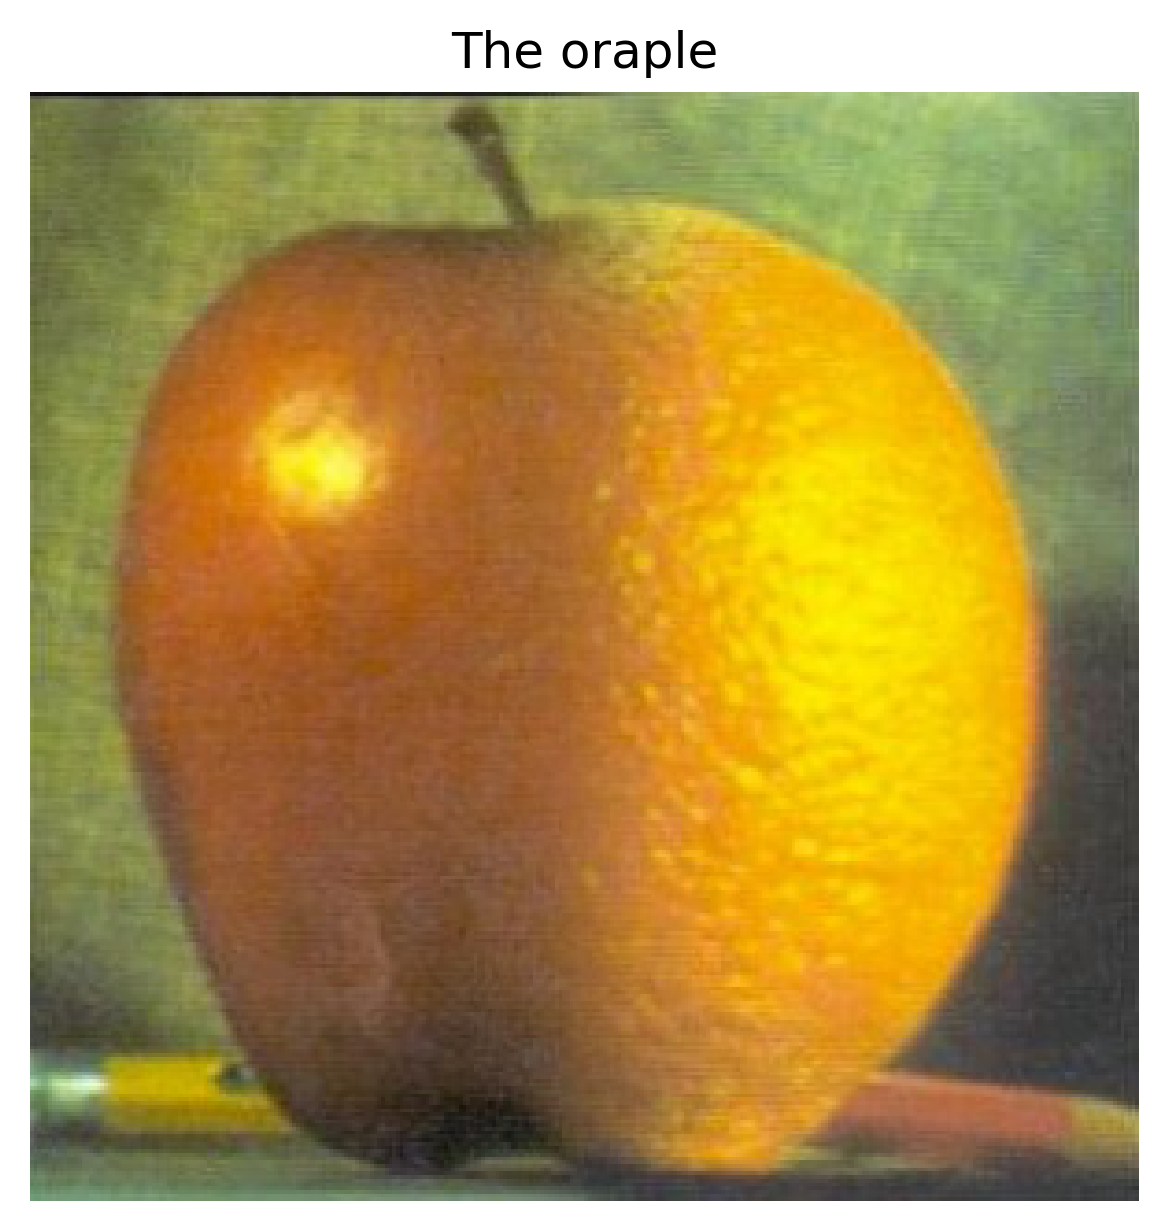
A visual representation of the five Laplacian layers and the last Gaussian layer that was added to produce the final image. The Gaussian filter parameters I used were different from the ones I used to produce the Gaussian and Laplacian stacks from the previous part. This was because the same parameters did not produce a clear enough oraple; the mask especially needed a stronger blur.
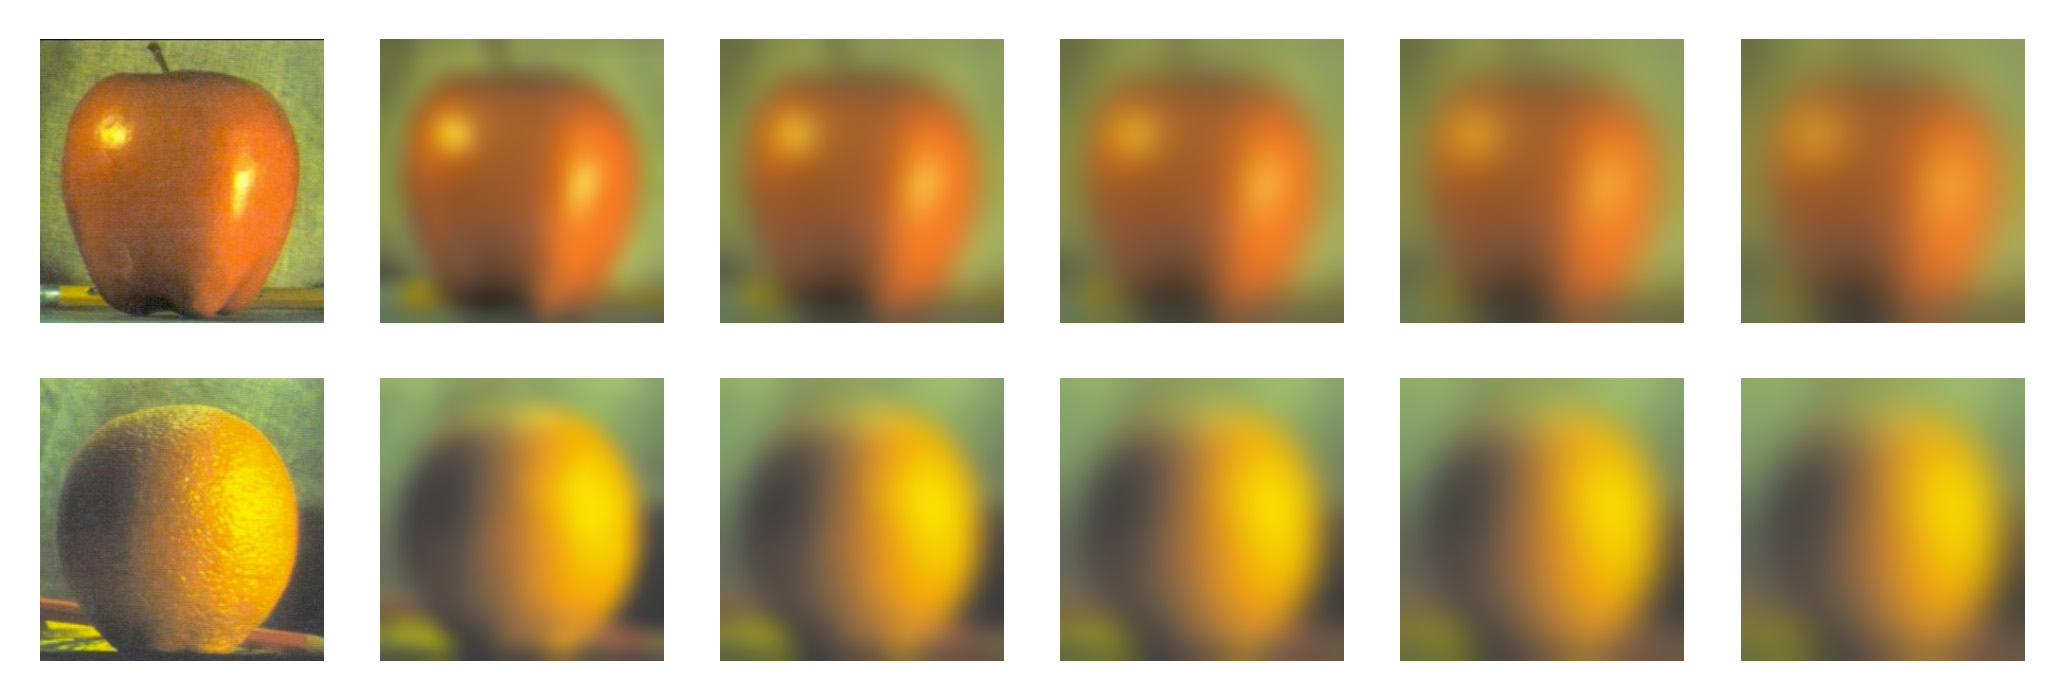
Gaussian stacks used for oraple creation
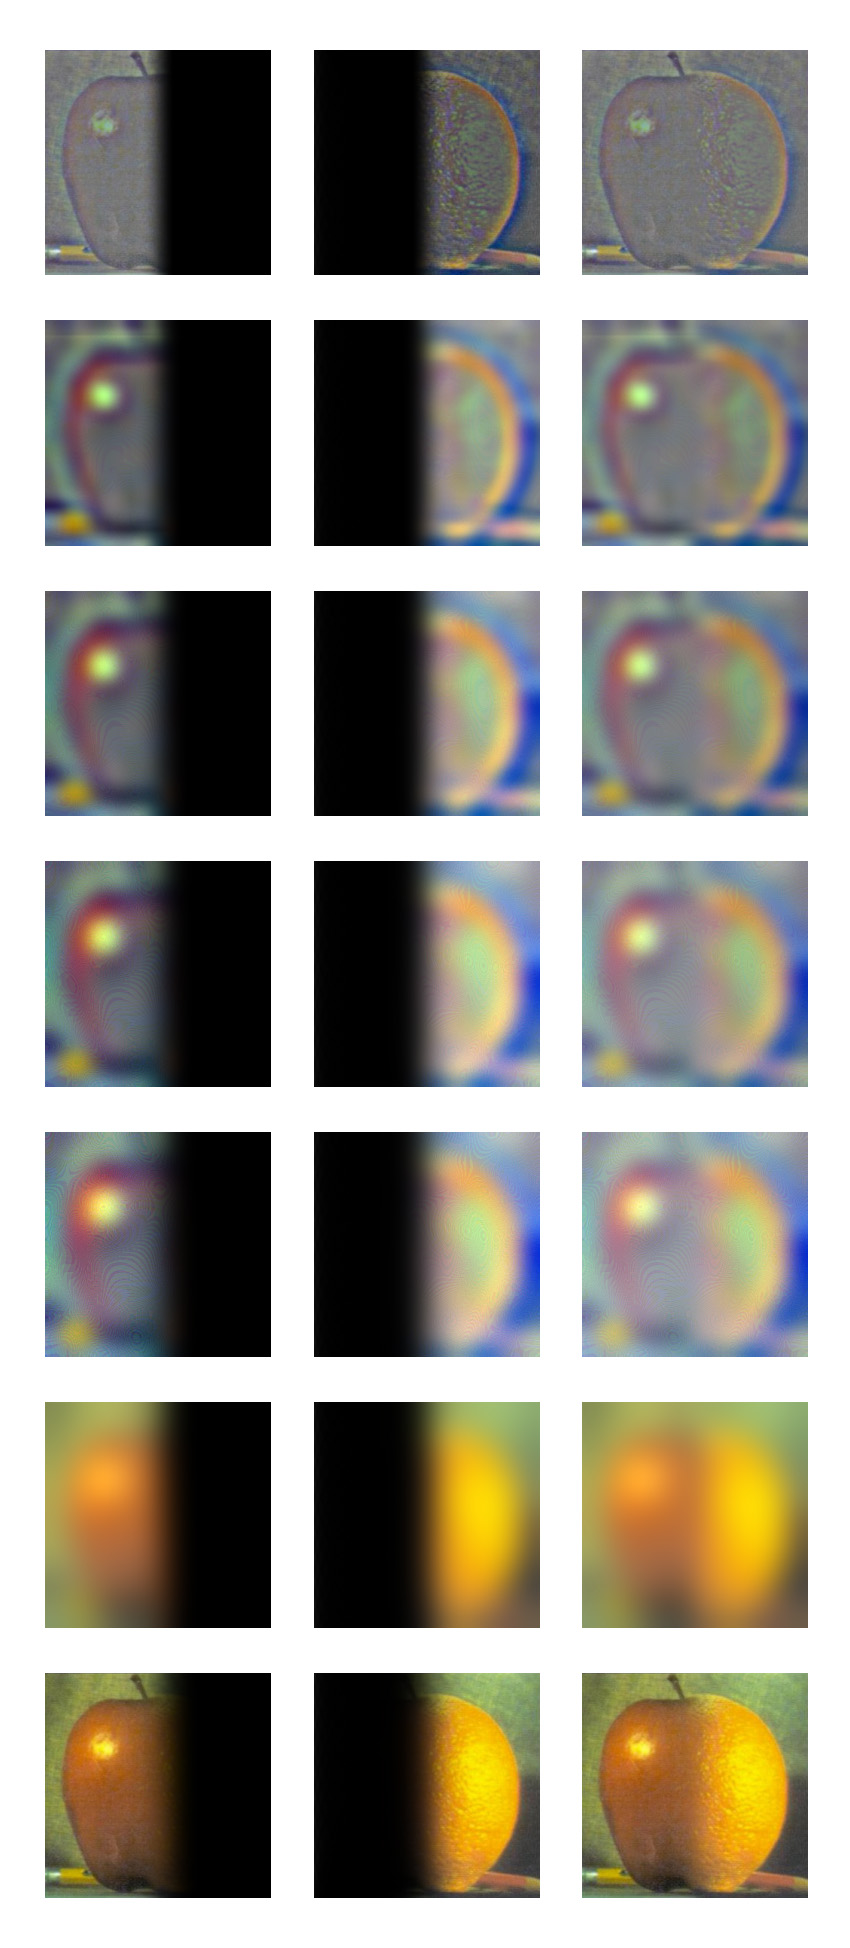
Laplacian stacks (+ last Gaussian layer) masked and added together to produce the last row
More Multiresolution Blending
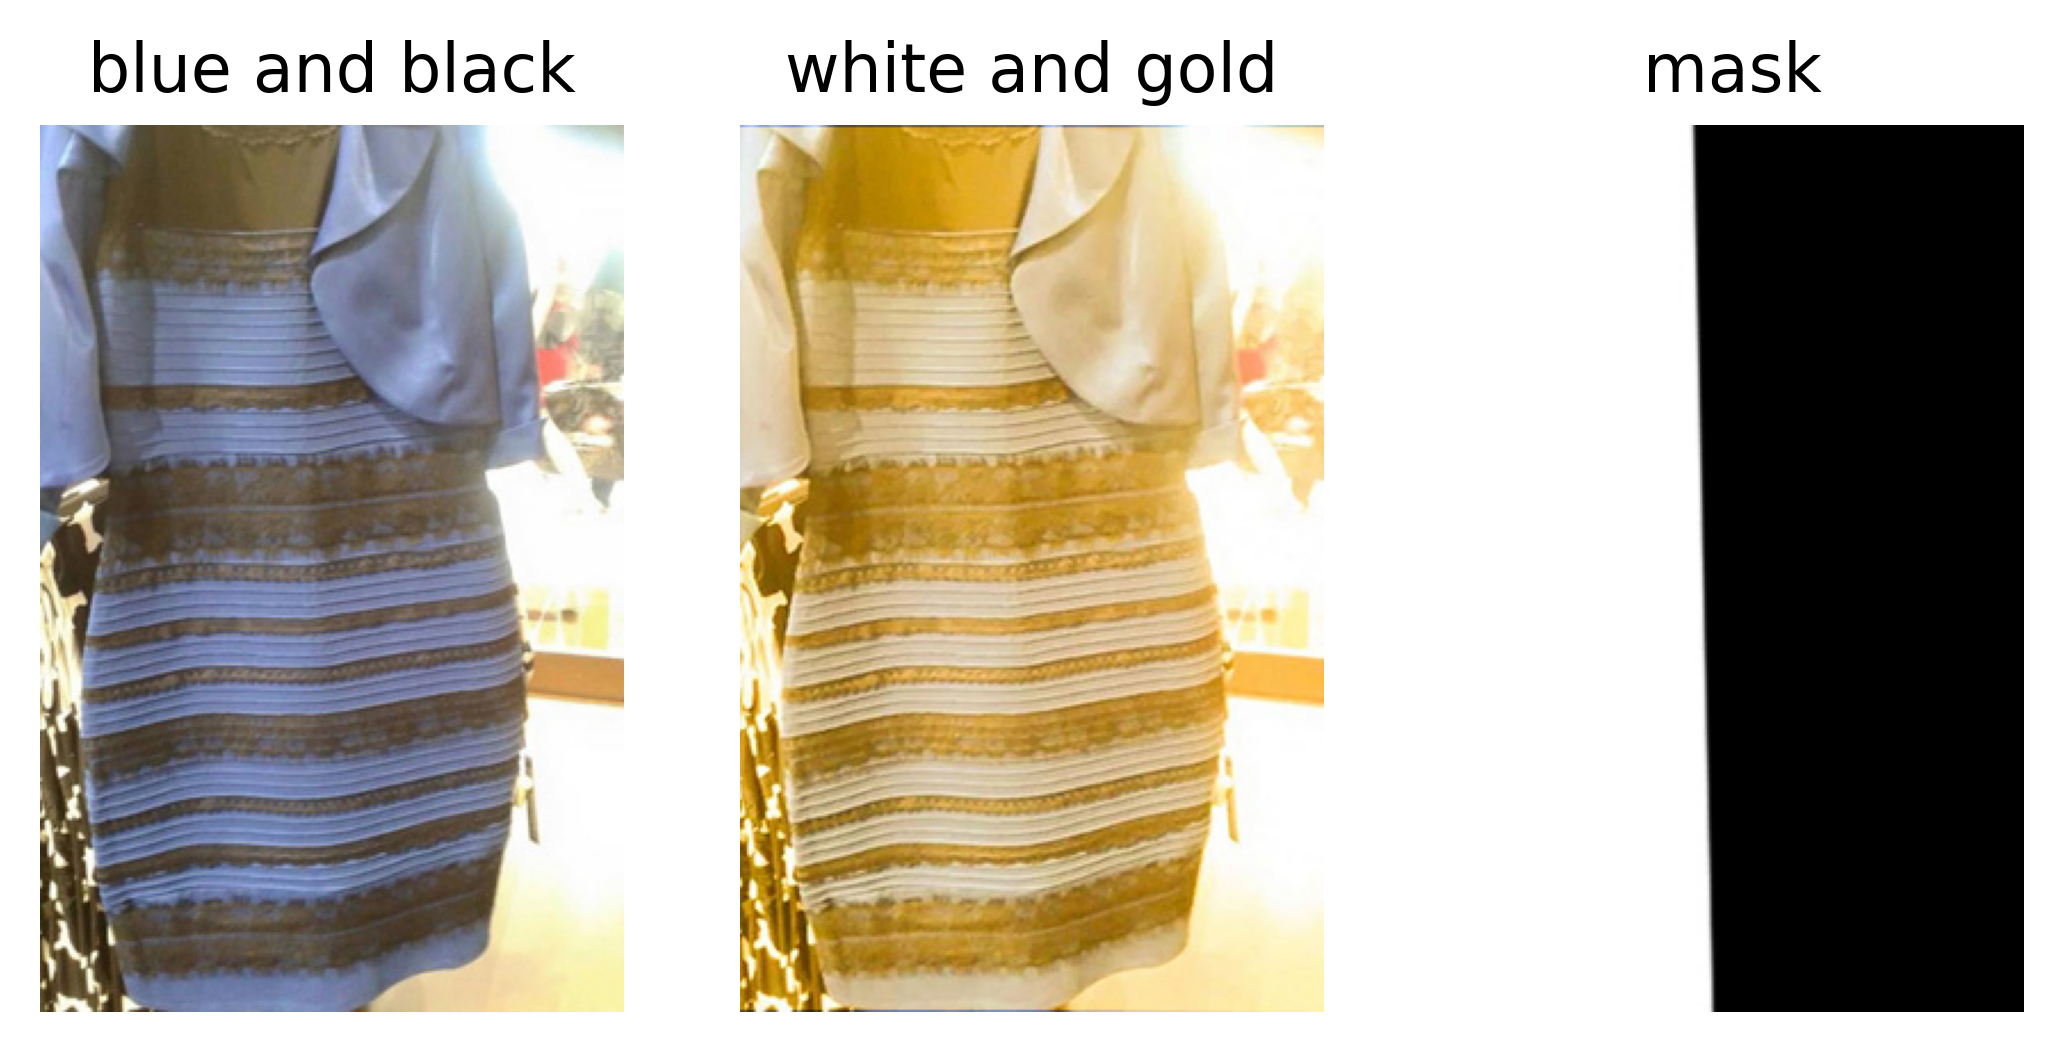
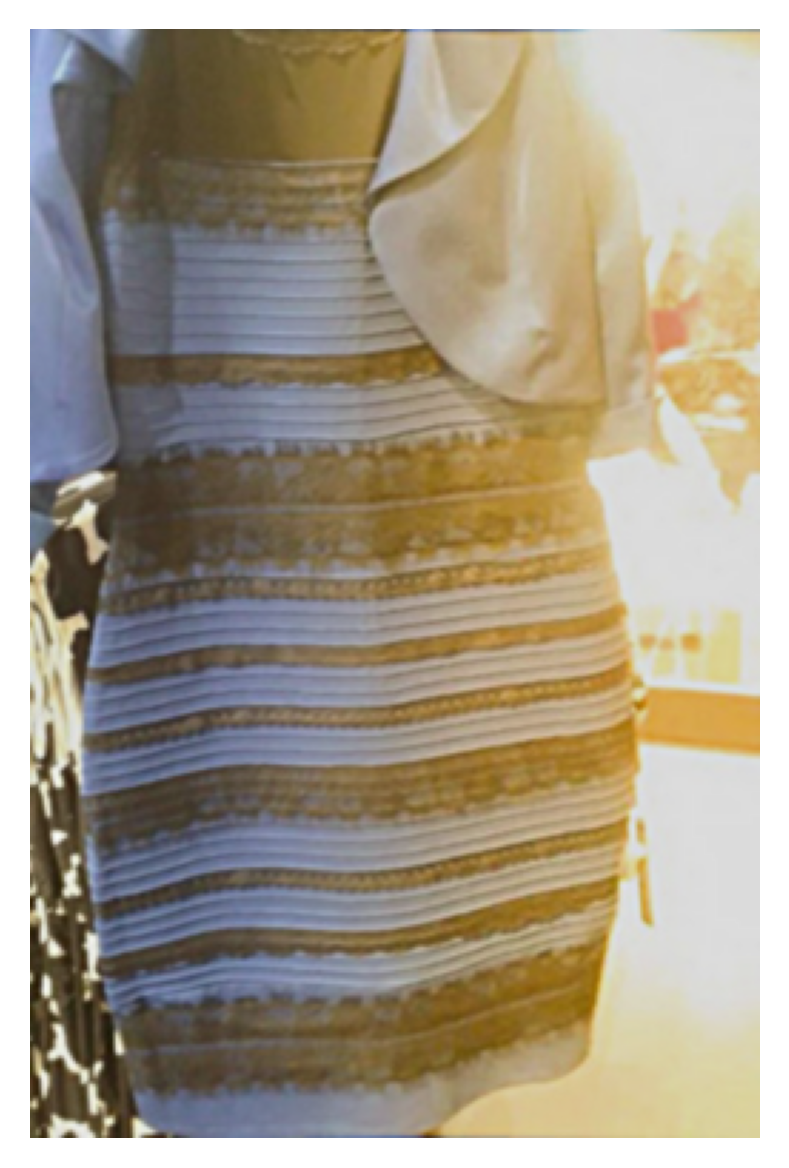
I used this multiresolution blending magic to create a dress that is both blue/black and white/gold.
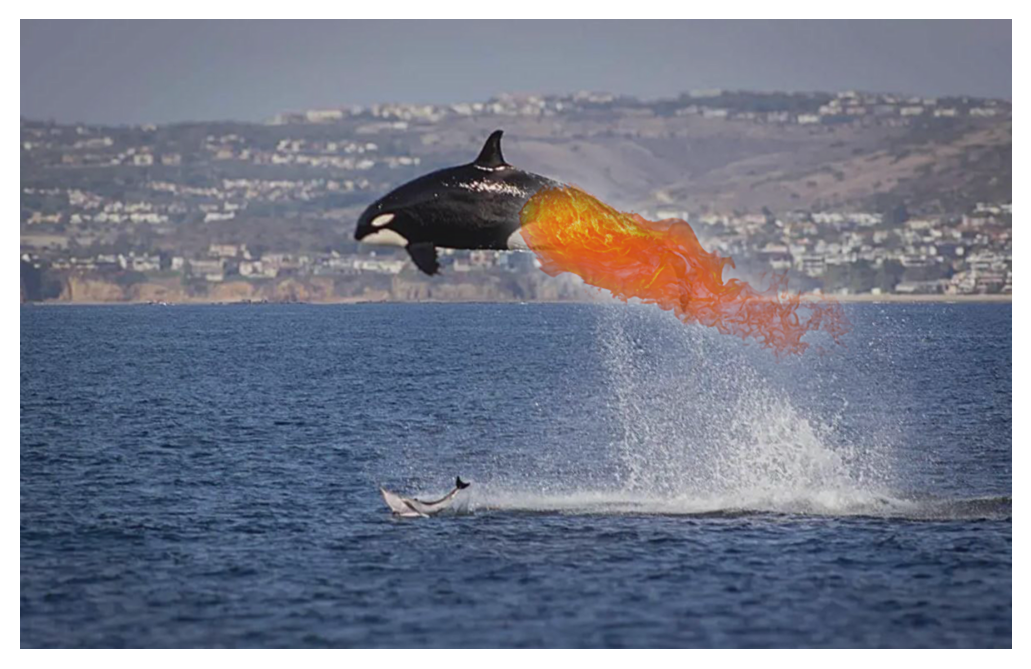
I also used this multiresolution blending magic and crafted an irregular mask to create a firewhale.

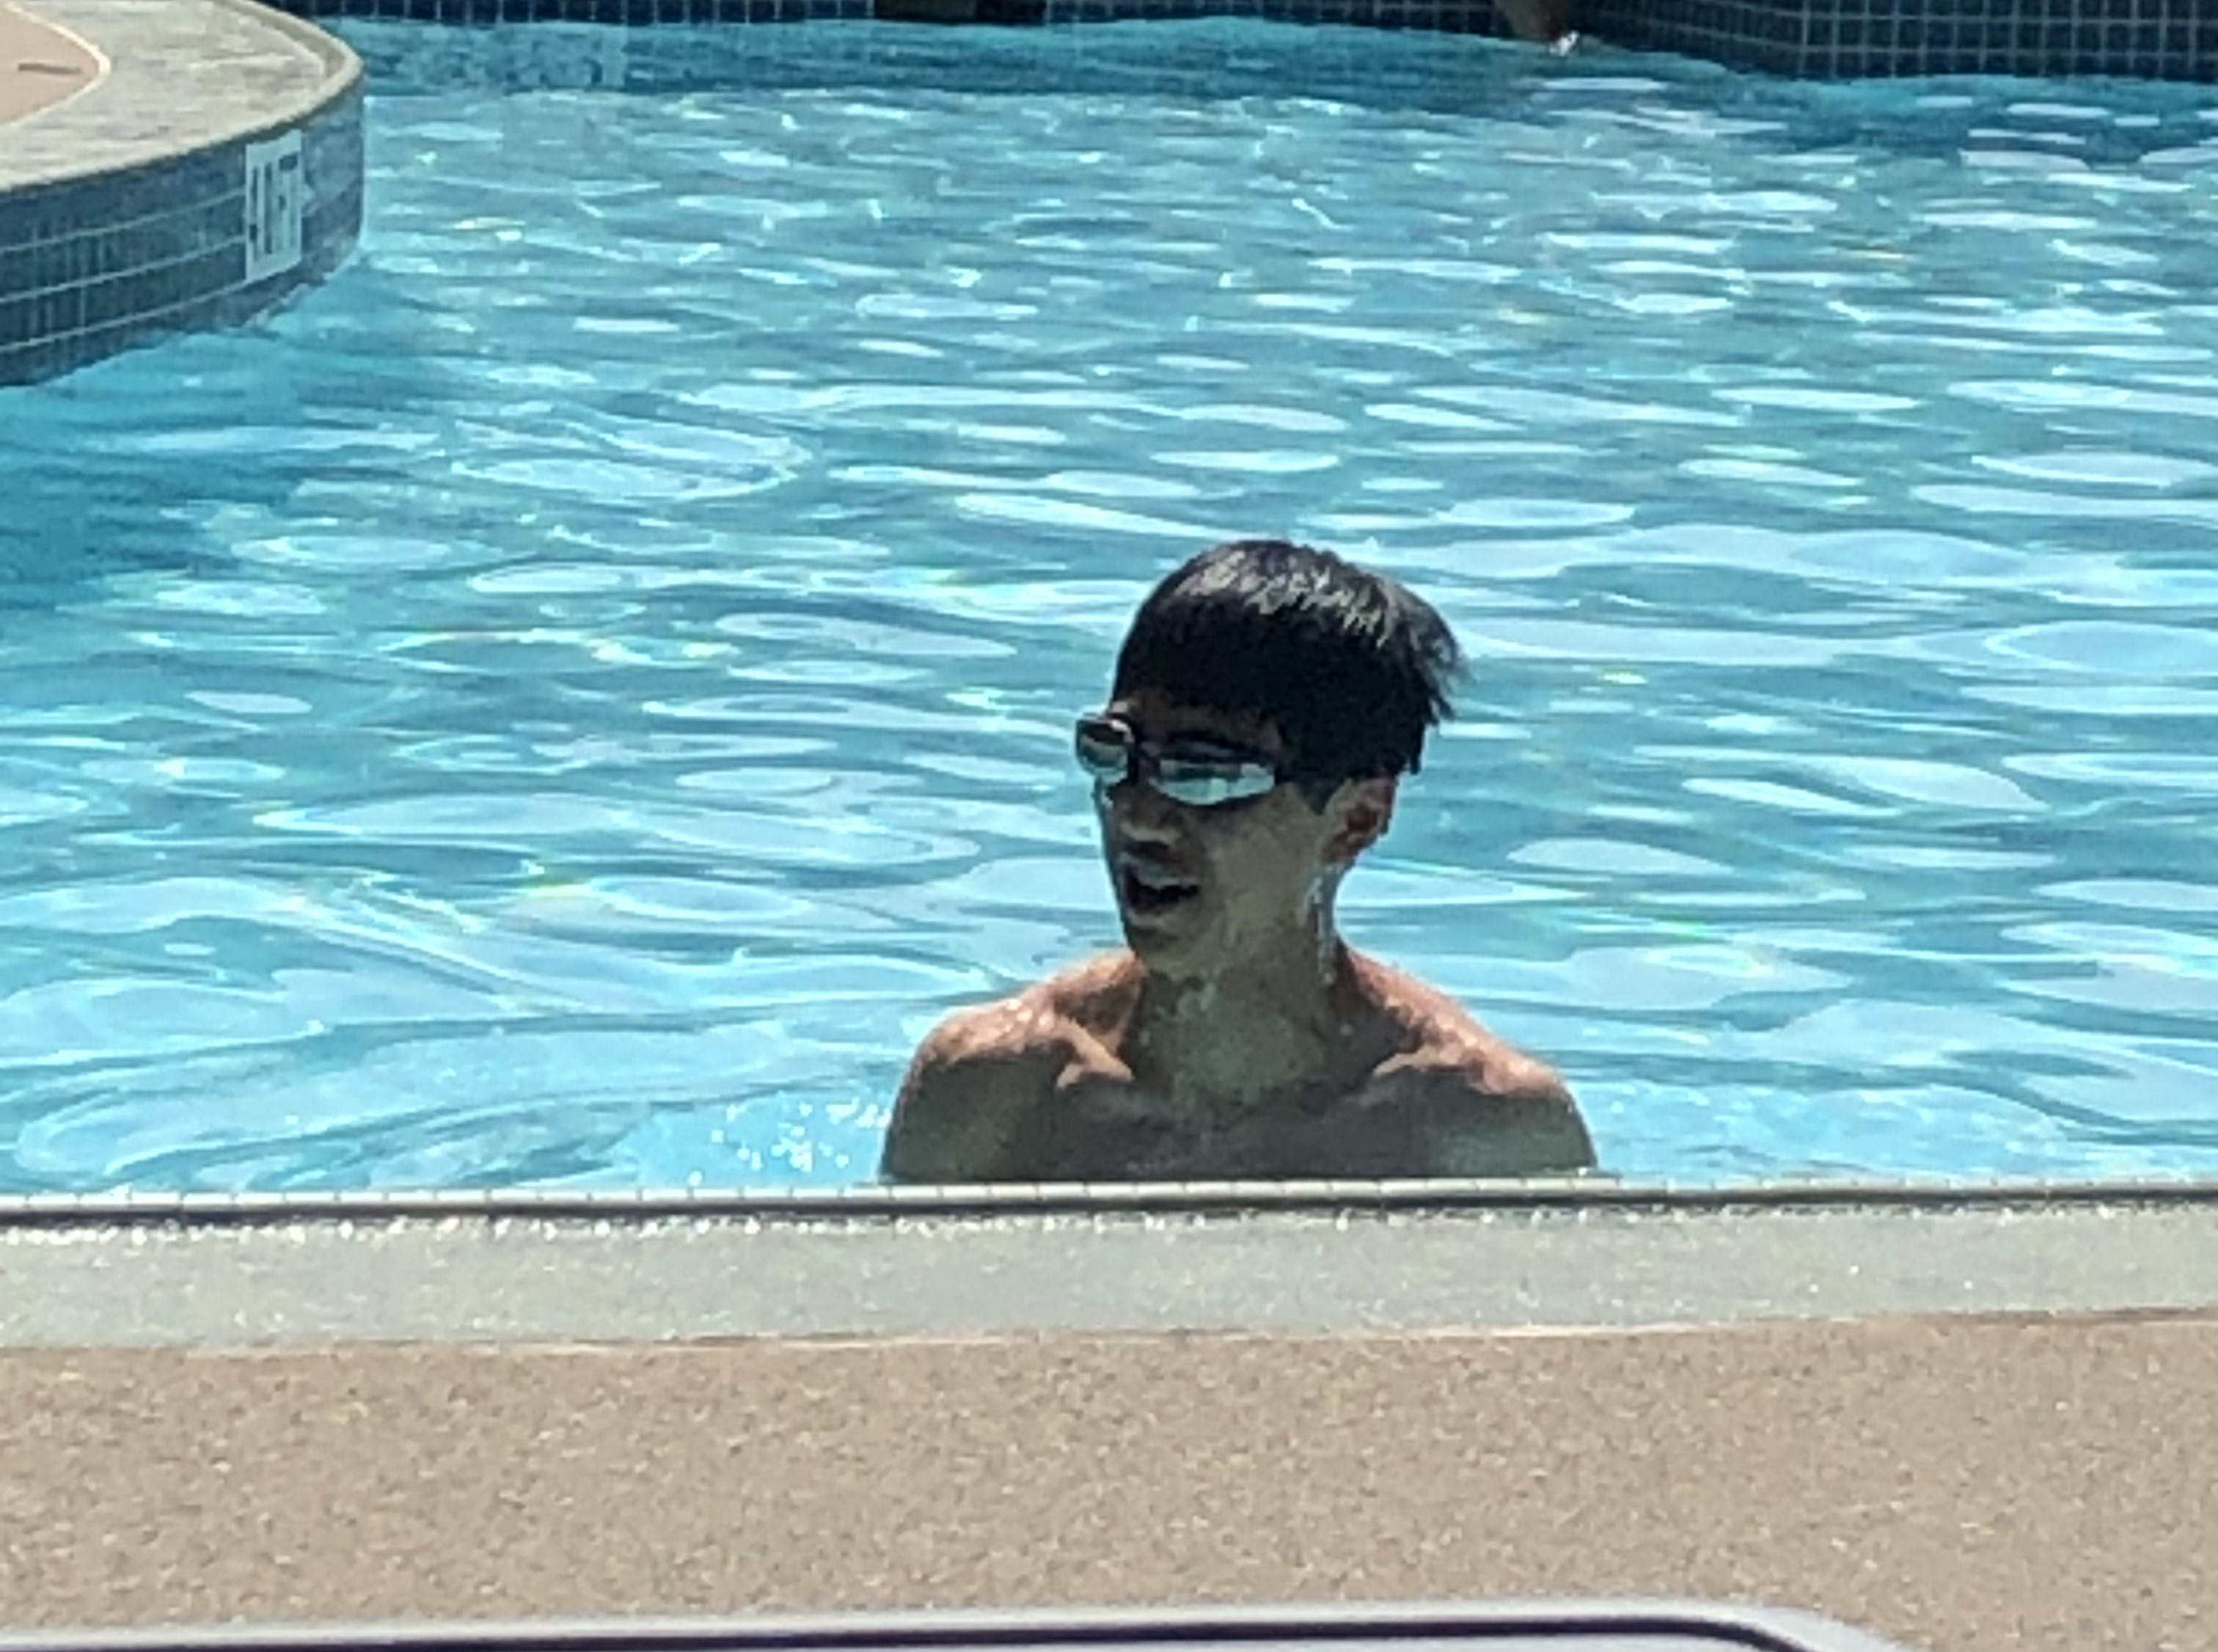
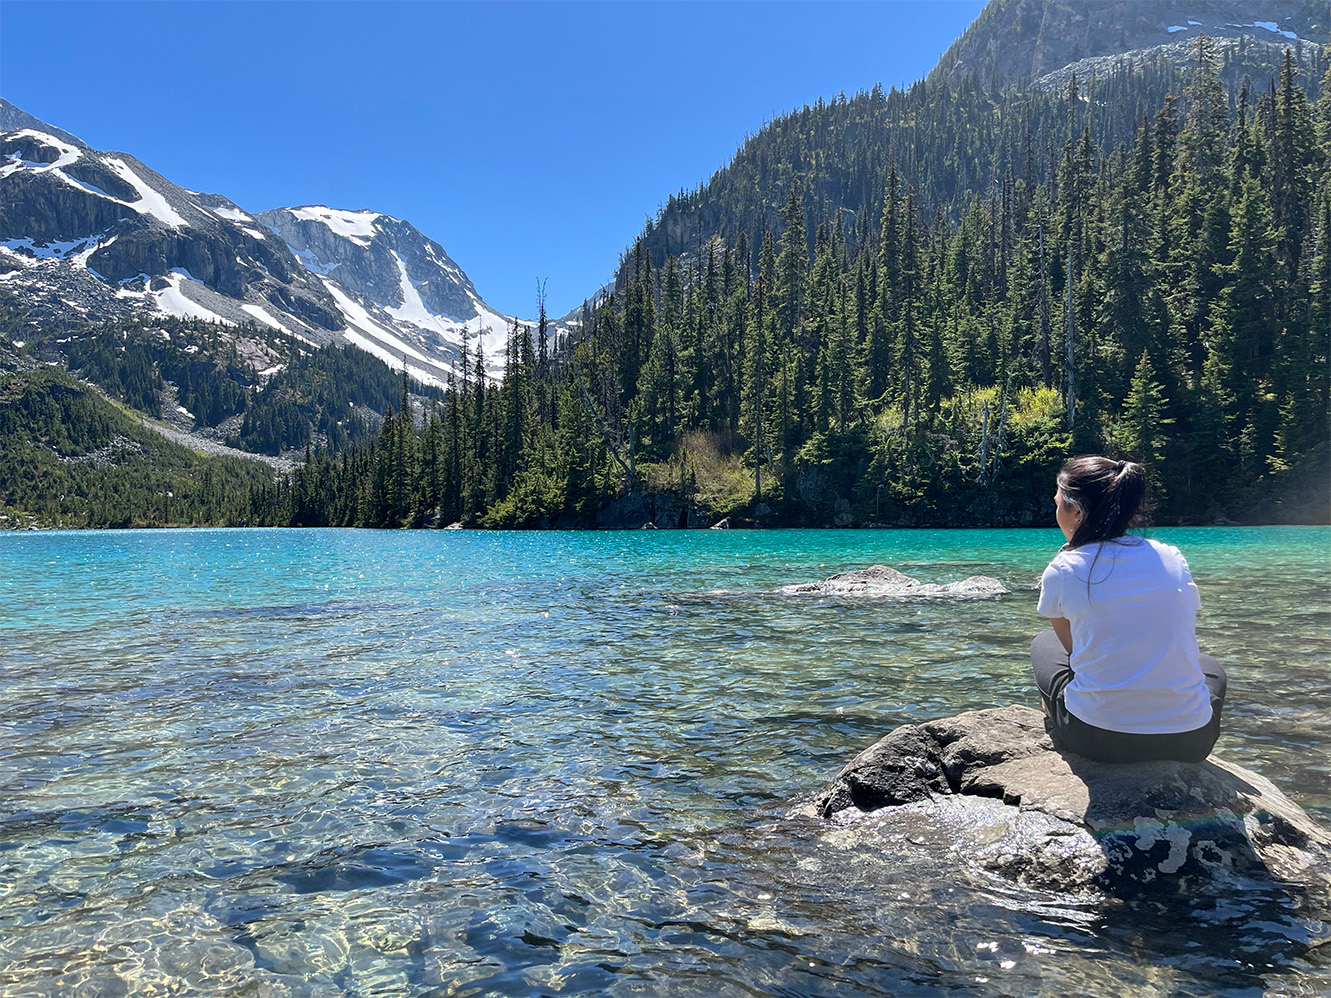
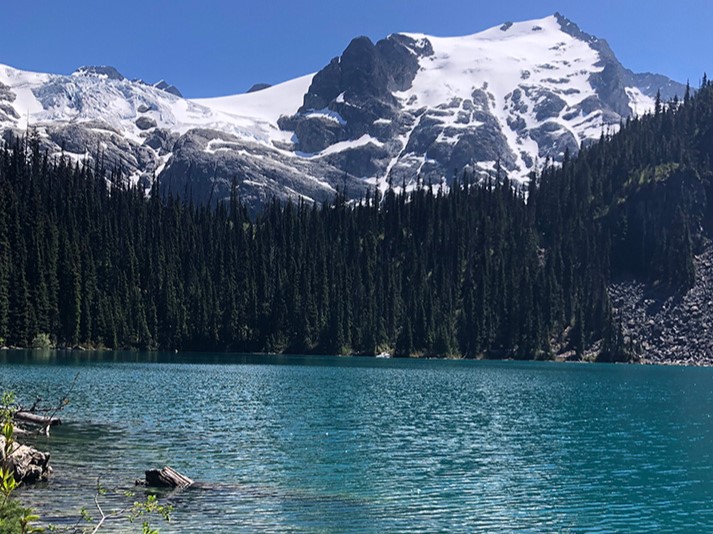
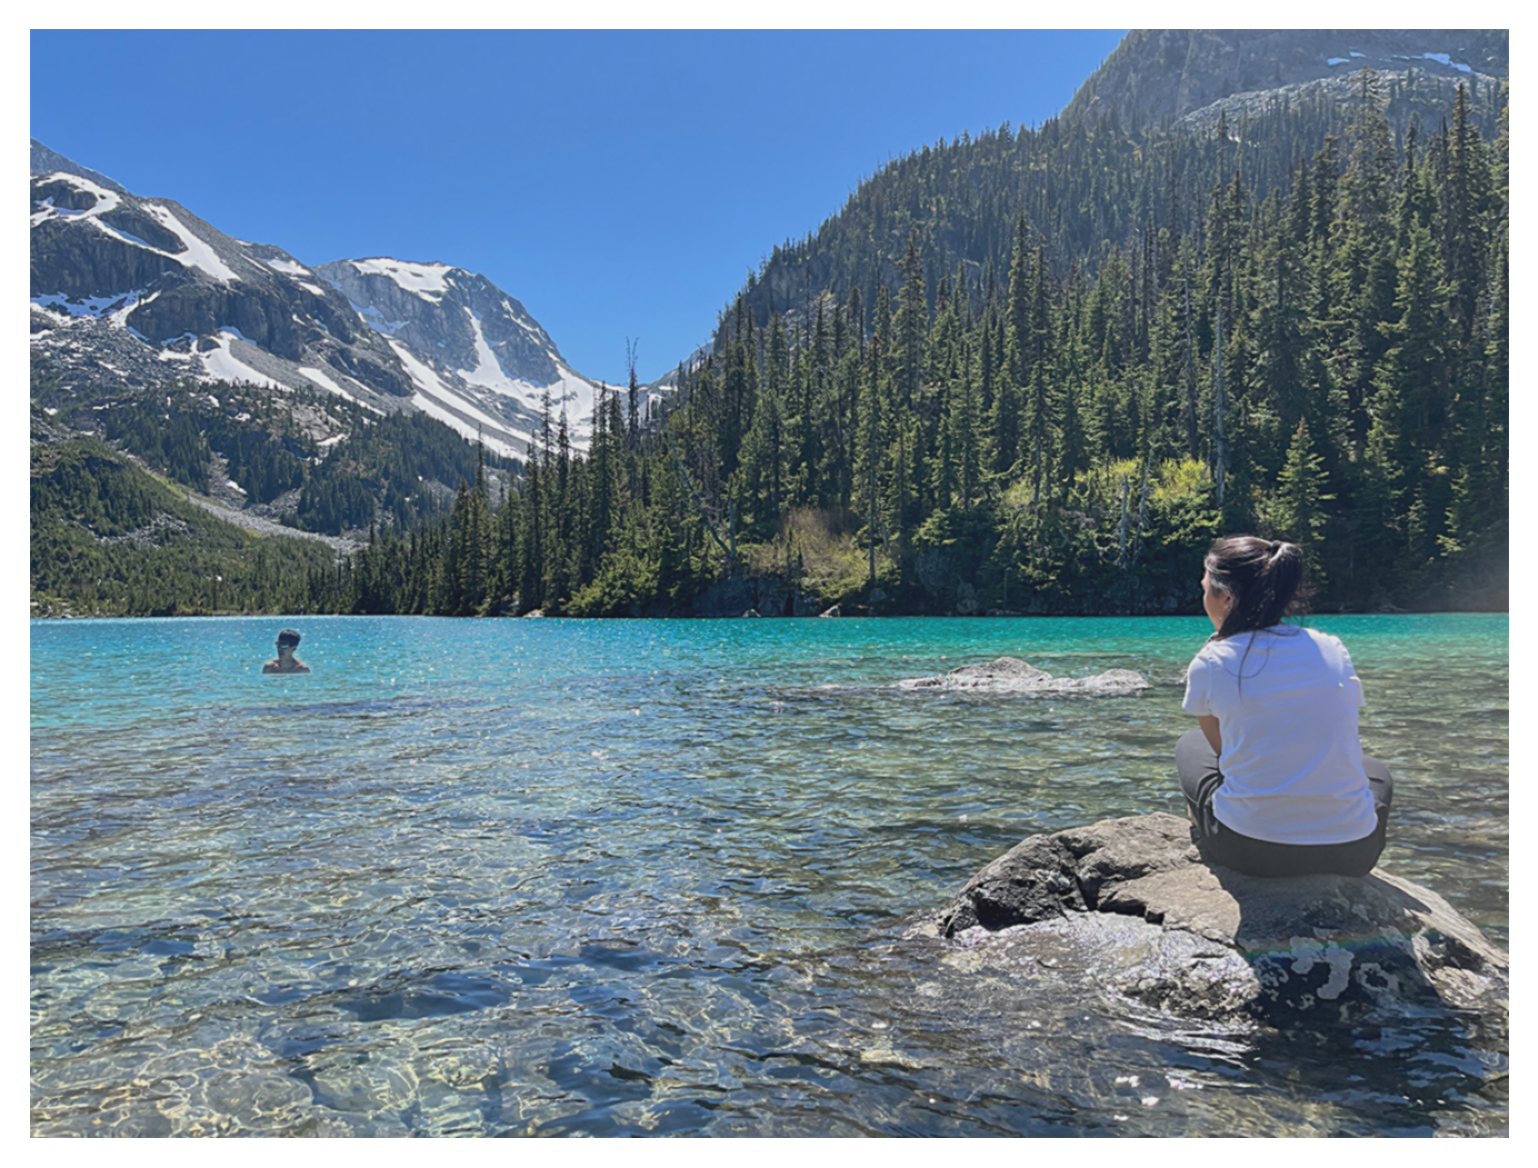
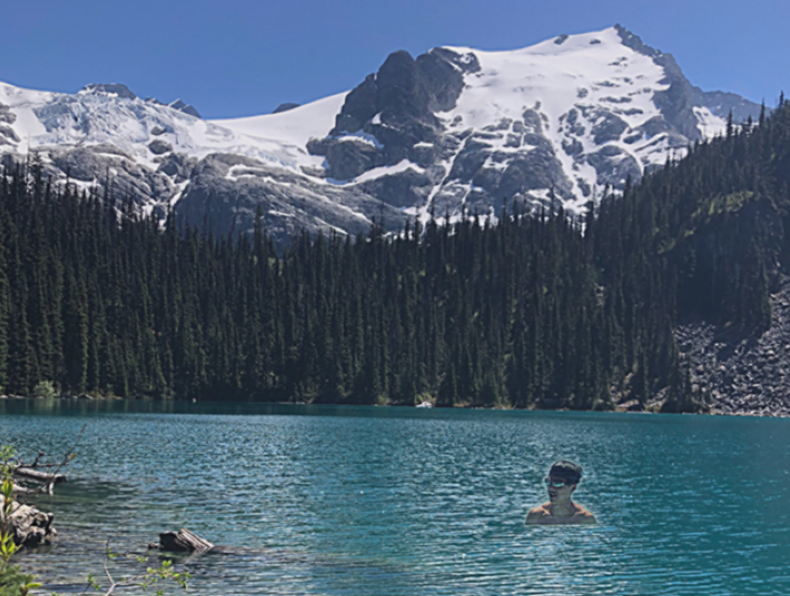
Finally, I used this multiresolution blending magic on Aaron so that he can swim in the Joffre Lakes.
A most important thing I learned from this project
A most important thing I learned from this project was the impact of normalizing images. When I was making the Laplacian stacks, I spent a LOT of time trying to figure out the correct way to normalize the images (and when to normalize them) in order to get images that looked right. I also spent quite some time getting taj.jpg to sharpen properly due to what I believed was normalizing issues (though eventually I just tried a different method and it worked).