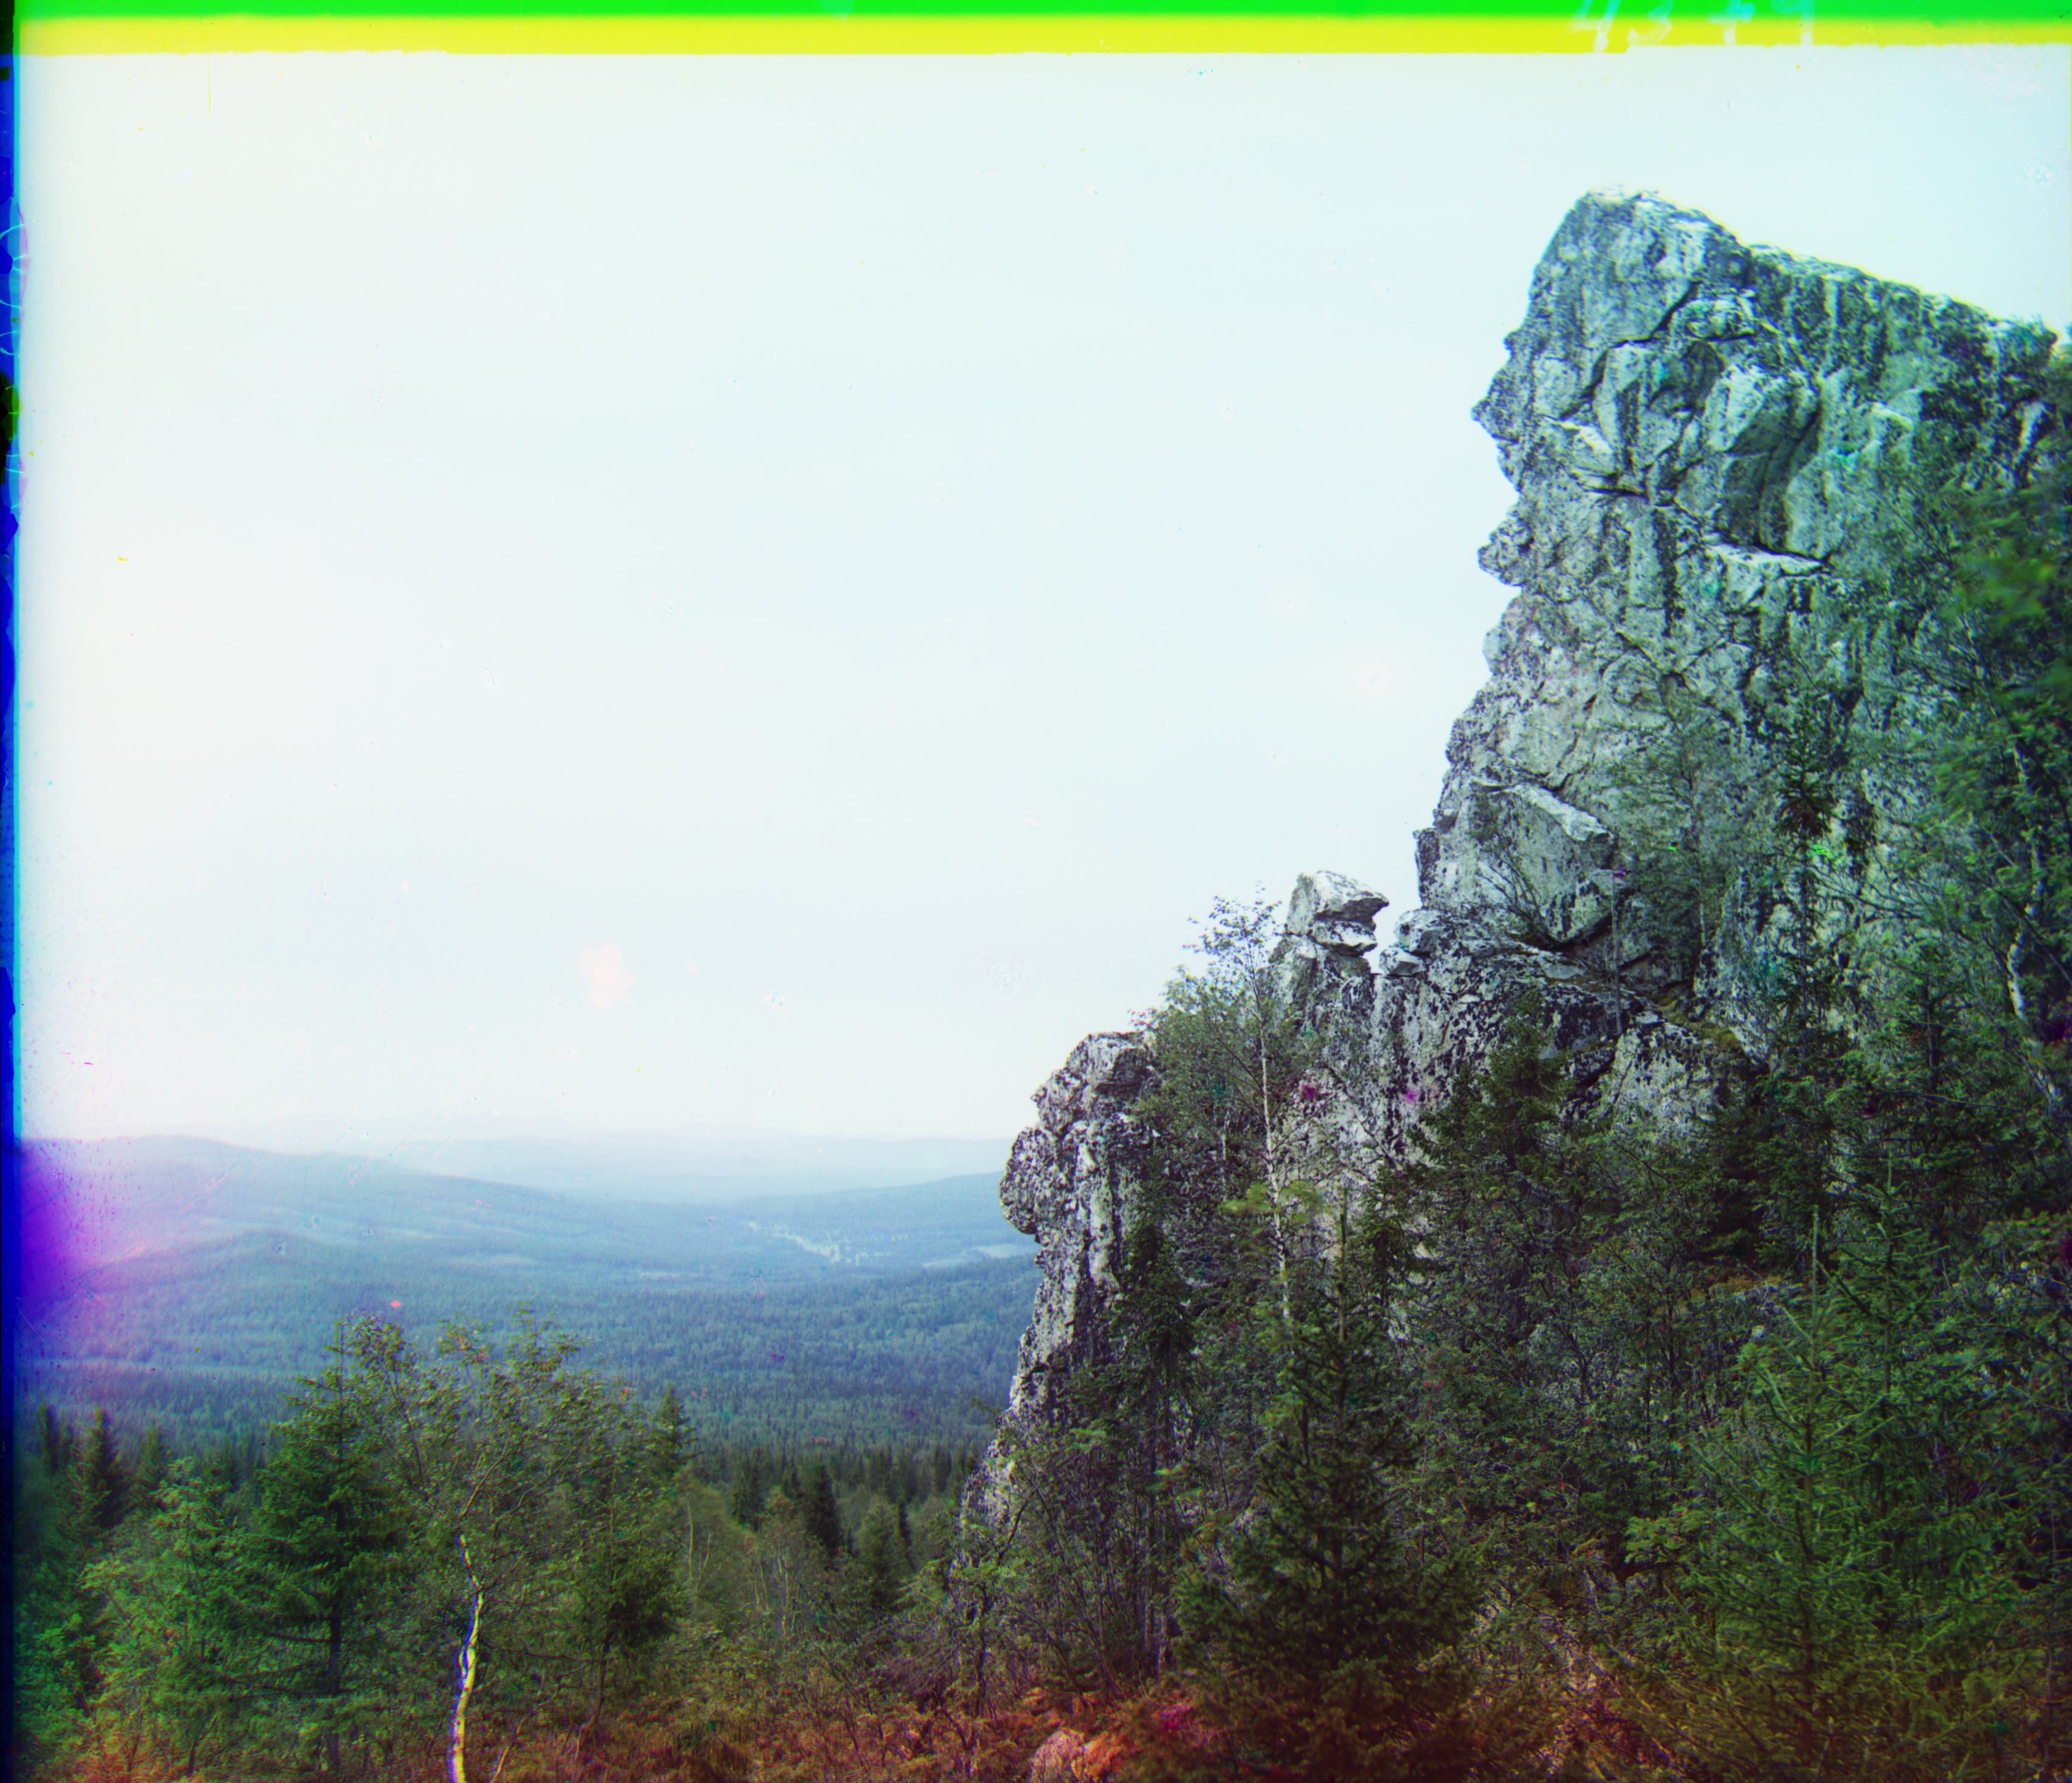
Images of the Russian Empire
Fall 2024
Sergei Mikhailovich Prokudin-Gorskii (1863-1944) [Сергей Михайлович Прокудин-Горский, to his Russian friends] was a man well ahead of his time. Convinced, as early as 1907, that color photography was the wave of the future, he won Tzar’s special permission to travel across the vast Russian Empire and take color photographs of everything he saw including the only color portrait of Leo Tolstoy. And he really photographed everything: people, buildings, landscapes, railroads, bridges… thousands of color pictures! His idea was simple: record three exposures of every scene onto a glass plate using a red, a green, and a blue filter. Never mind that there was no way to print color photographs until much later – he envisioned special projectors to be installed in “multimedia” classrooms all across Russia where the children would be able to learn about their vast country. Alas, his plans never materialized: he left Russia in 1918, right after the revolution, never to return again. Luckily, his RGB glass plate negatives, capturing the last years of the Russian Empire, survived and were purchased in 1948 by the Library of Congress. The LoC has recently digitized the negatives and made them available on-line.
The goal of this assignment was to automatically align the three channels of these preserved RGB glass plate negatives and produce a color image, something Prokudin-Gorskii himself was sadly unable to accomplish.
Table of Contents
- Naive Alignment Method
- Alignment with Image Pyramid Speedup
- Aligning emir.tif (Bell & Whistle #1)
- Auto cropping borders (Bell & Whistle #2)
- Extra images for fun
1. Naive Alignment Method
To align the smaller JPG images, I first implemented a naive approach, testing all alignments over a small window size of [-20,20]. Within this window, I used np.roll to move one channel horizontally and vertically. For each alignment position within the window, I used a simple L2 norm between the raw pixels as my alignment metric, and saved the translation coordinates that resulted in the lowest L2 norm. For instance, when aligning the green to the red channel, I first translated the green channel, then took the Euclidean distance for each pixel between the two channels and took the sum over all of the results for each pixel to obtain one scalar value that represents the overall L2 norm for the alignment.
To prevent insignificant parts of the image (such as black borders) from affecting this calculation, I cropped each side of each channel by 20% of its original size, resulting in a cropping of 40% of the image height and width. Then, once I obtained the best coordinates from my alignment metric, I used the coordinates to perform the final alignment on the uncropped version of the channels.

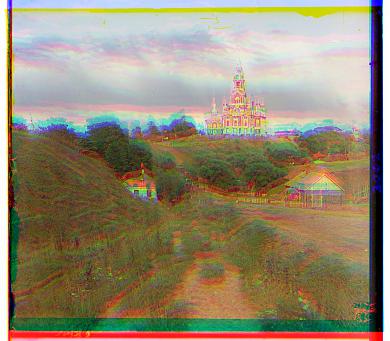
Something was off
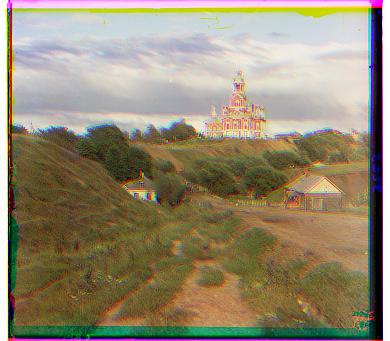
Aligned, G: (2,5), R: (3,12)
For the longest time I was getting the above middle image for cathedral.jpg. It looked much better than the unaligned version, but wasn’t quite there yet. What fixed the issue was converting my channels from unsigned integers (which ranged from 0-255) to float values. I realized that for unsigned integers, negative differences would be represented inaccurately. Converting to float solved this issue and allowed for negative differences to be preserved in the L2 norm calculation.
Below are the two more JPG images, aligned with the naive method. Each one took a negligible amount of time to process (less than 1 second).
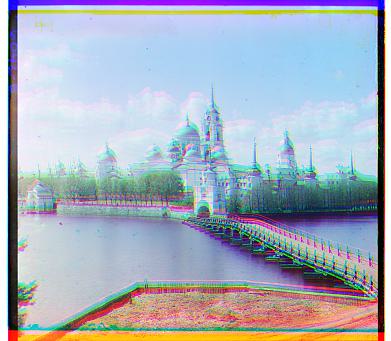
monastery.jpg, no alignment
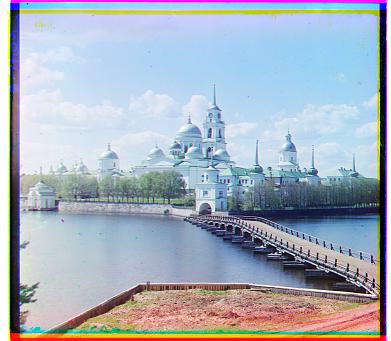
Aligned, G: (2,-3), R: (2,3)
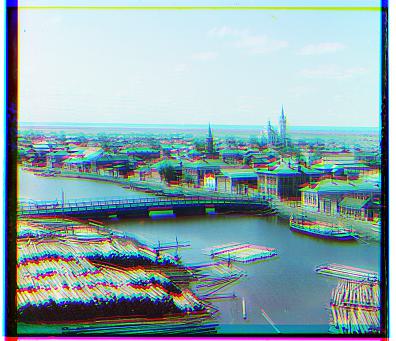
tobolsk.jpg, no alignment
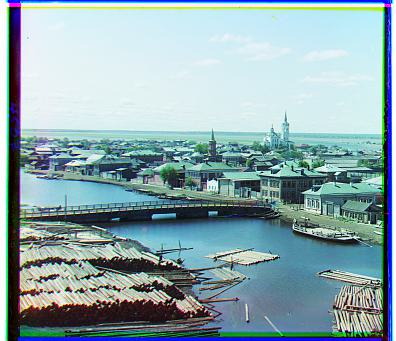
Aligned, G: (3,3), R: (3,7)
2. Alignment with Image Pyramid Speedup
The naive implementation of searching over a [-20,20] window does not work efficiently for the large TIFF images. For these images, I implemented an image pyramid speedup method. For this implementation, I used recursion and np.rescale to downscale the resolution of the image by a factor of 0.5 per layer, until the deepest layer had an image at a resolution under 100x100 pixels. This turned out to be 5 layers for each image. At this deepest layer, I then ran the naive implementation from earlier, over a [-20,20] window. Once this returned a set of ‘best’ coordinates, I multiplied these coordinates by 2 (to account for the 0.5x downscaling of resolution at that layer), passed them up to the next layer, and performed a naive alignment over a much smaller [-2,2] window. This repeated until the coordinates are passed up to the topmost layer. Using this method, I was able to align the large images without naively searching over a huge window in the full resolution channels. Only the lowest resolution layer had the regular [-20,20] search window, while each layer above the deepest layer only had a [-2,2] window.
I had initially decreased the search window linearly per layer (i.e. decrease window size by 2 for each layer up), but this still gave me a really long runtime. The method of keeping the window size small and fixed at the rest of the layers made the alignment much faster, with each image taking <5 seconds to process.
Similarly to my naive implementation, I also cropped the channels before passing them into the pyramid speedup implementation. This time, I cropped 15% from each side, resulting in an overall 30% cropping of the image height and width. I don’t think it would’ve really mattered too much, but I wanted to include more of the image for these larger, more detailed images. It also gave each layer more pixels to work with.
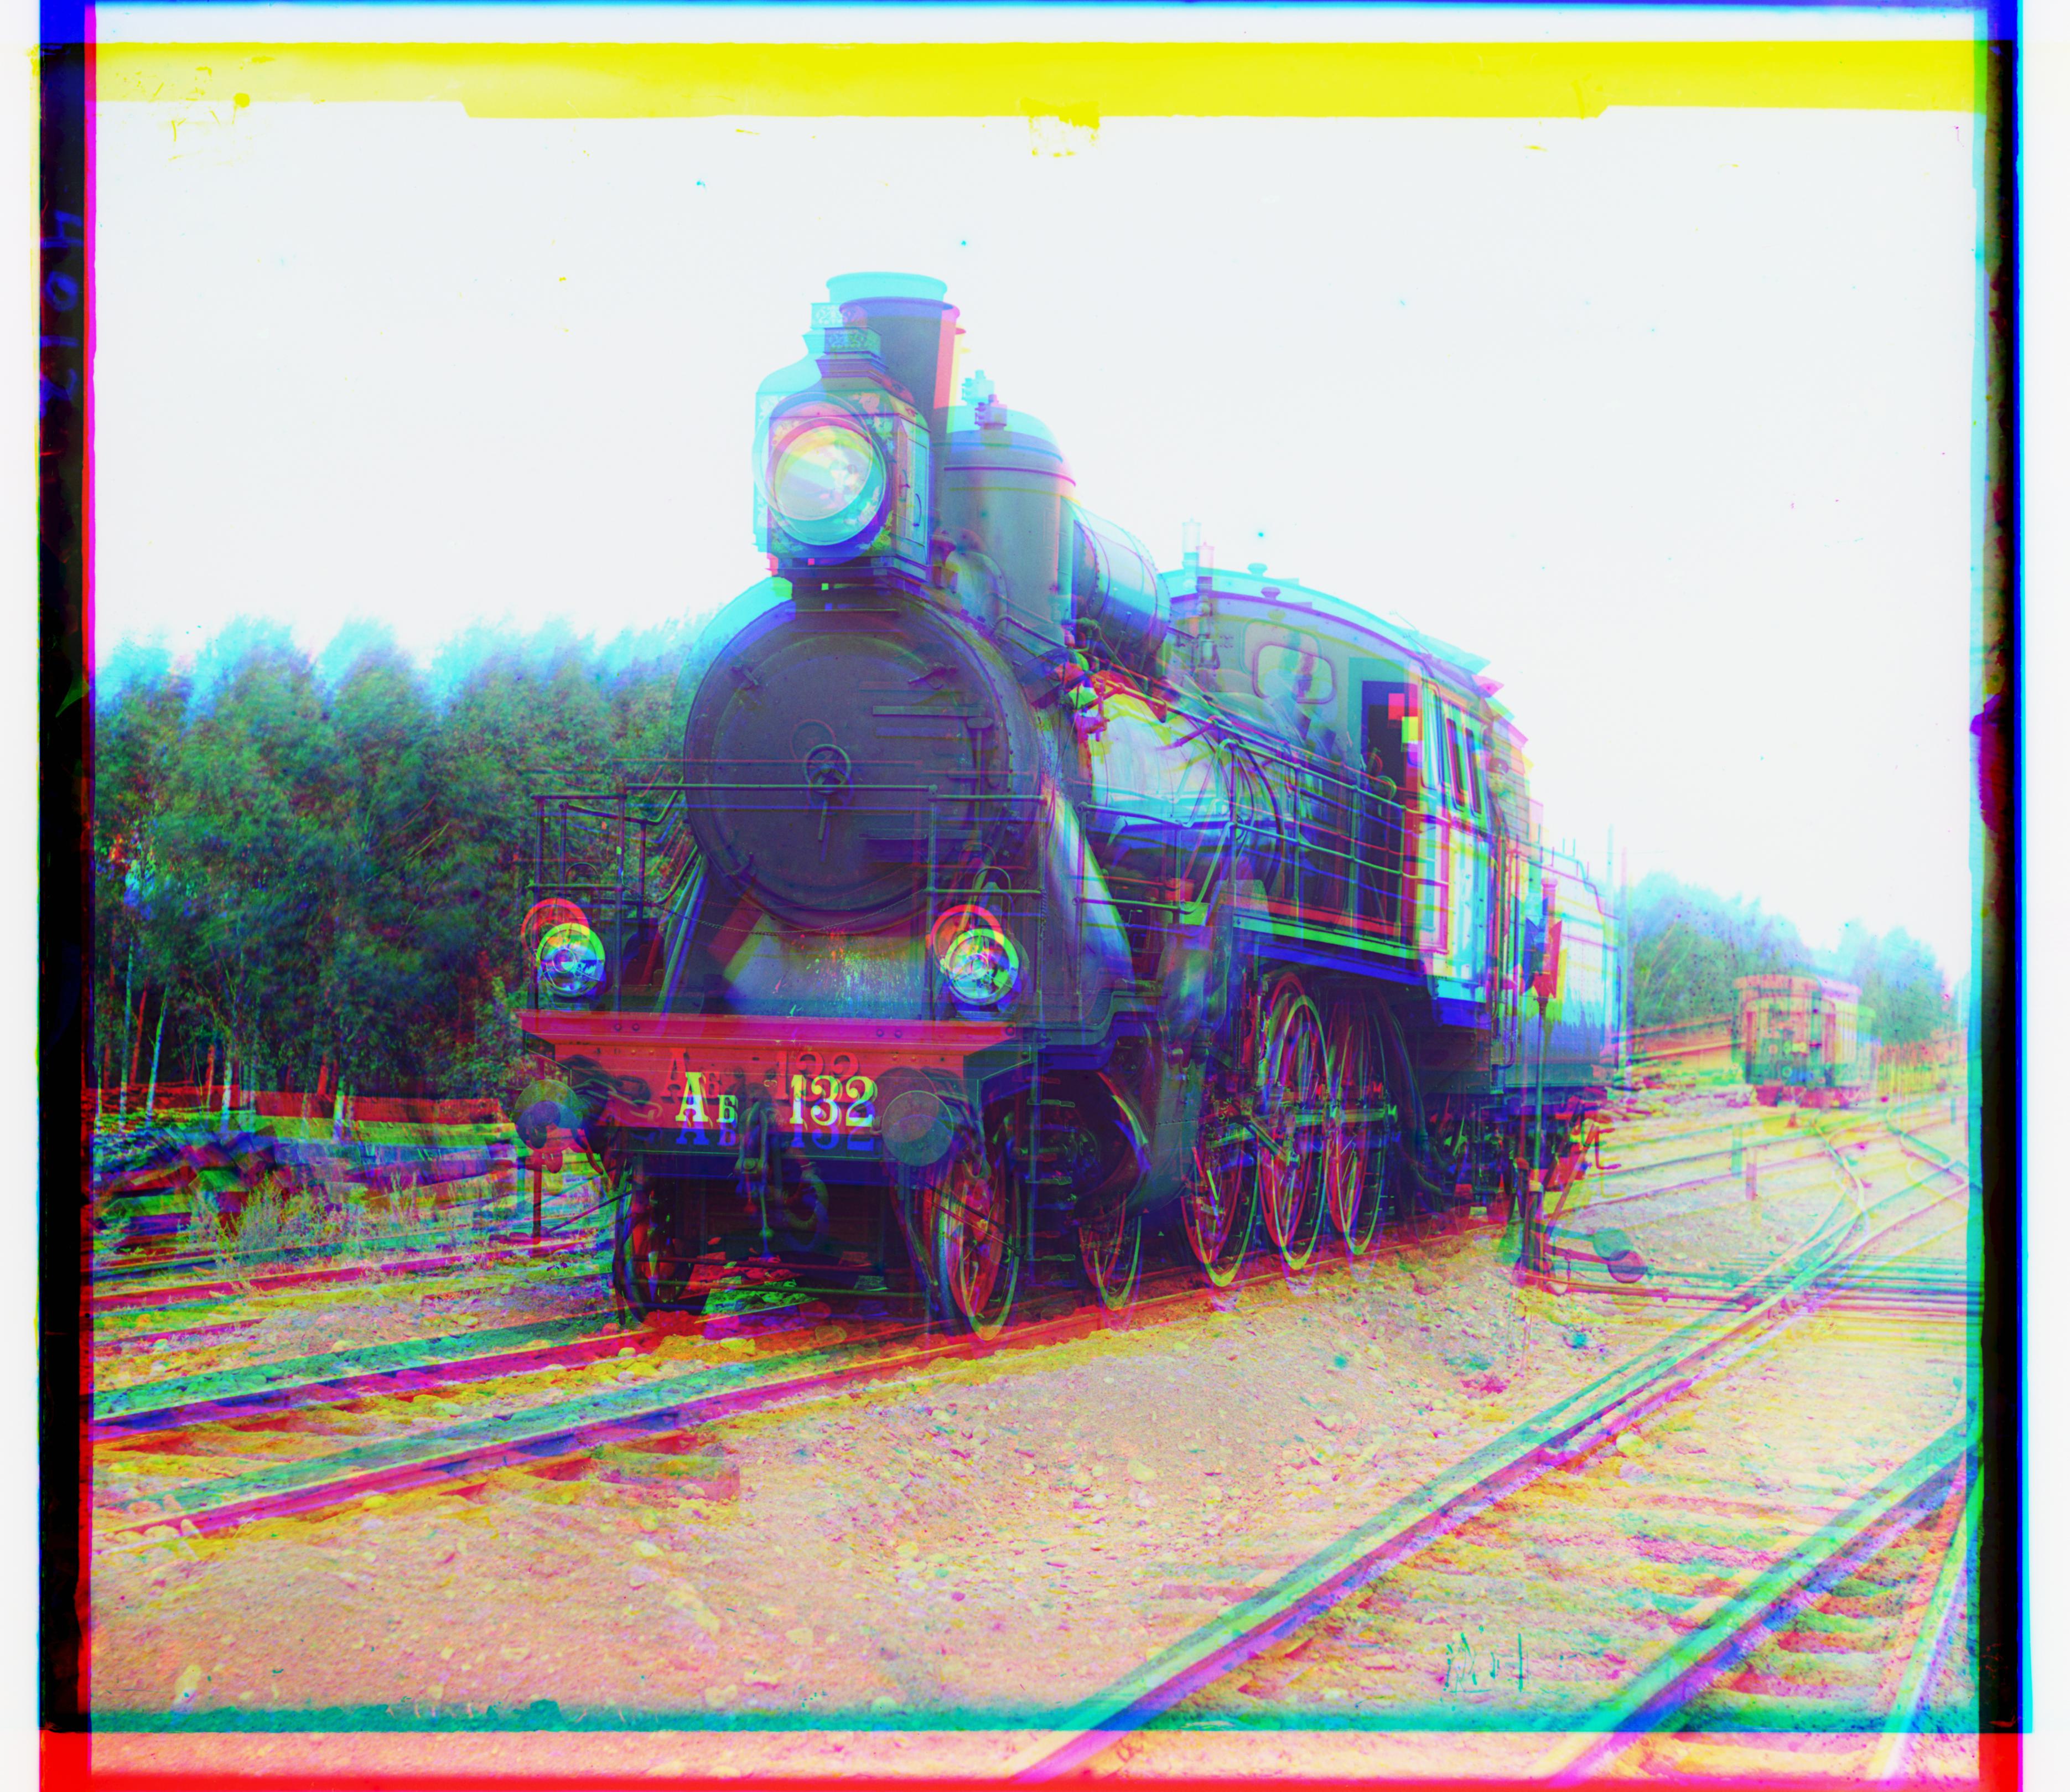
train.tif, no alignment
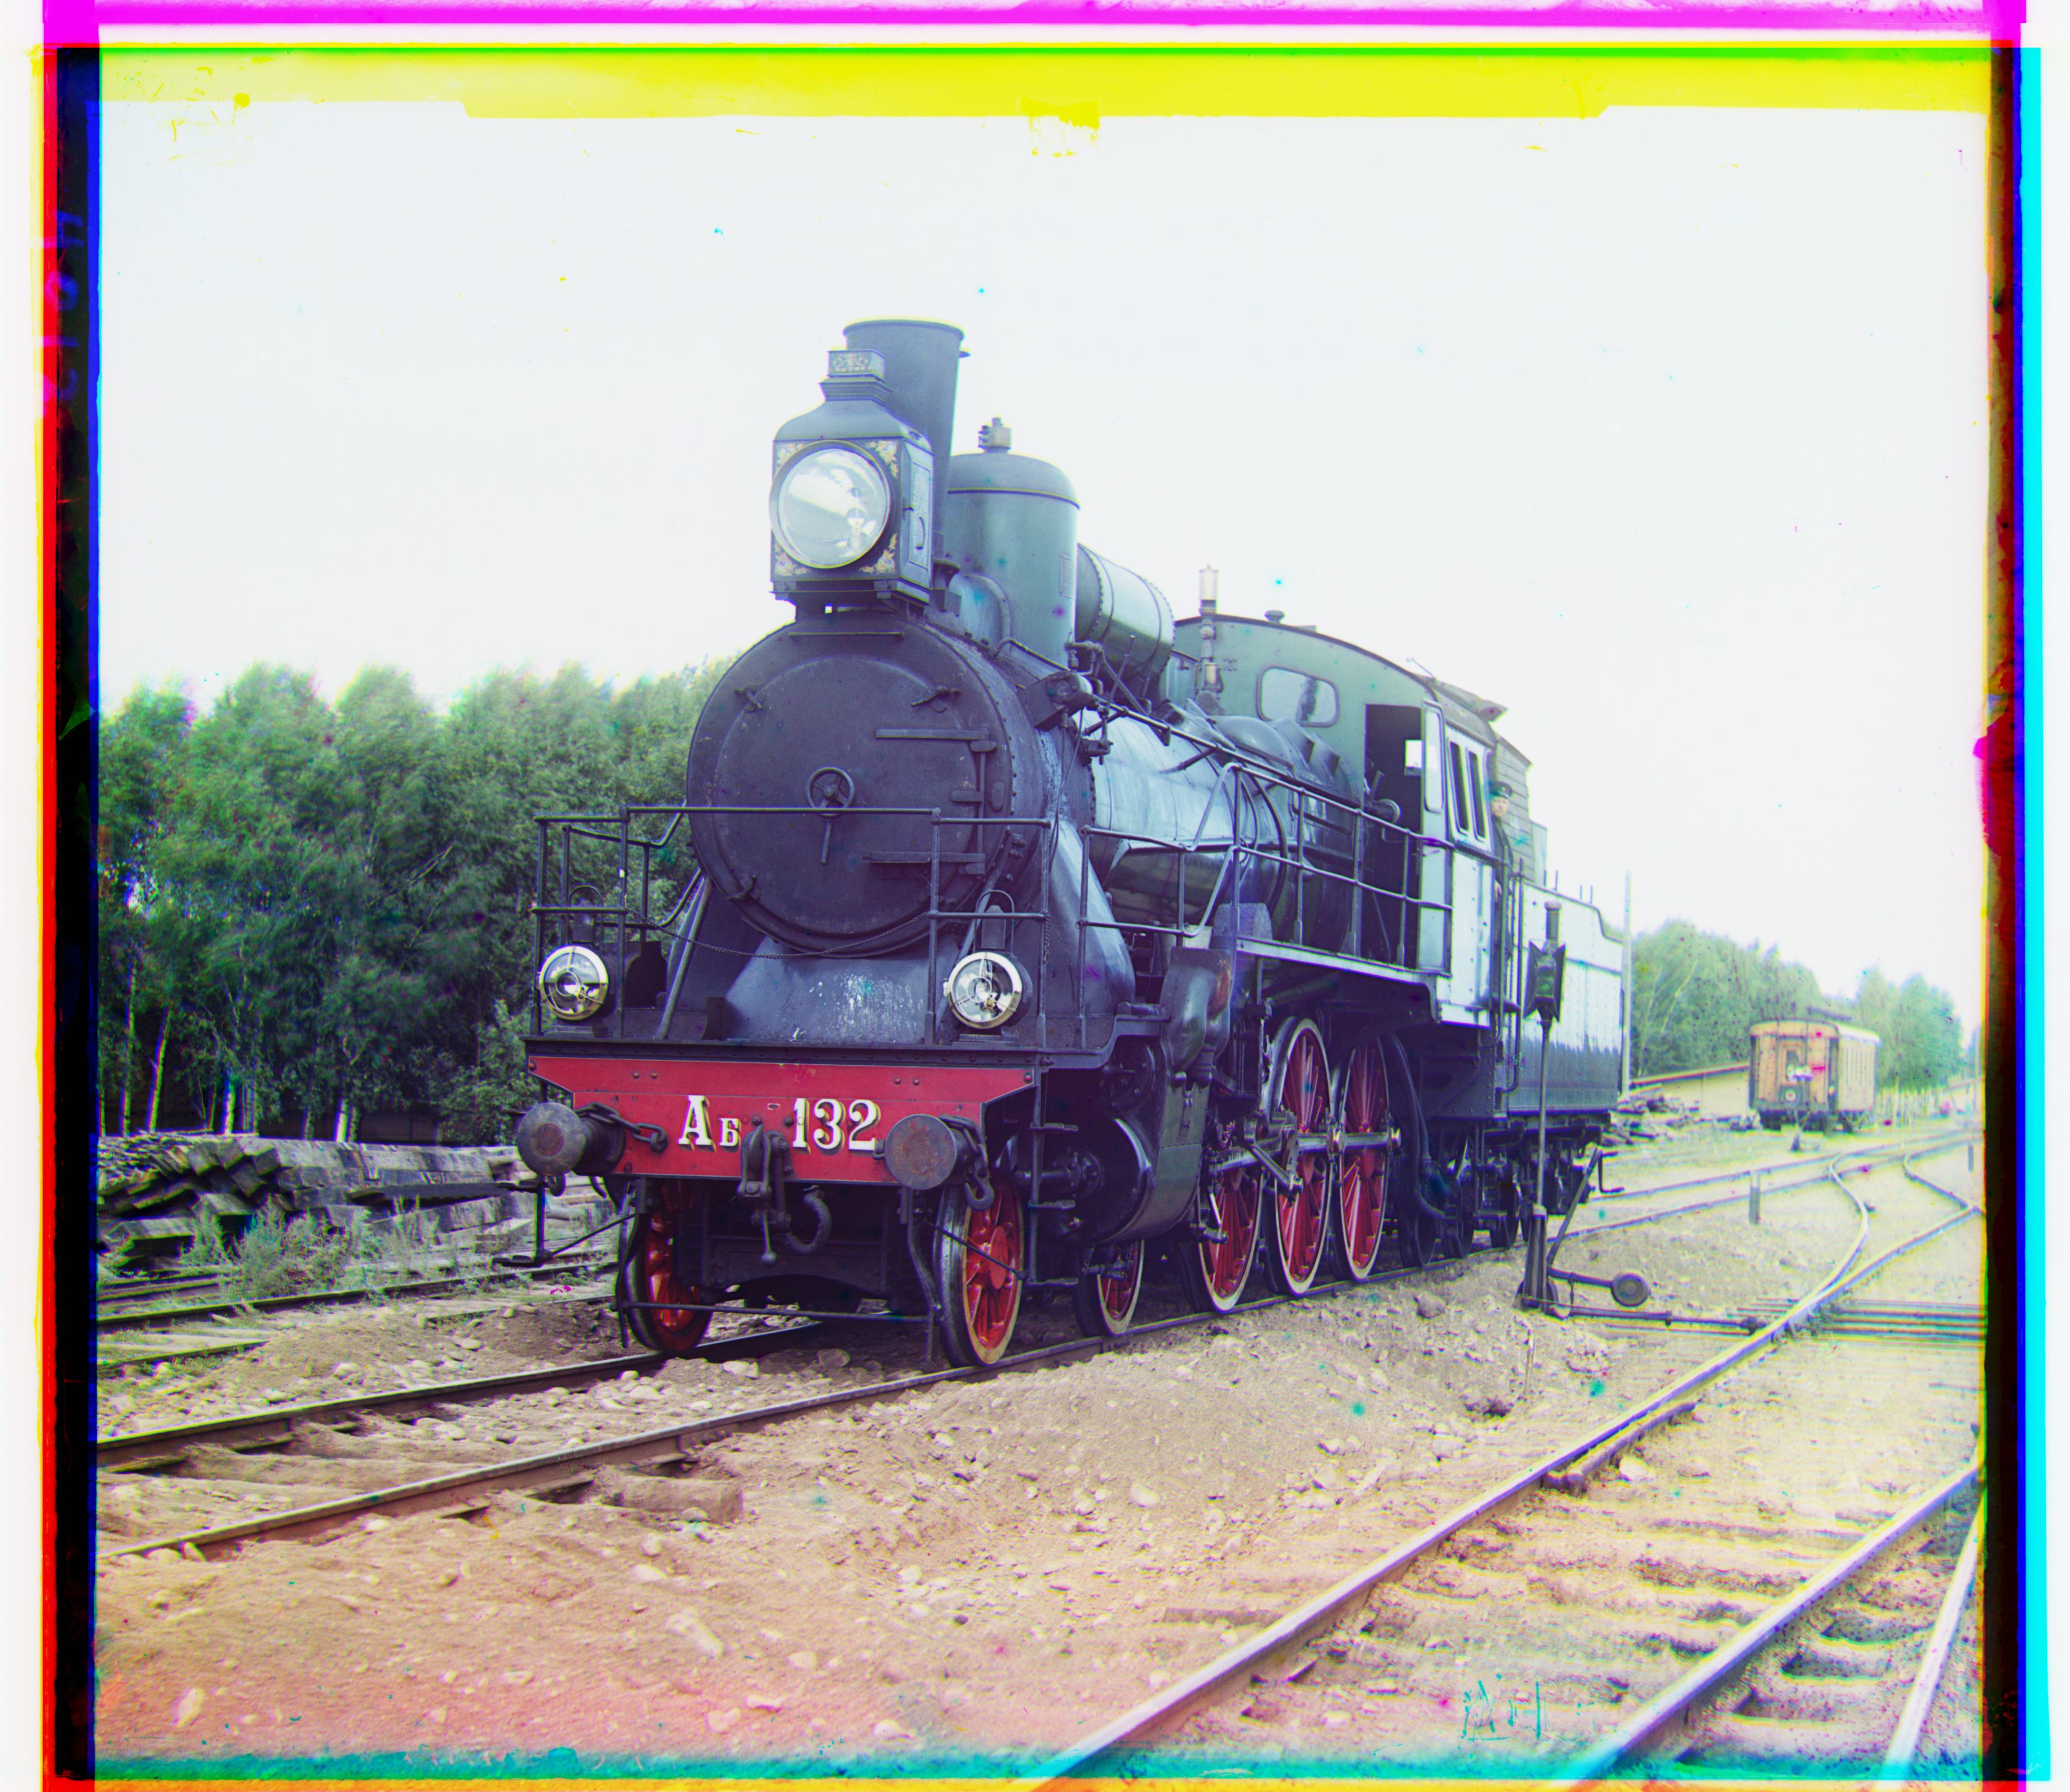
Aligned, G: (6,42), R: (32,86)
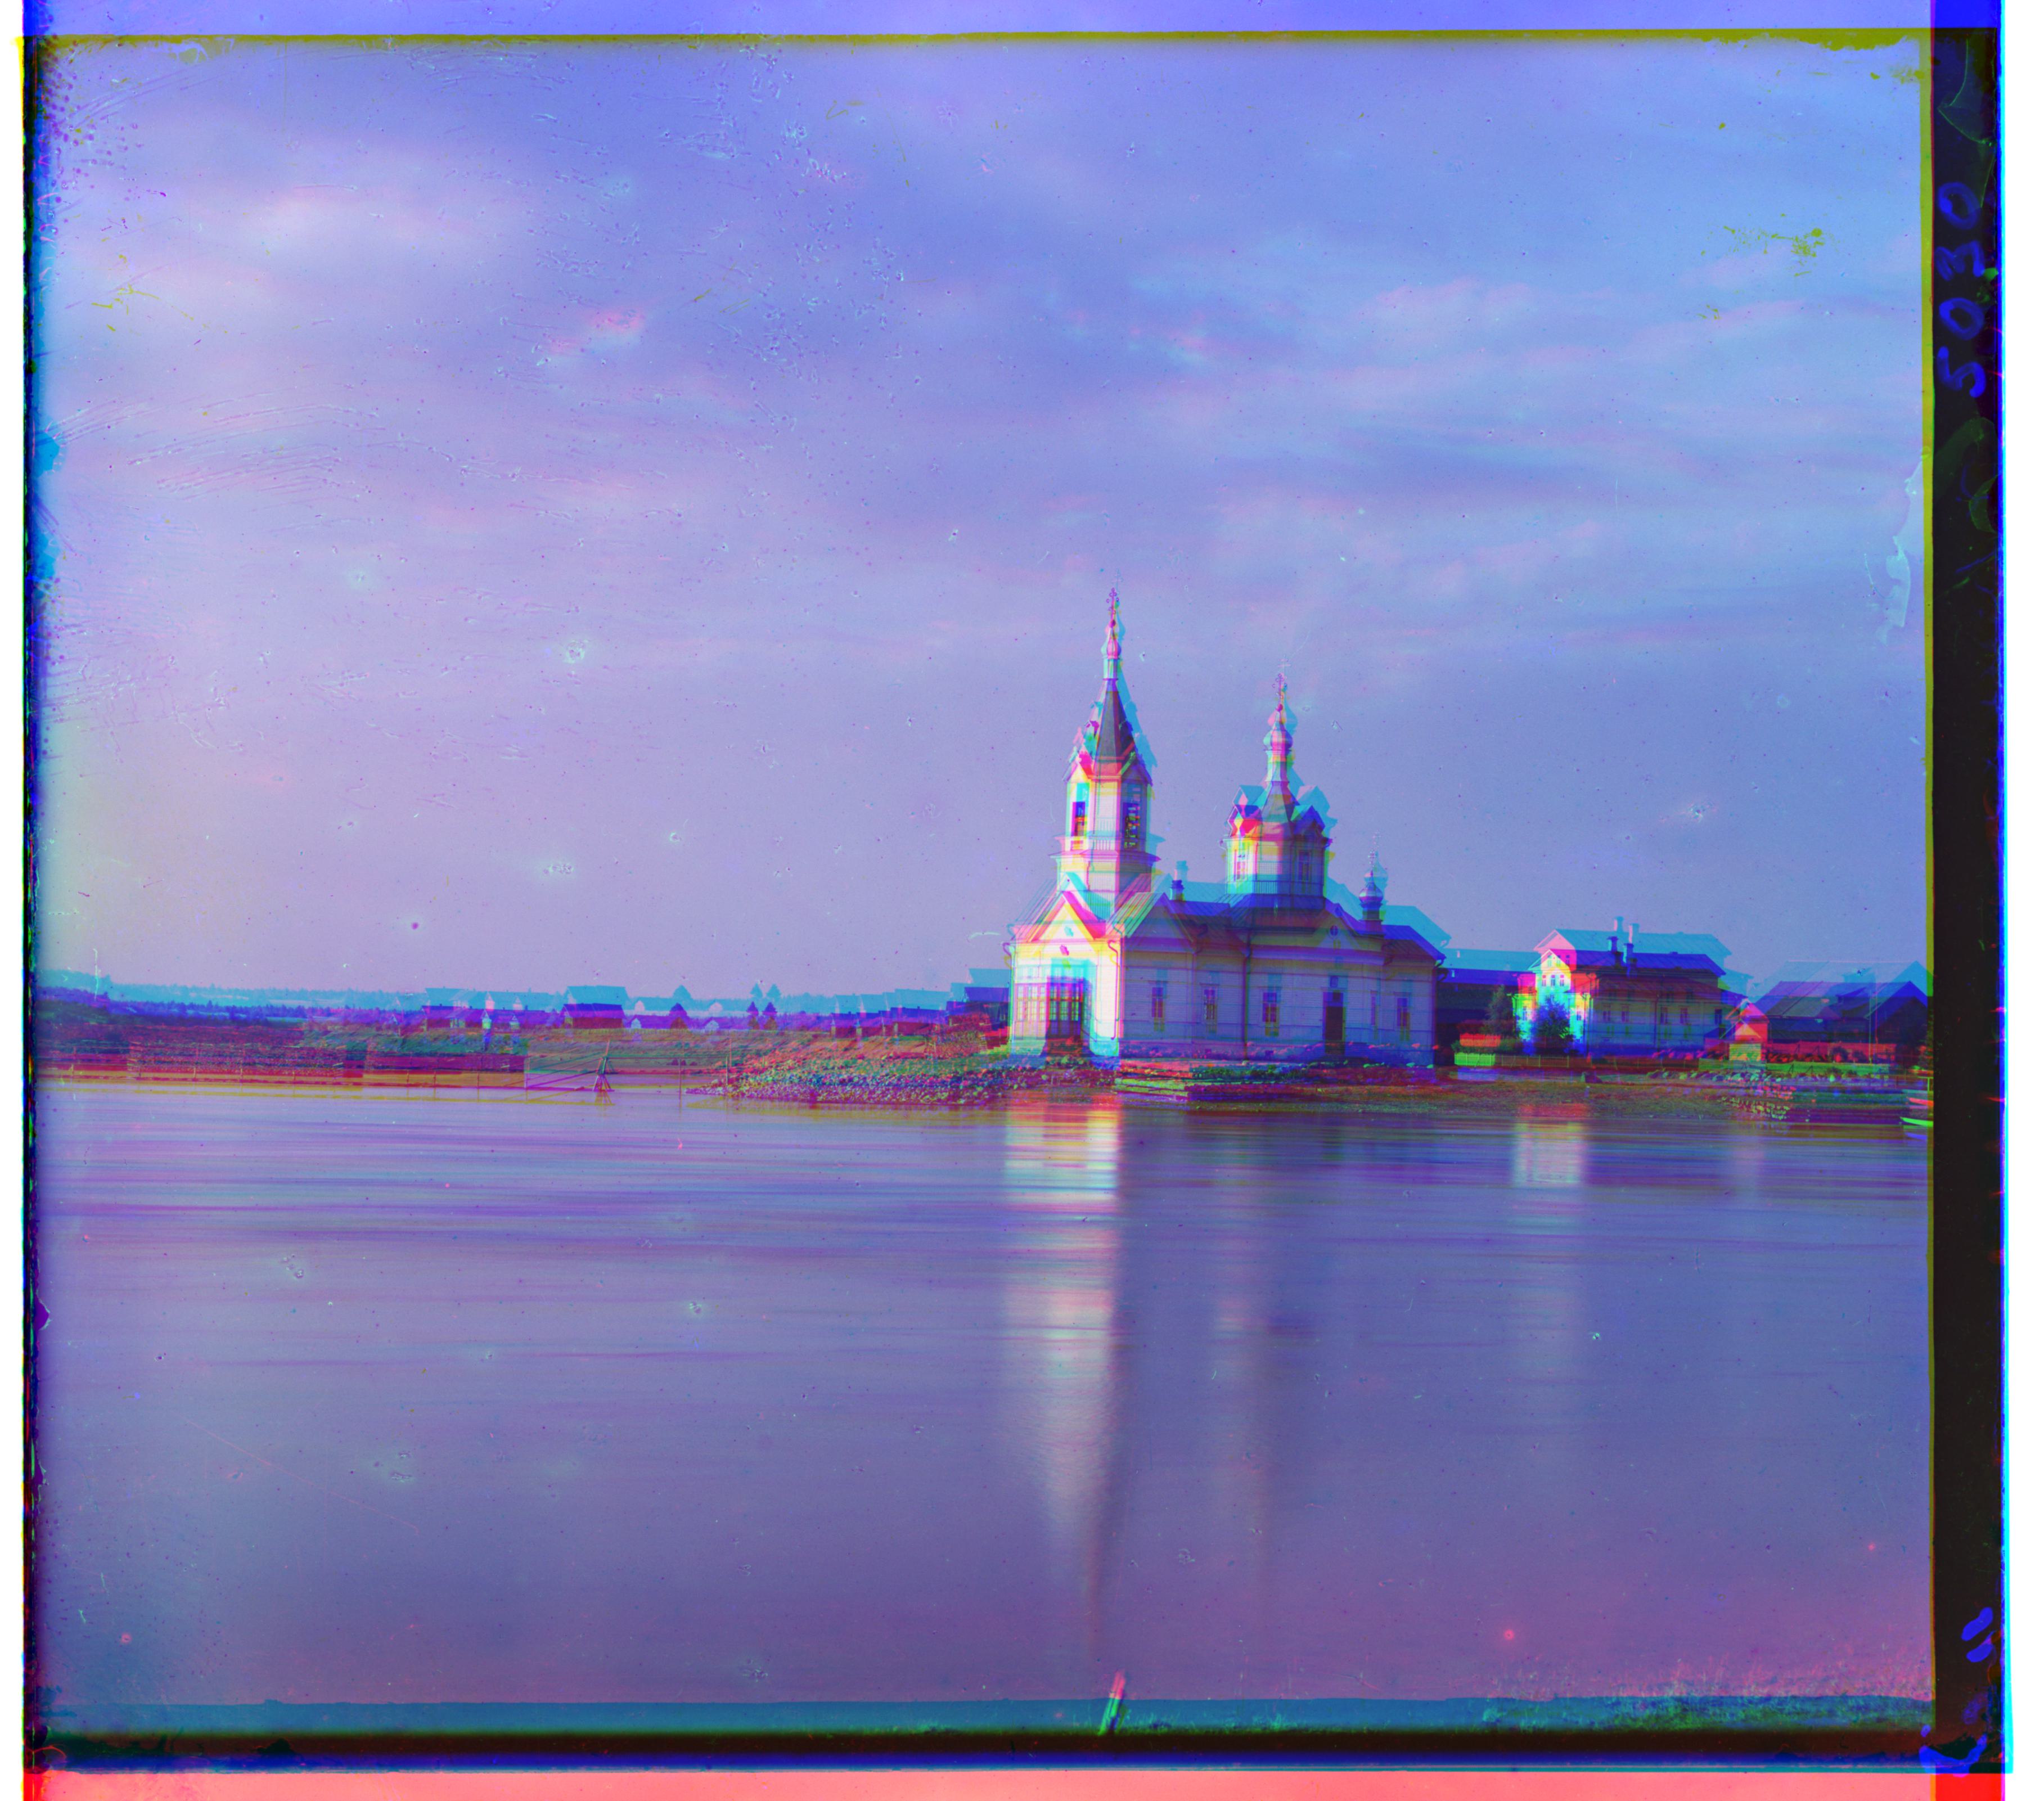
church.tif, no alignment
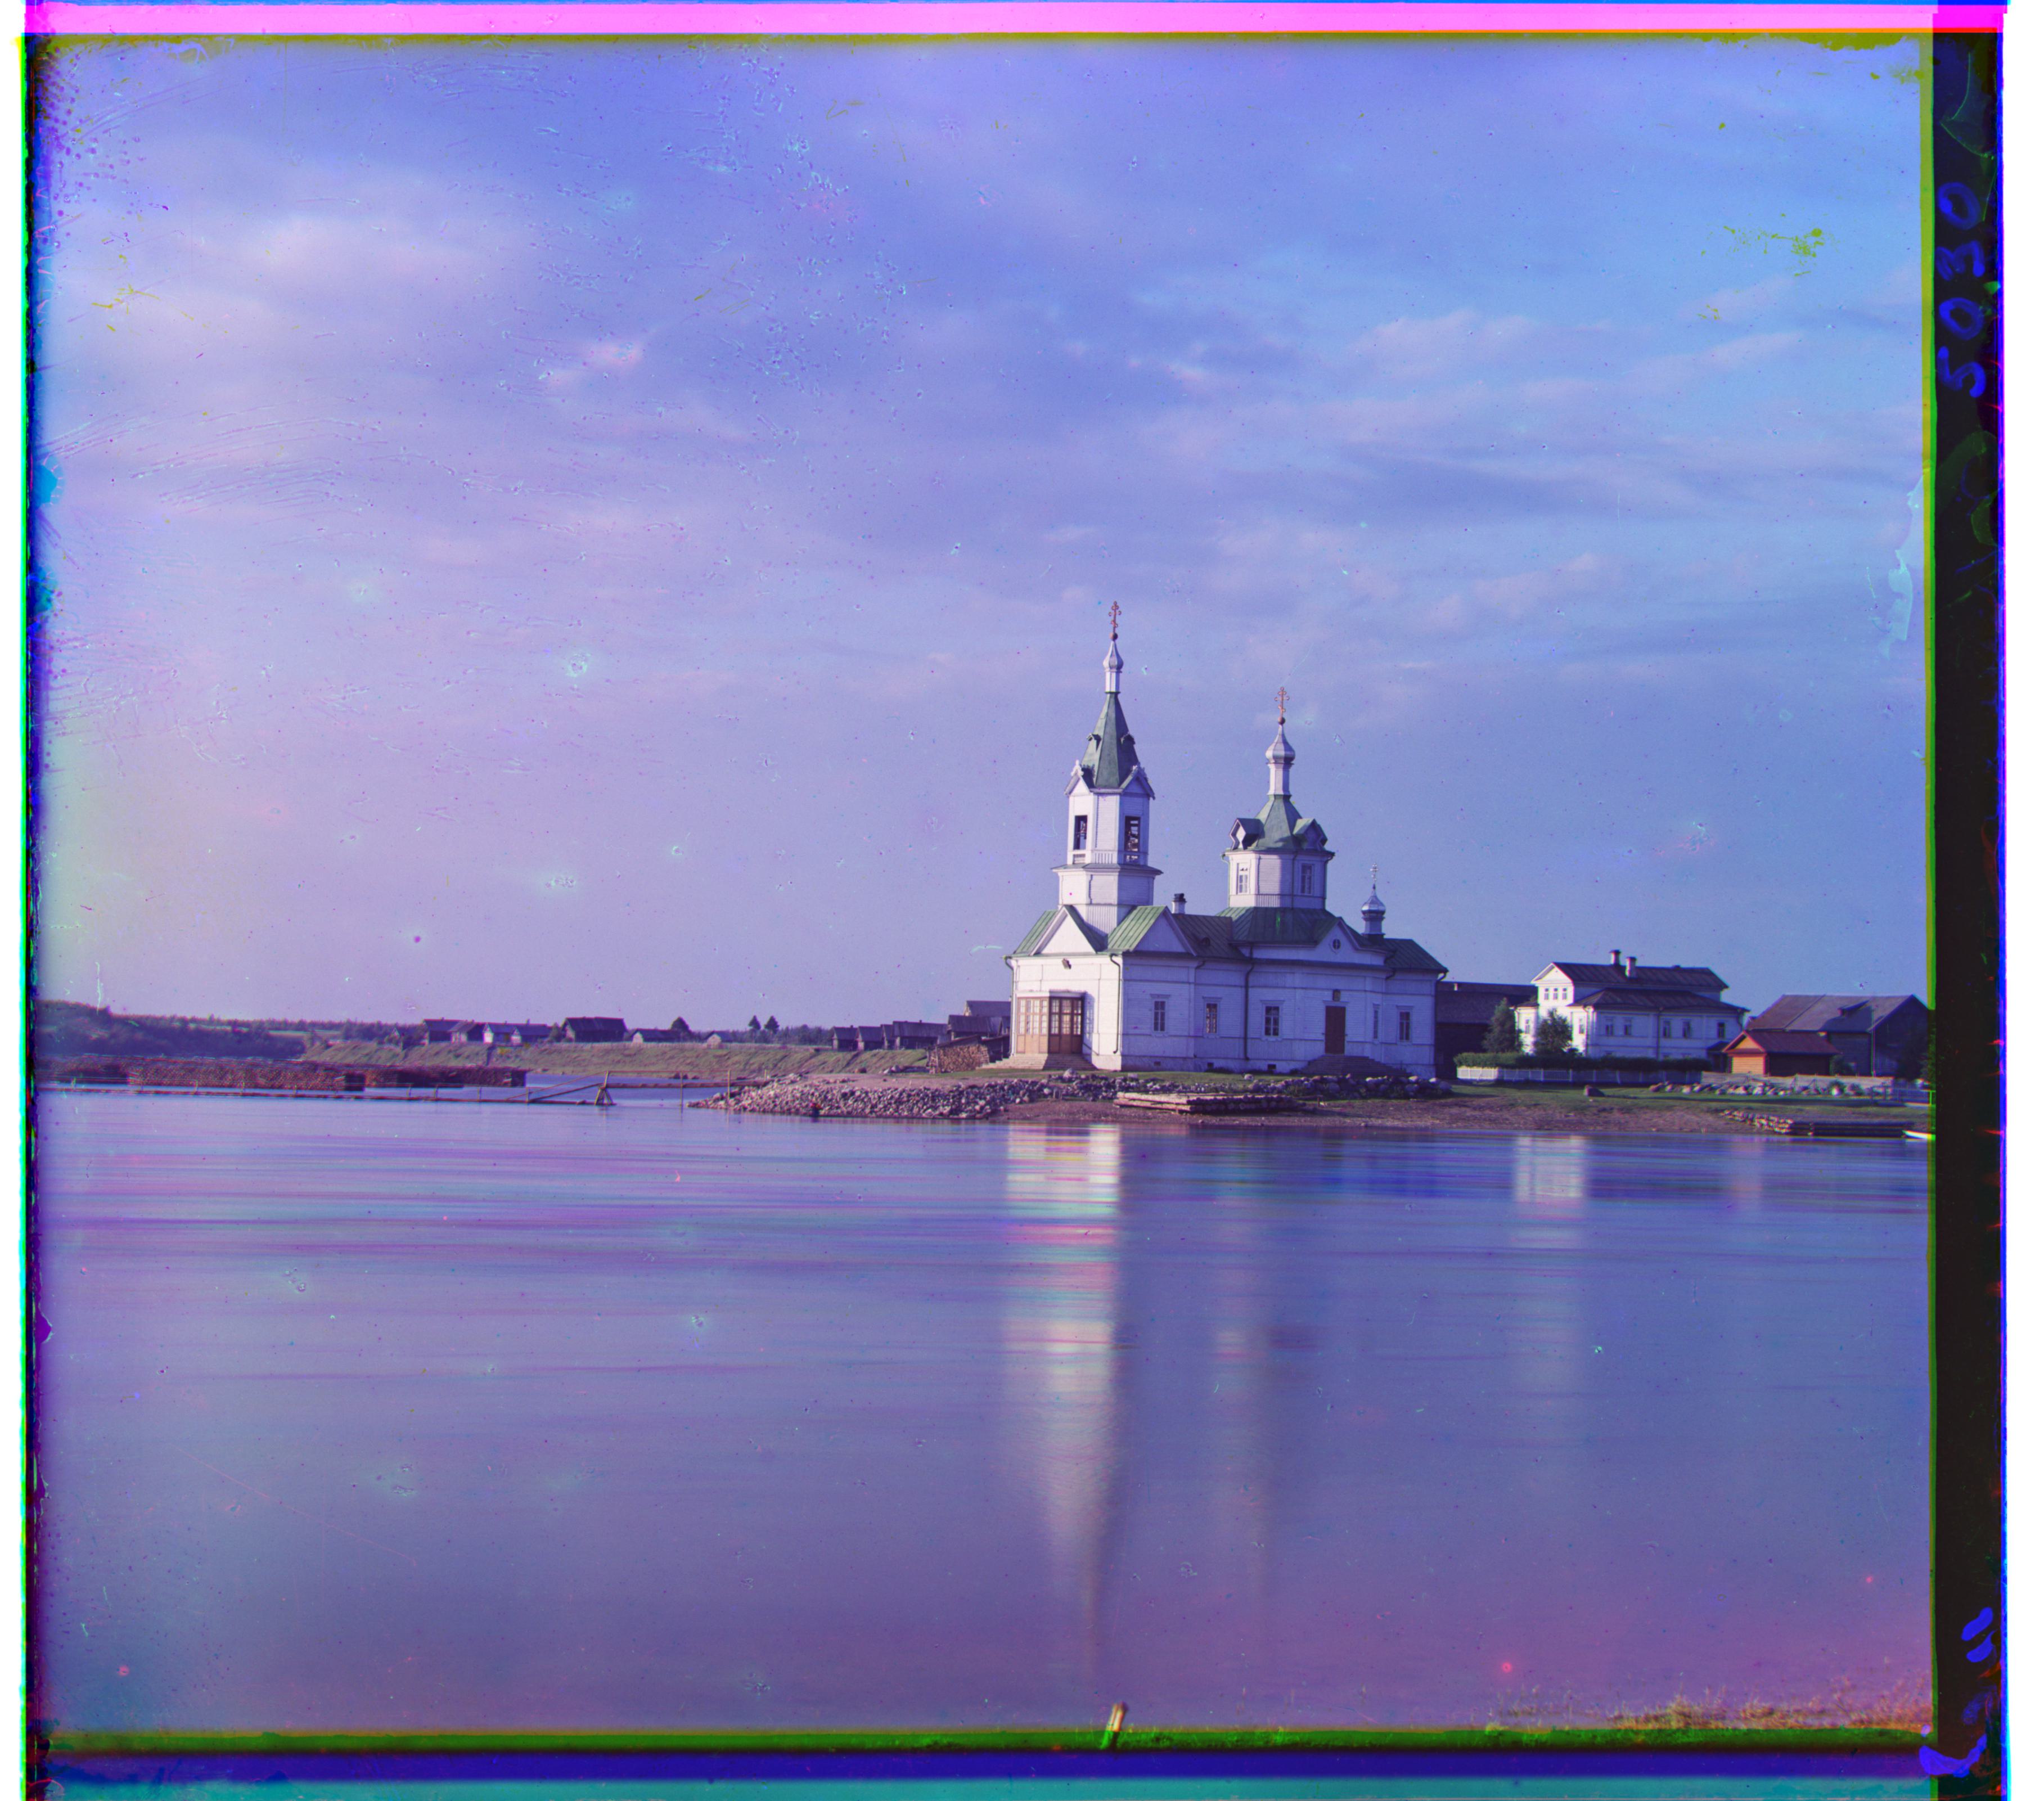
Aligned, G: (4,24), R: (-4,58)
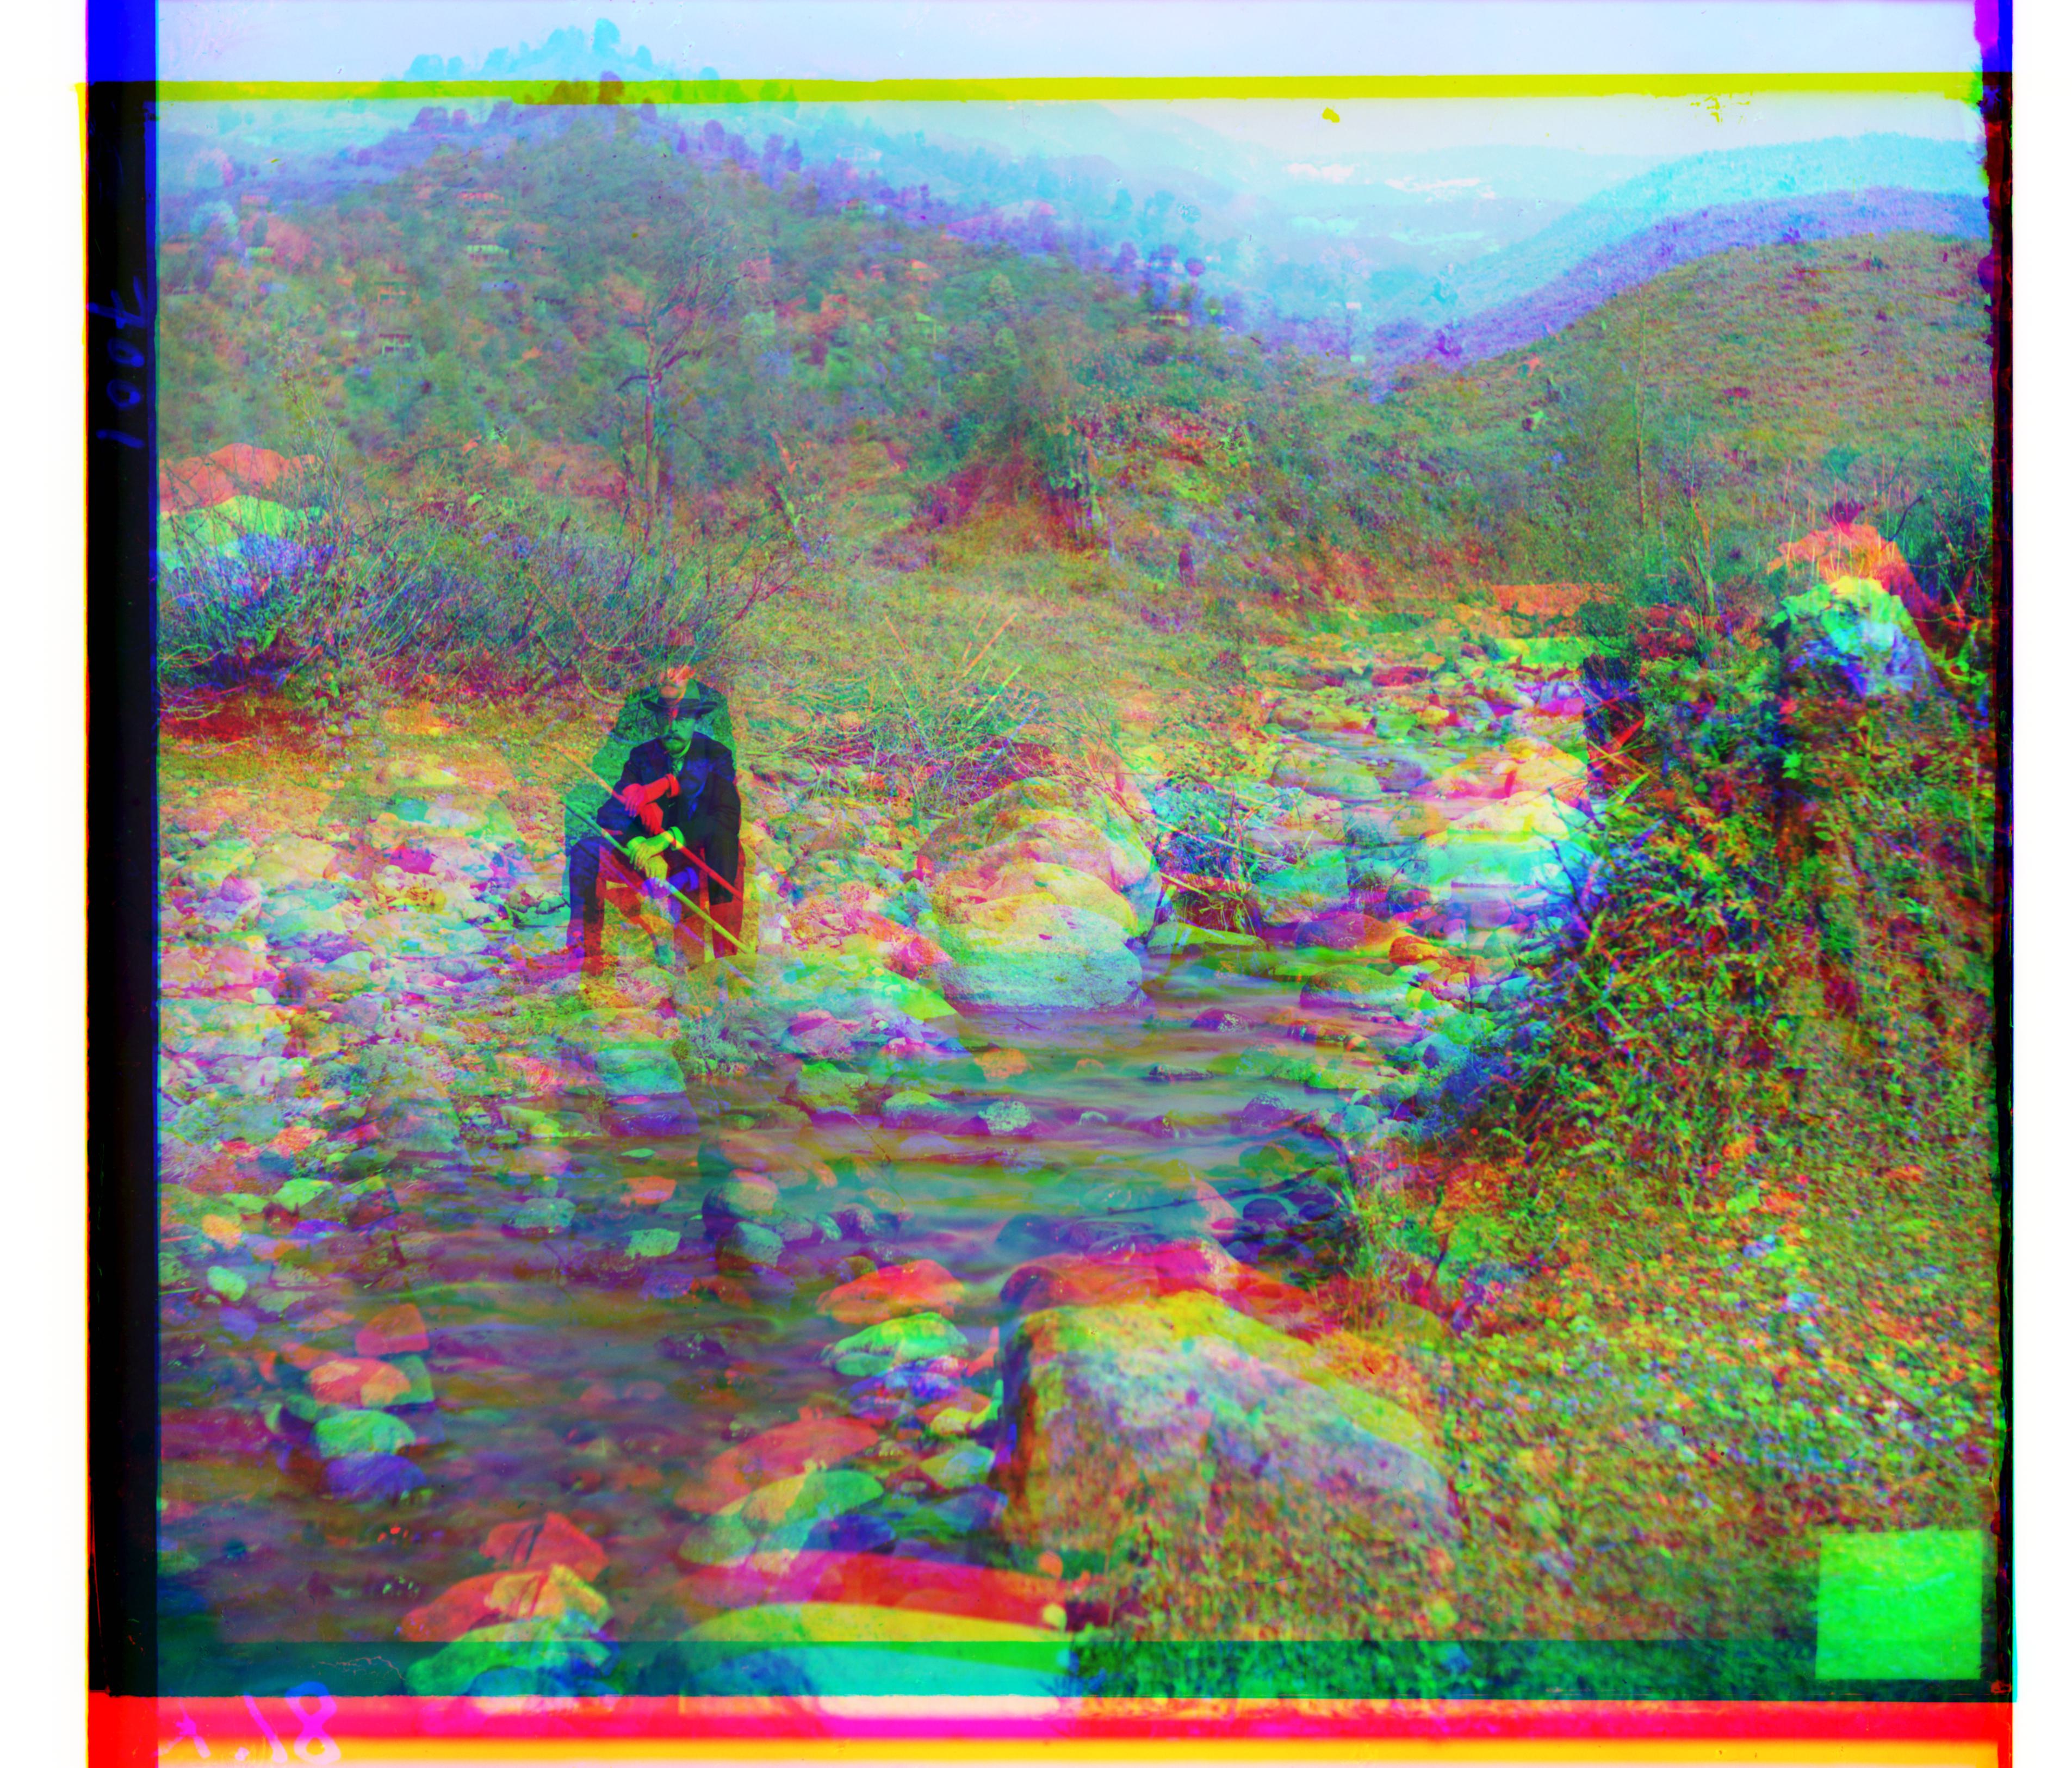
self_portrait.tif, no alignment
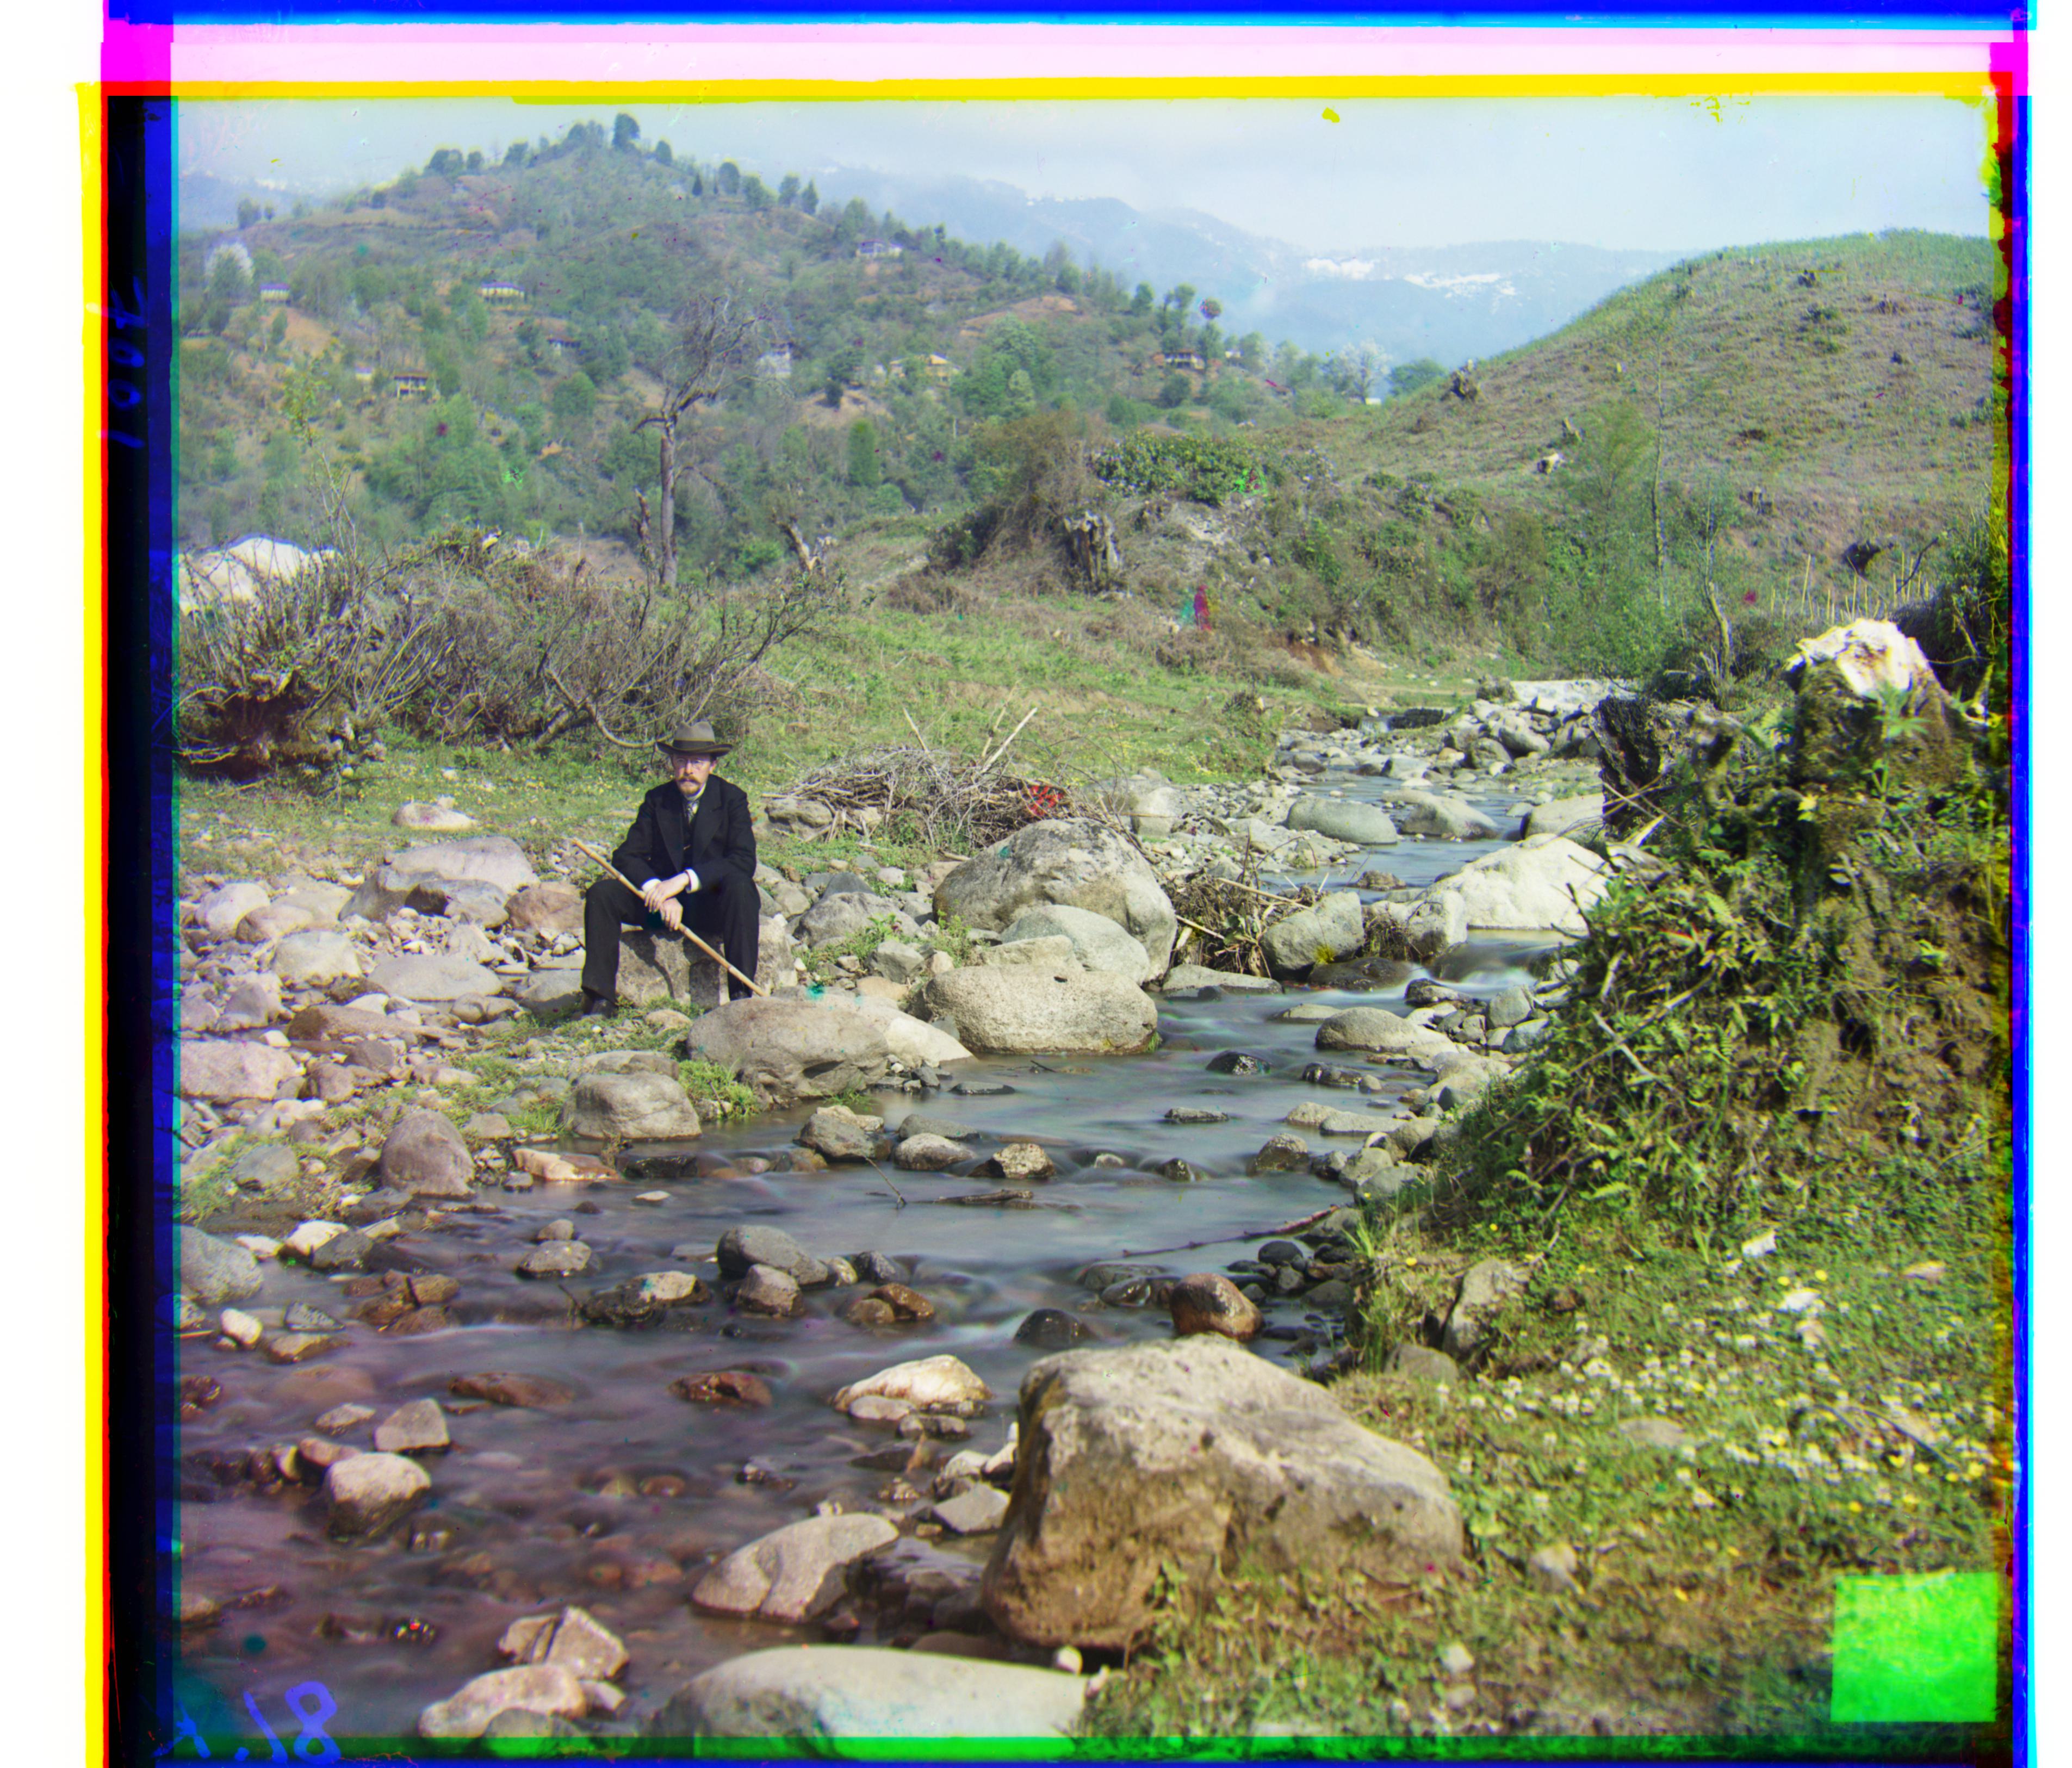
Aligned, G: (28,78), R: (36,176)
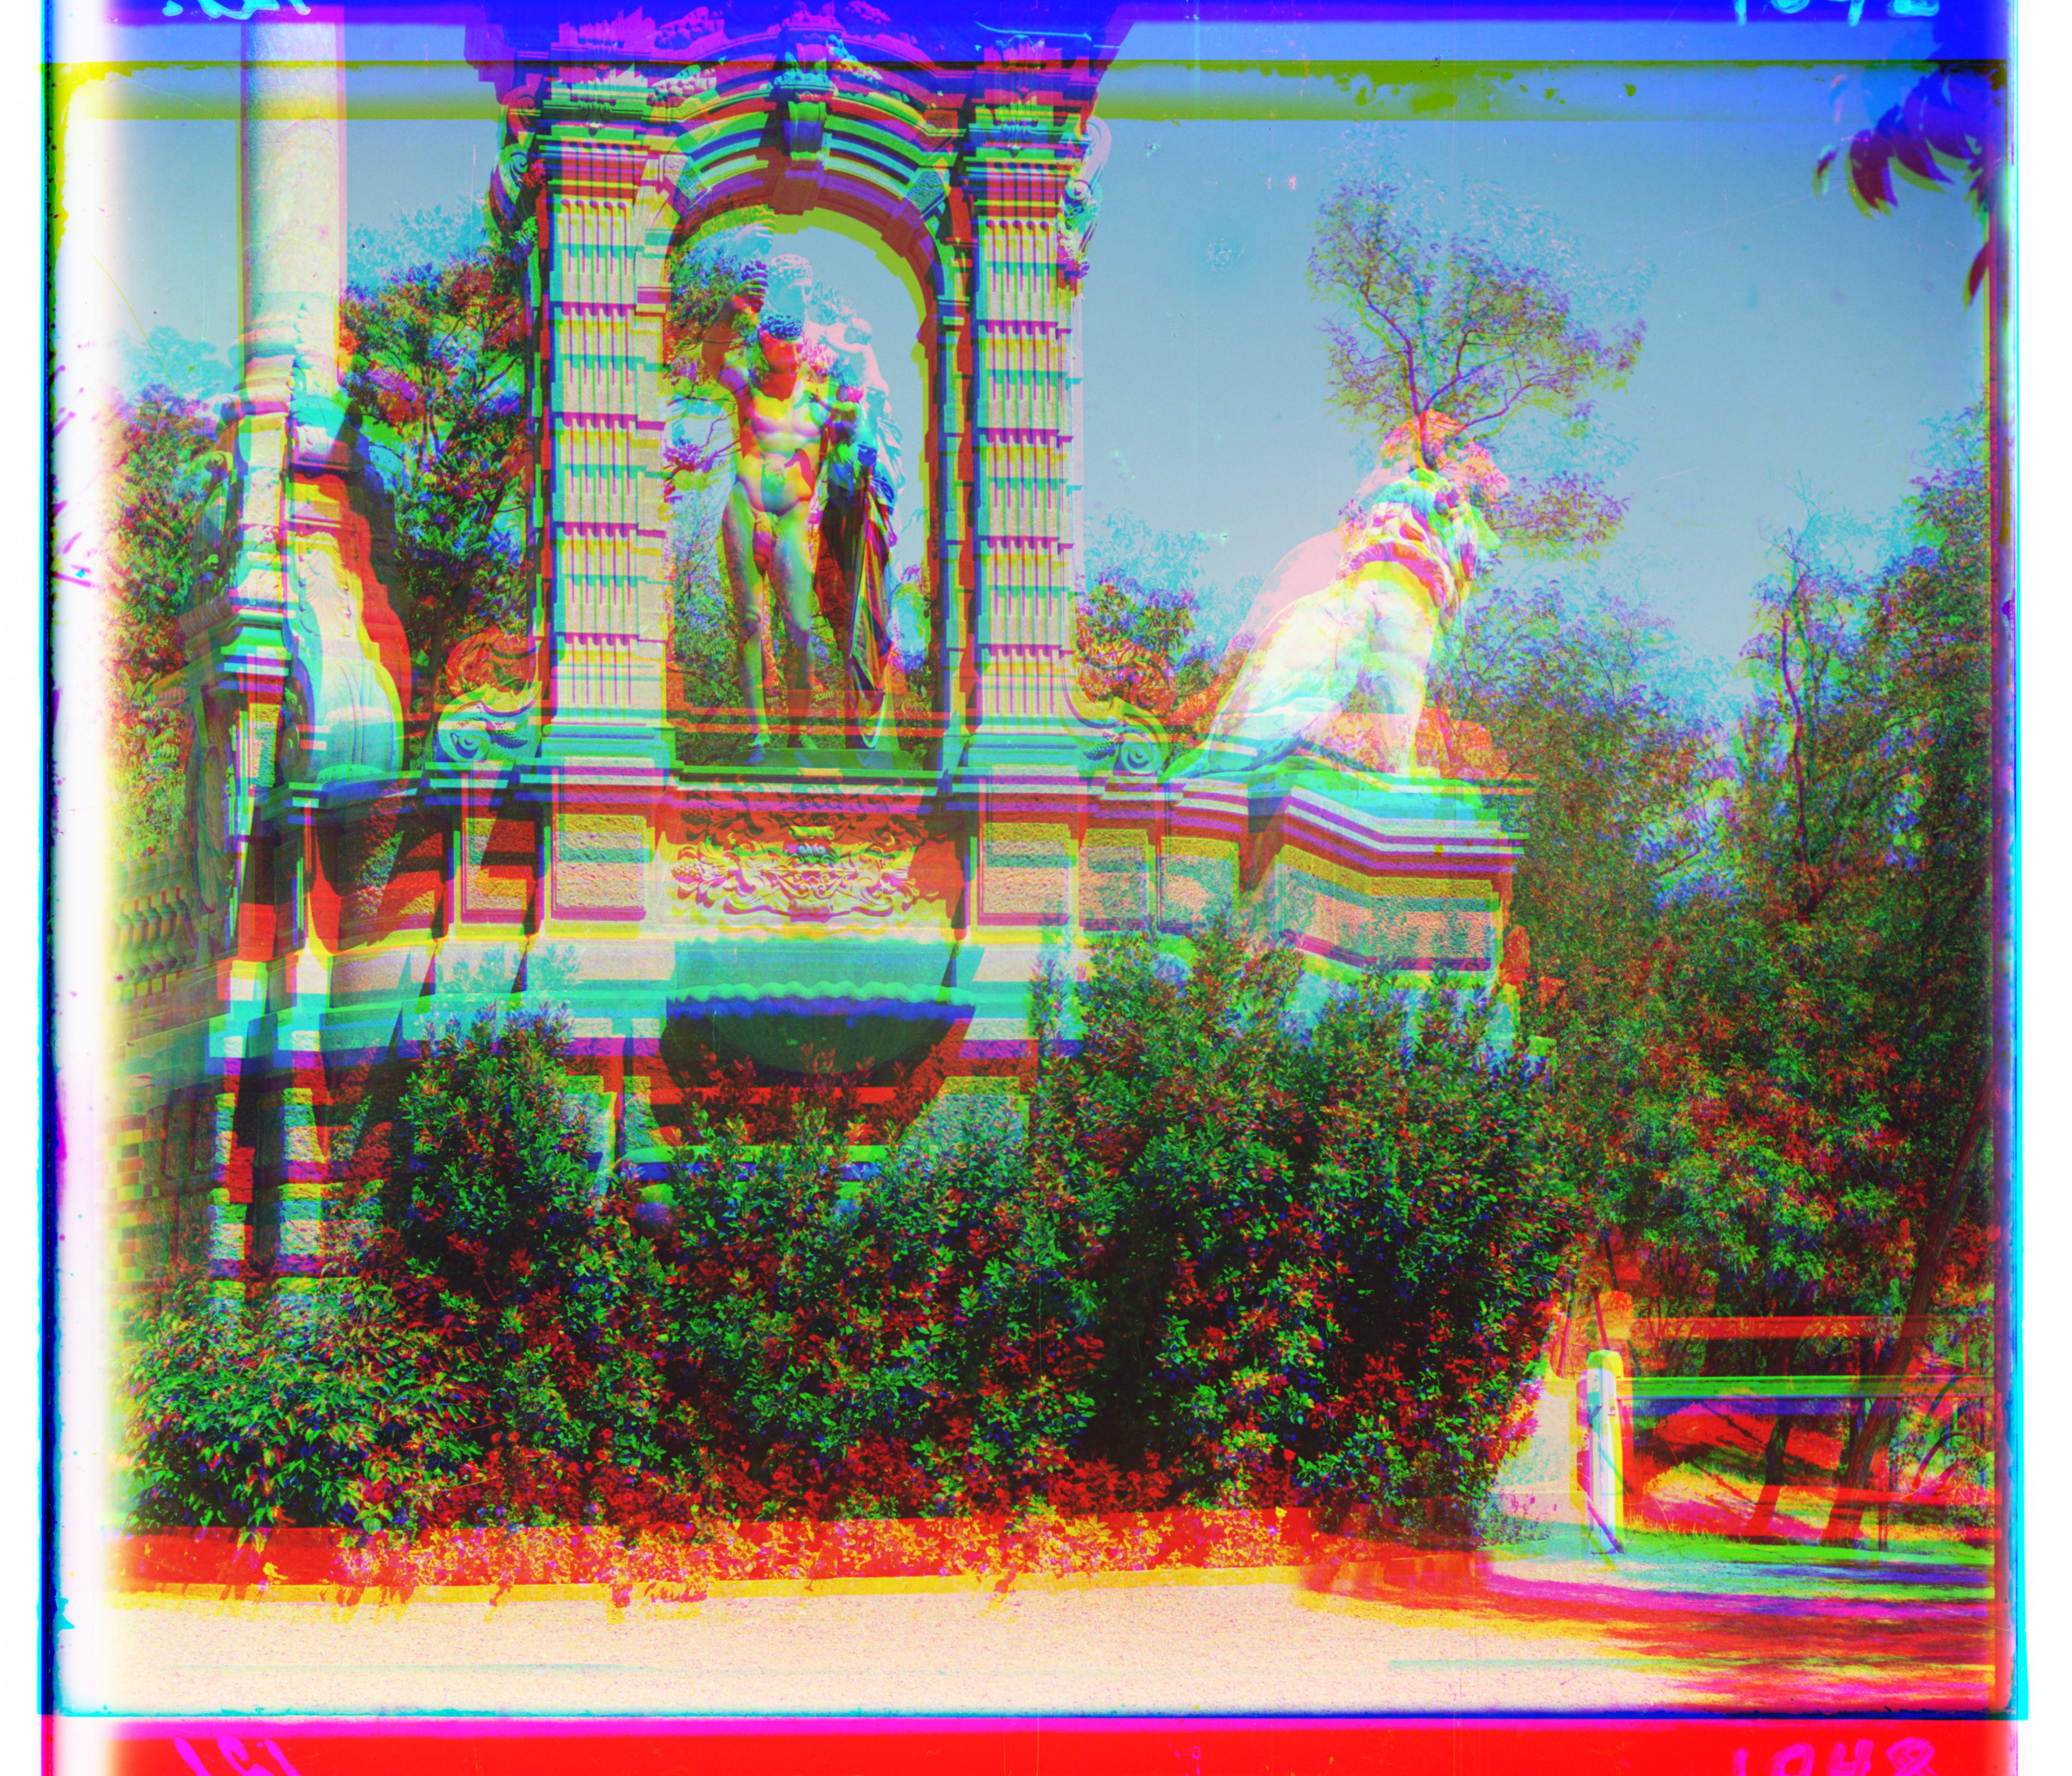
sculpture.tif, no alignment
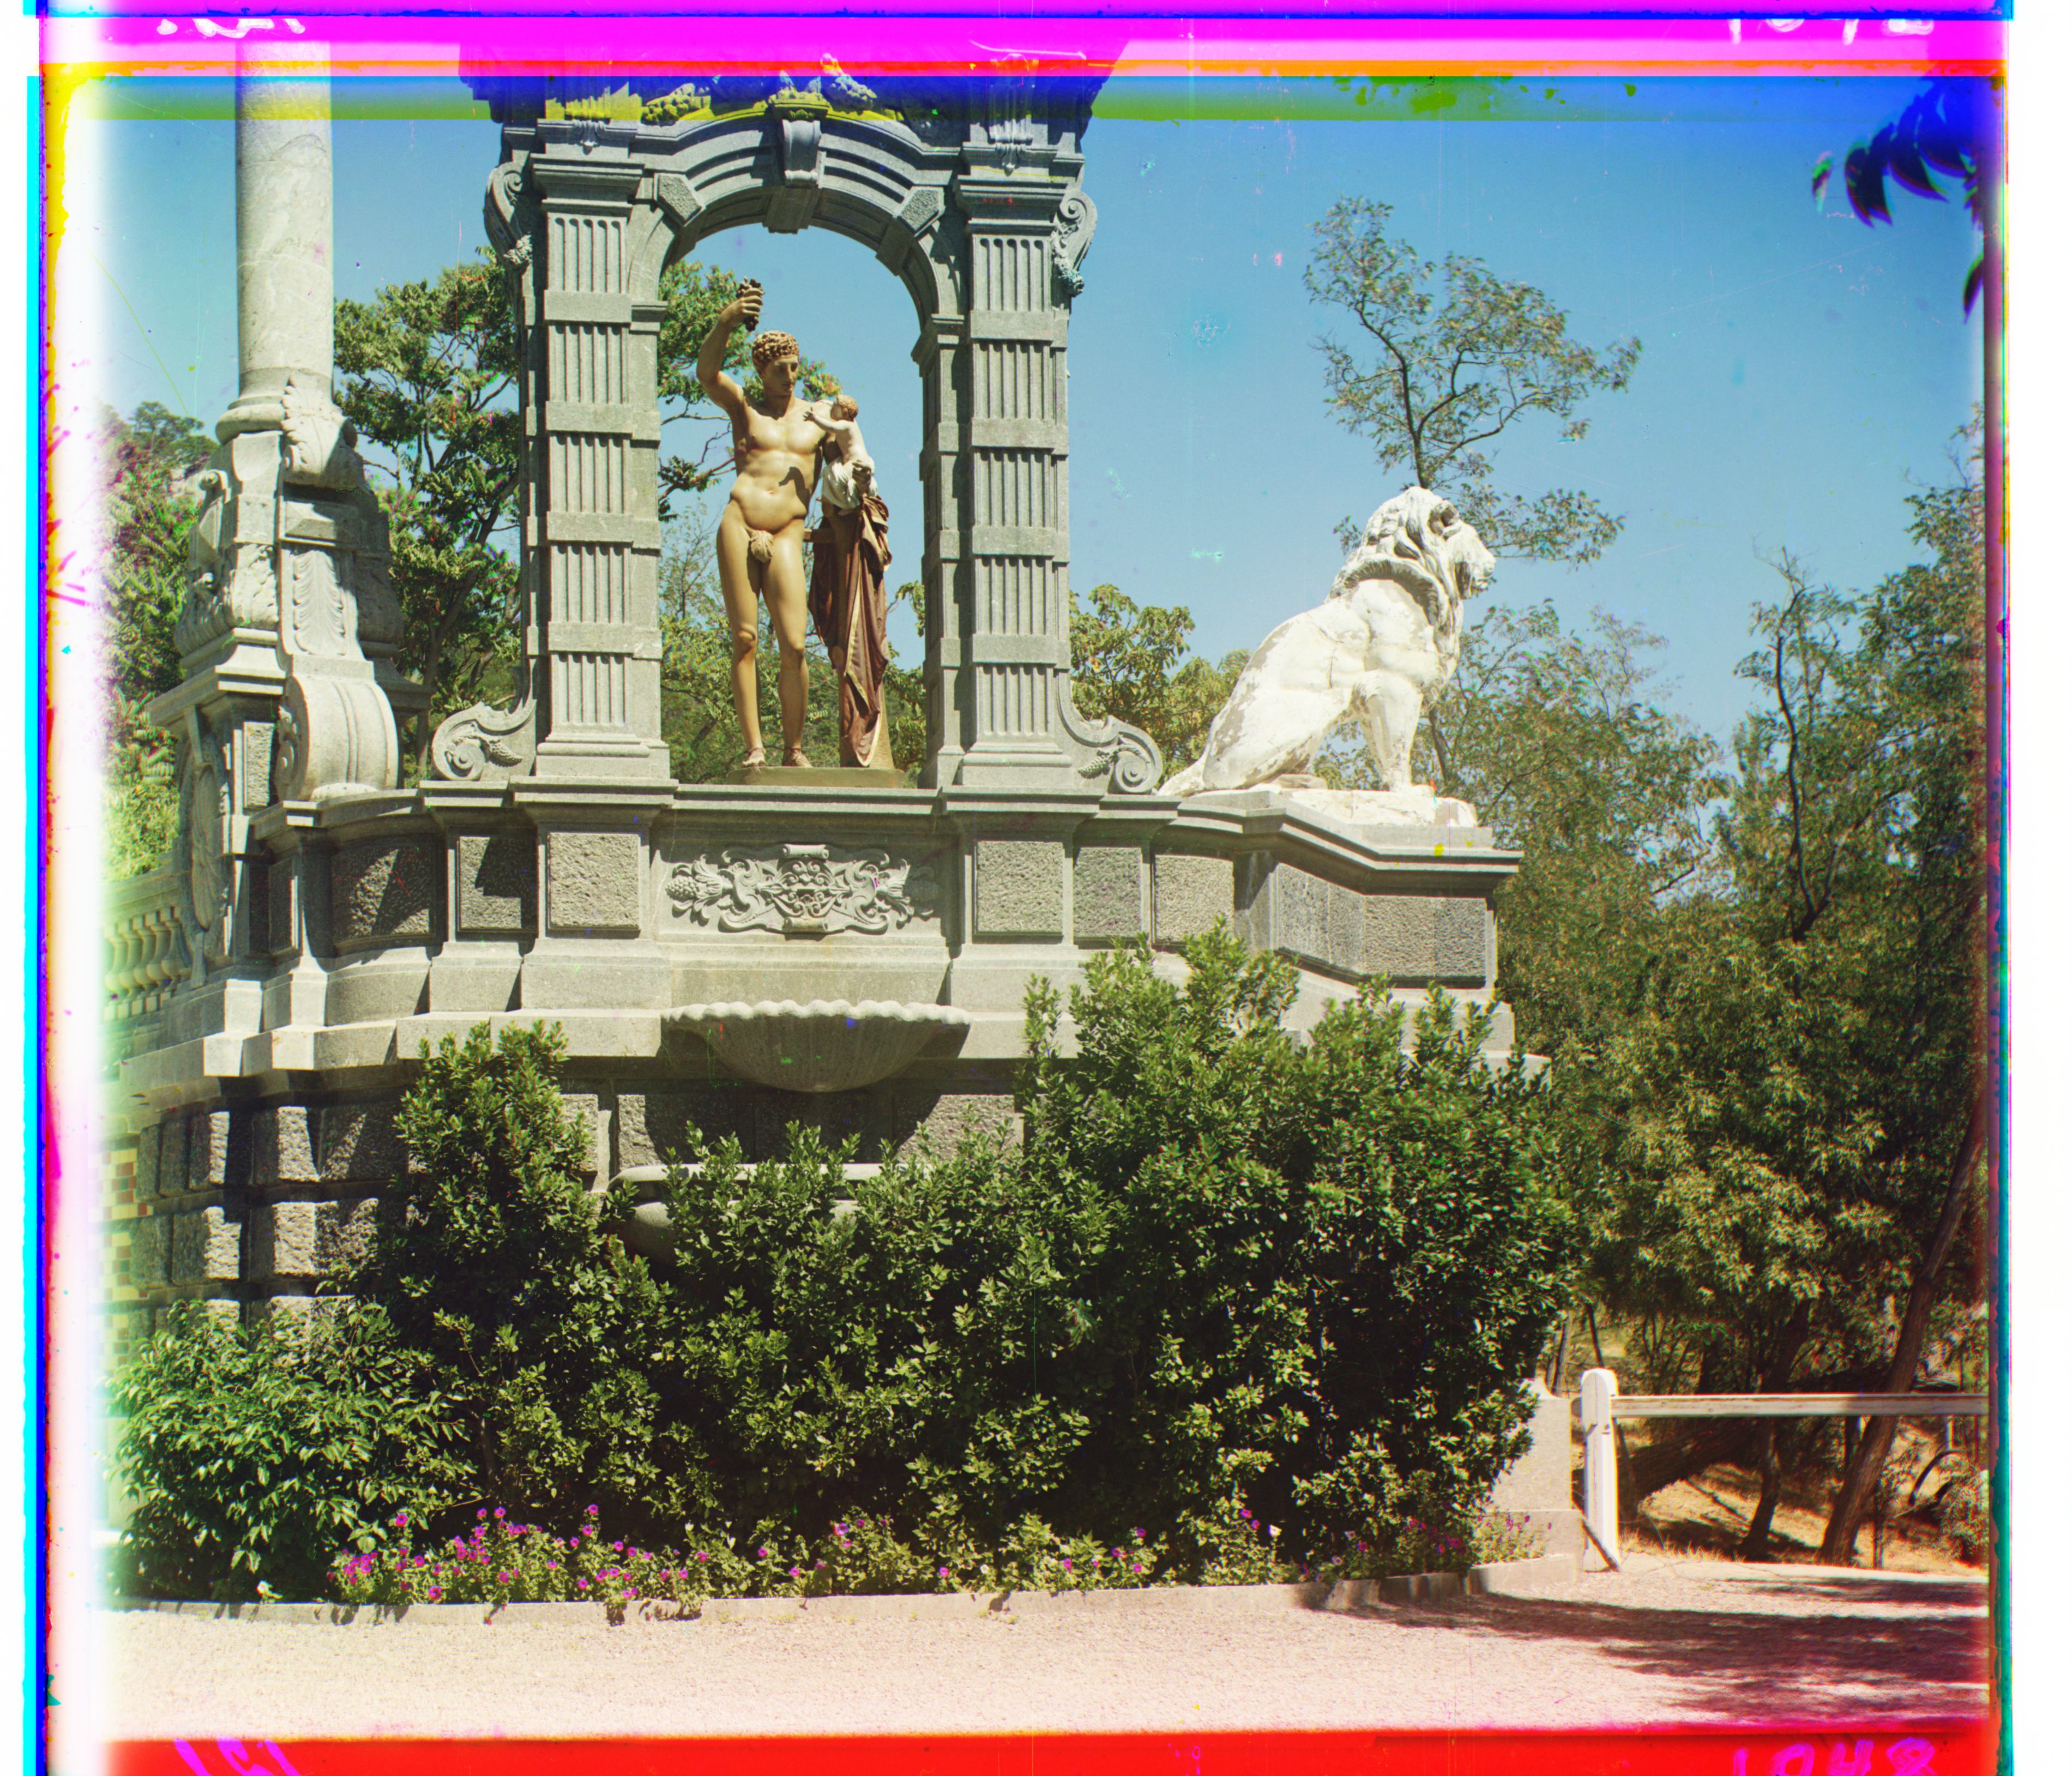
Aligned, G: (-10,34), R: (-26,140)
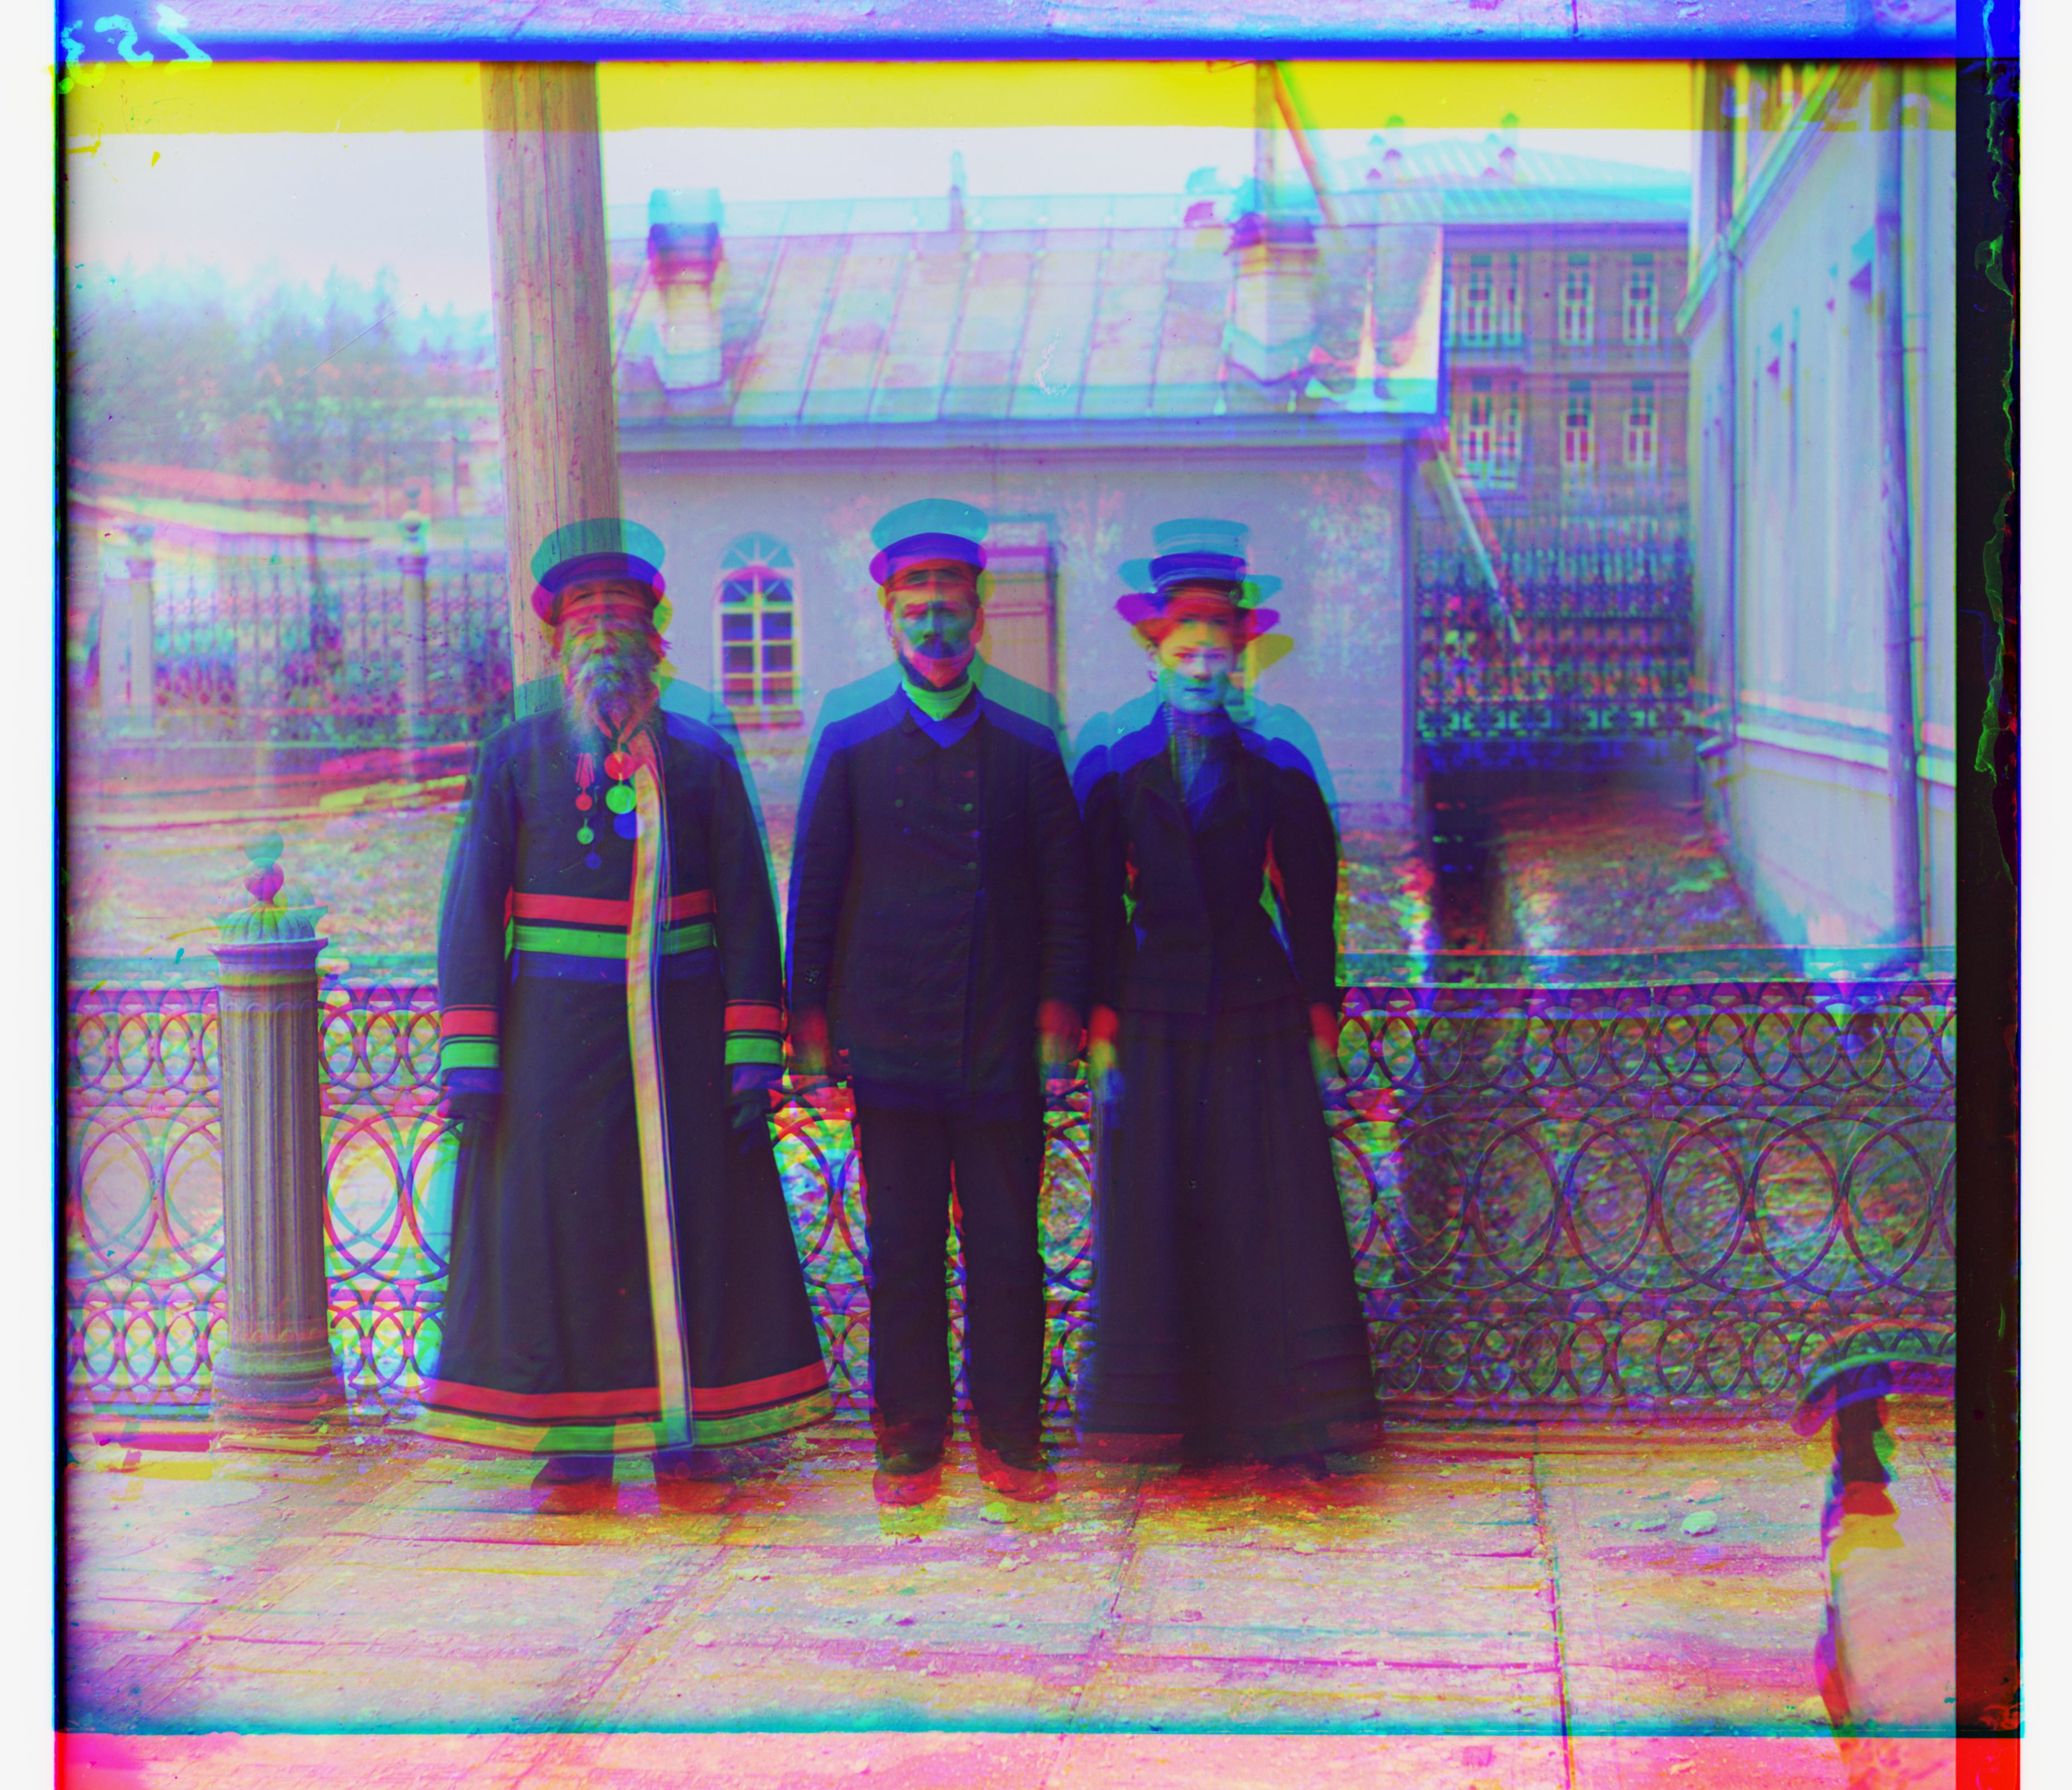
three_generations.tif, no alignment
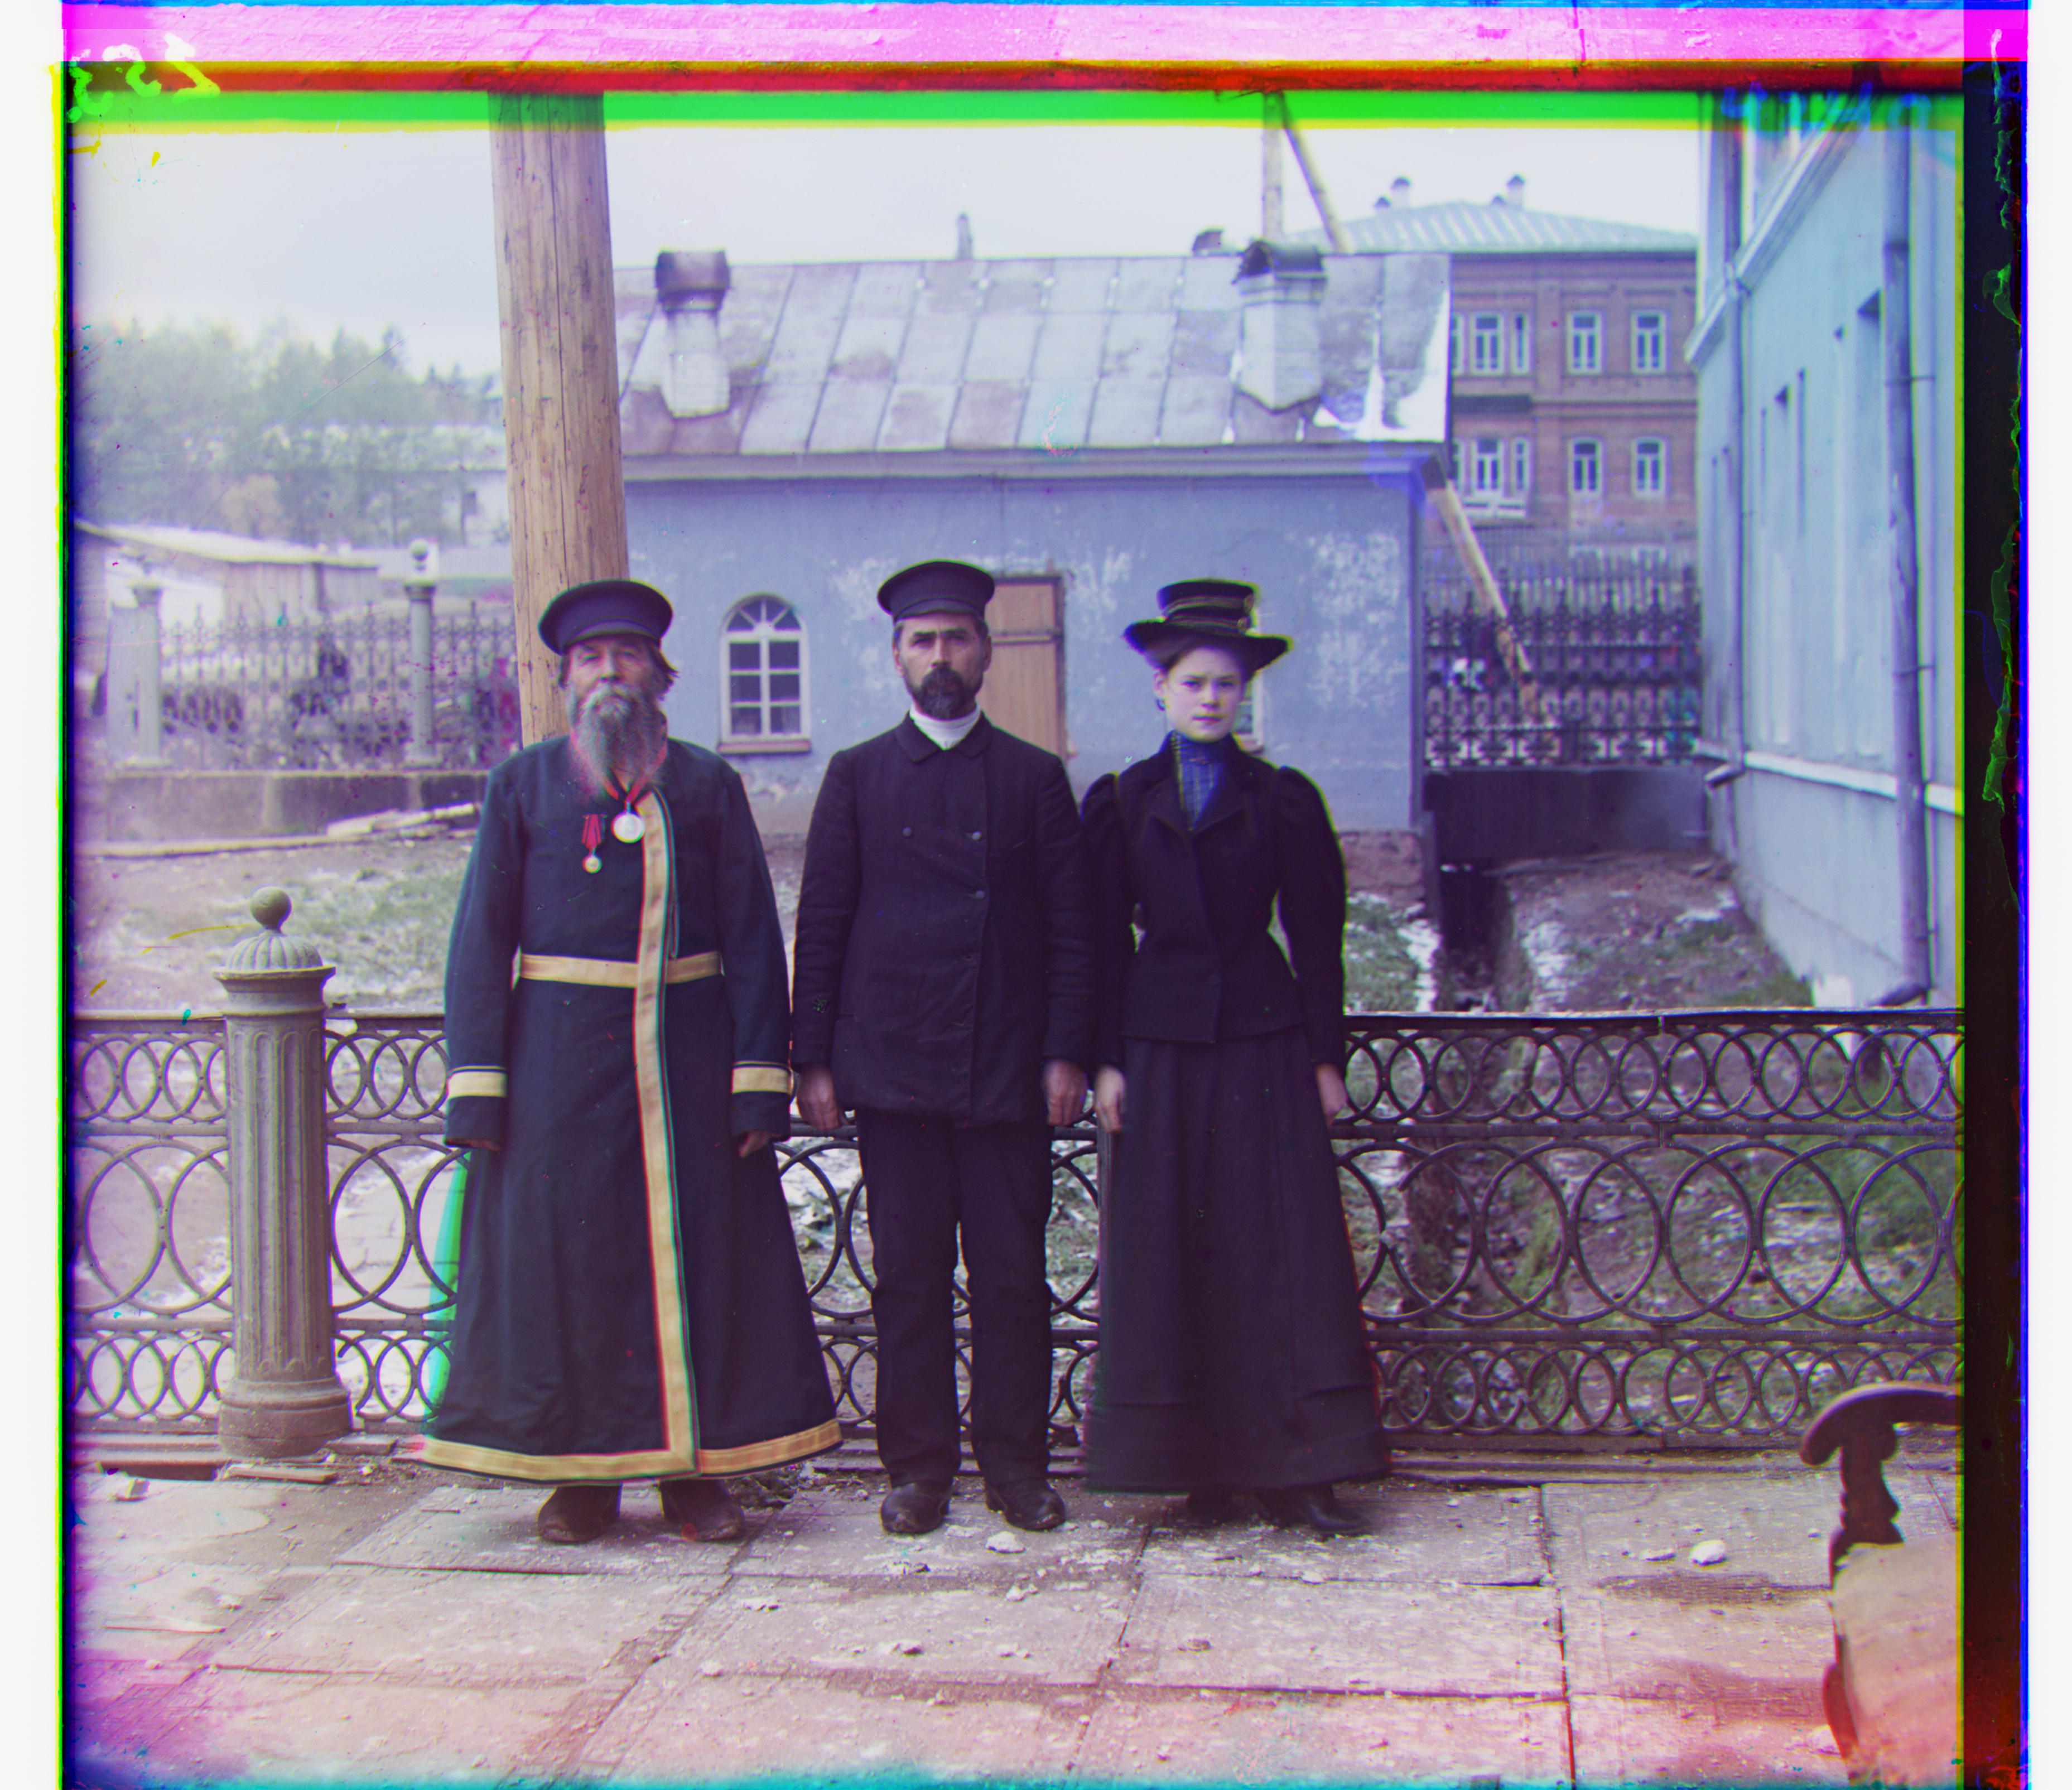
Aligned, G: (14,52), R: (12,110)
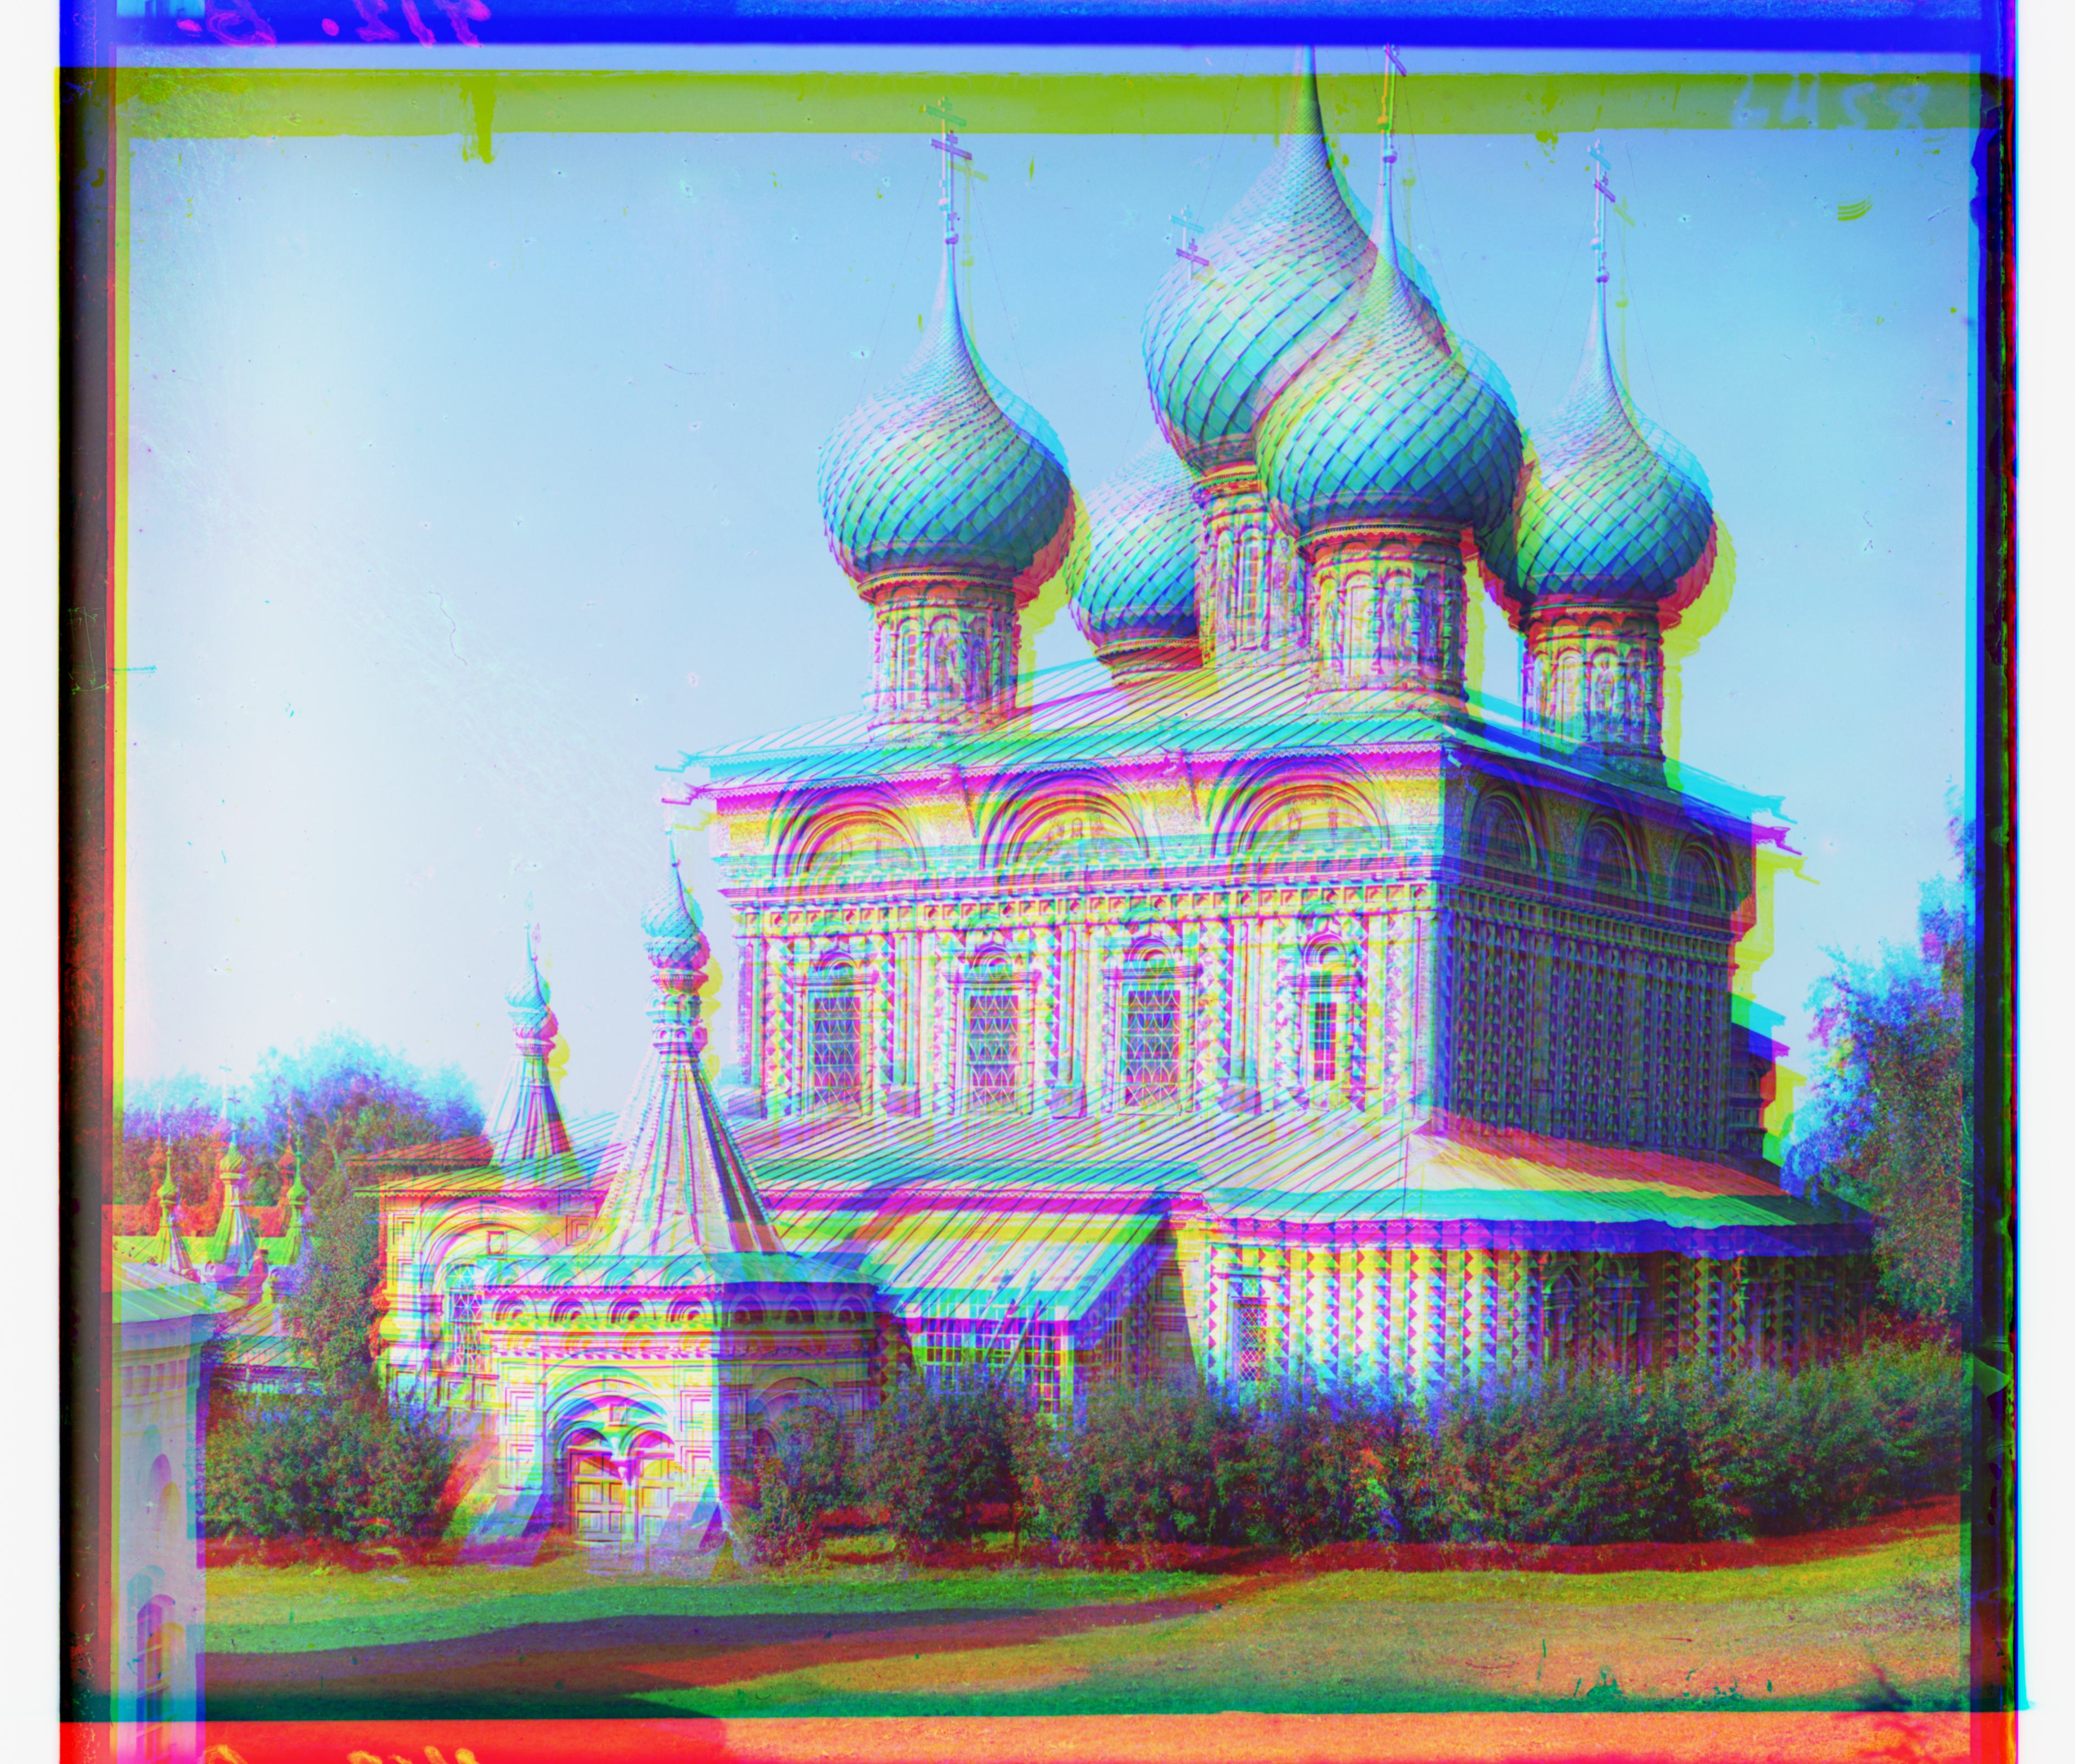
onion_church.tif, no alignment
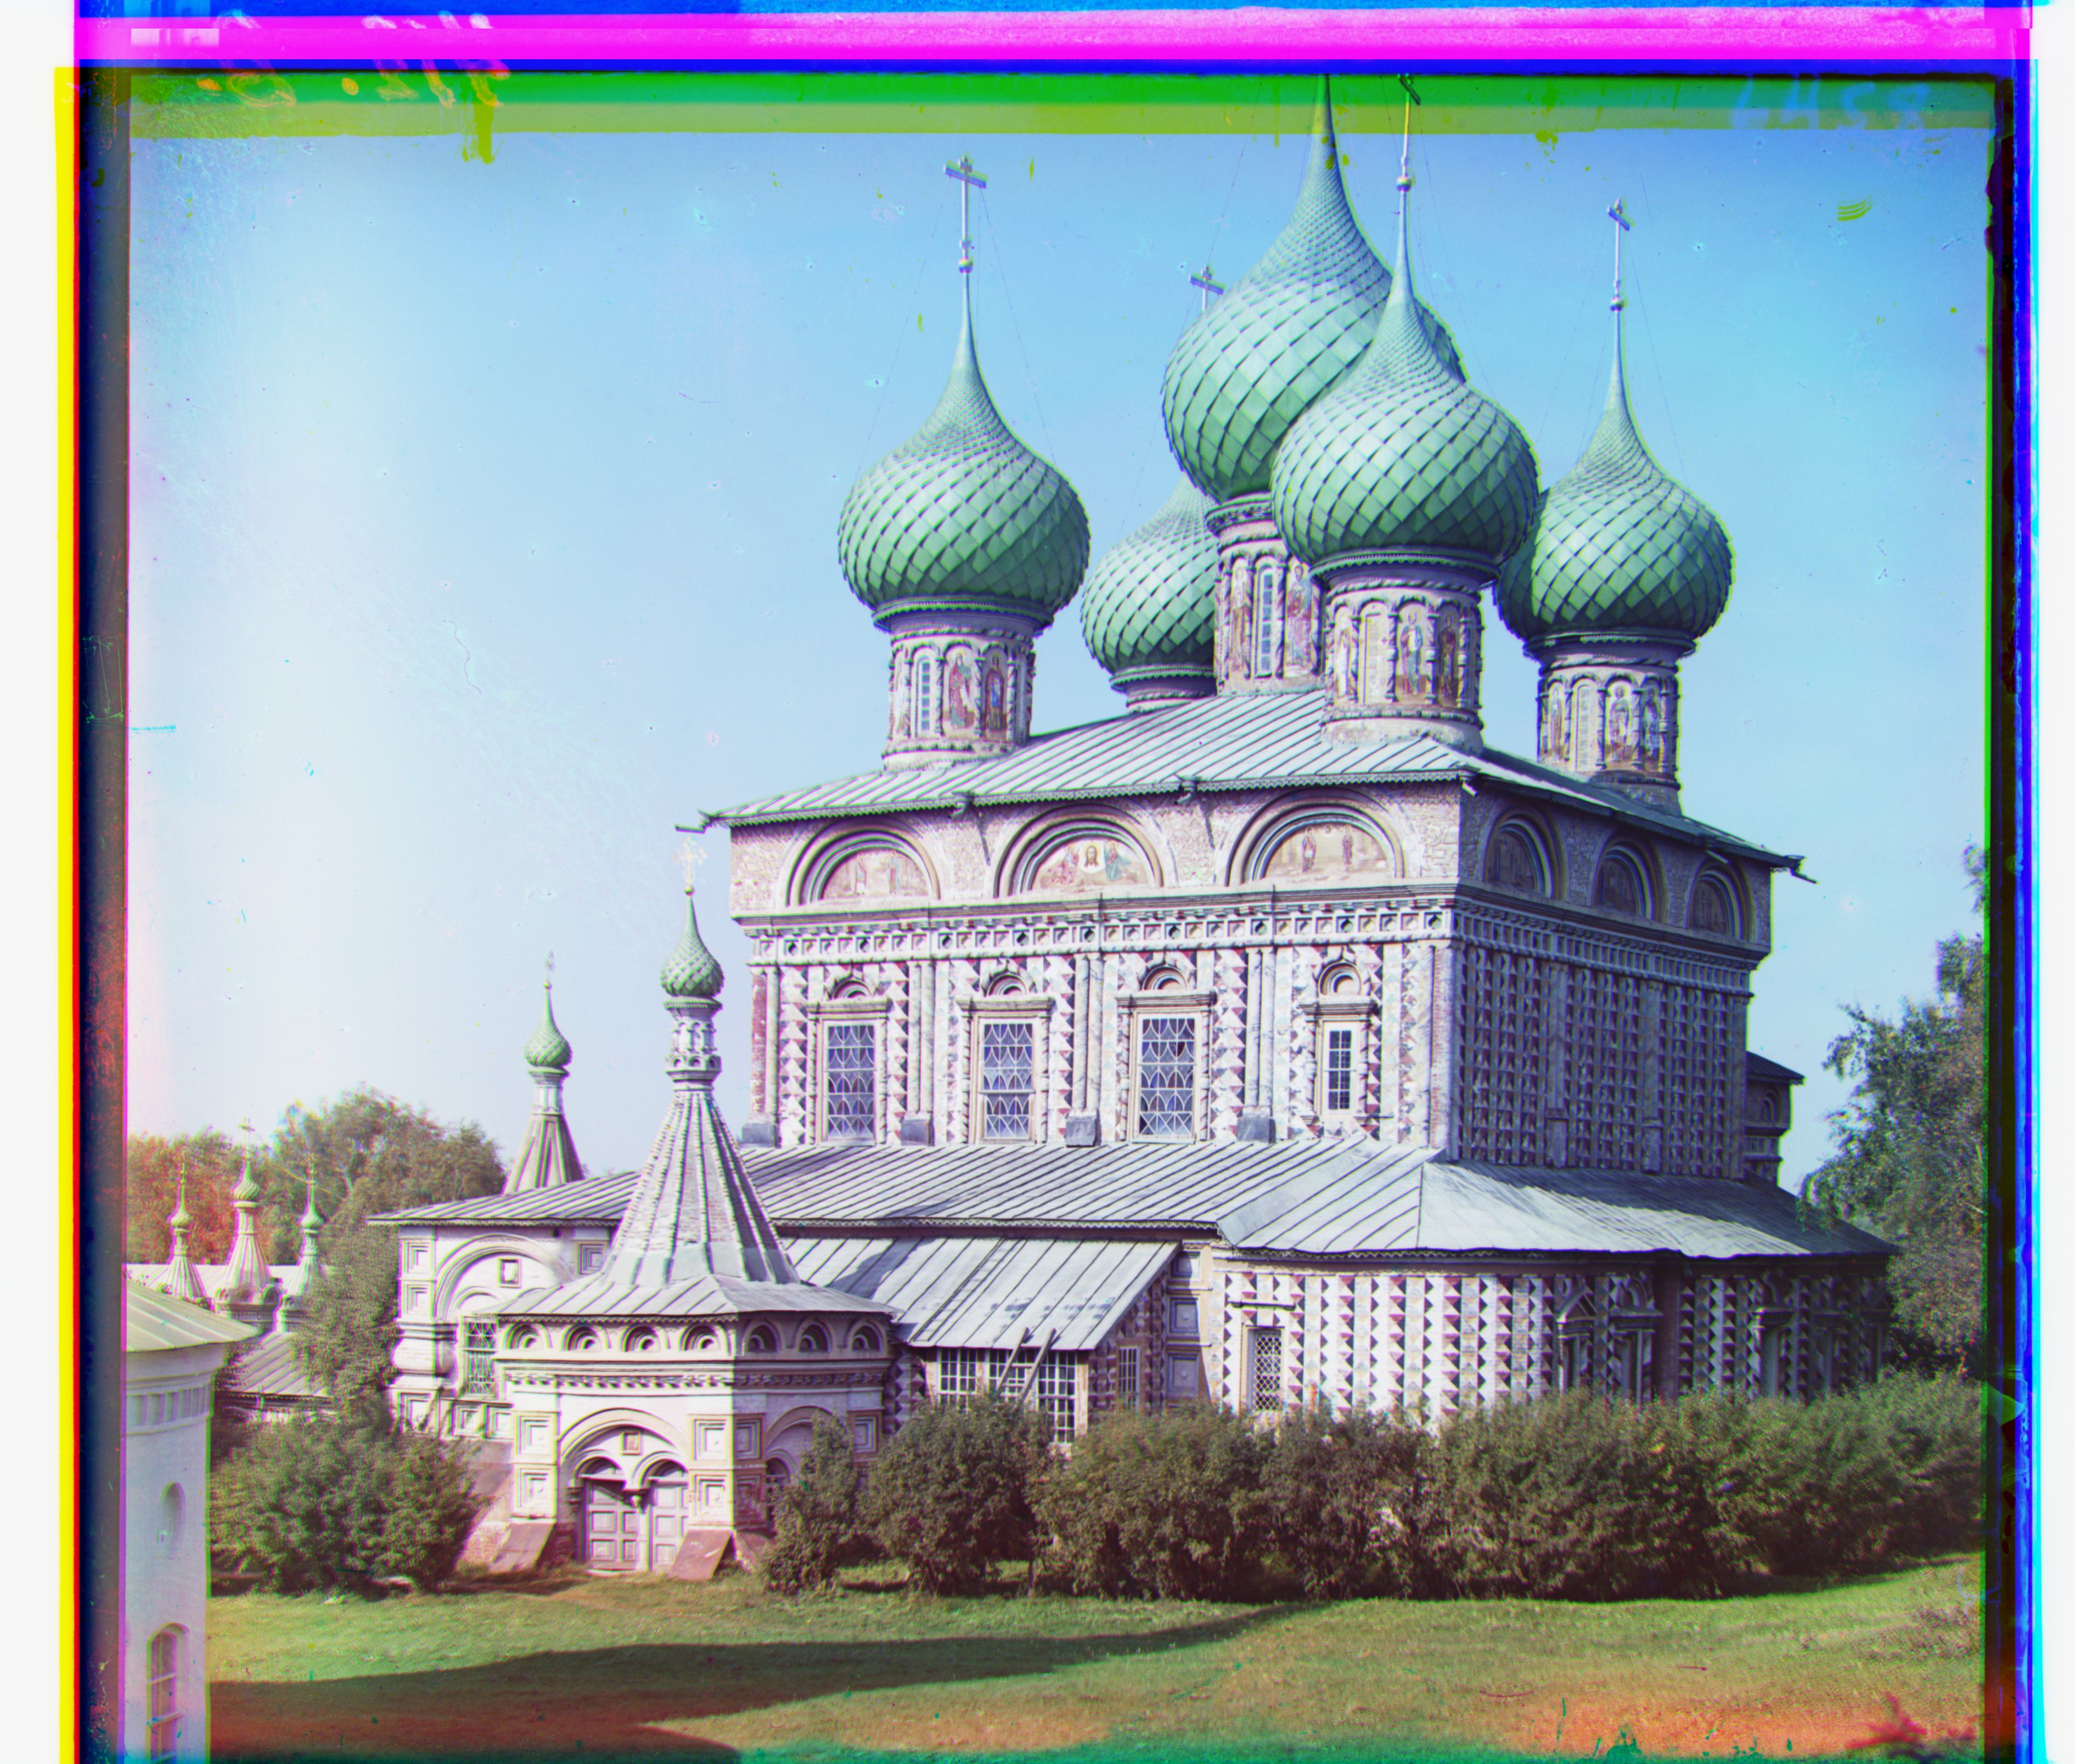
Aligned, G: (26,52), R: (36,108)
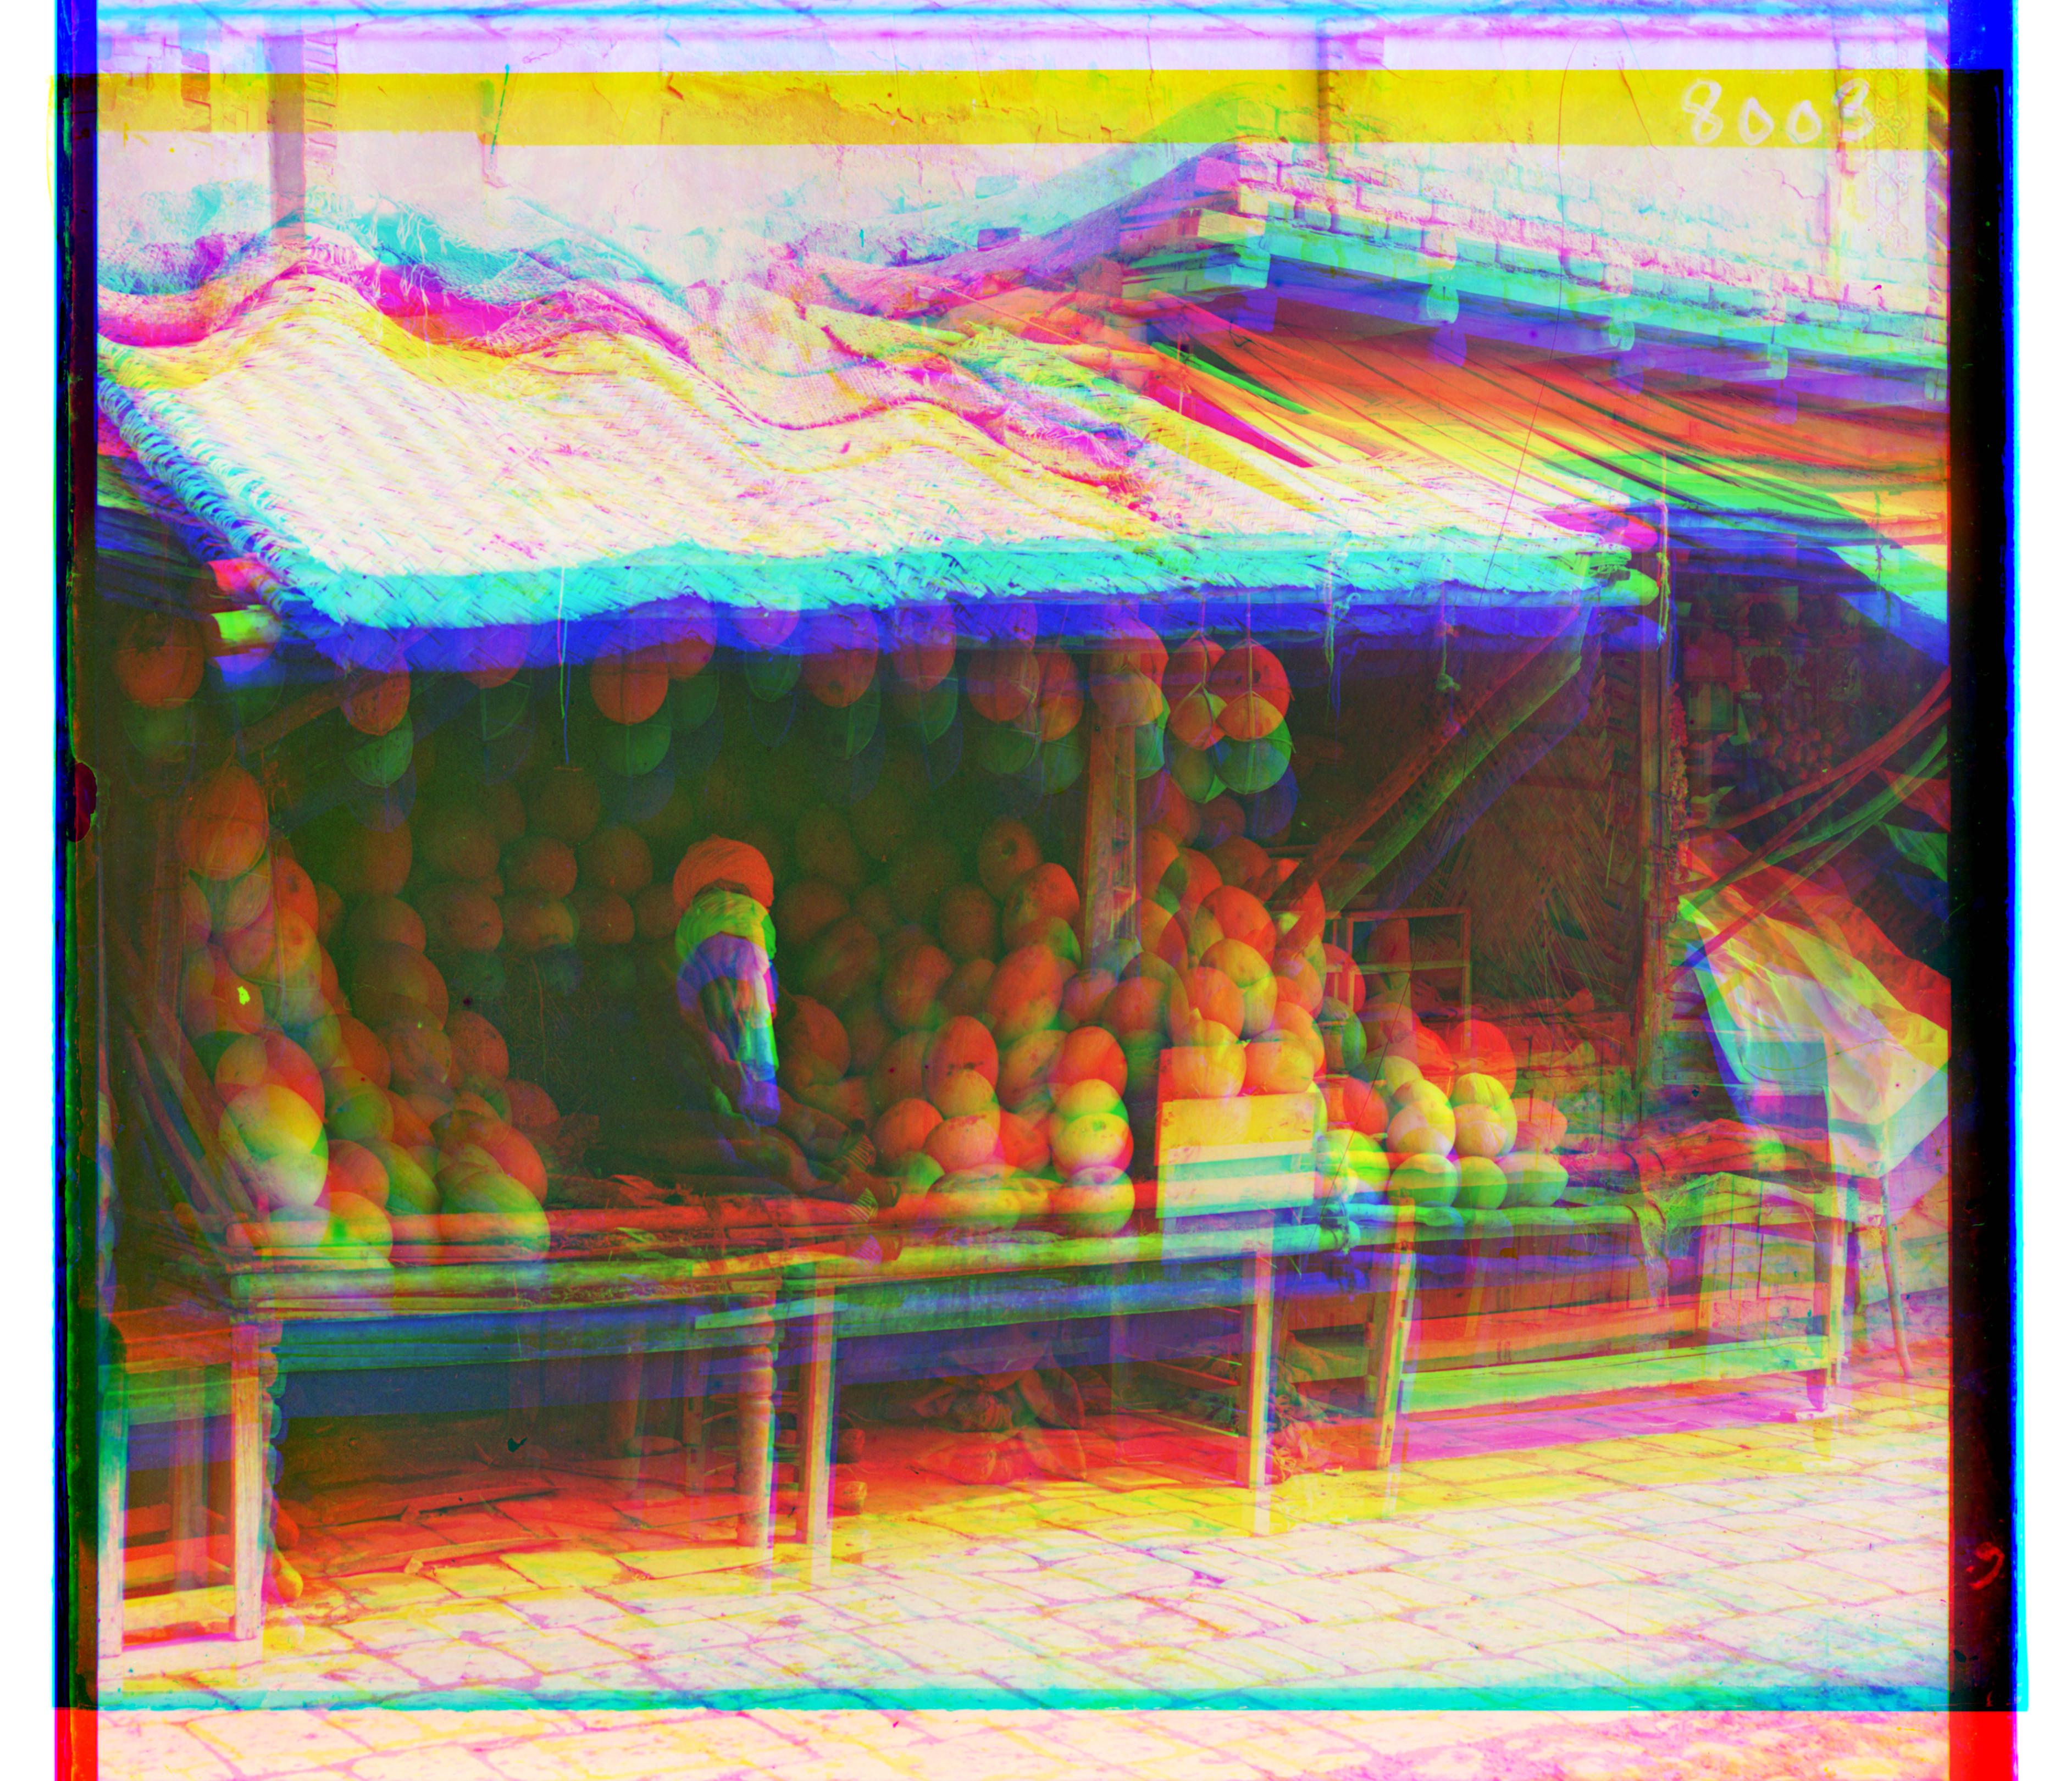
melons.tif, no alignment
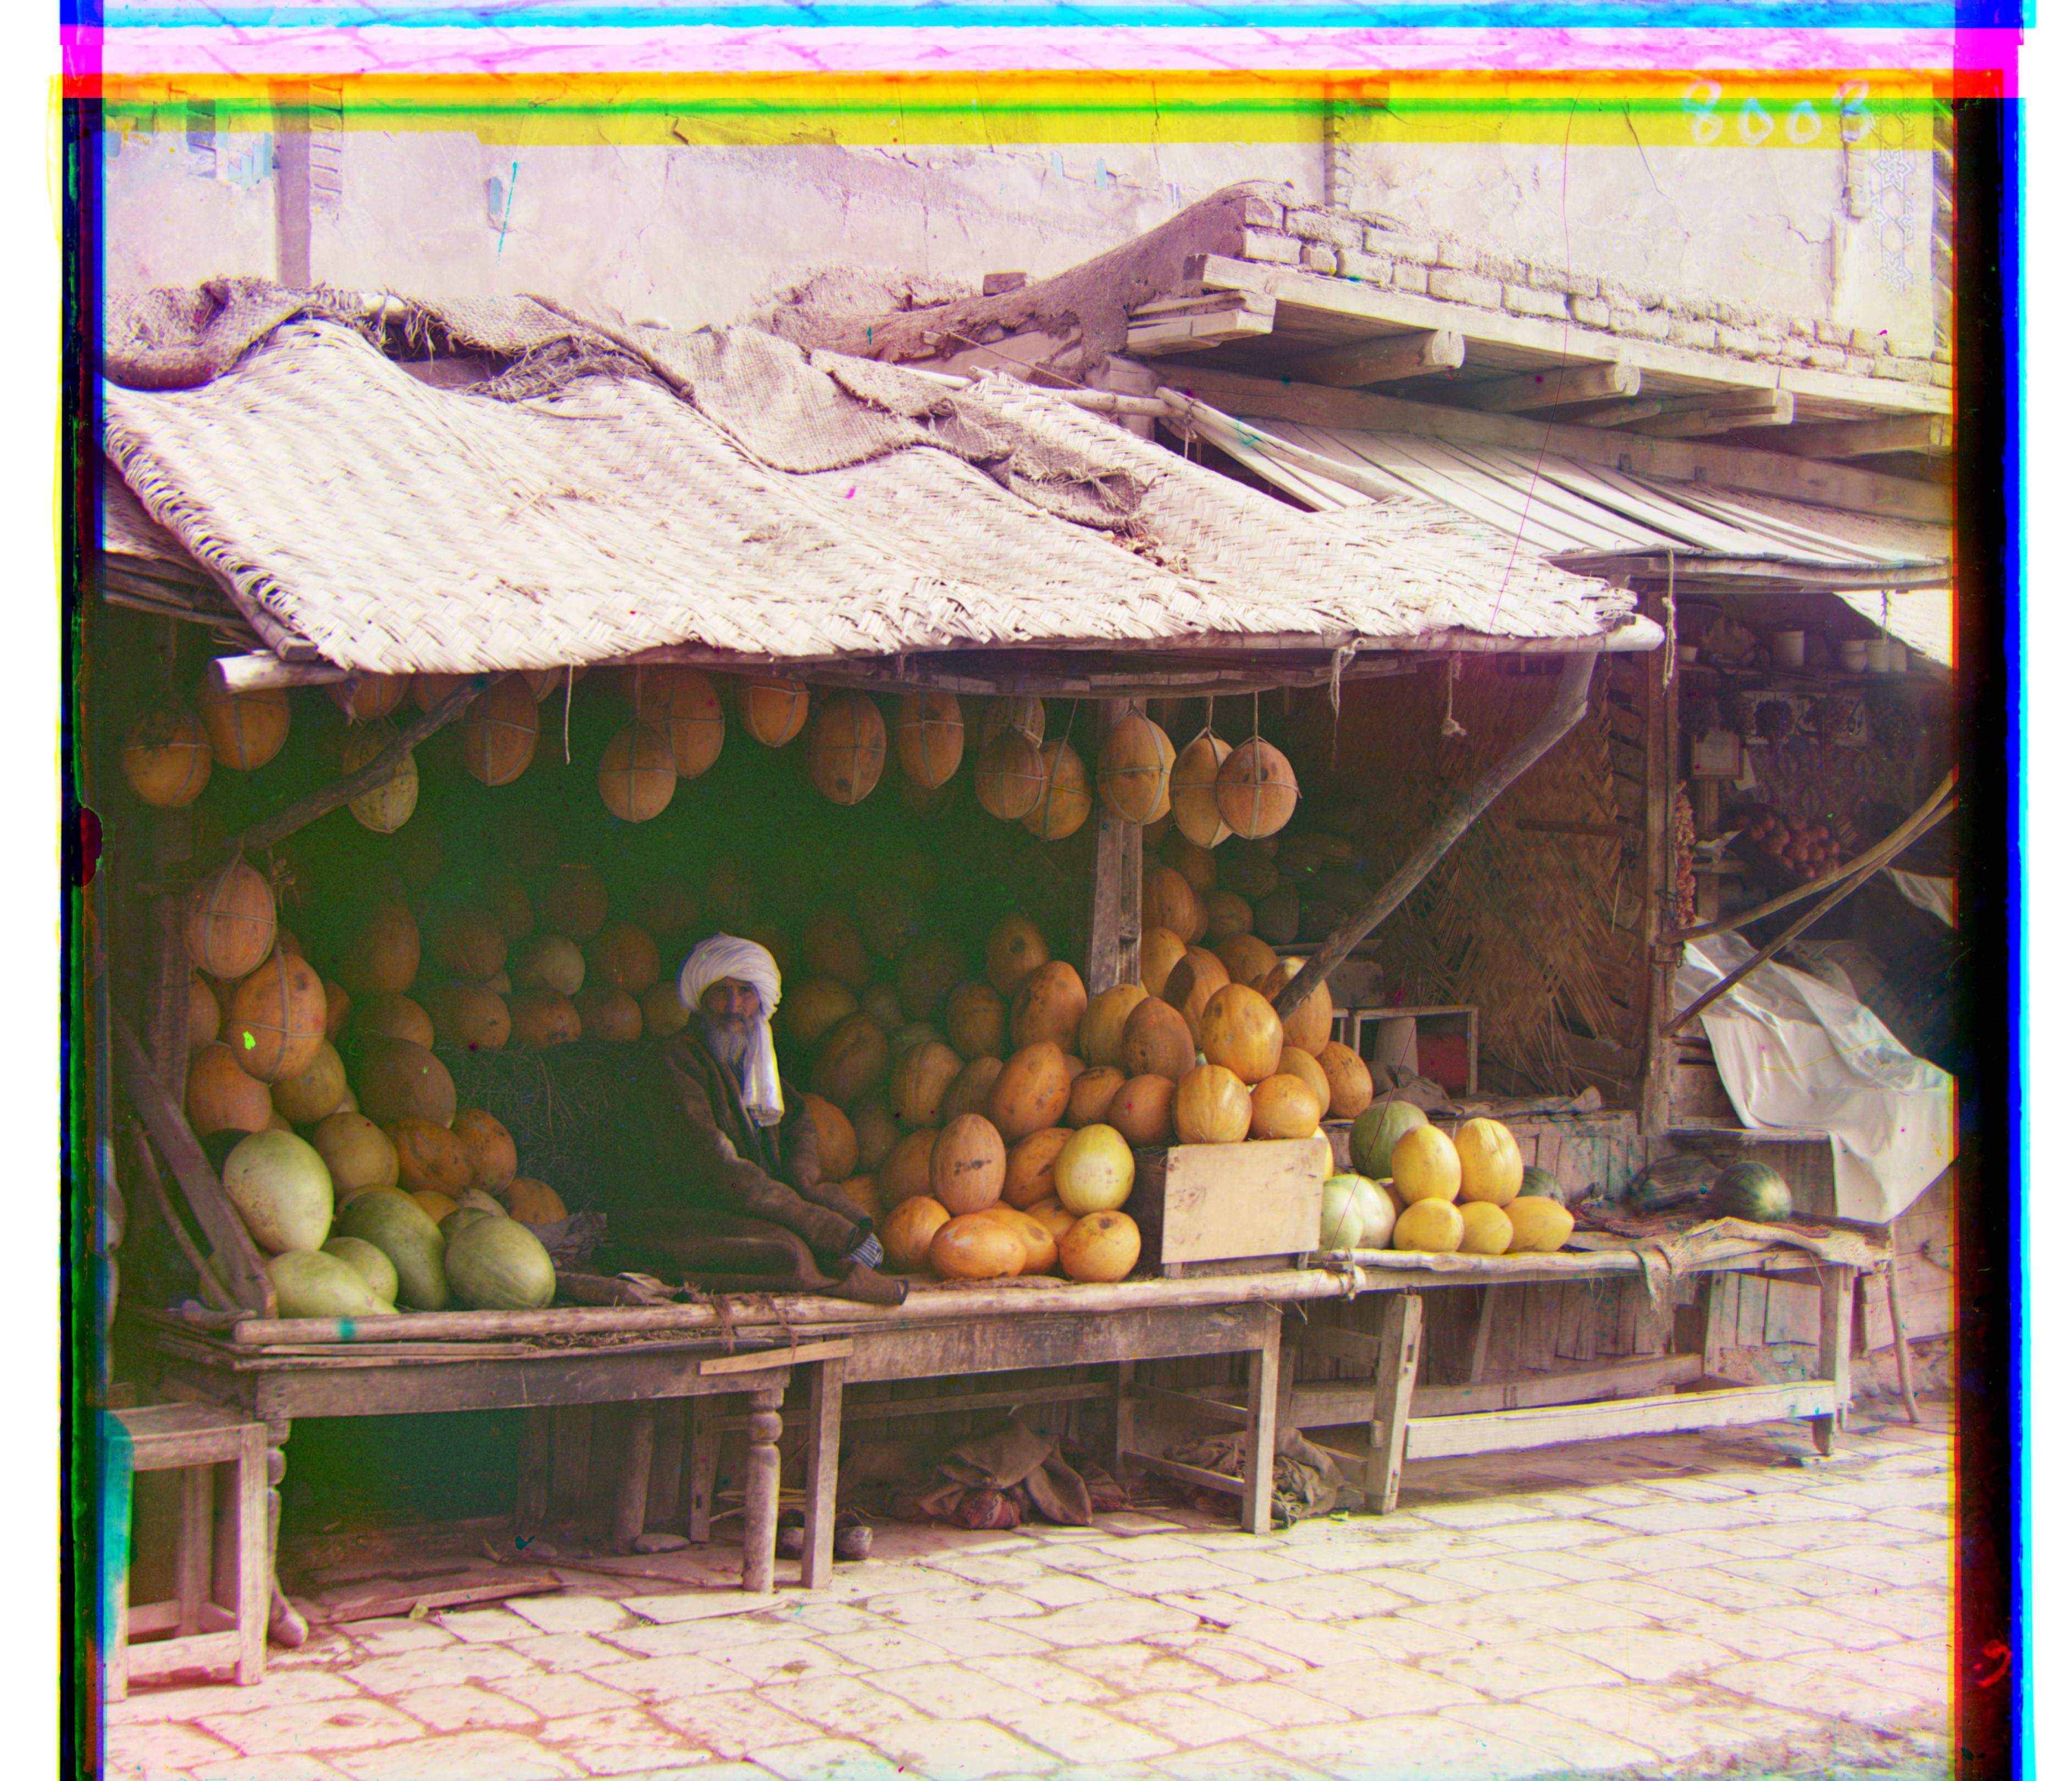
Aligned, G: (10,82), R: (14,178)
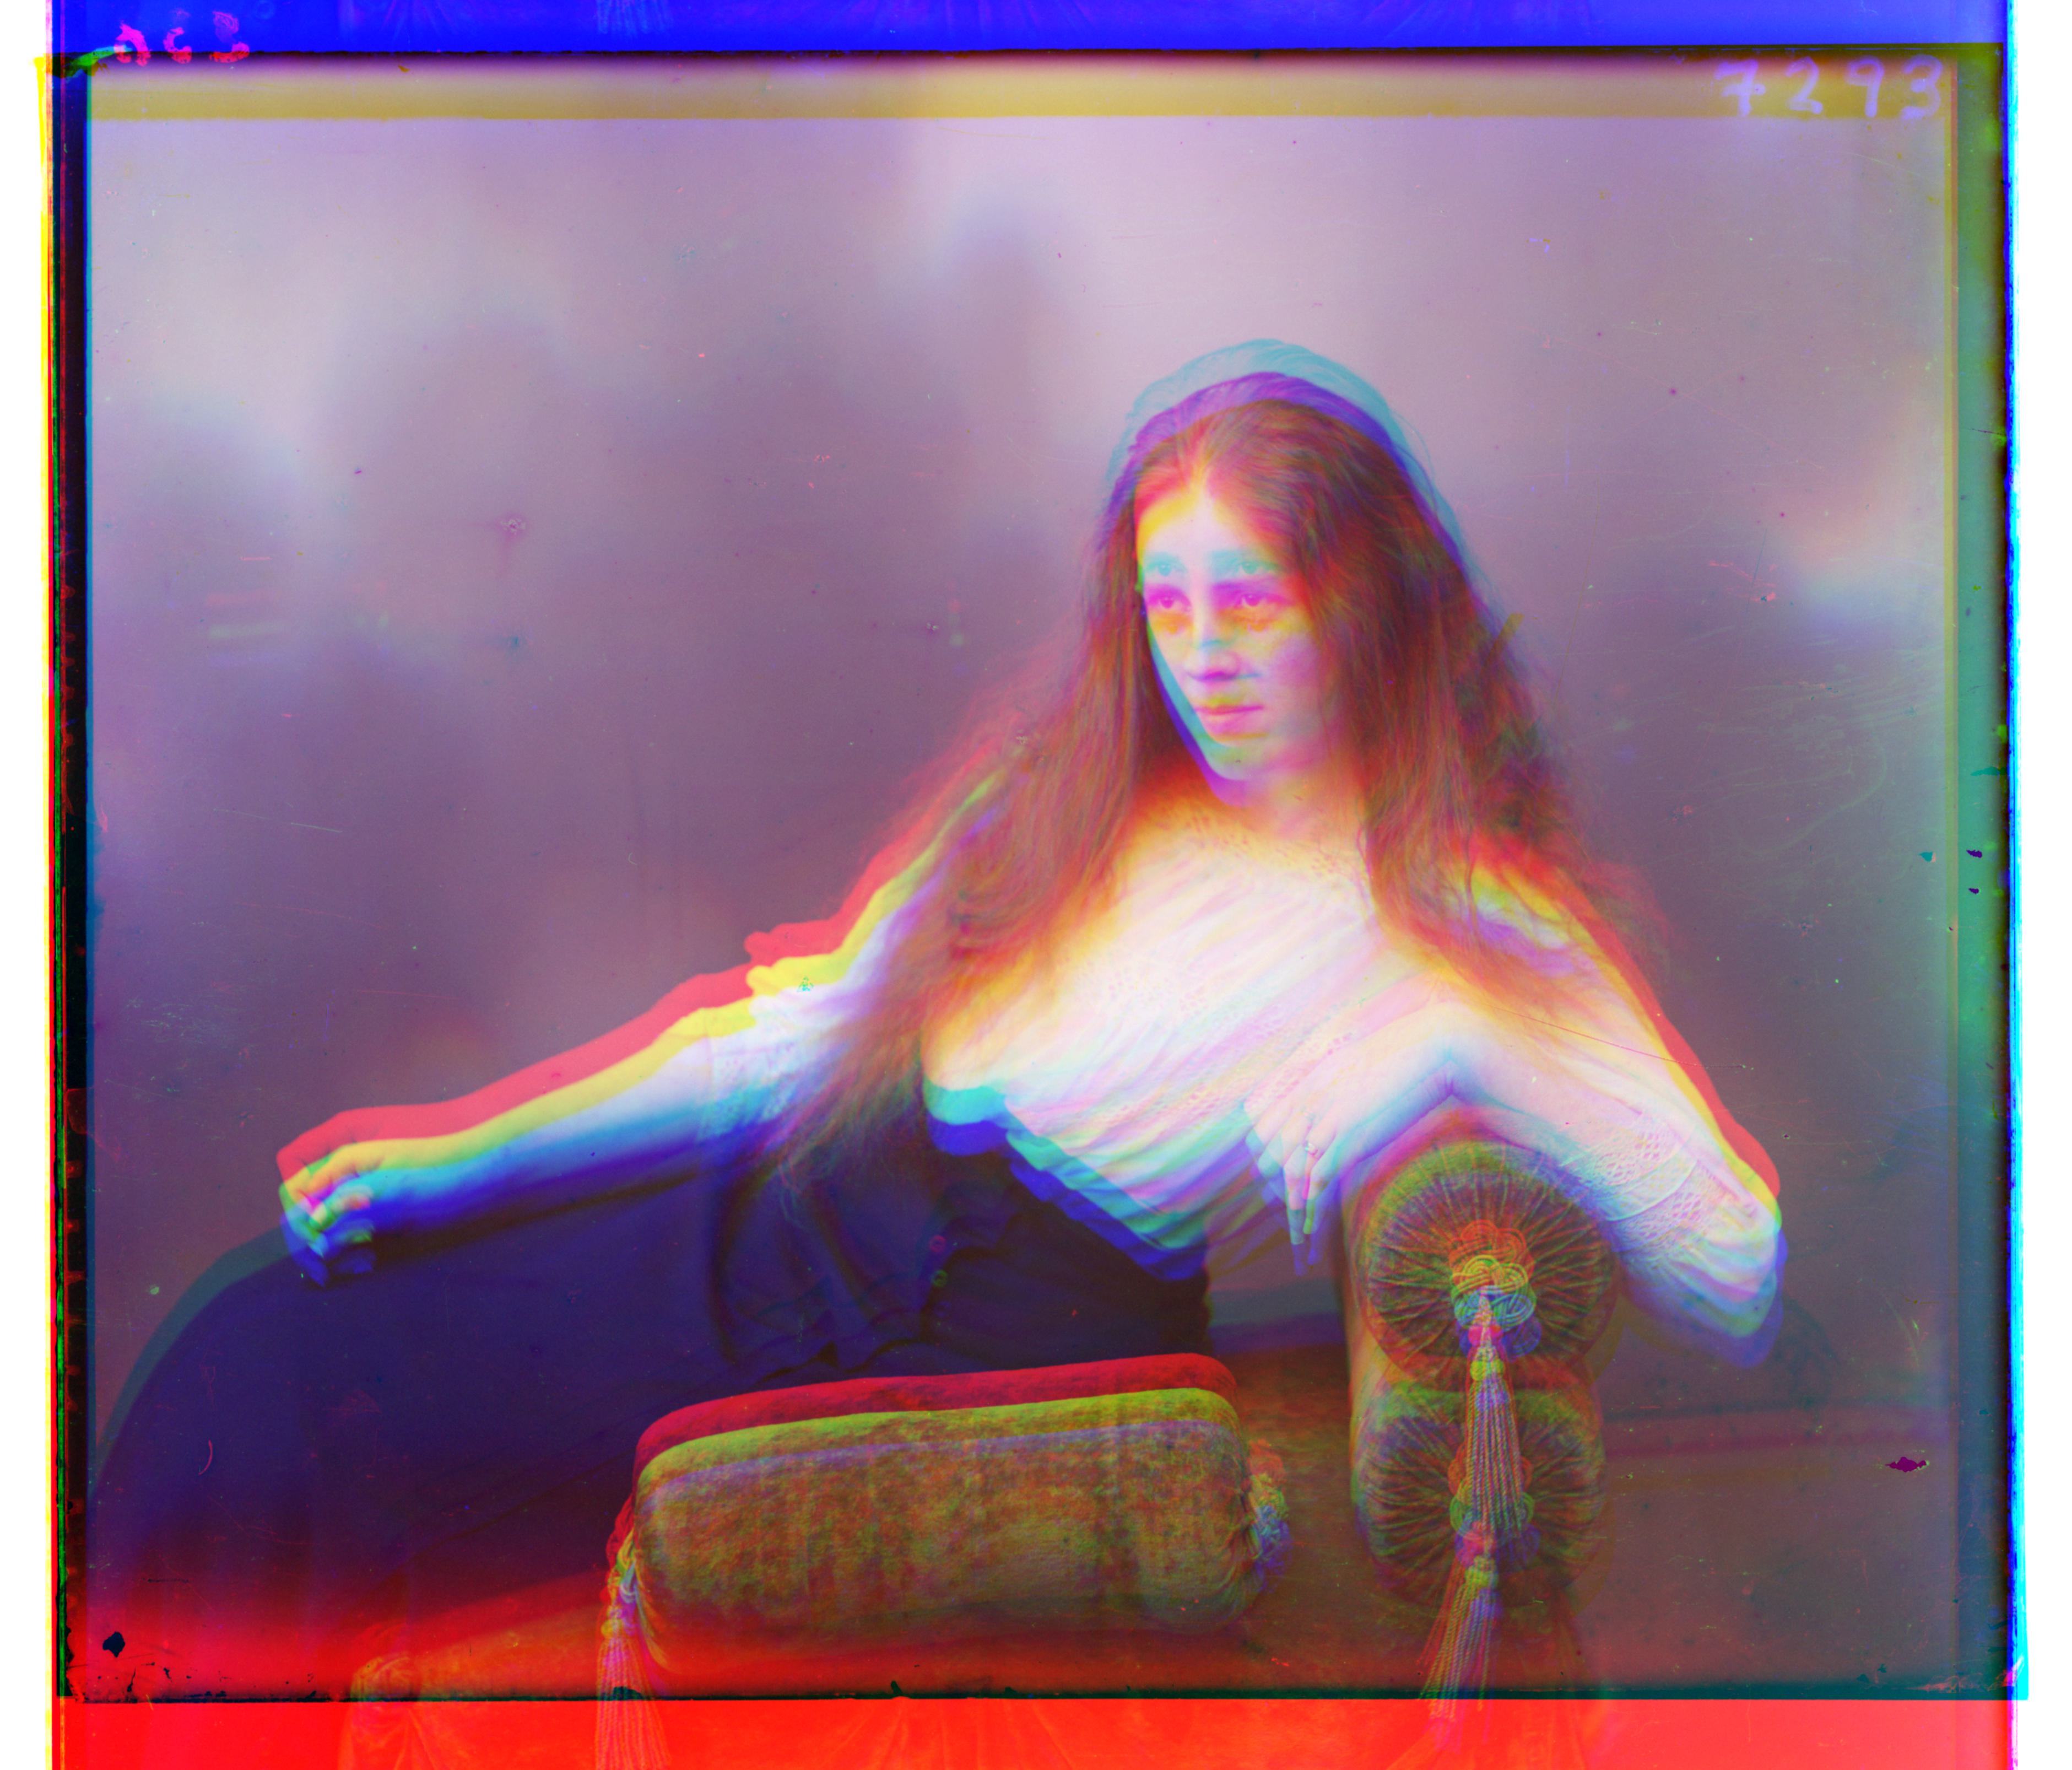
lady.tif, no alignment
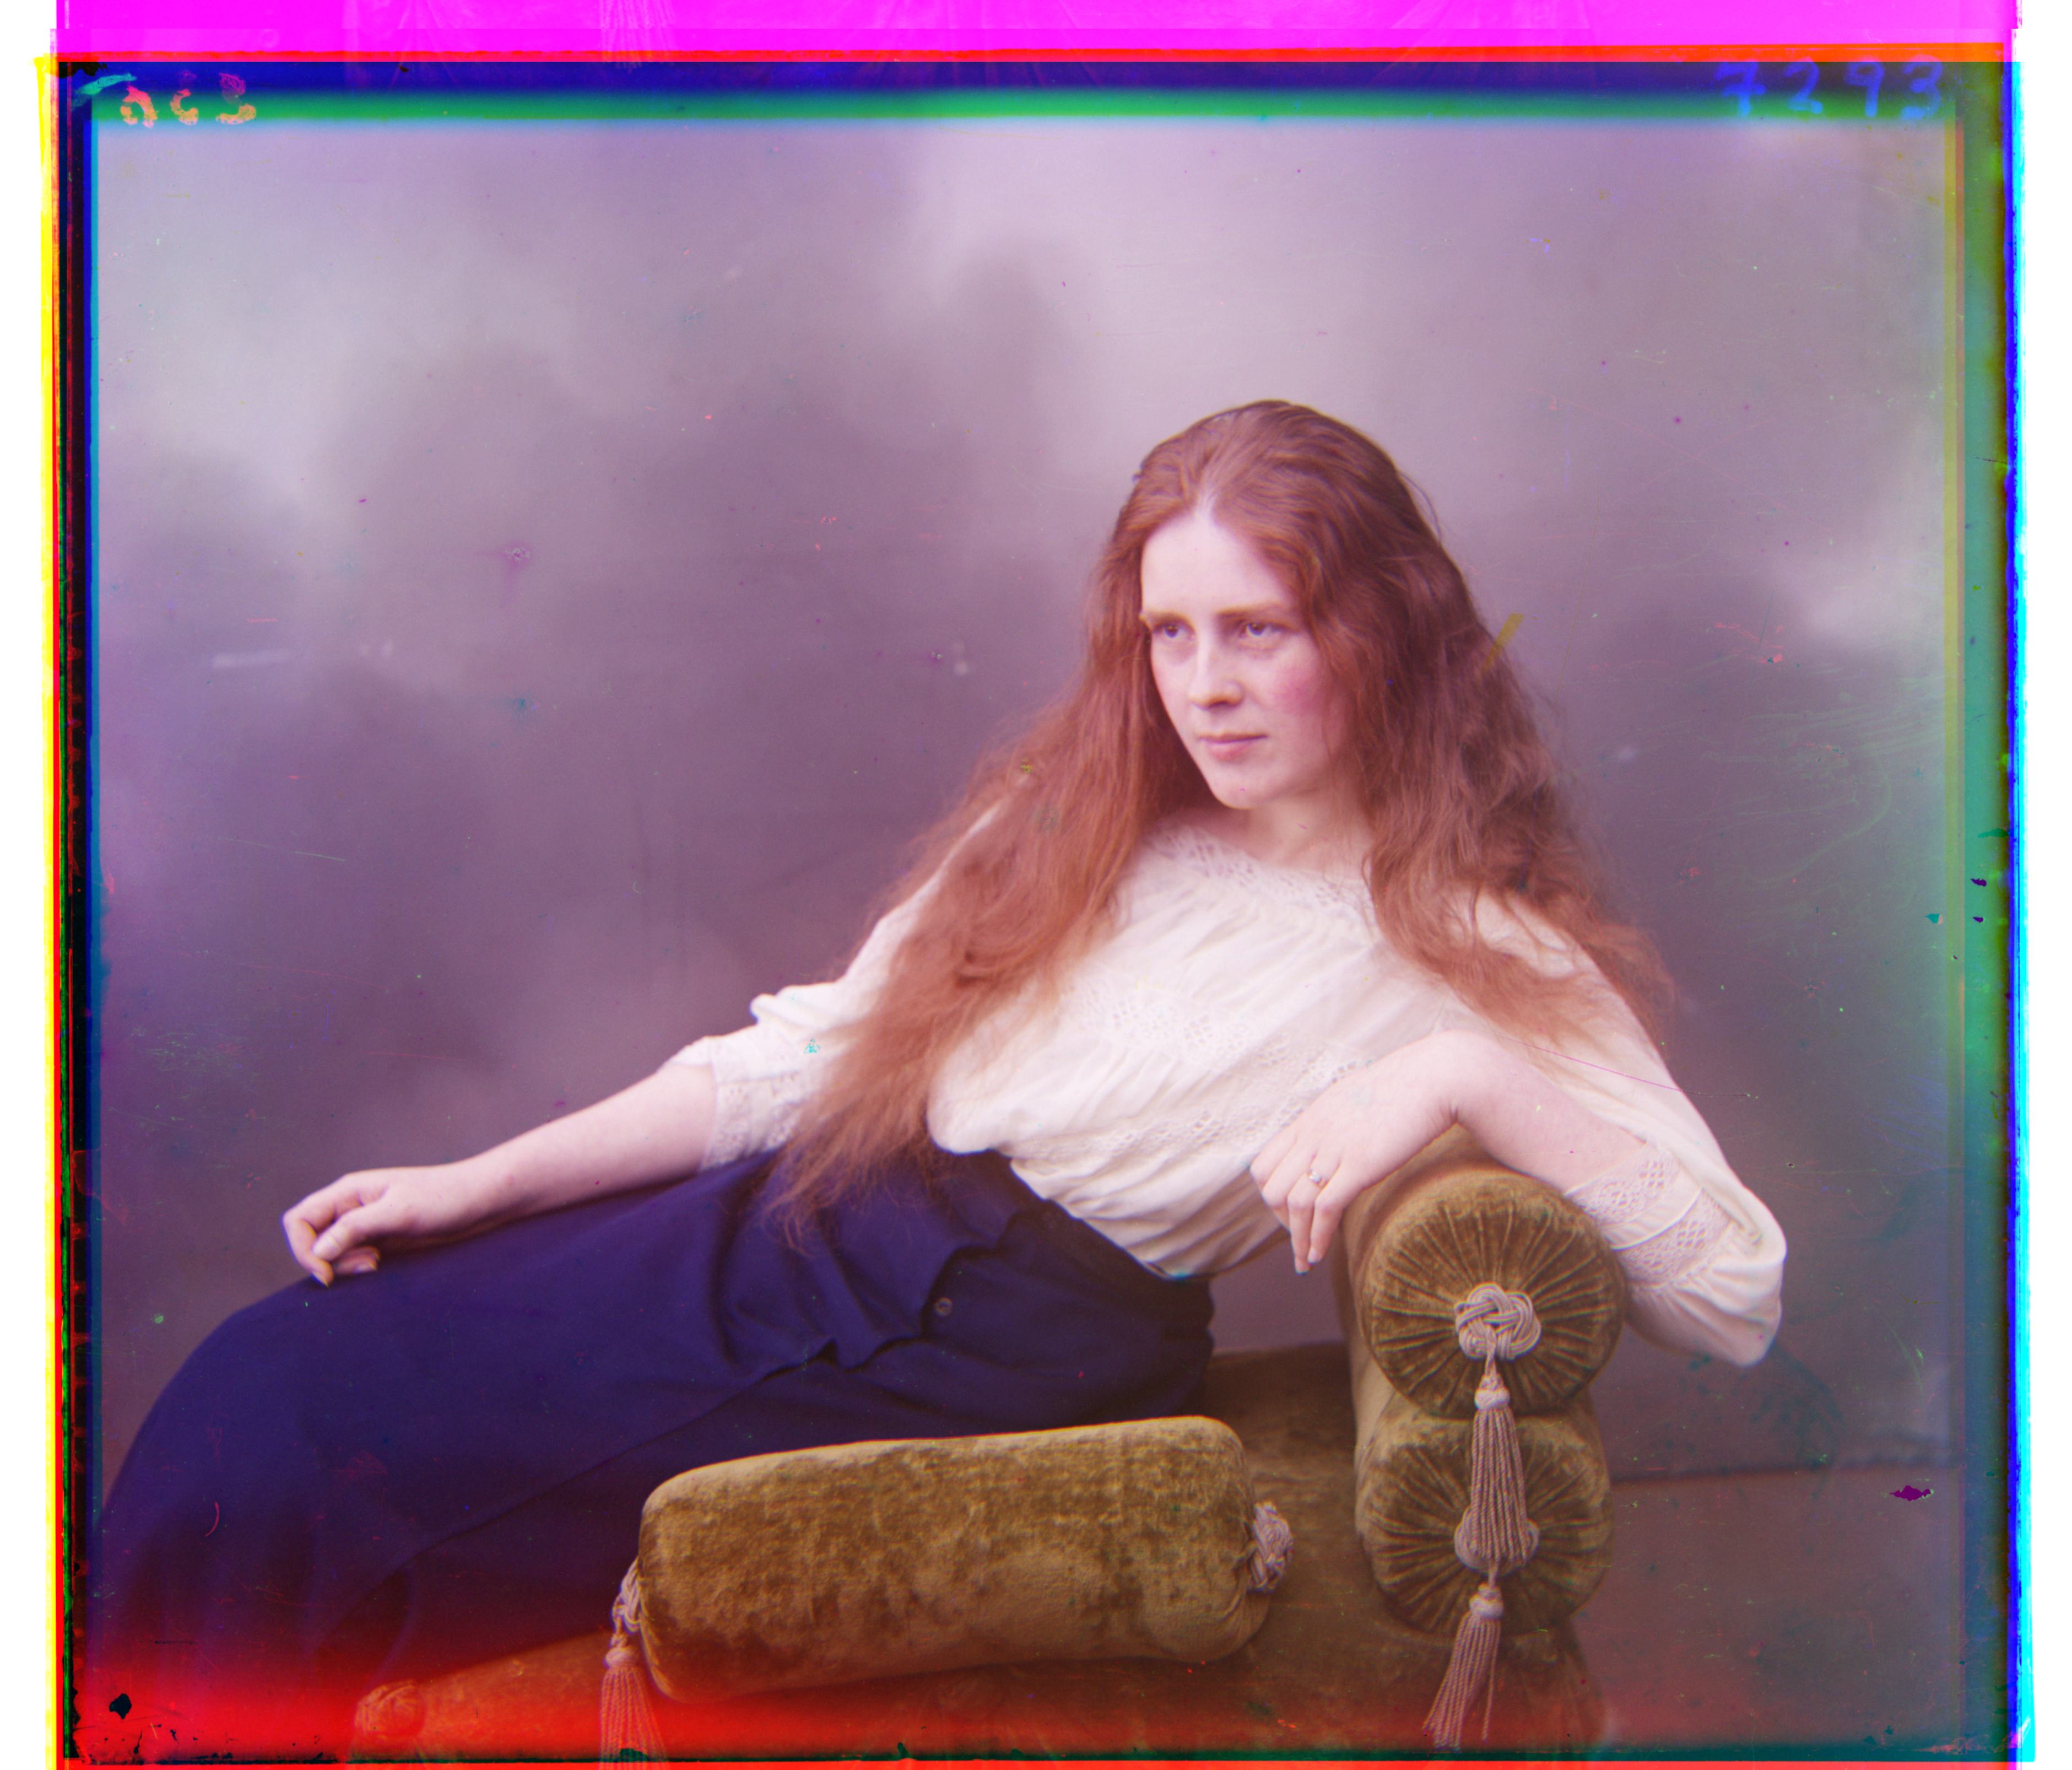
Aligned, G: (8,52), R: (12,112)
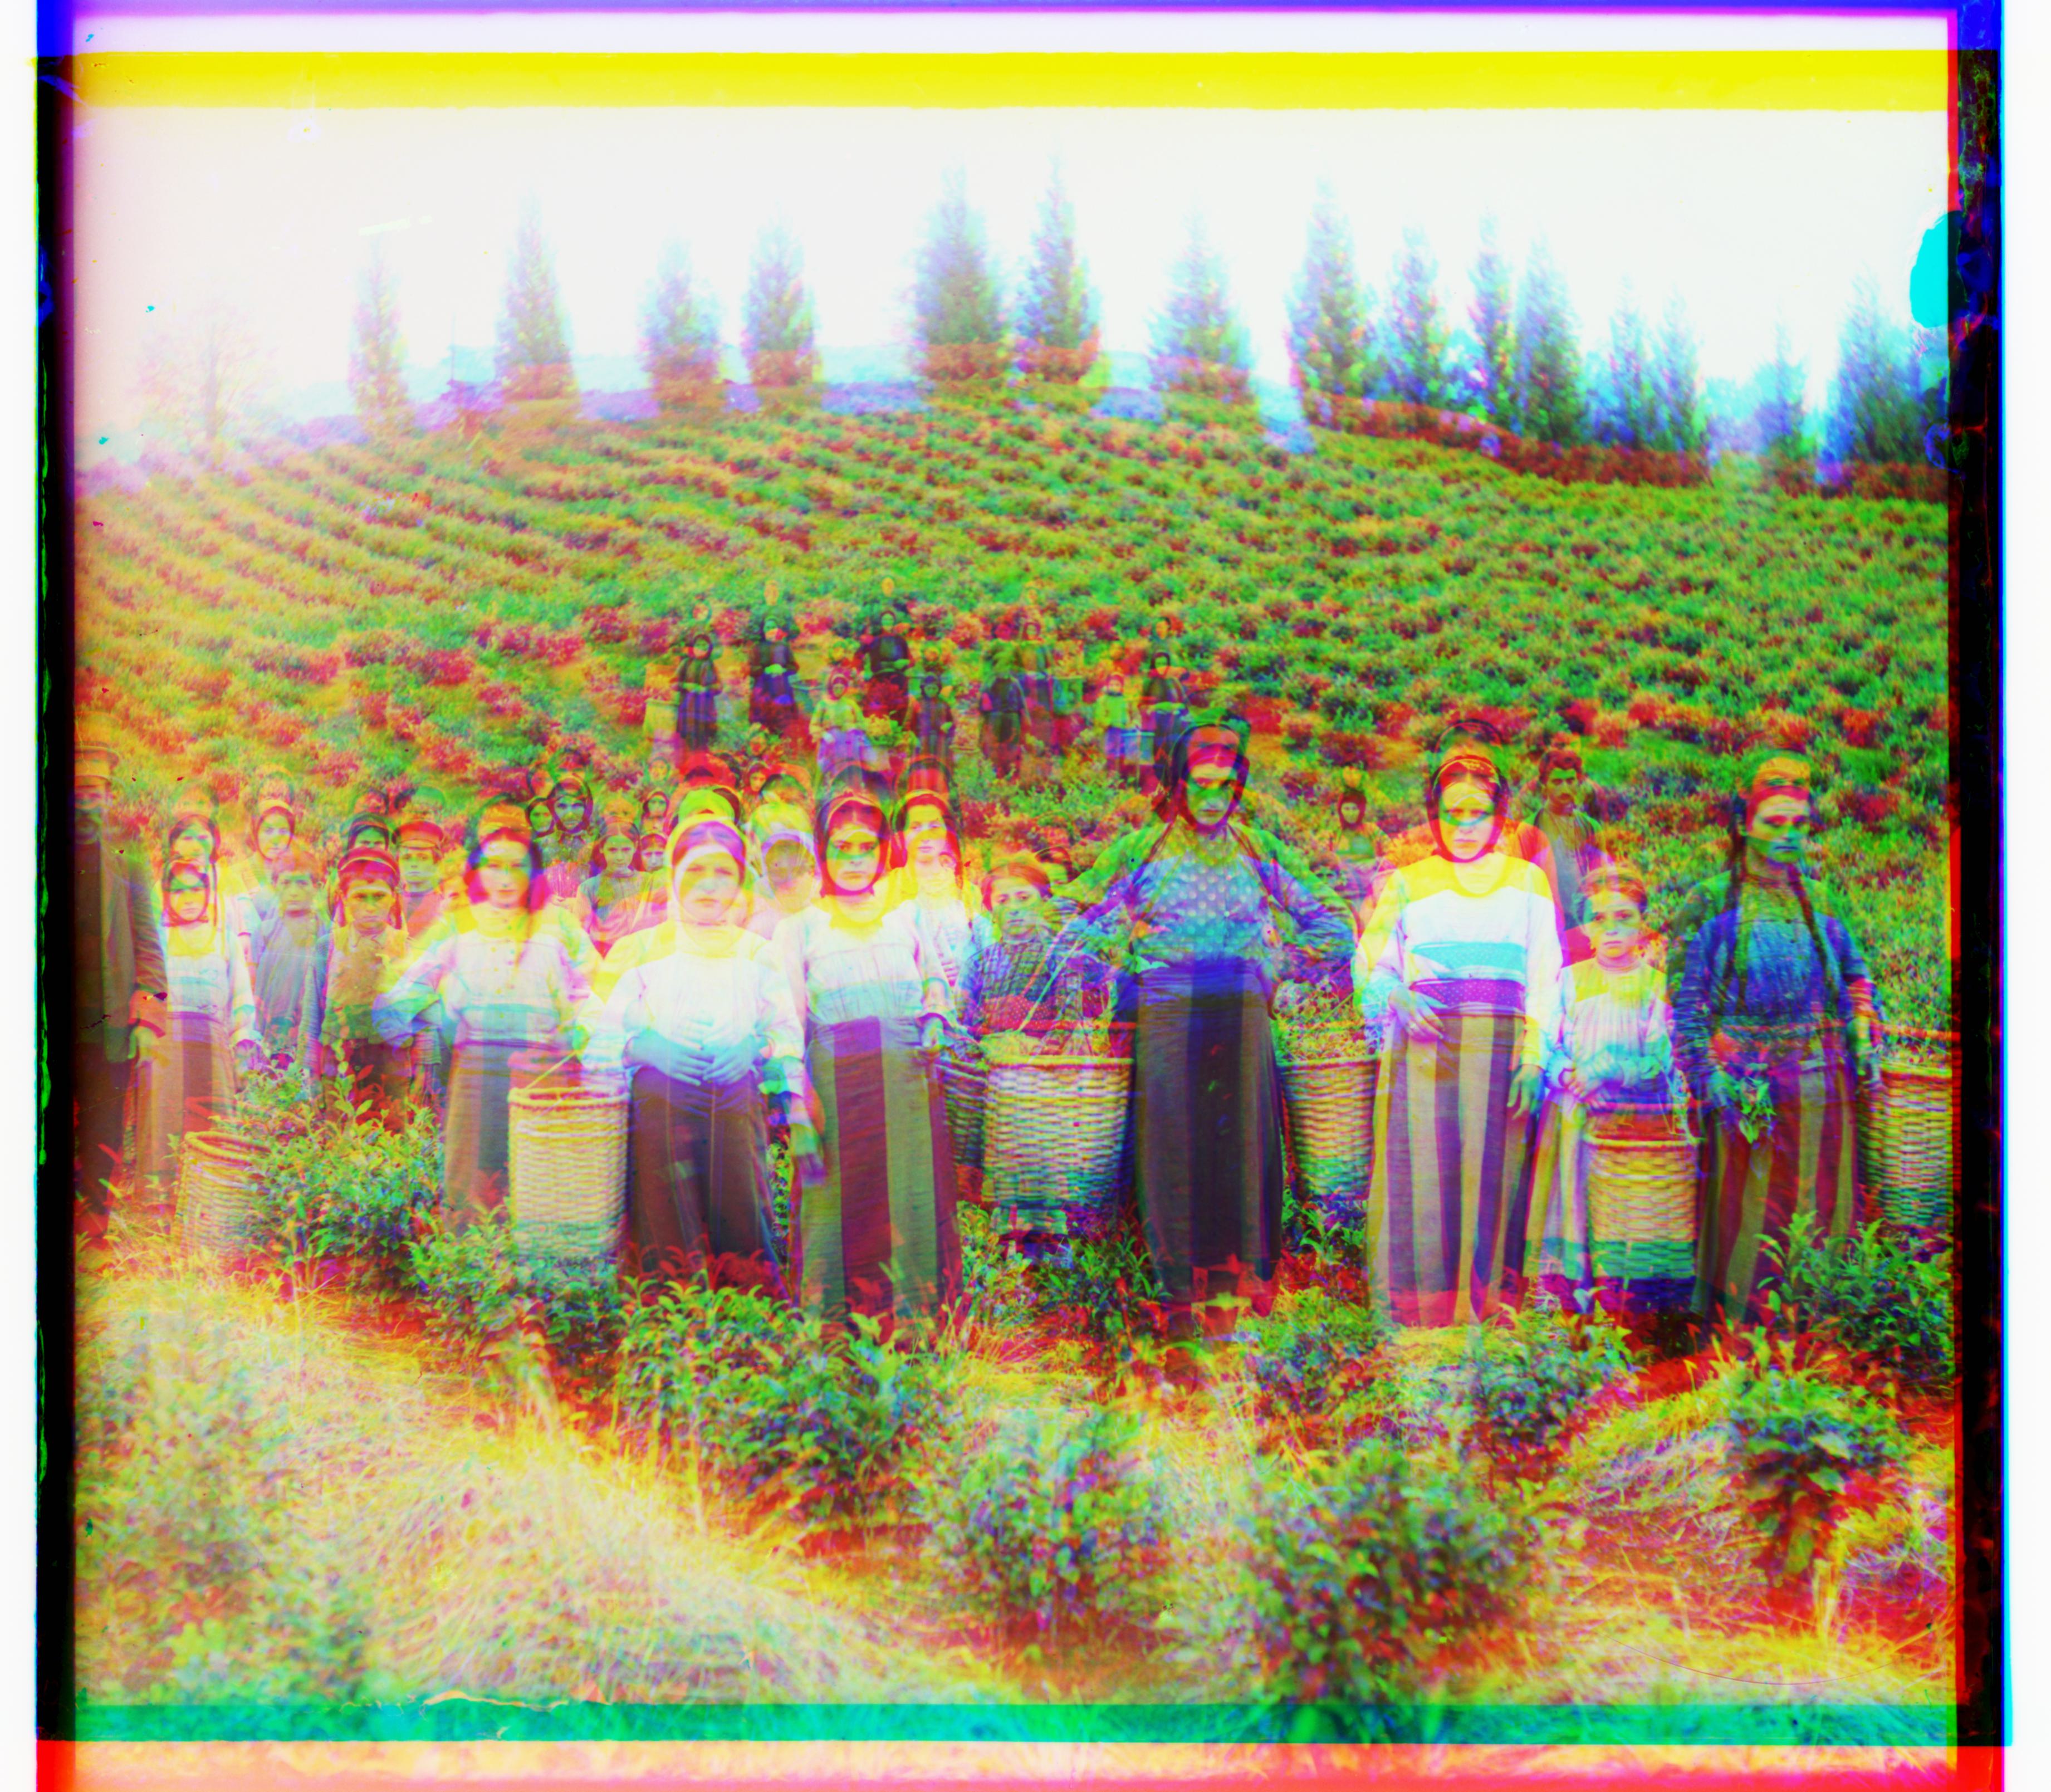
harvesters.tif, no alignment
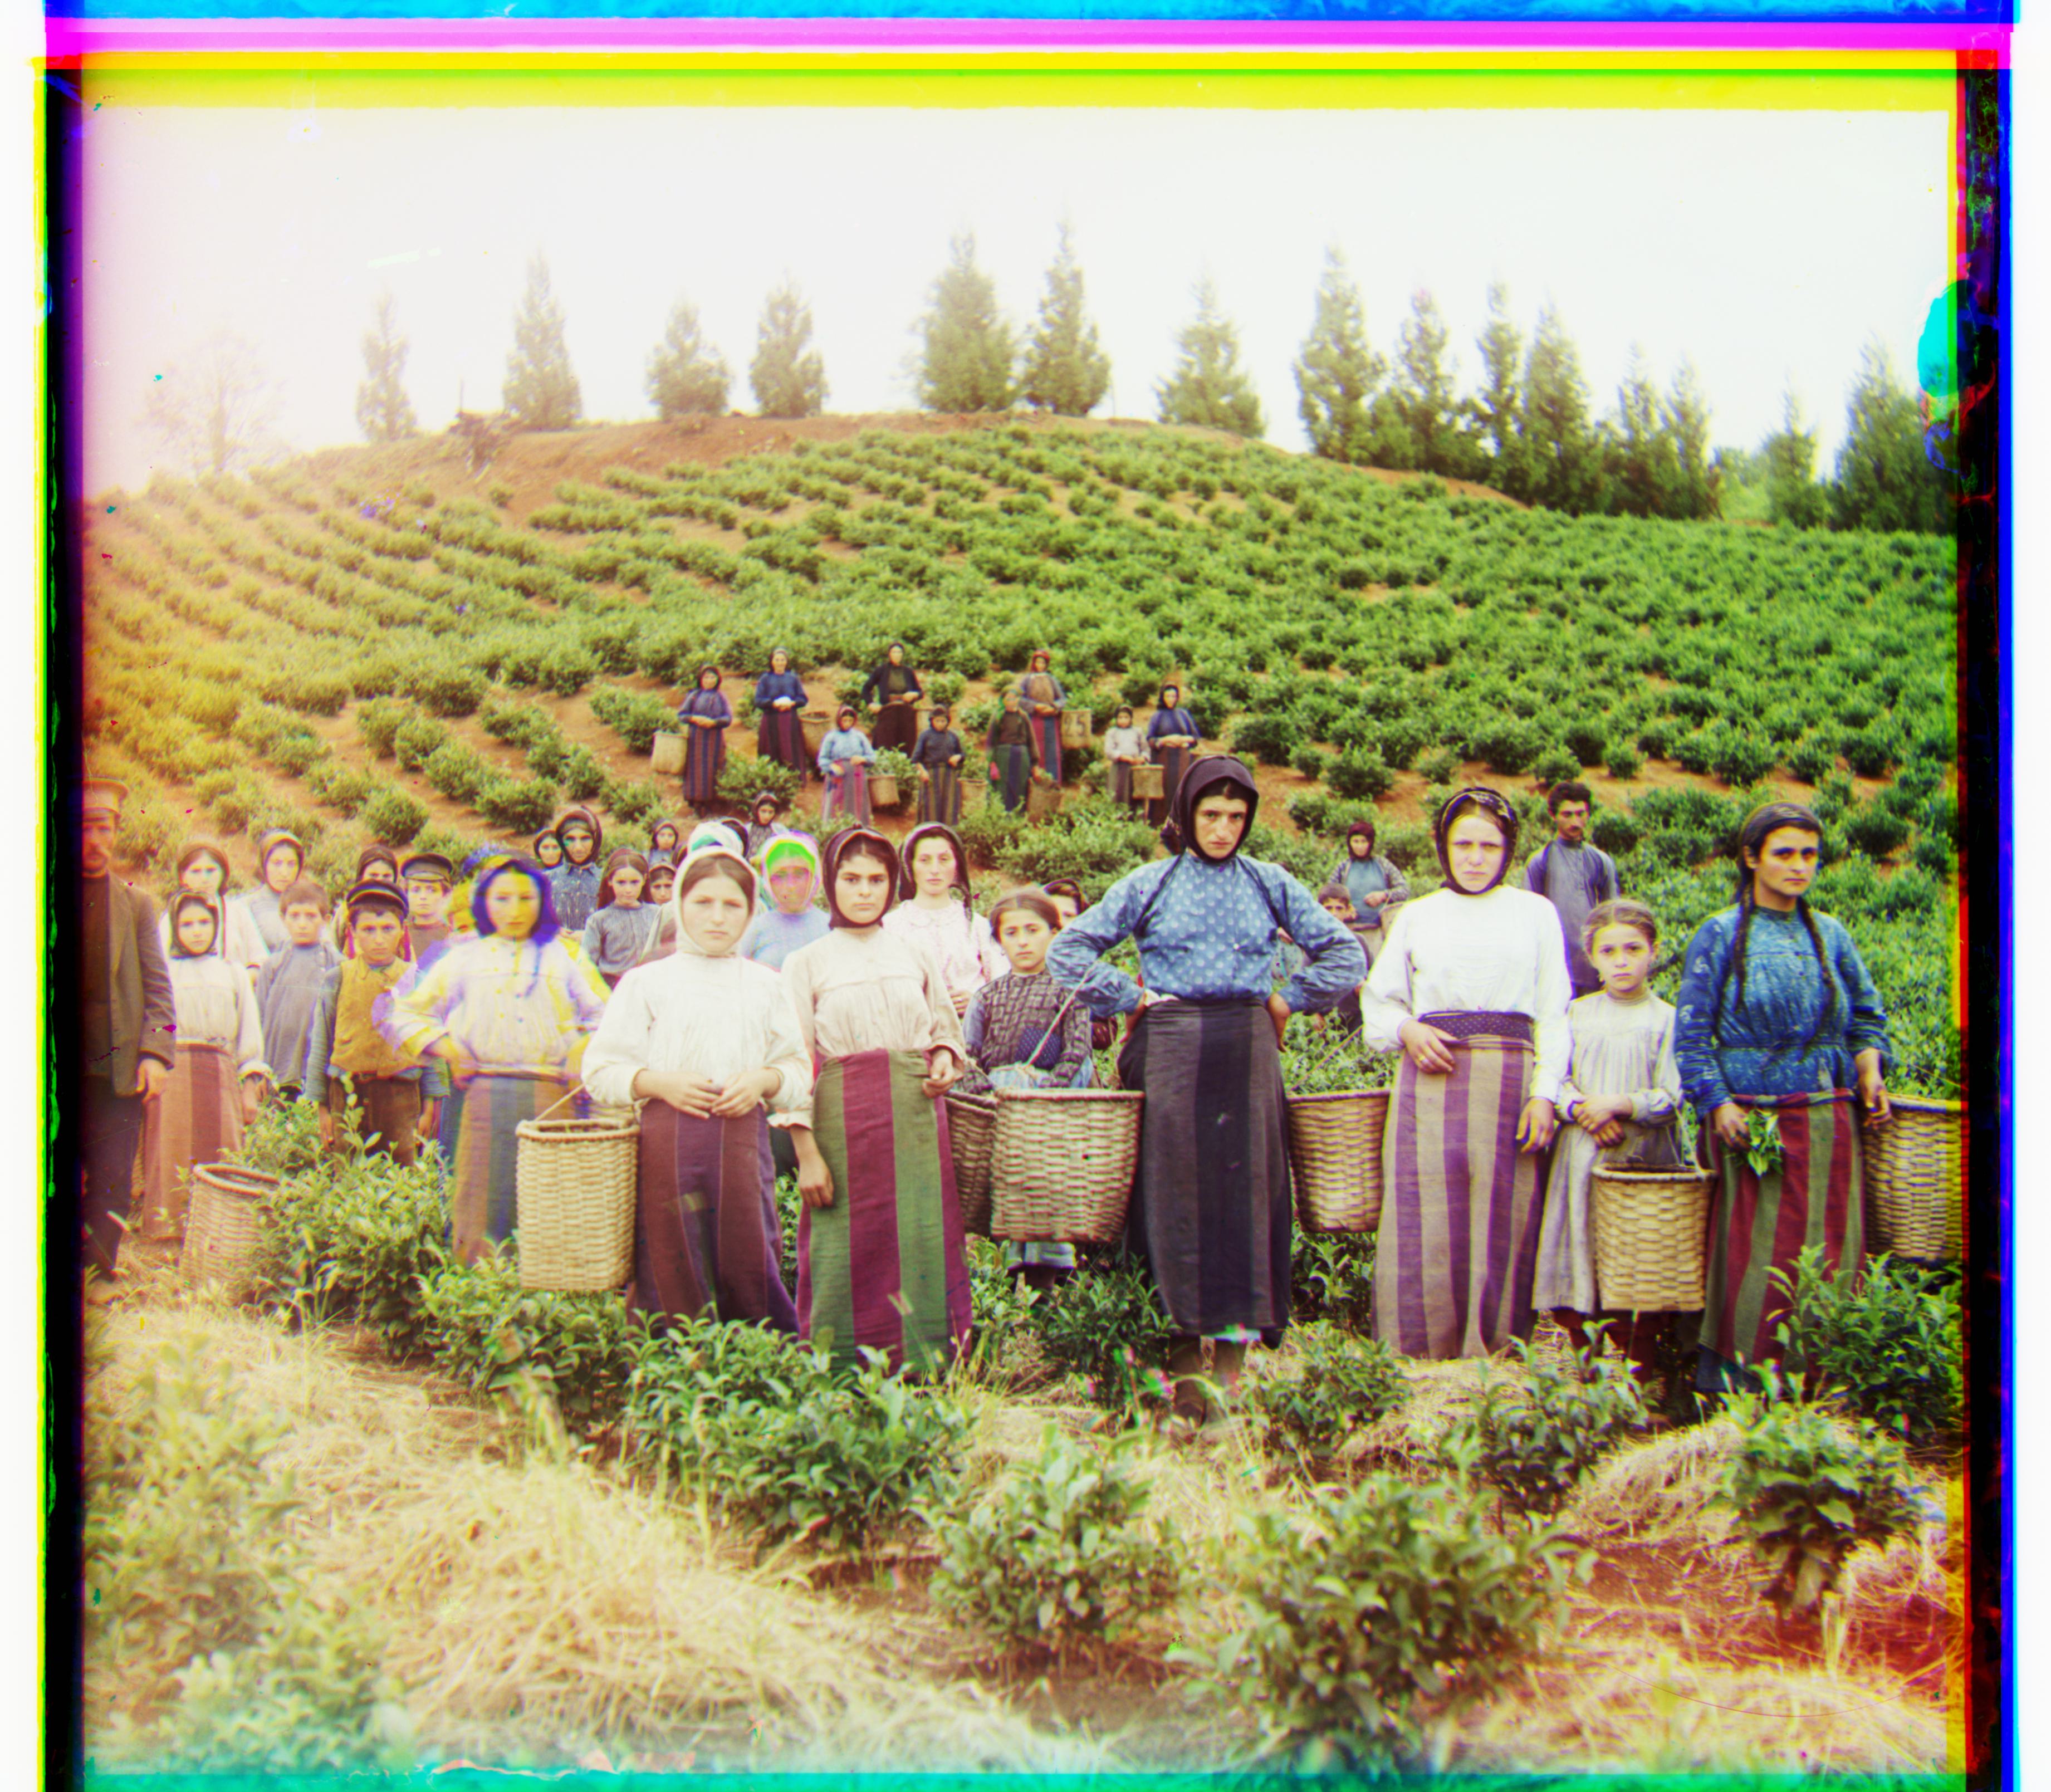
Aligned, G: (16,58), R: (14,124)
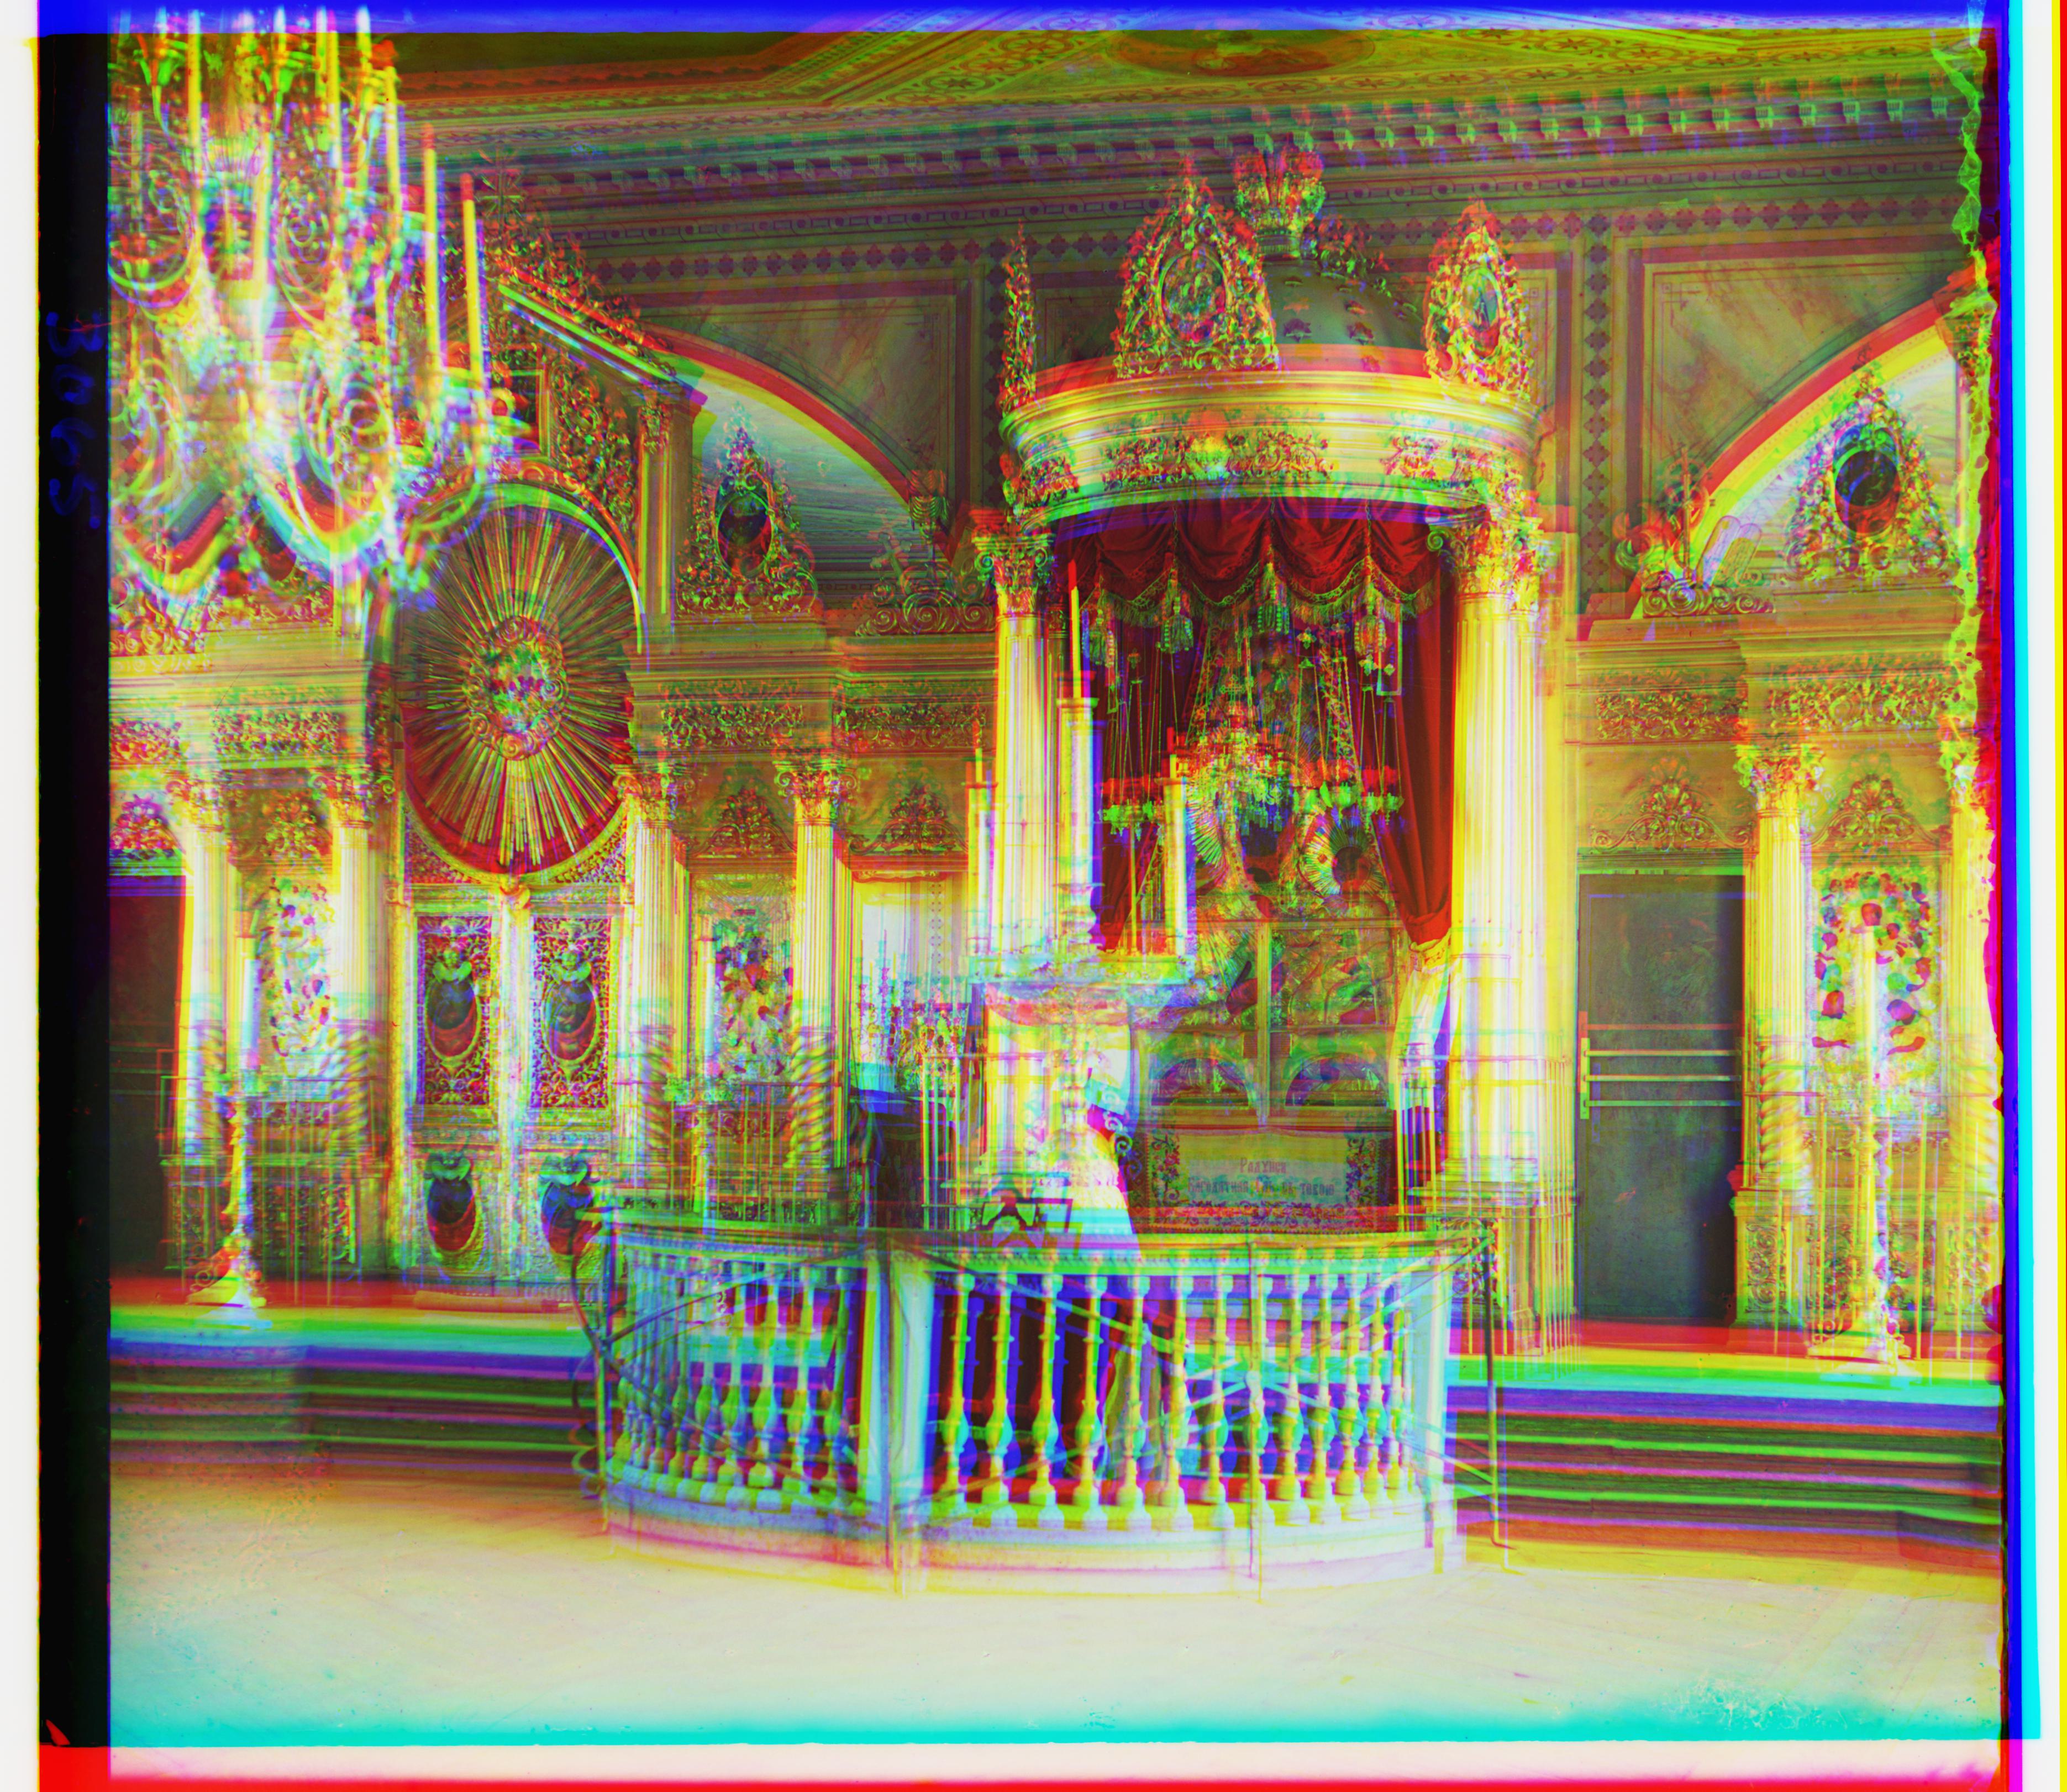
icon.tif, no alignment
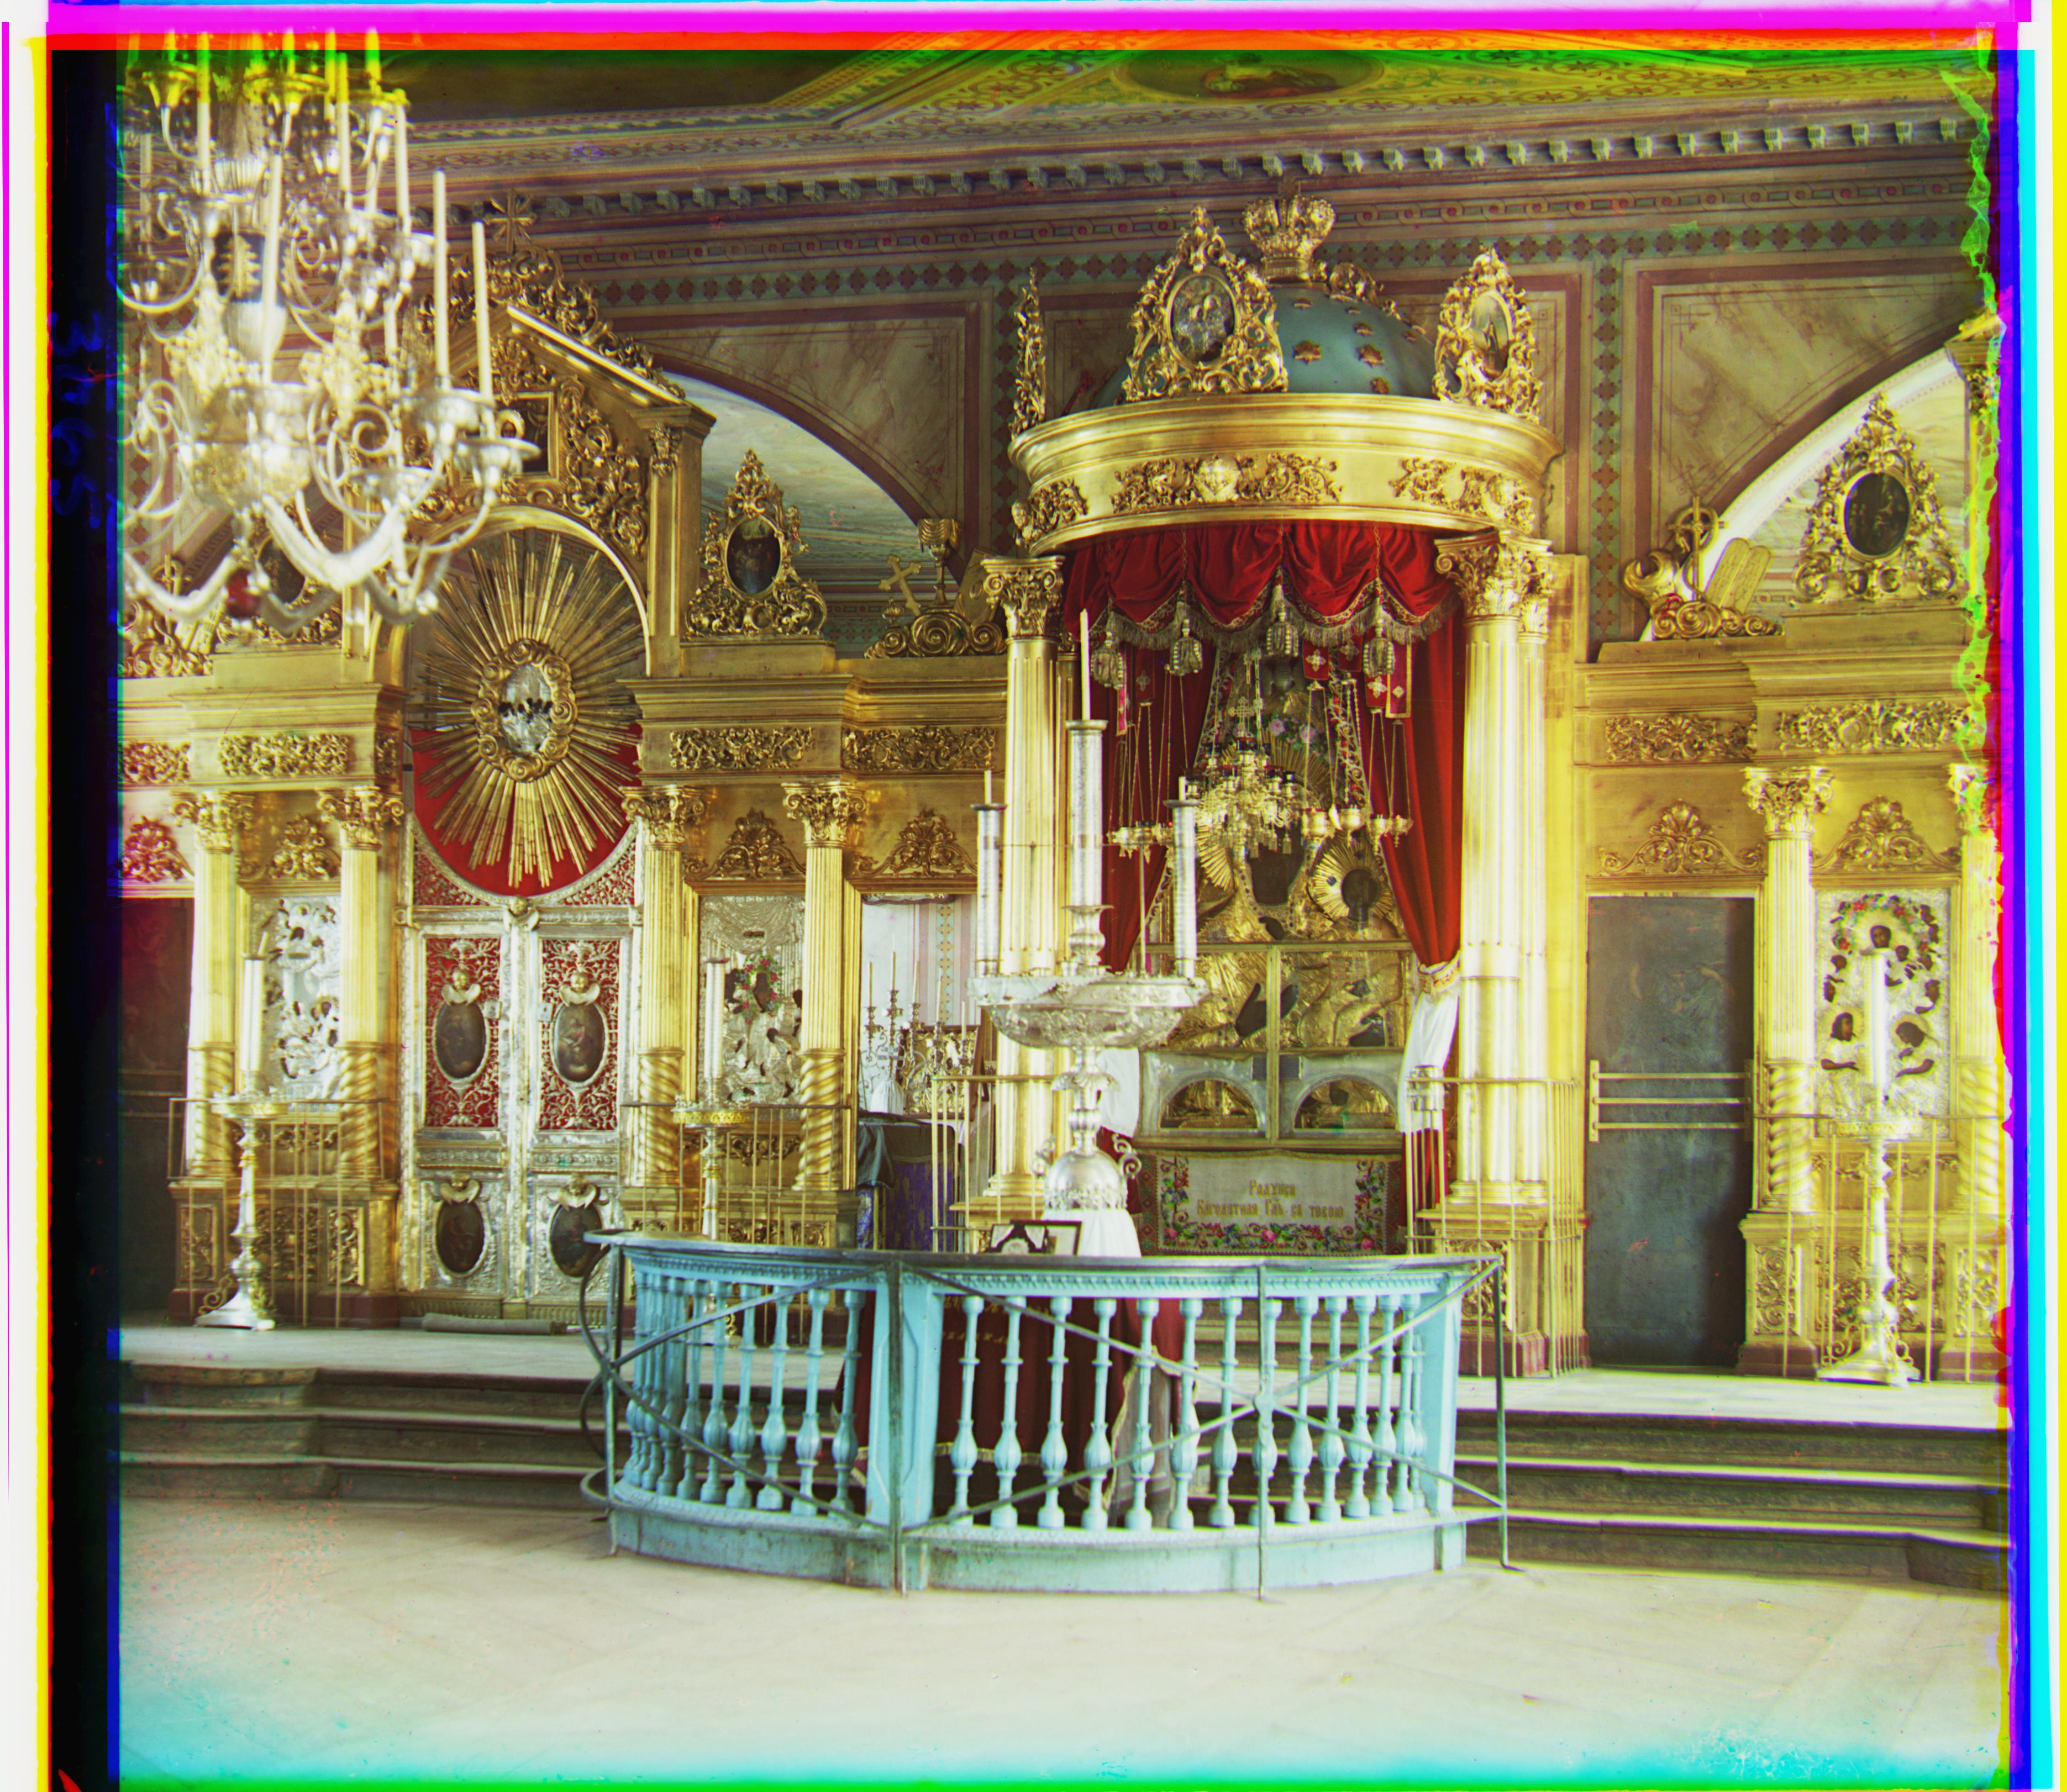
Aligned, G: (16,40), R: (22,90)
3. Aligning emir.tif (Bell & Whistle #1)
Aligning emir.tif proved a little difficult using the raw pixel L2 norm alignment metric. This was because the raw pixels of the channels did not necessarily correspond to proper alignment due to the colorful nature of the Emir’s dress. I even tried to change the base channel of alignment (i.e. aligning red and blue to green instead of green and red to blue), but this did not improve the results too much.
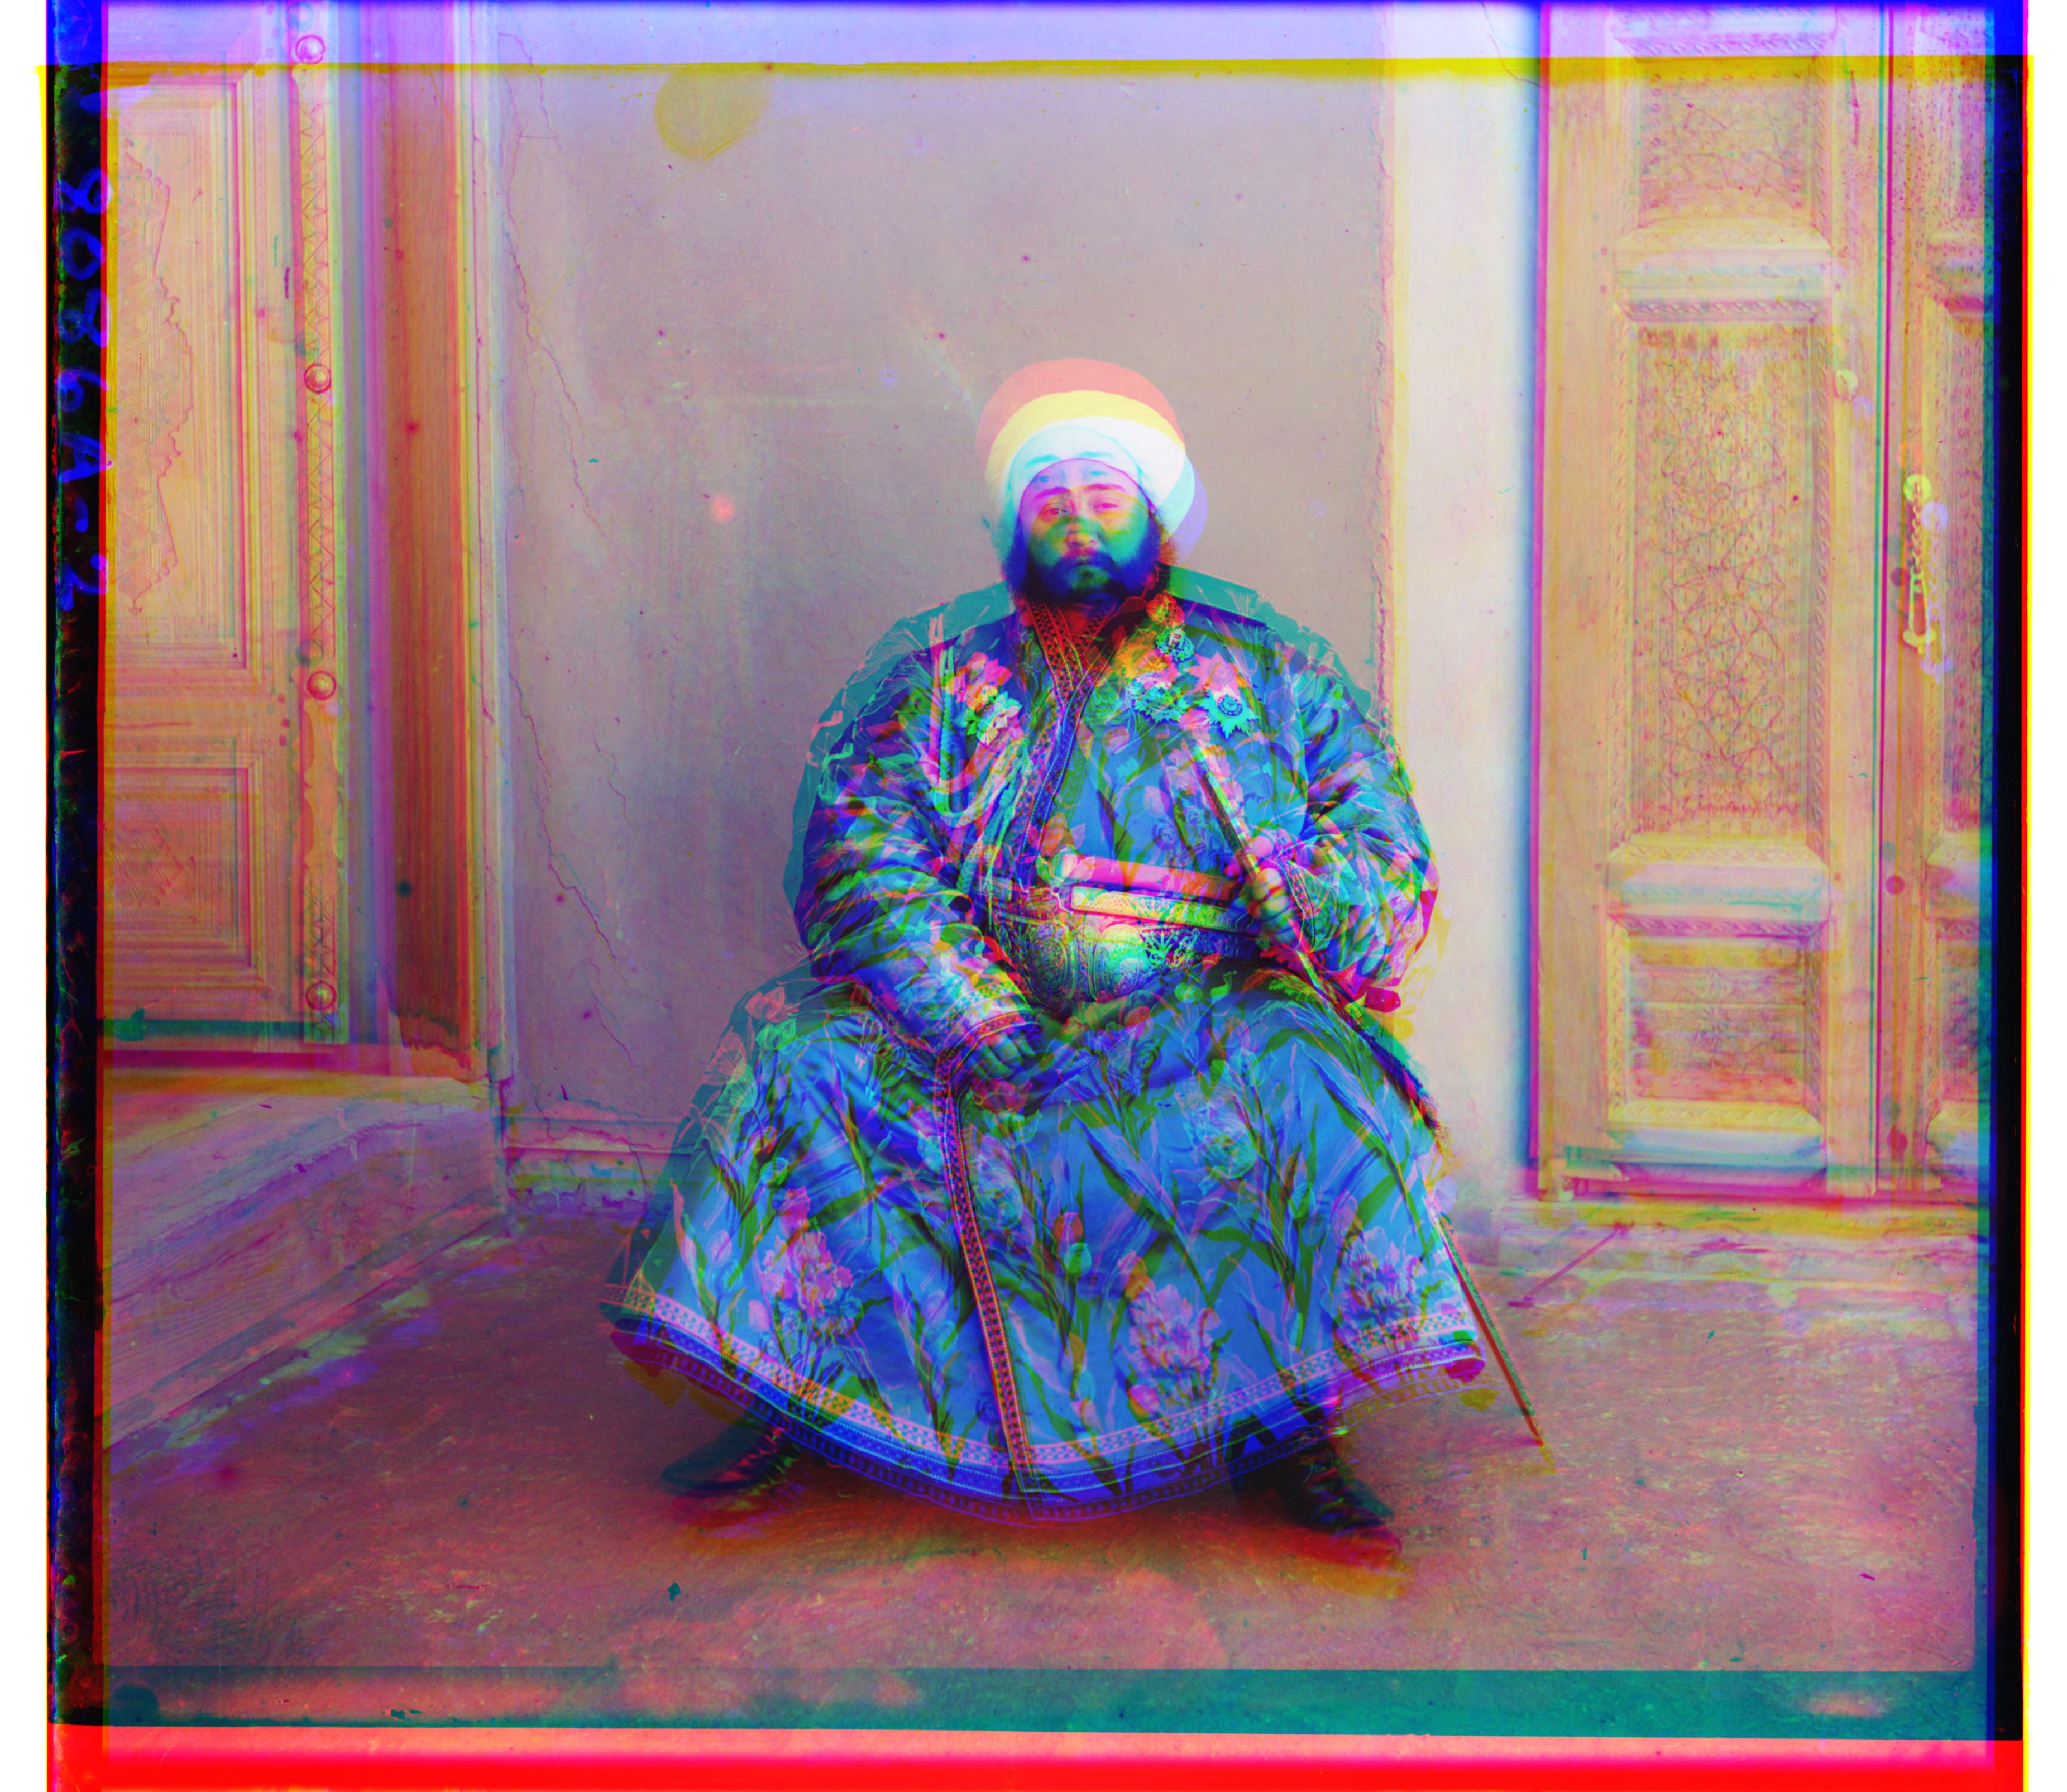
emir.tif, no alignment
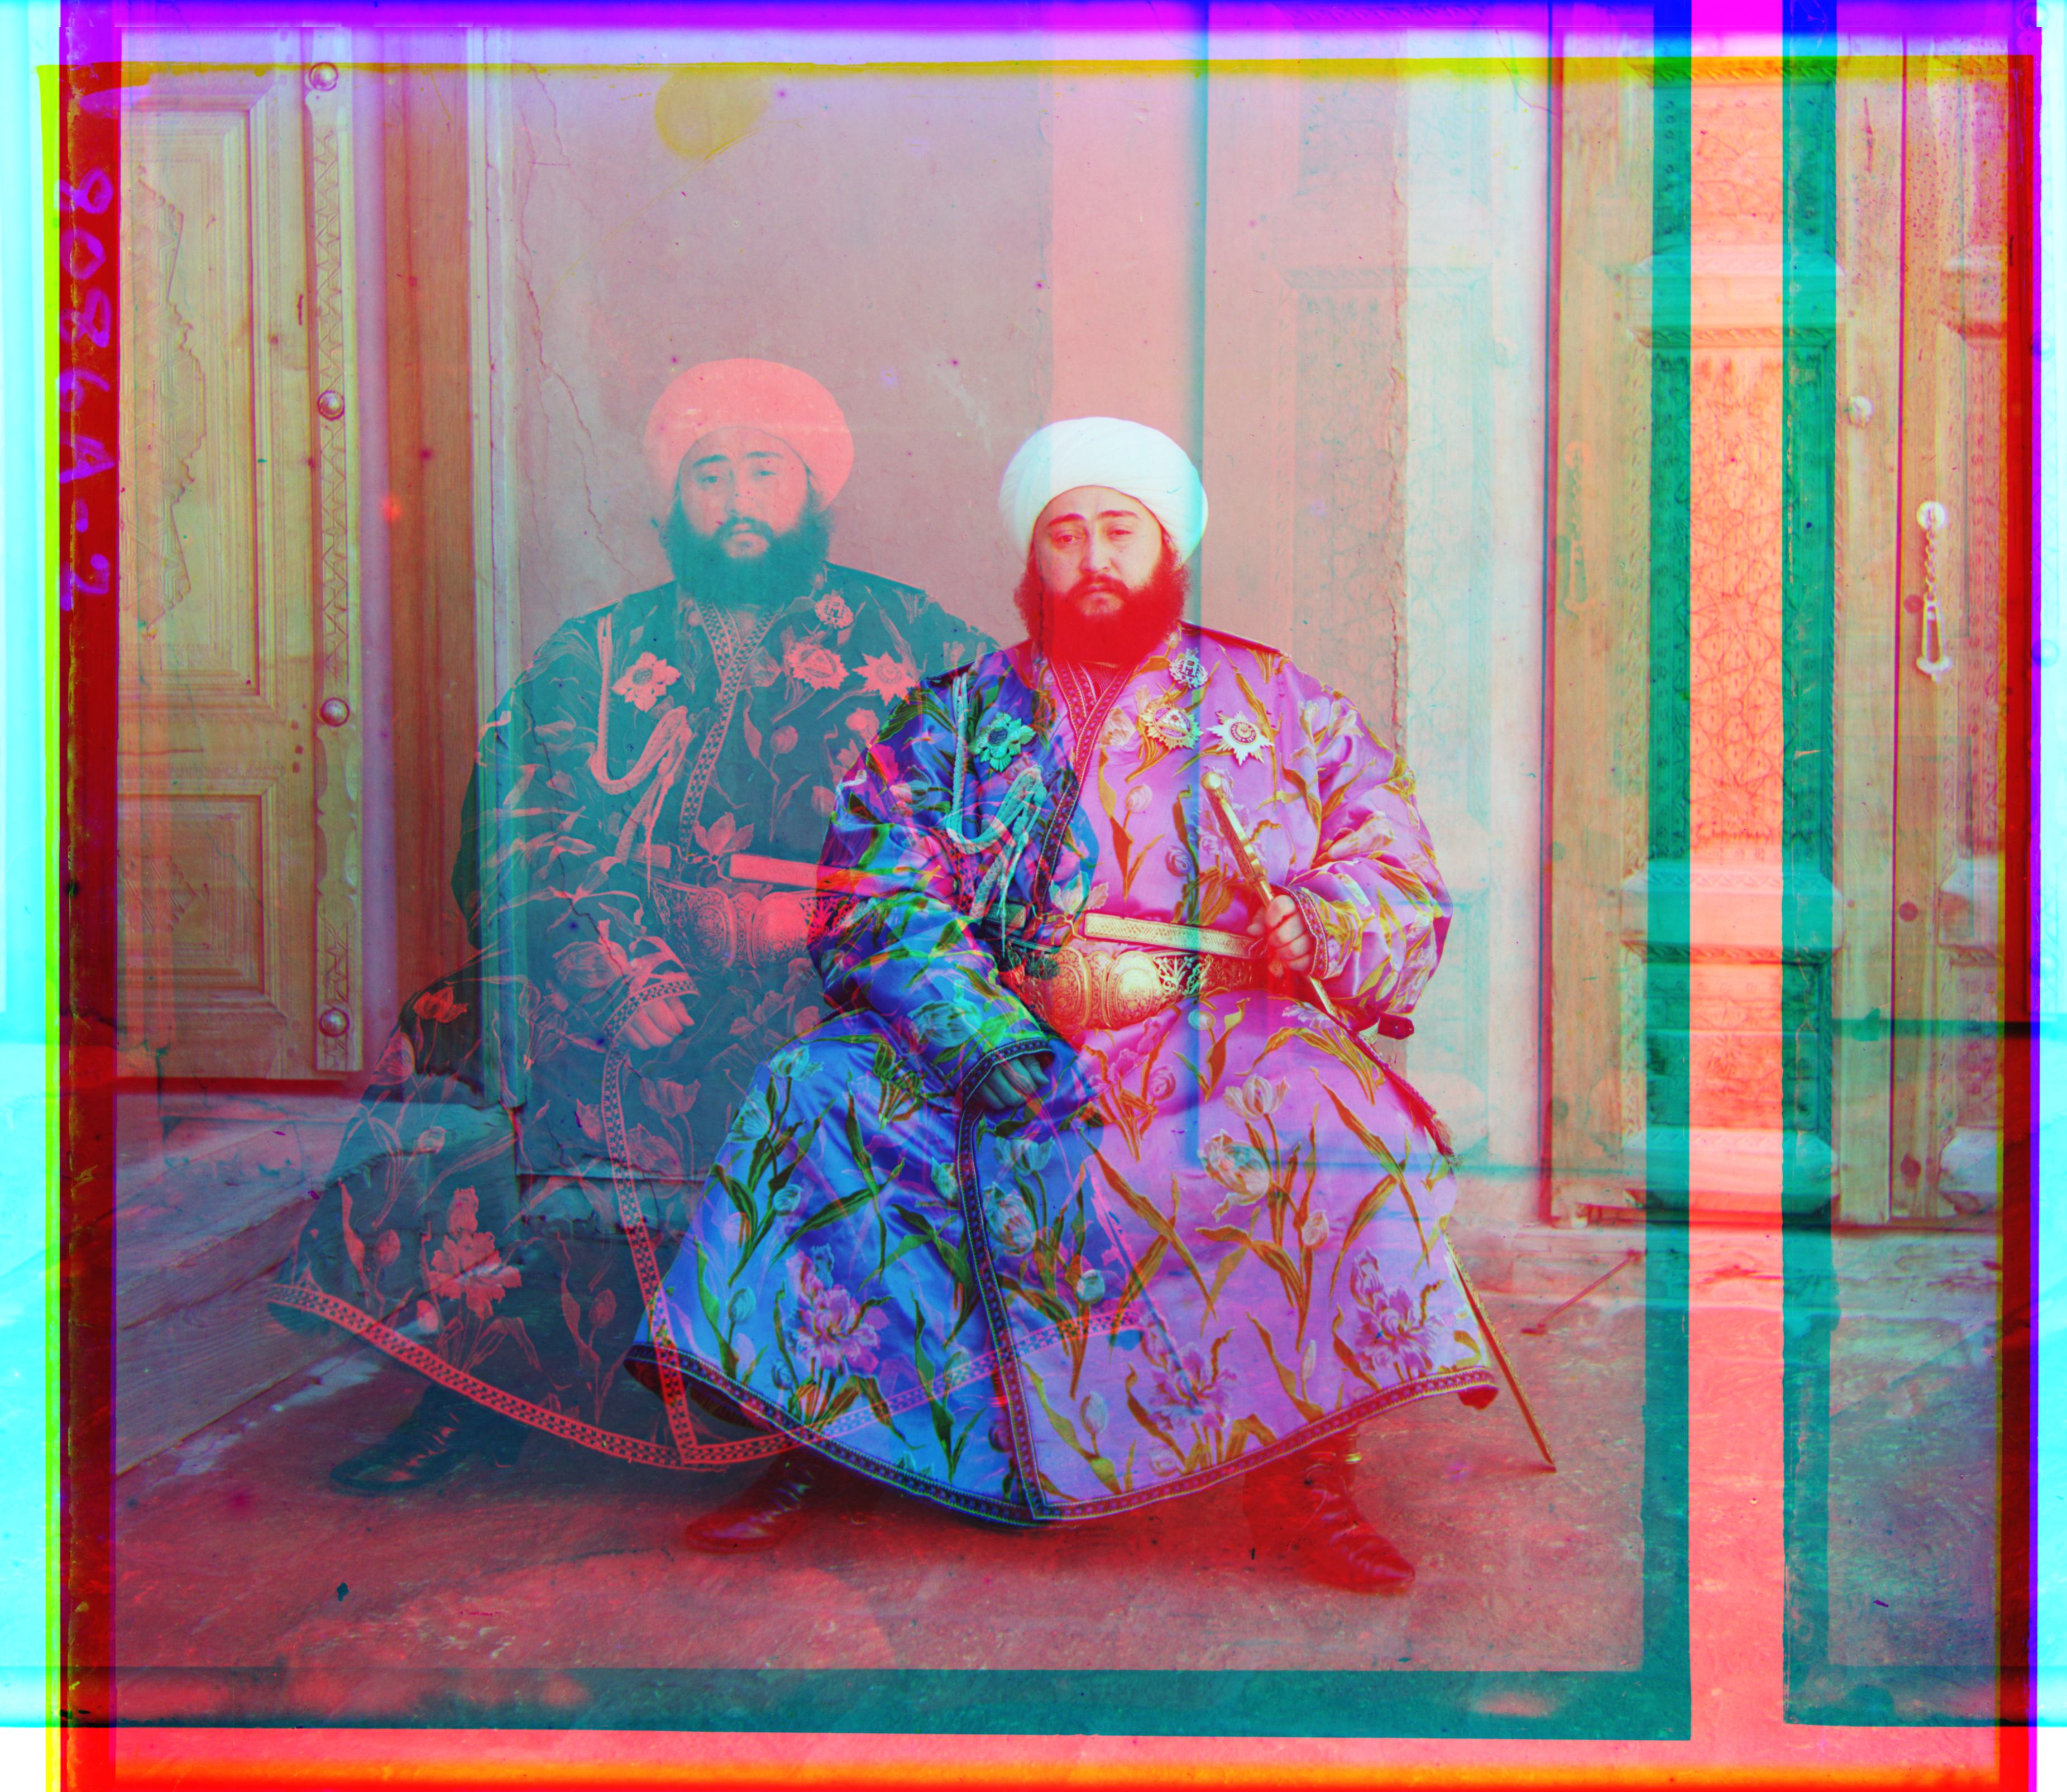
Aligned...?
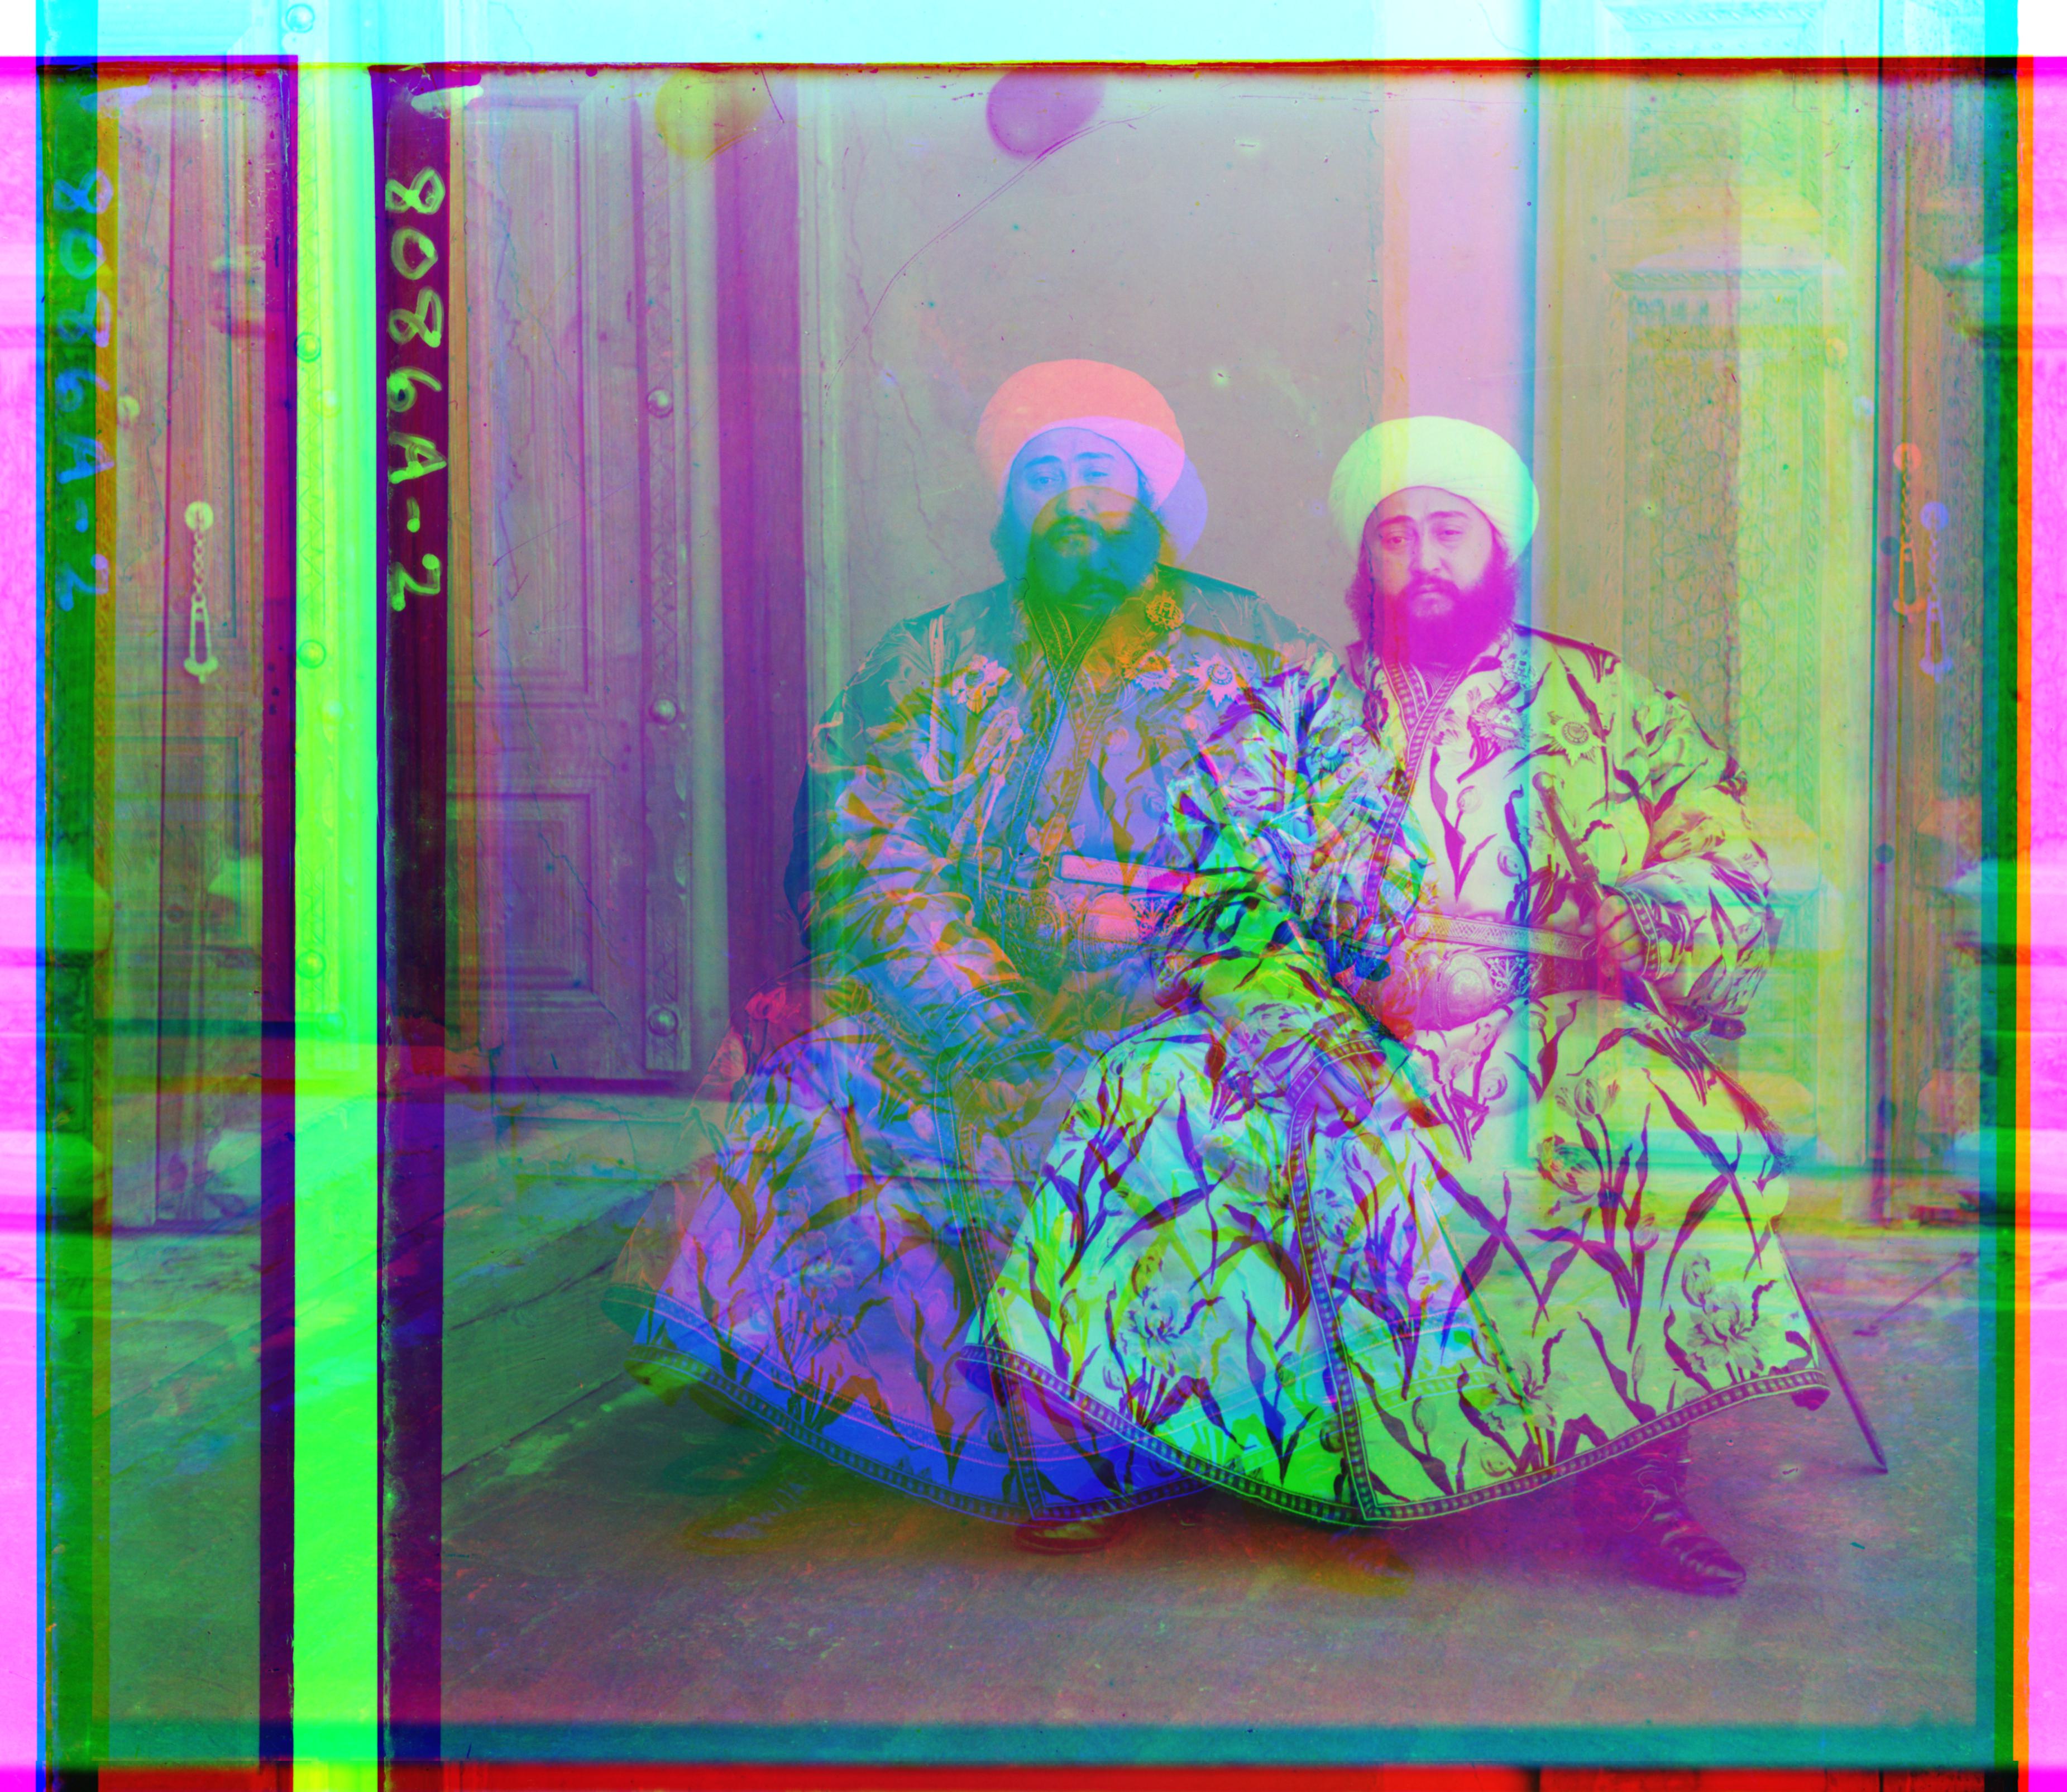
"Aligned" with red channel base
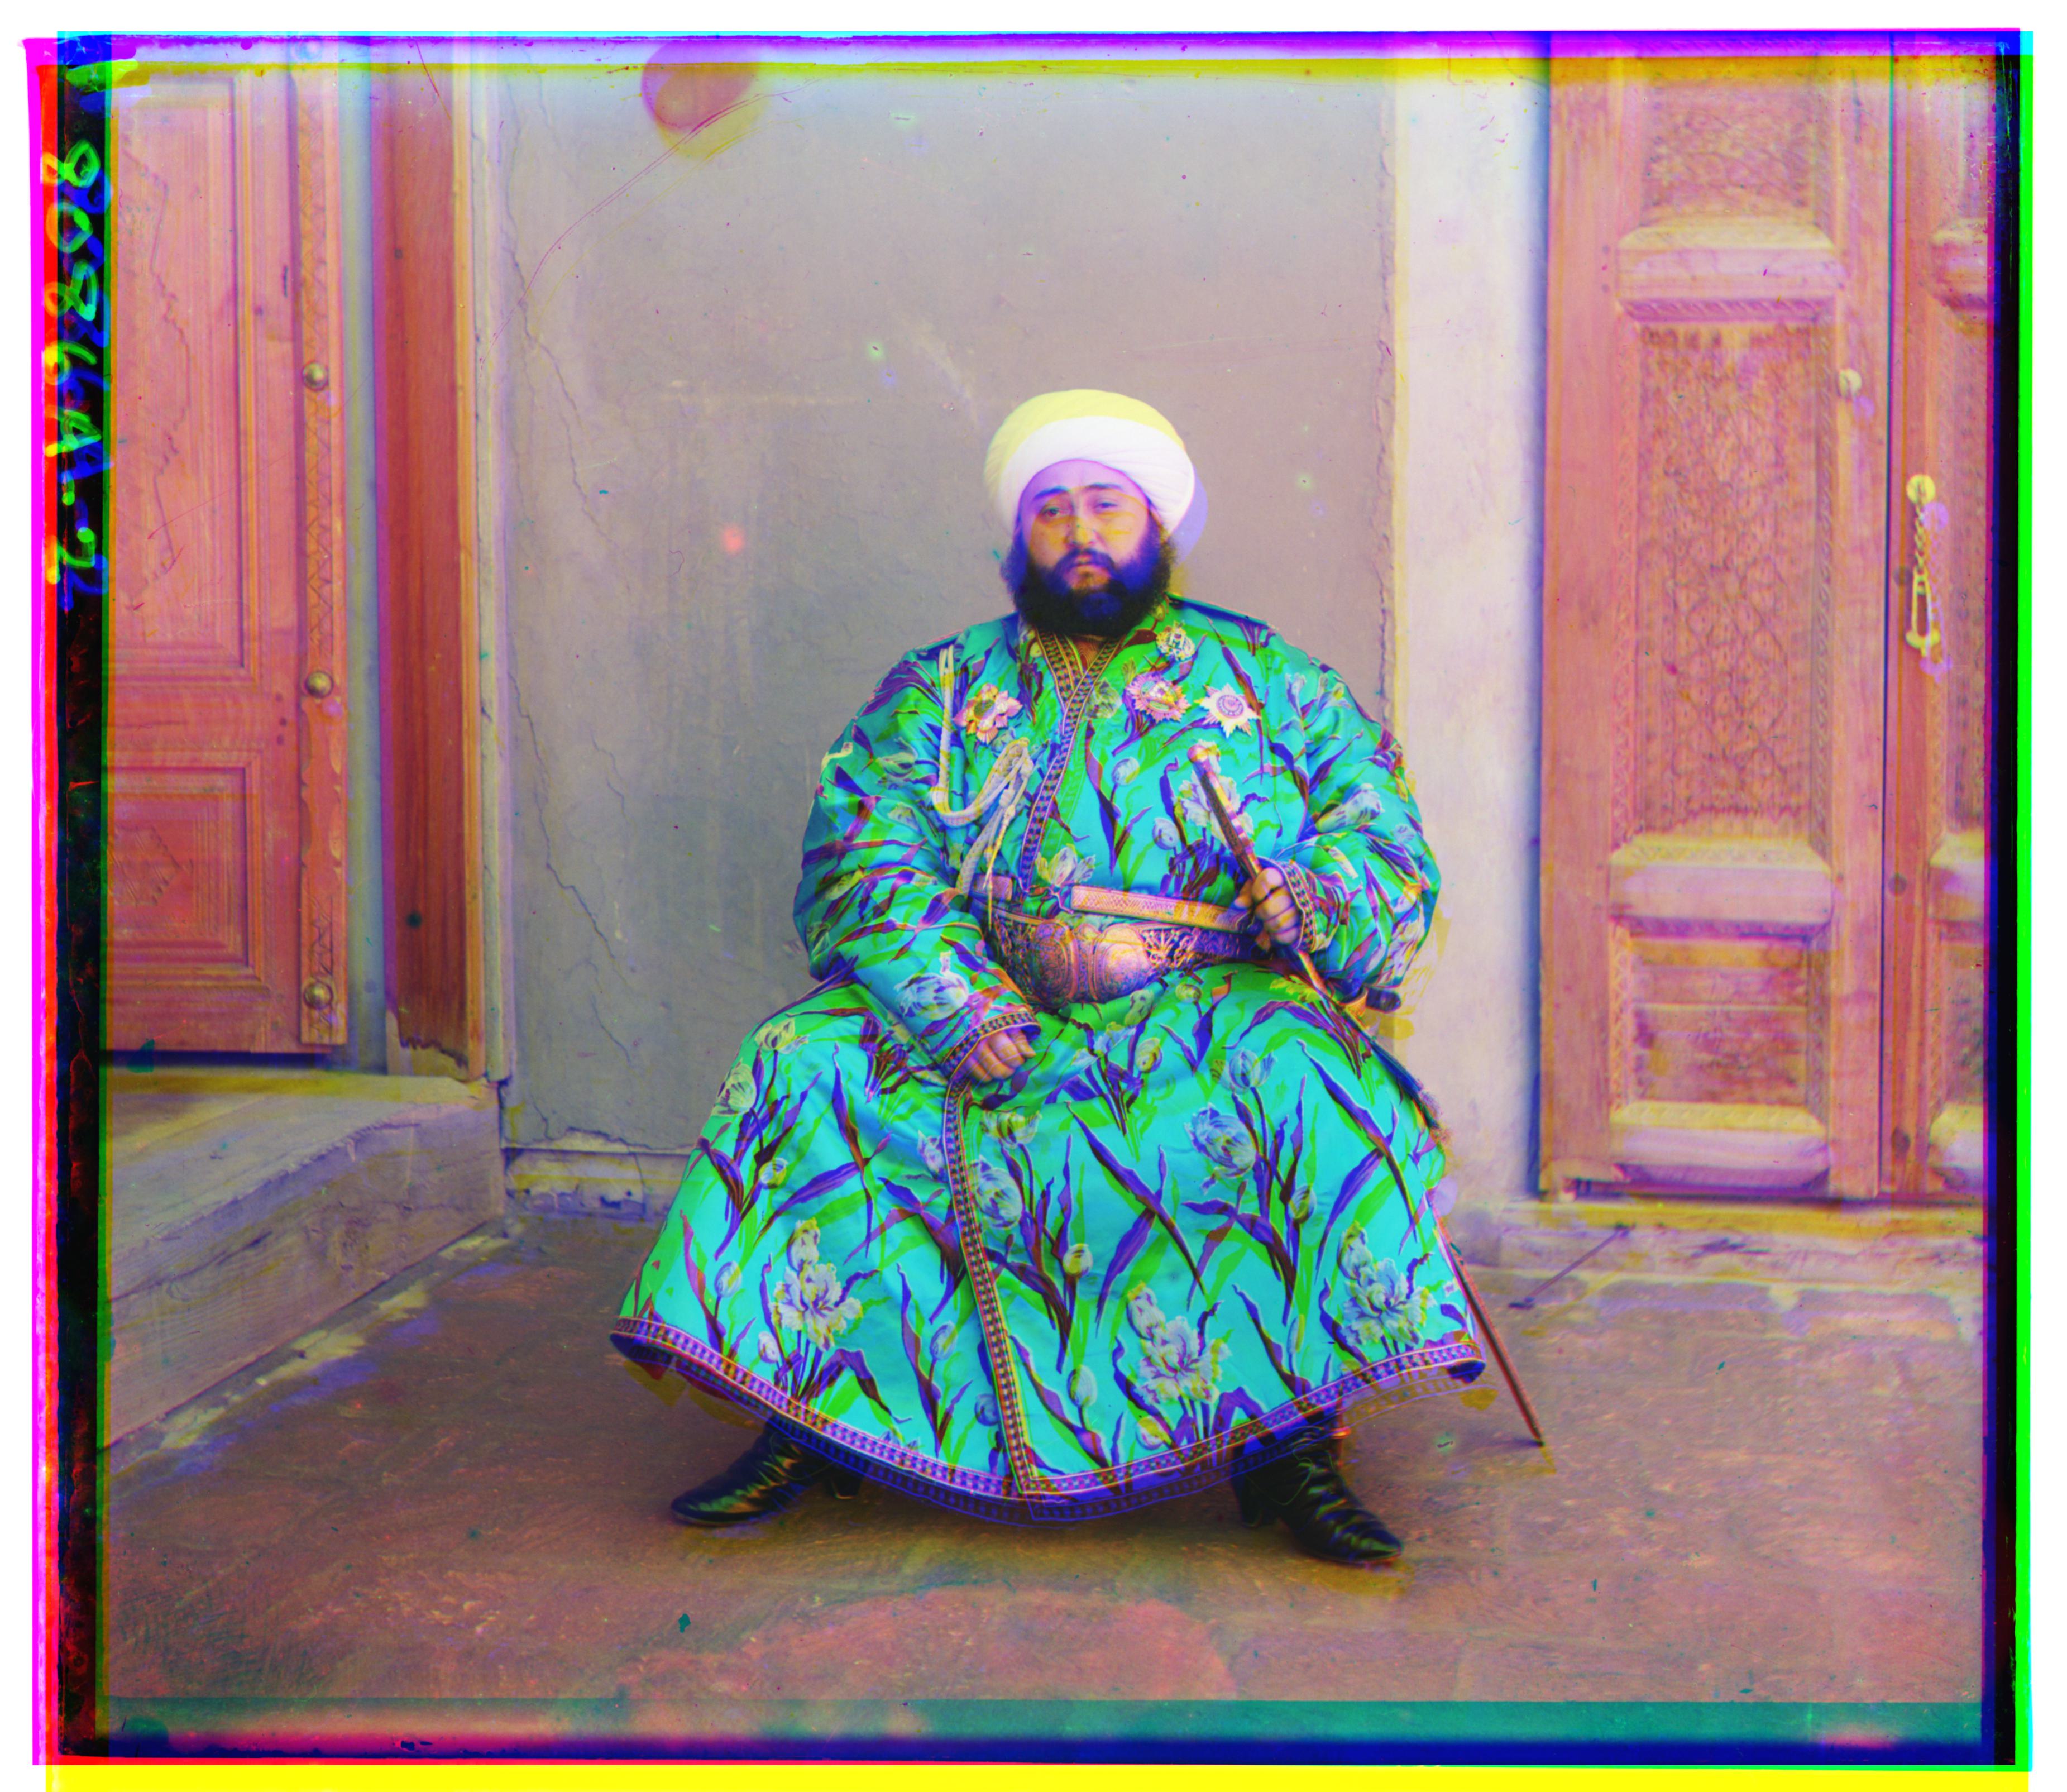
"Aligned" with green channel base
To fix the Emir’s alignment, I took the L2 norm between edge detection filters instead of the raw pixel values. There seemed to be two common types of filters for edge detection: Sobel and Canny. The lines in the Sobel filtered channels seemed much fainter than the Canny filtered channels, but both gave similarly good results. The processing time for each image also took less than 5 seconds using the pyramid speedup in addition to the filters.
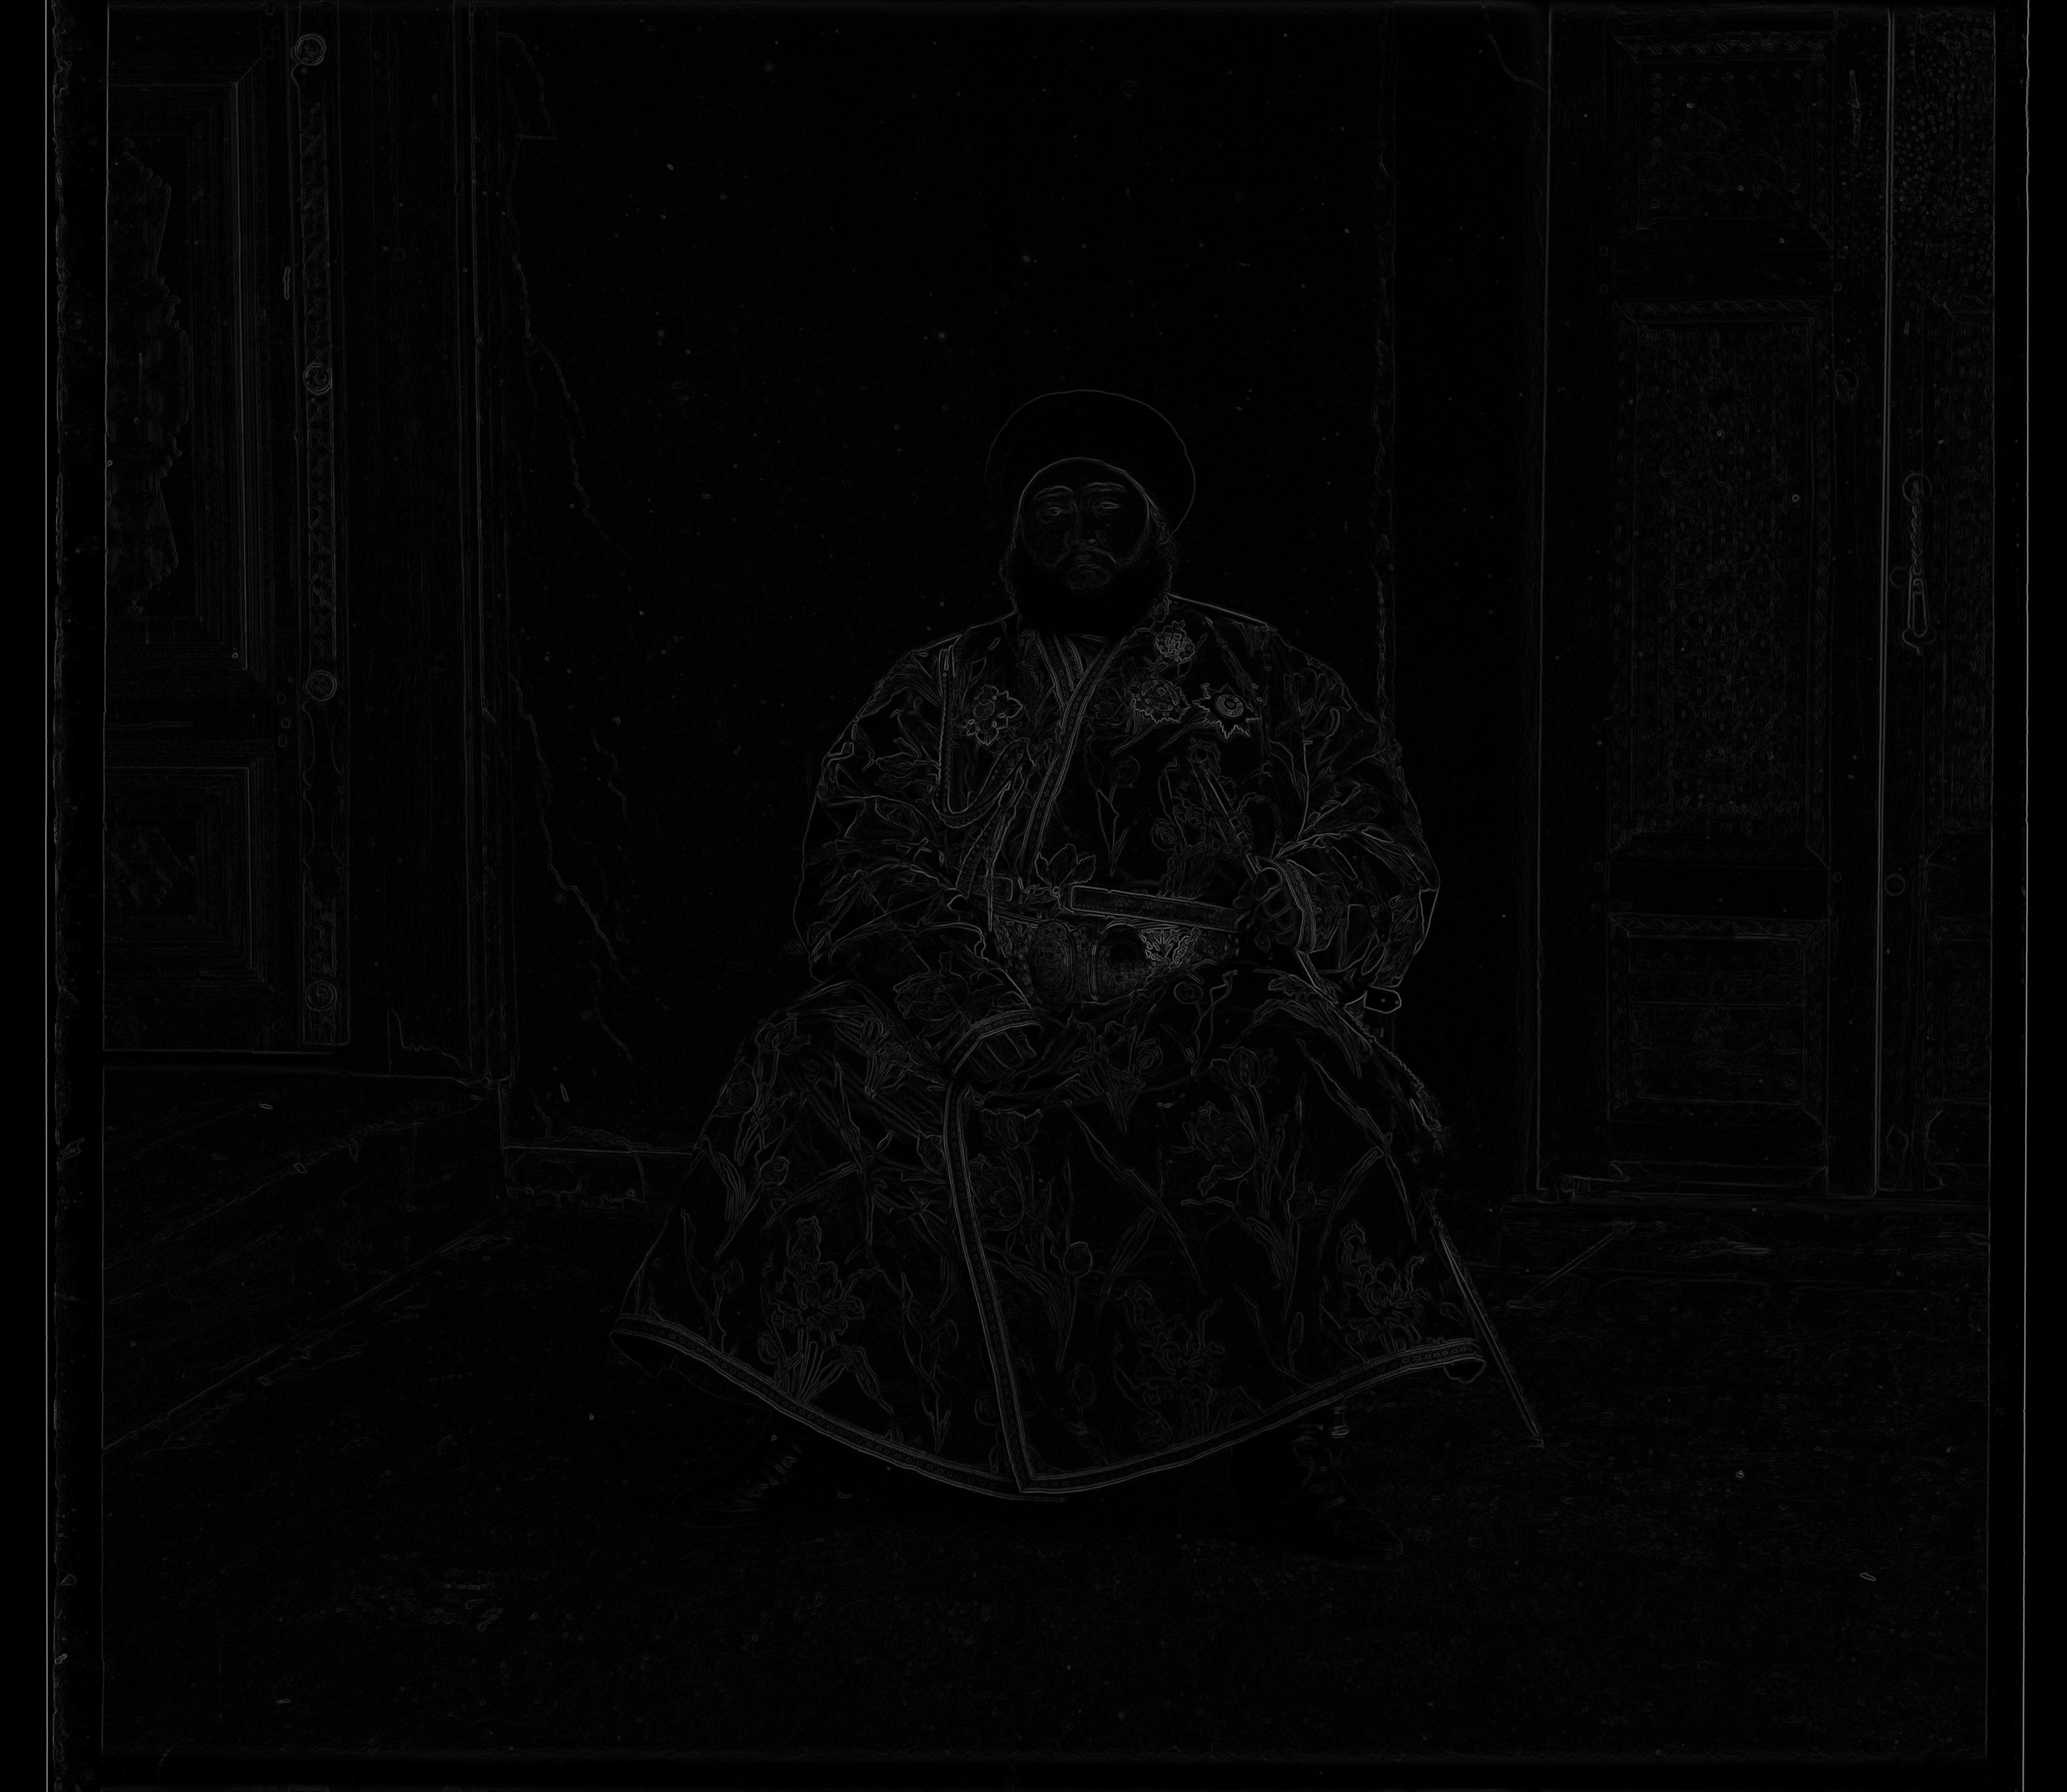
Green channel, Sobel
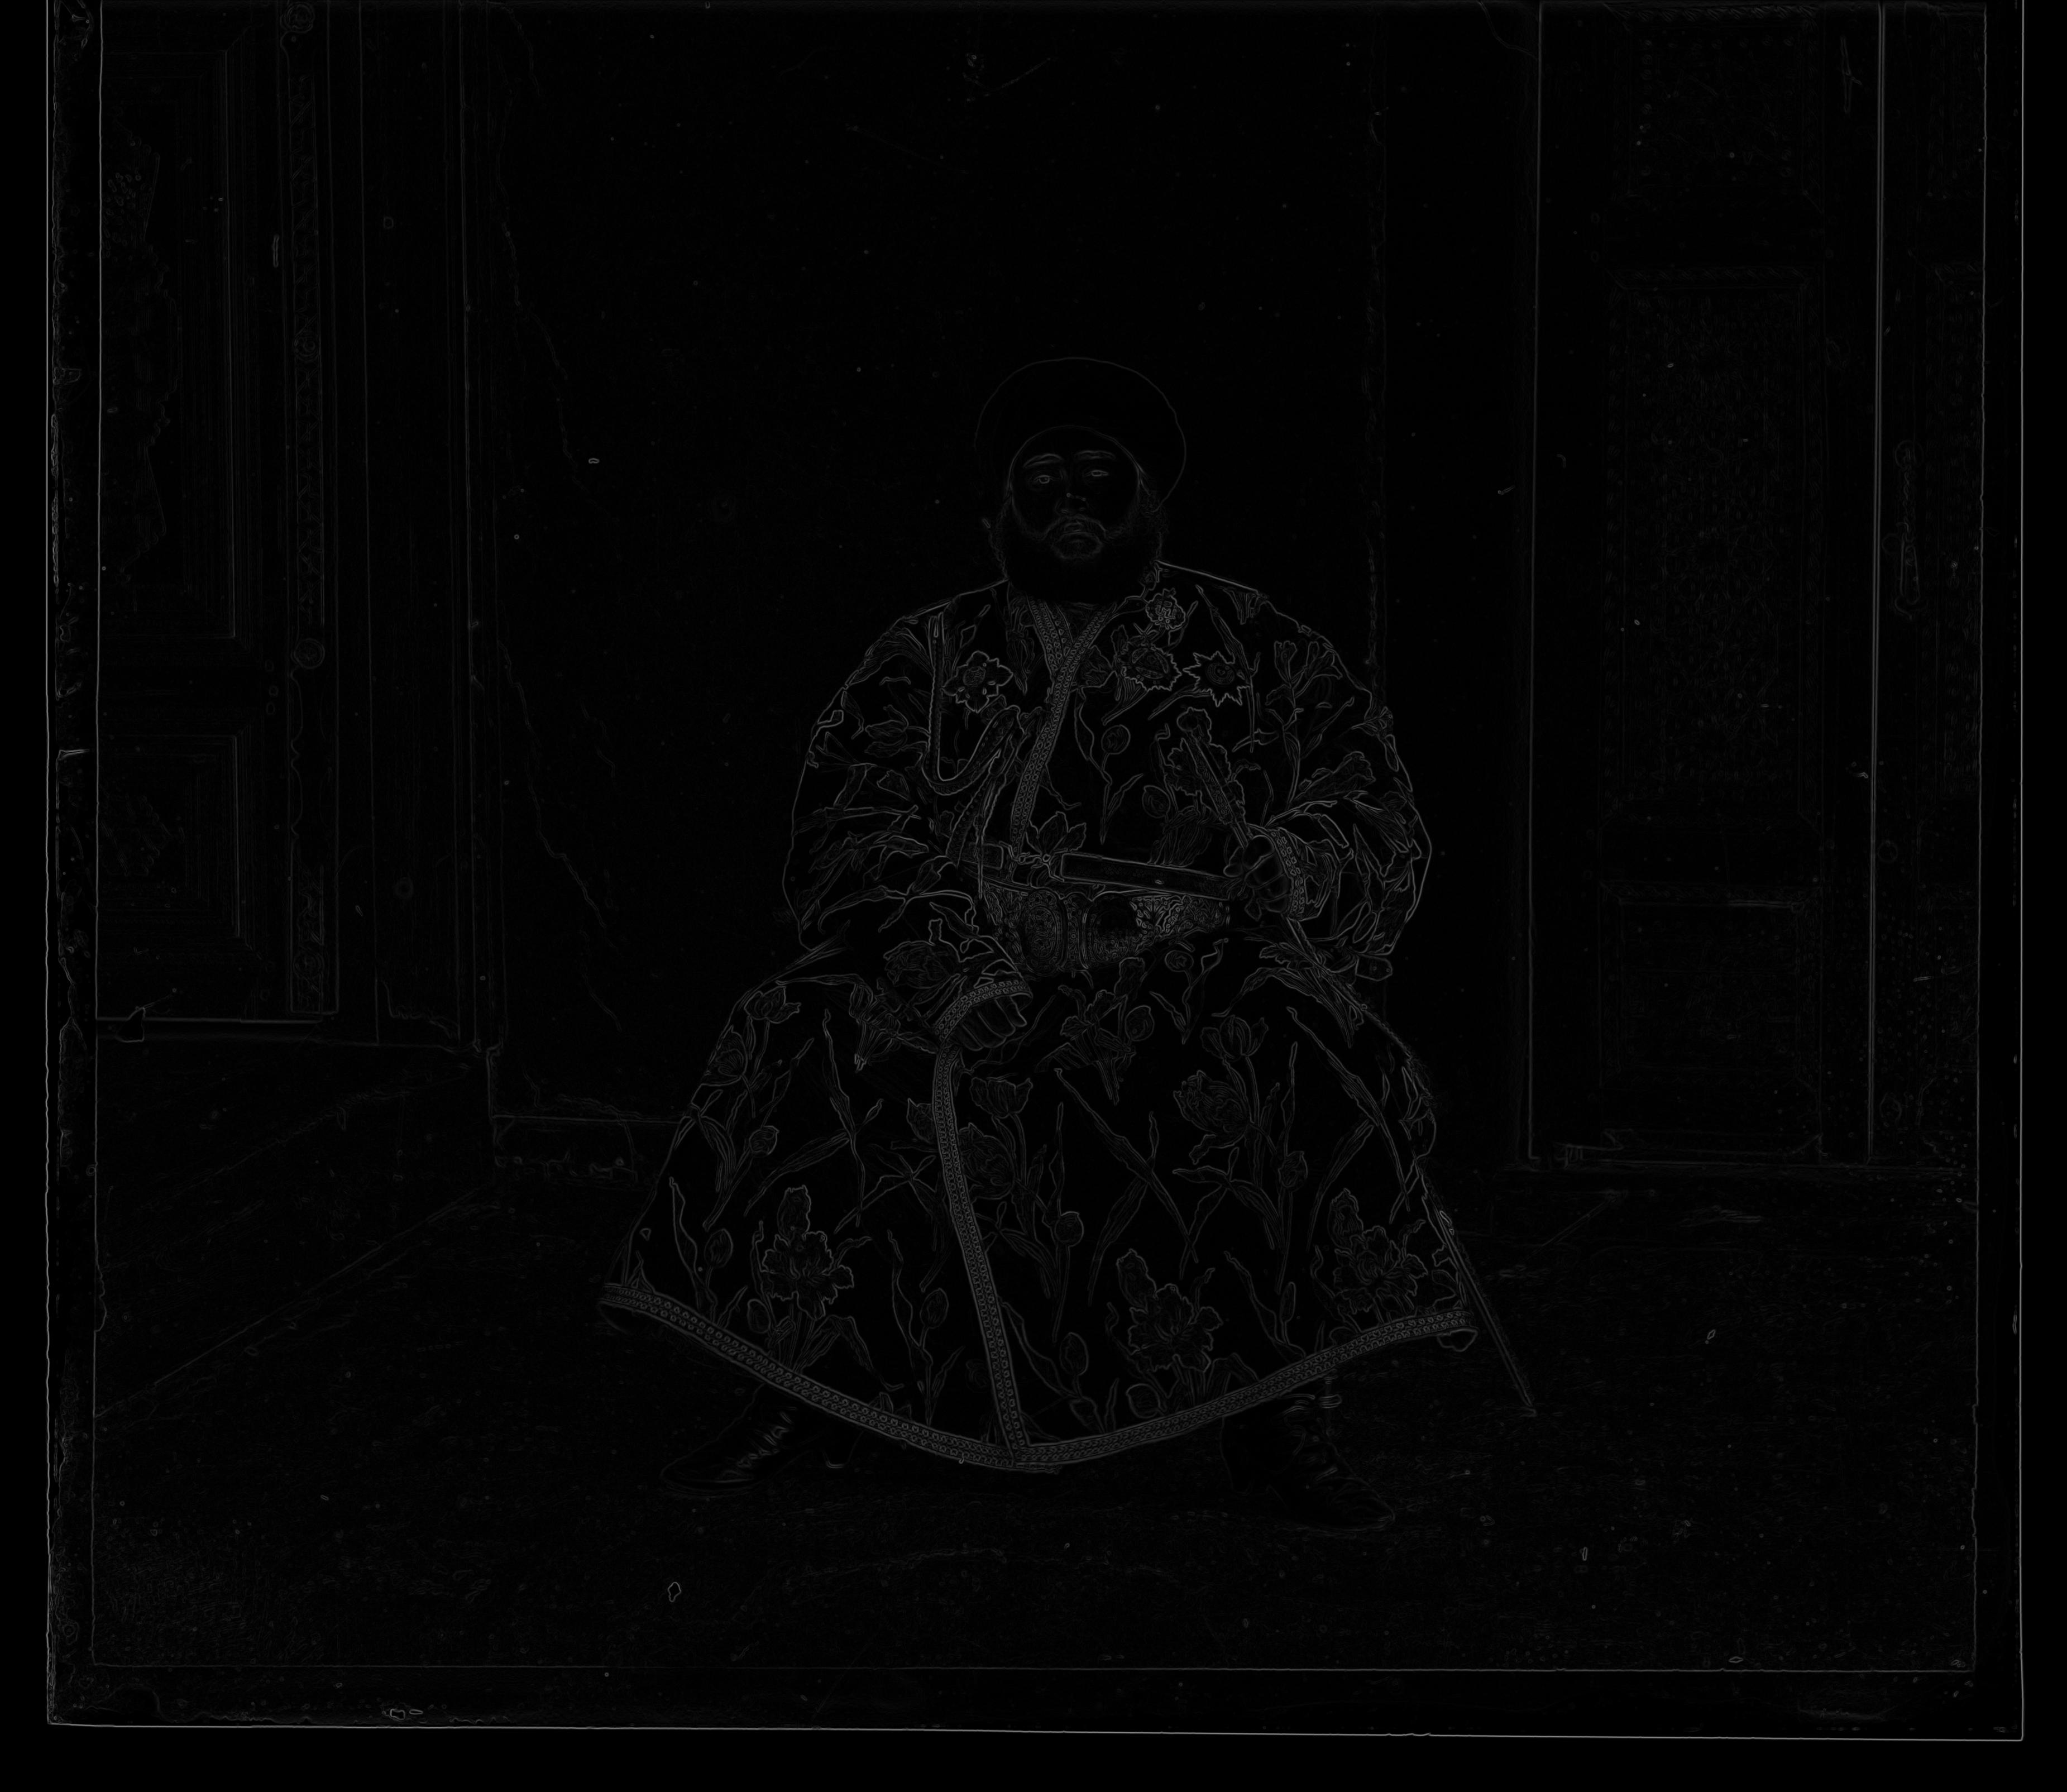
Red channel, Sobel
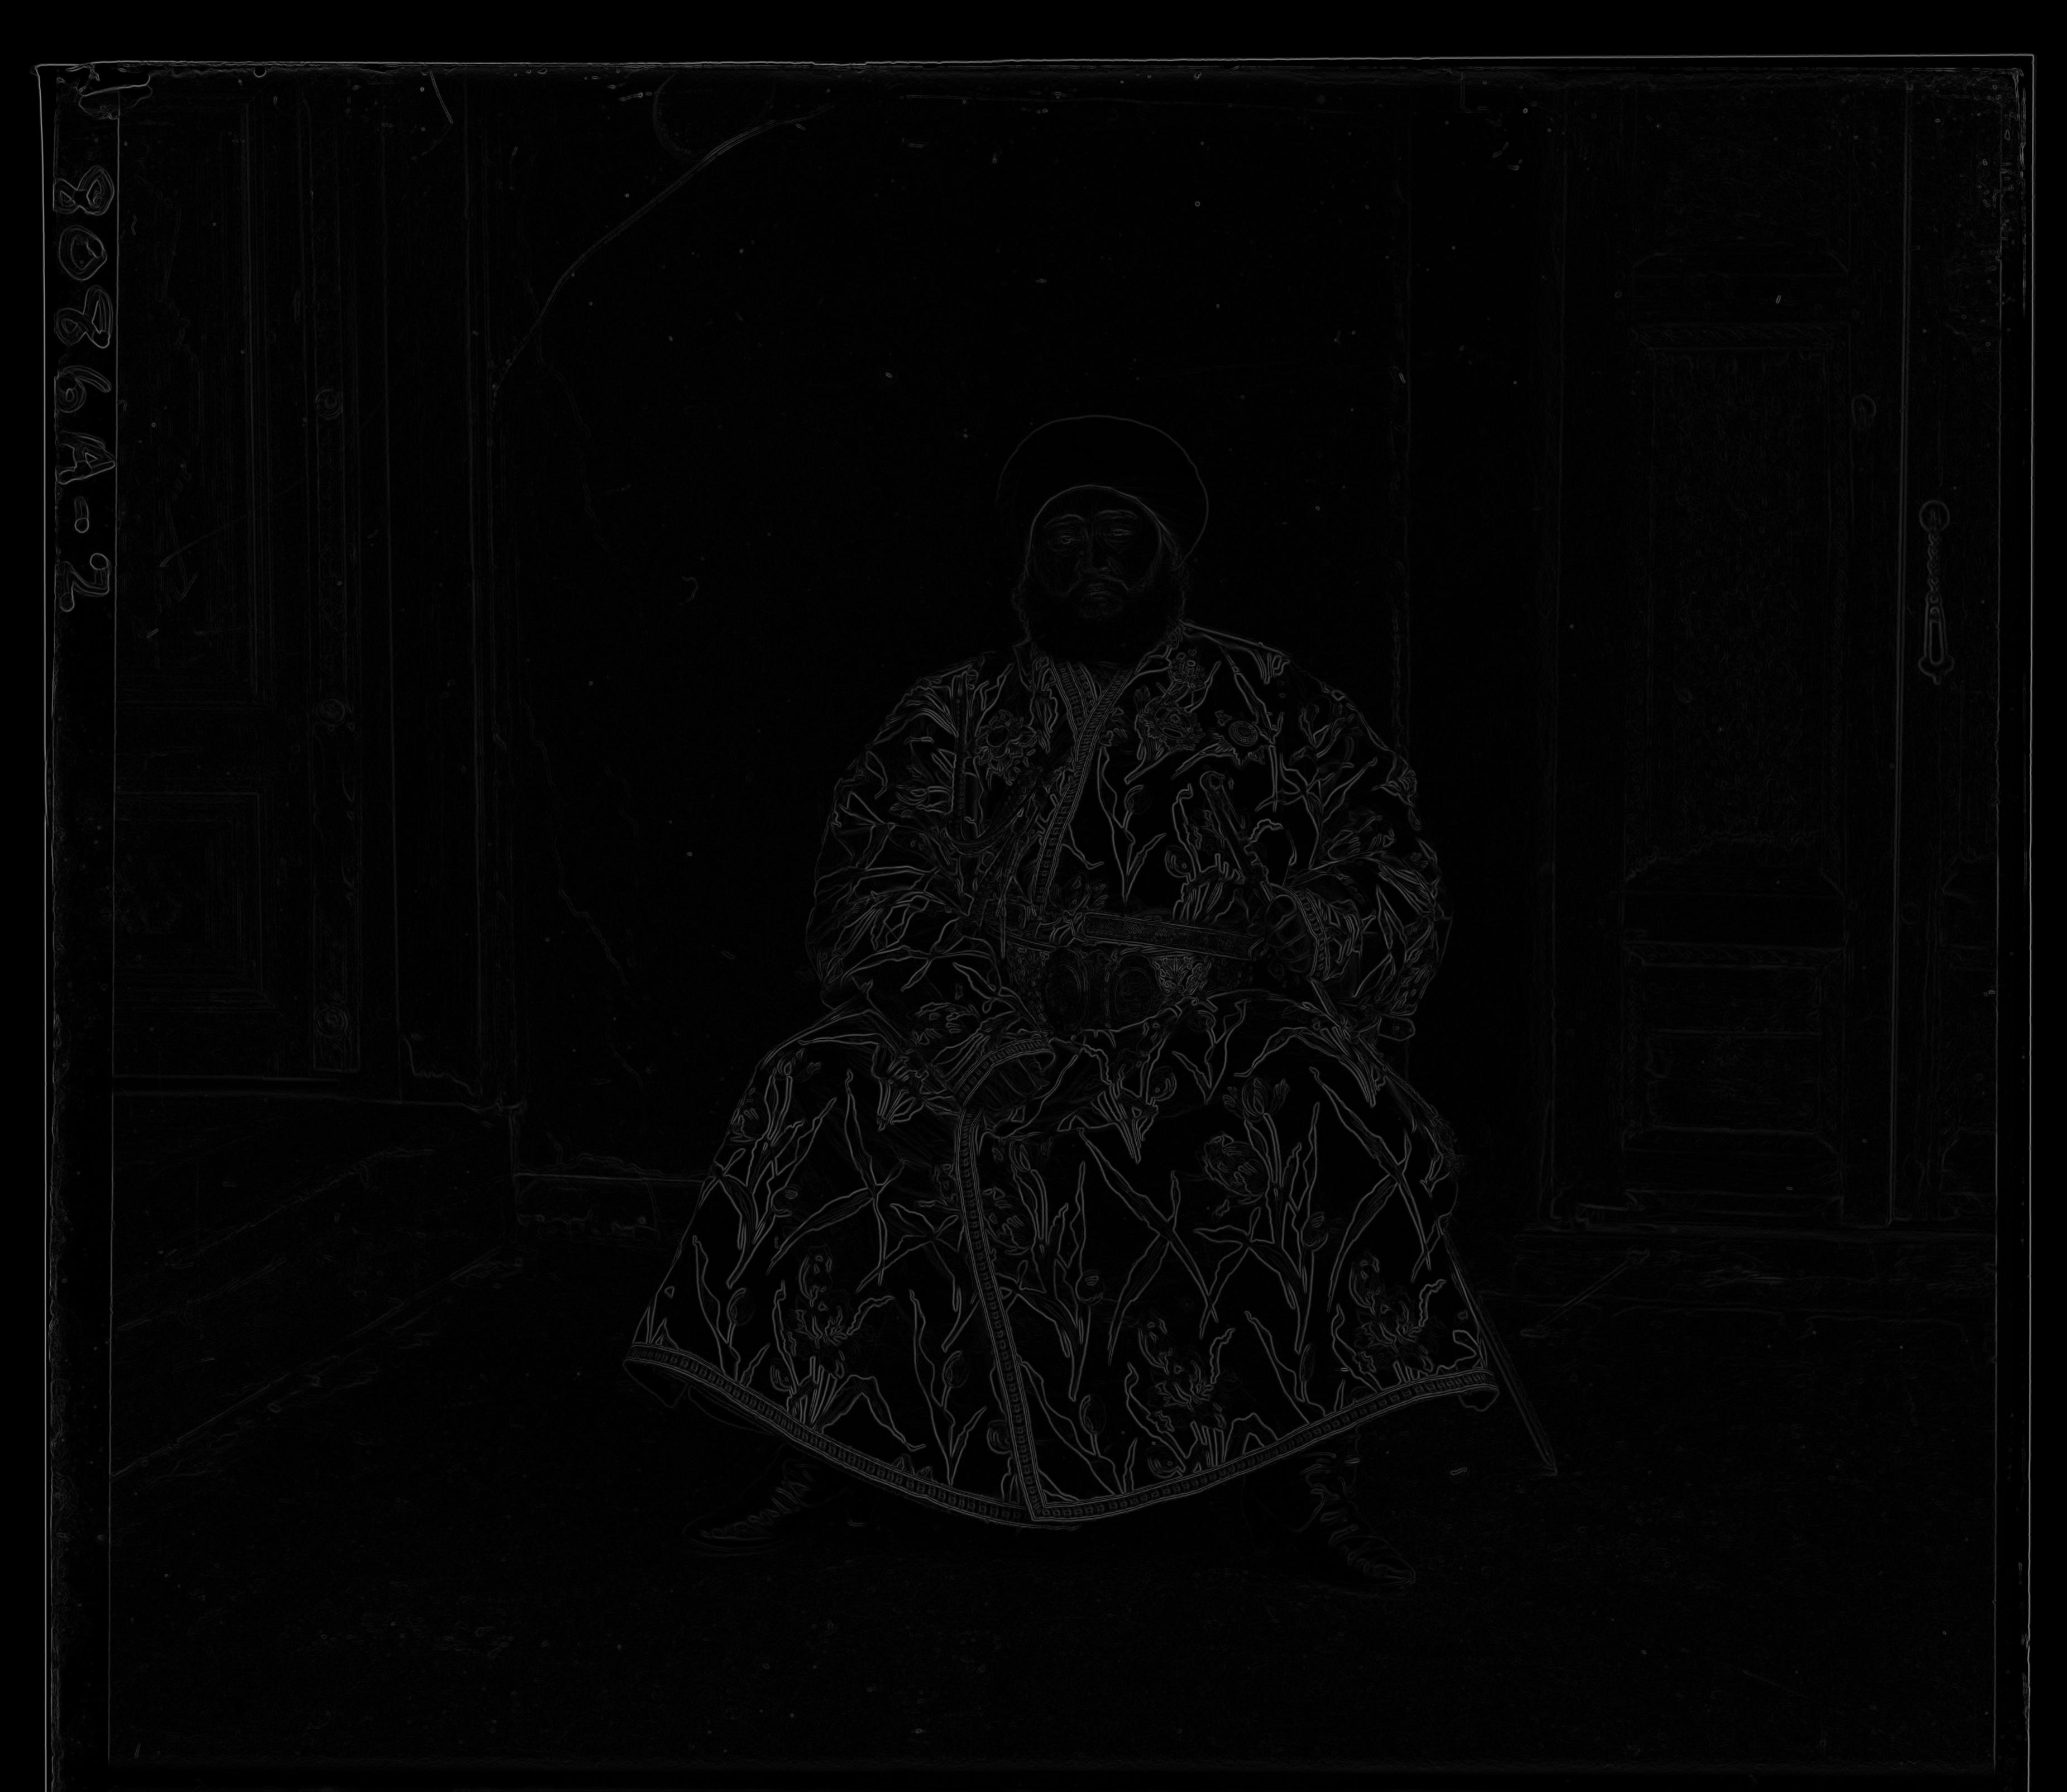
Blue channel, Sobel
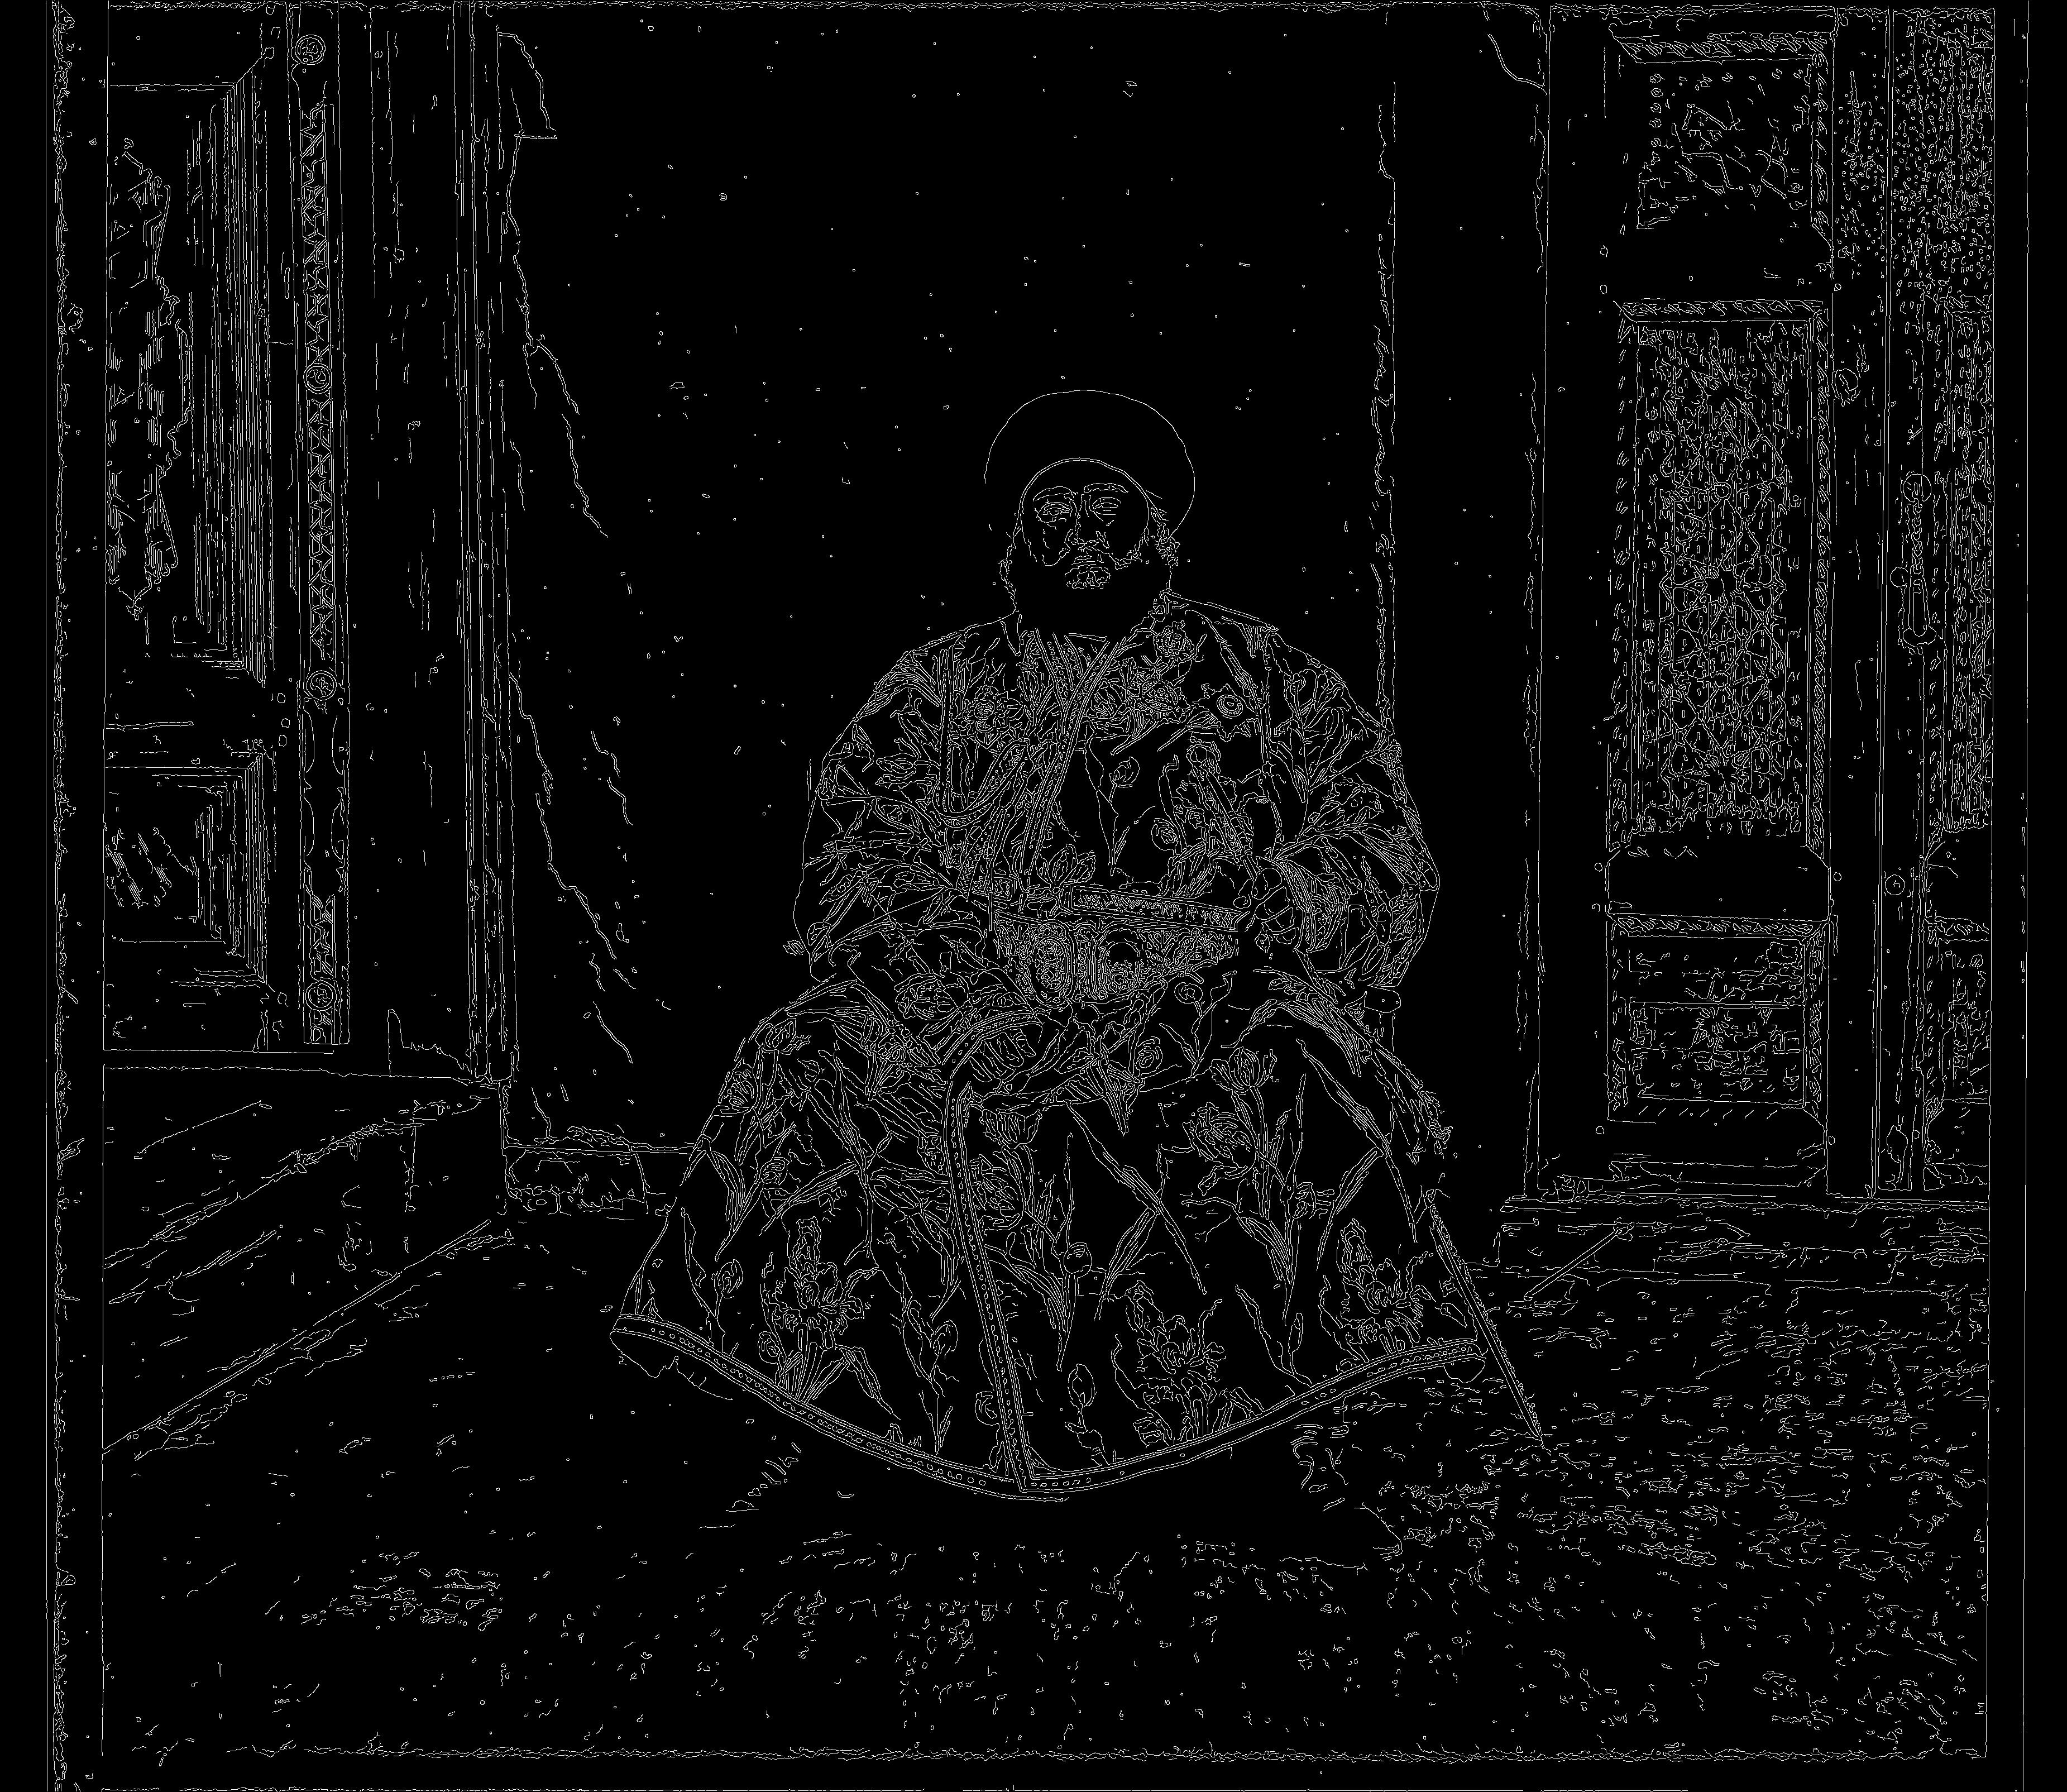
Green channel, Canny
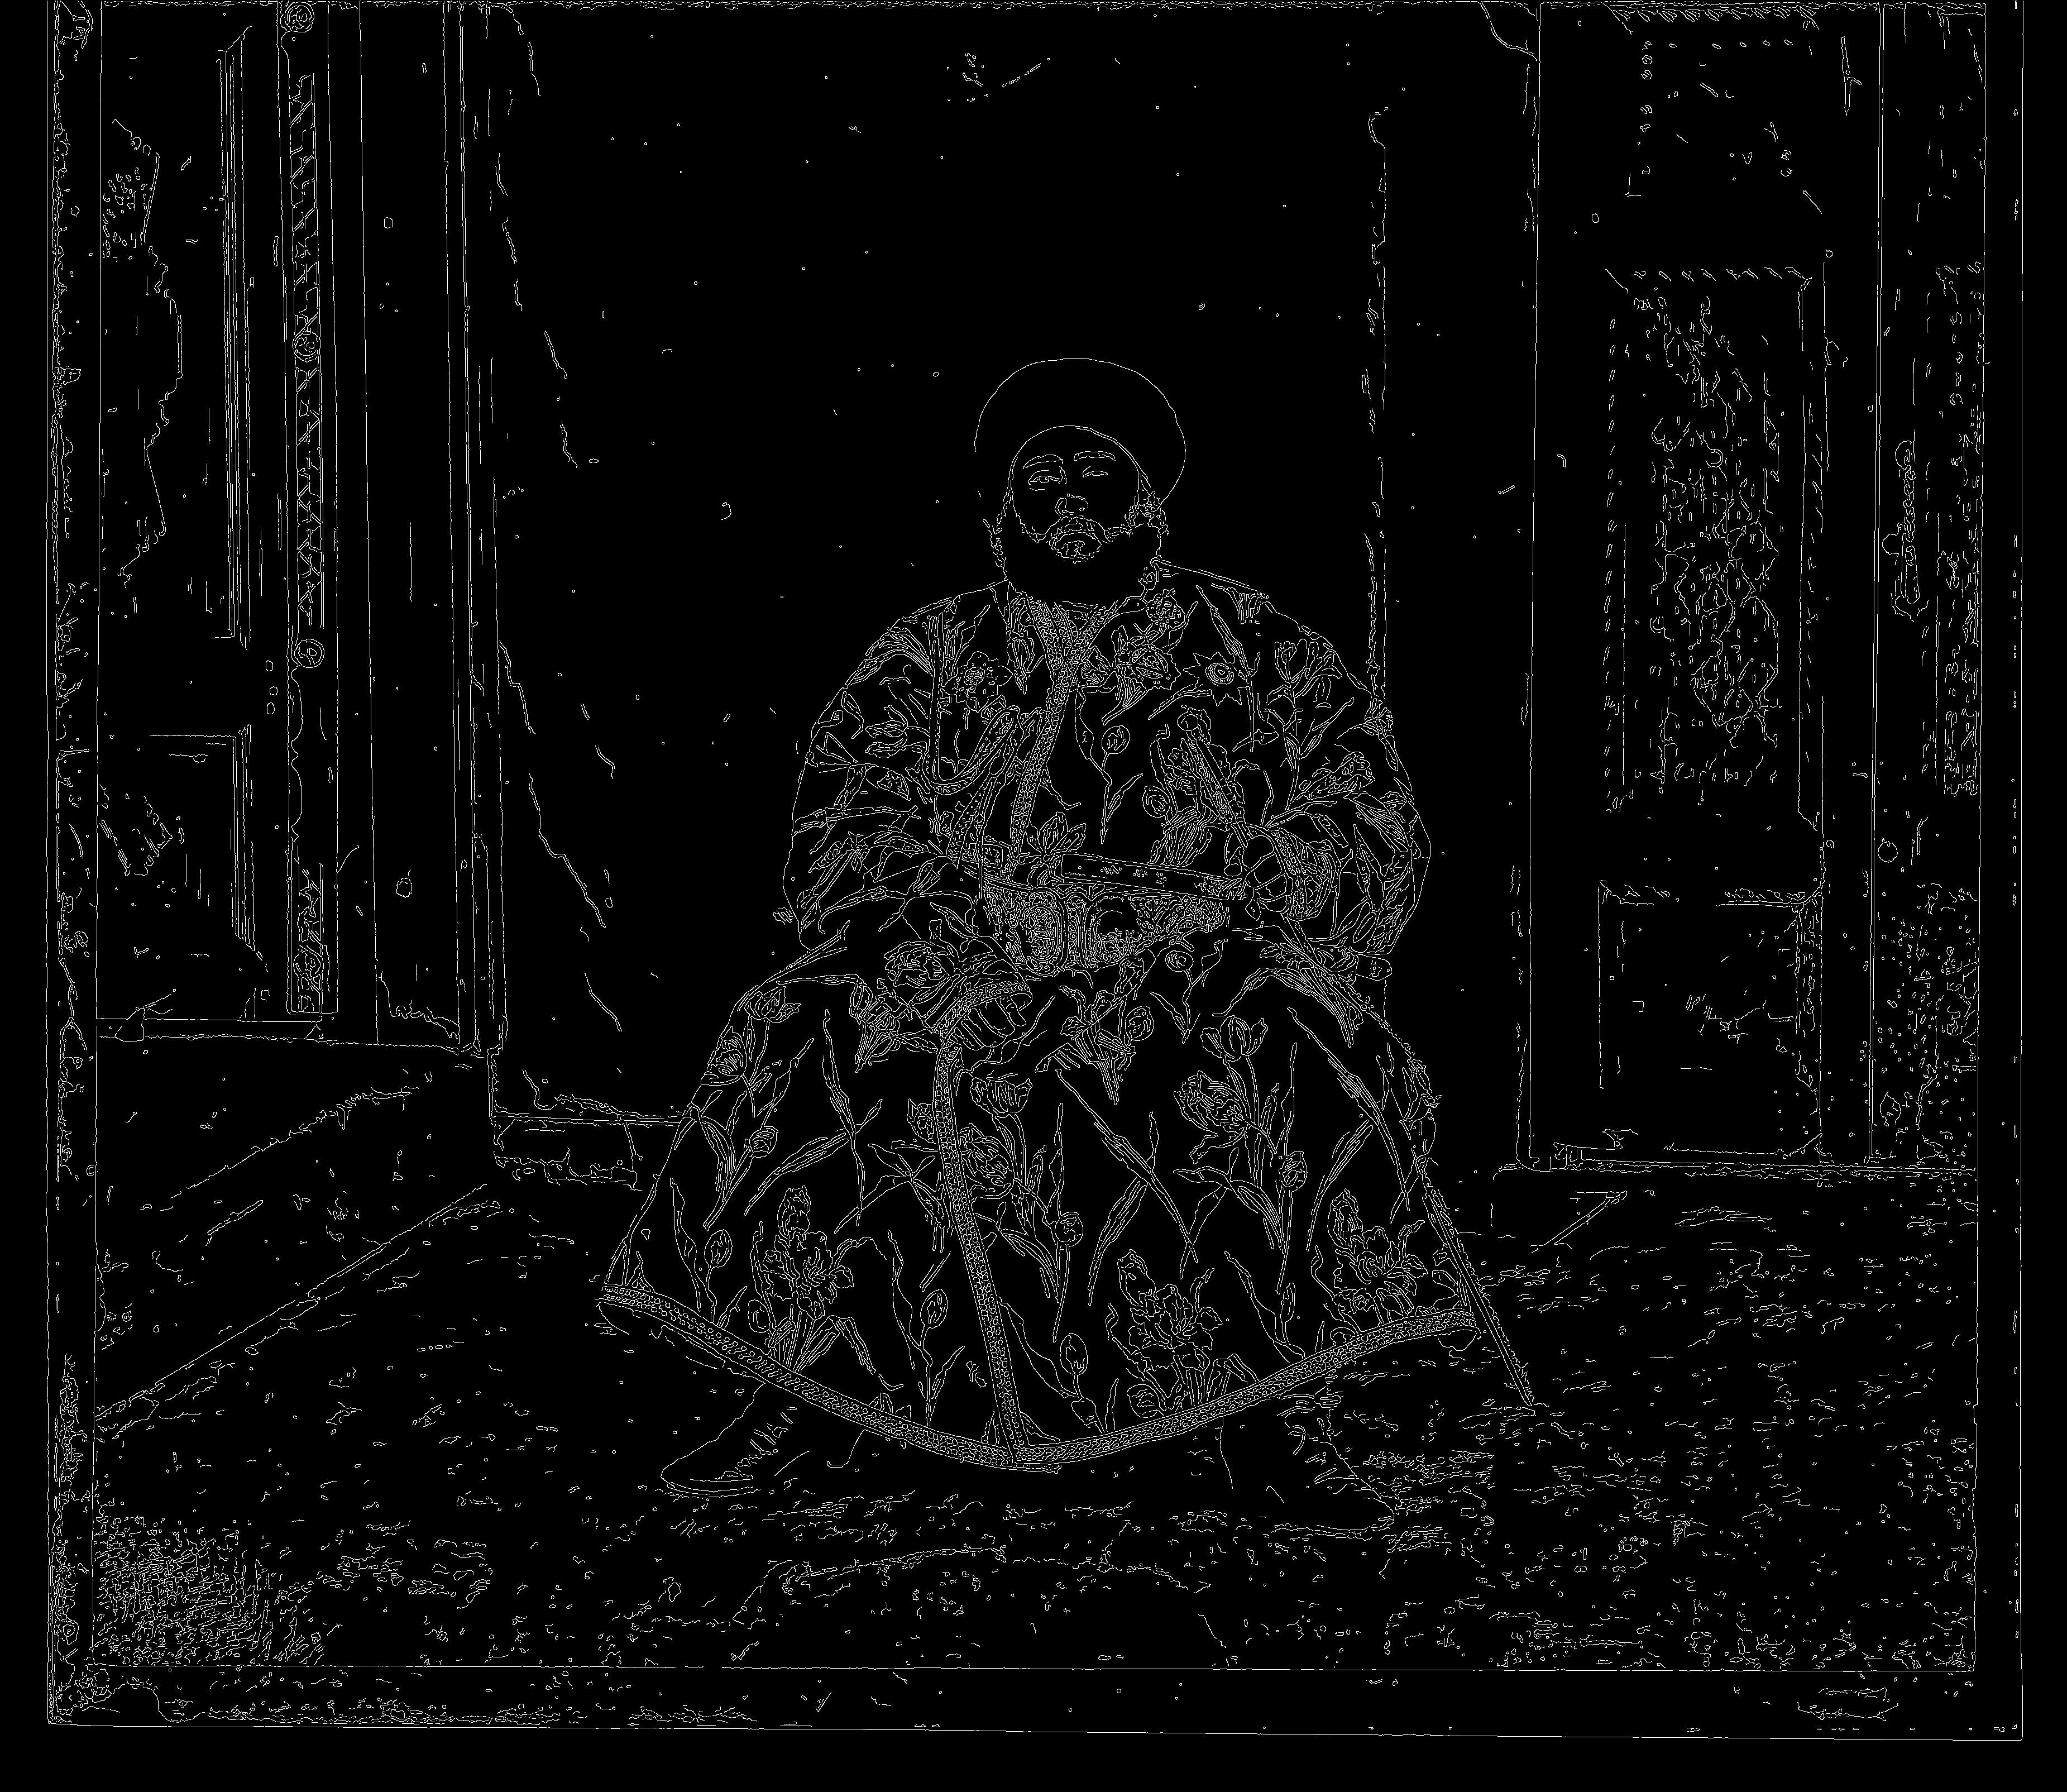
Red channel, Canny
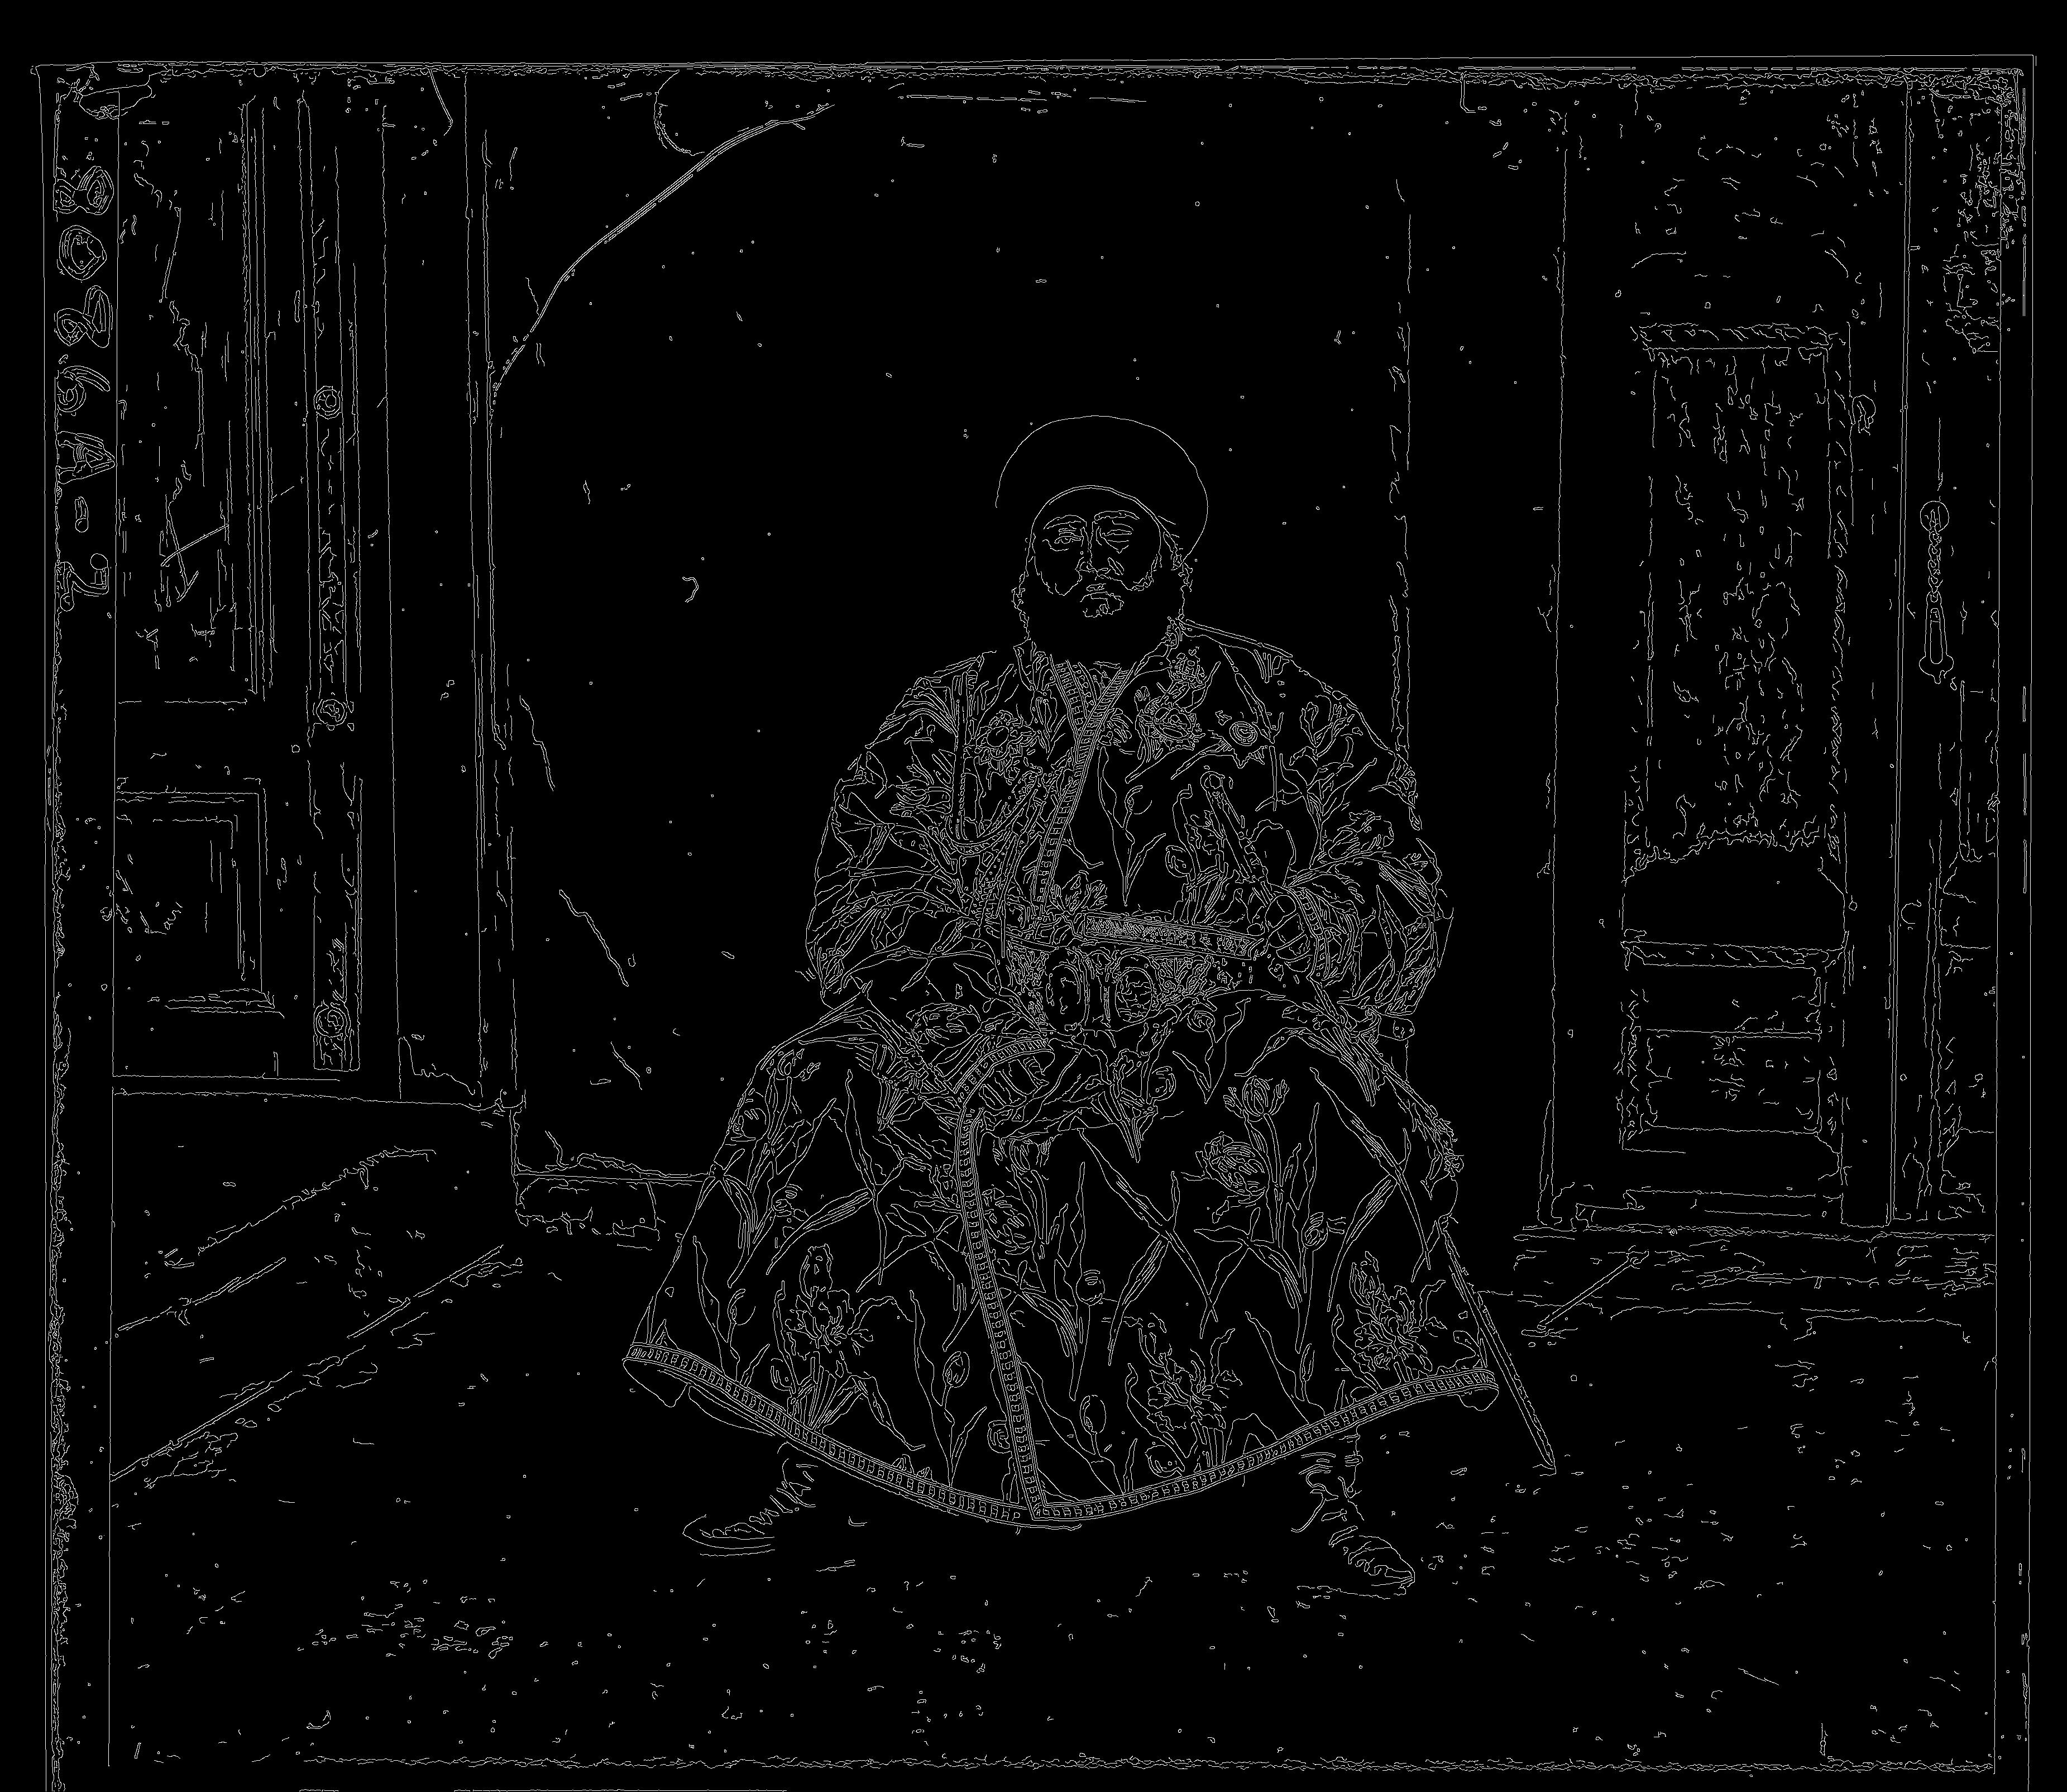
Blue channel, Canny
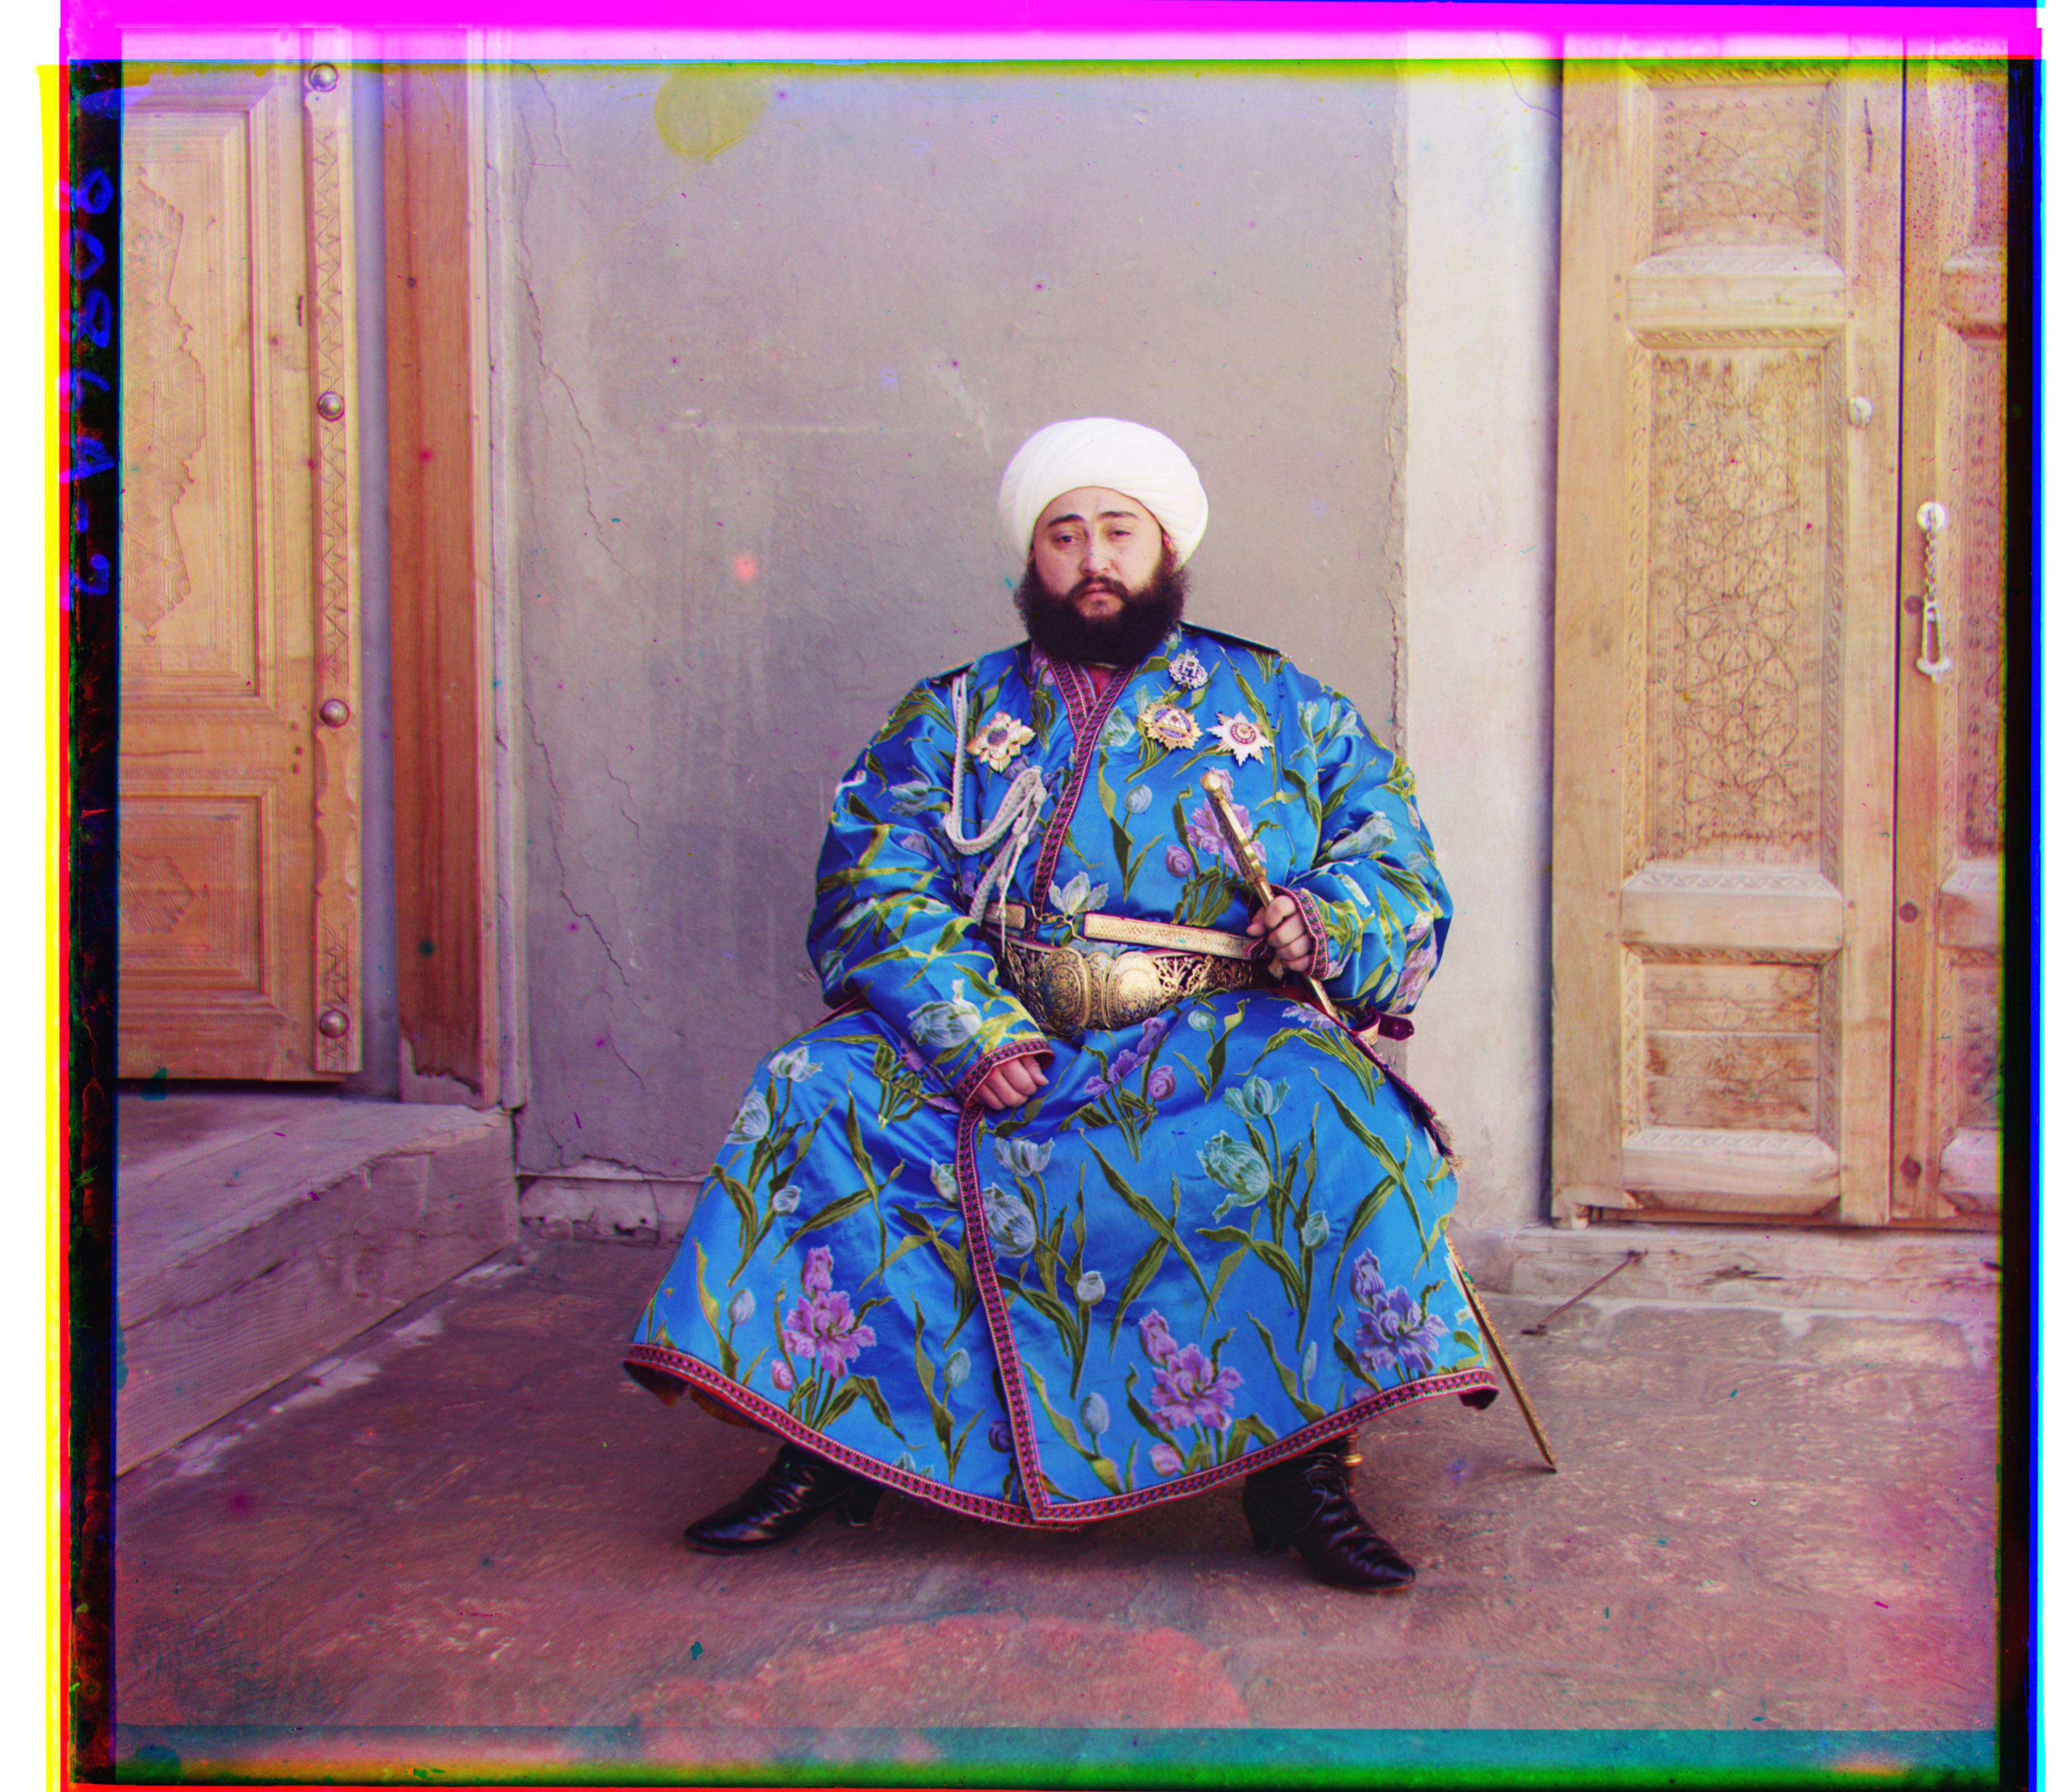
Aligned with Sobel filter
G: (24,50), R: (40,106)
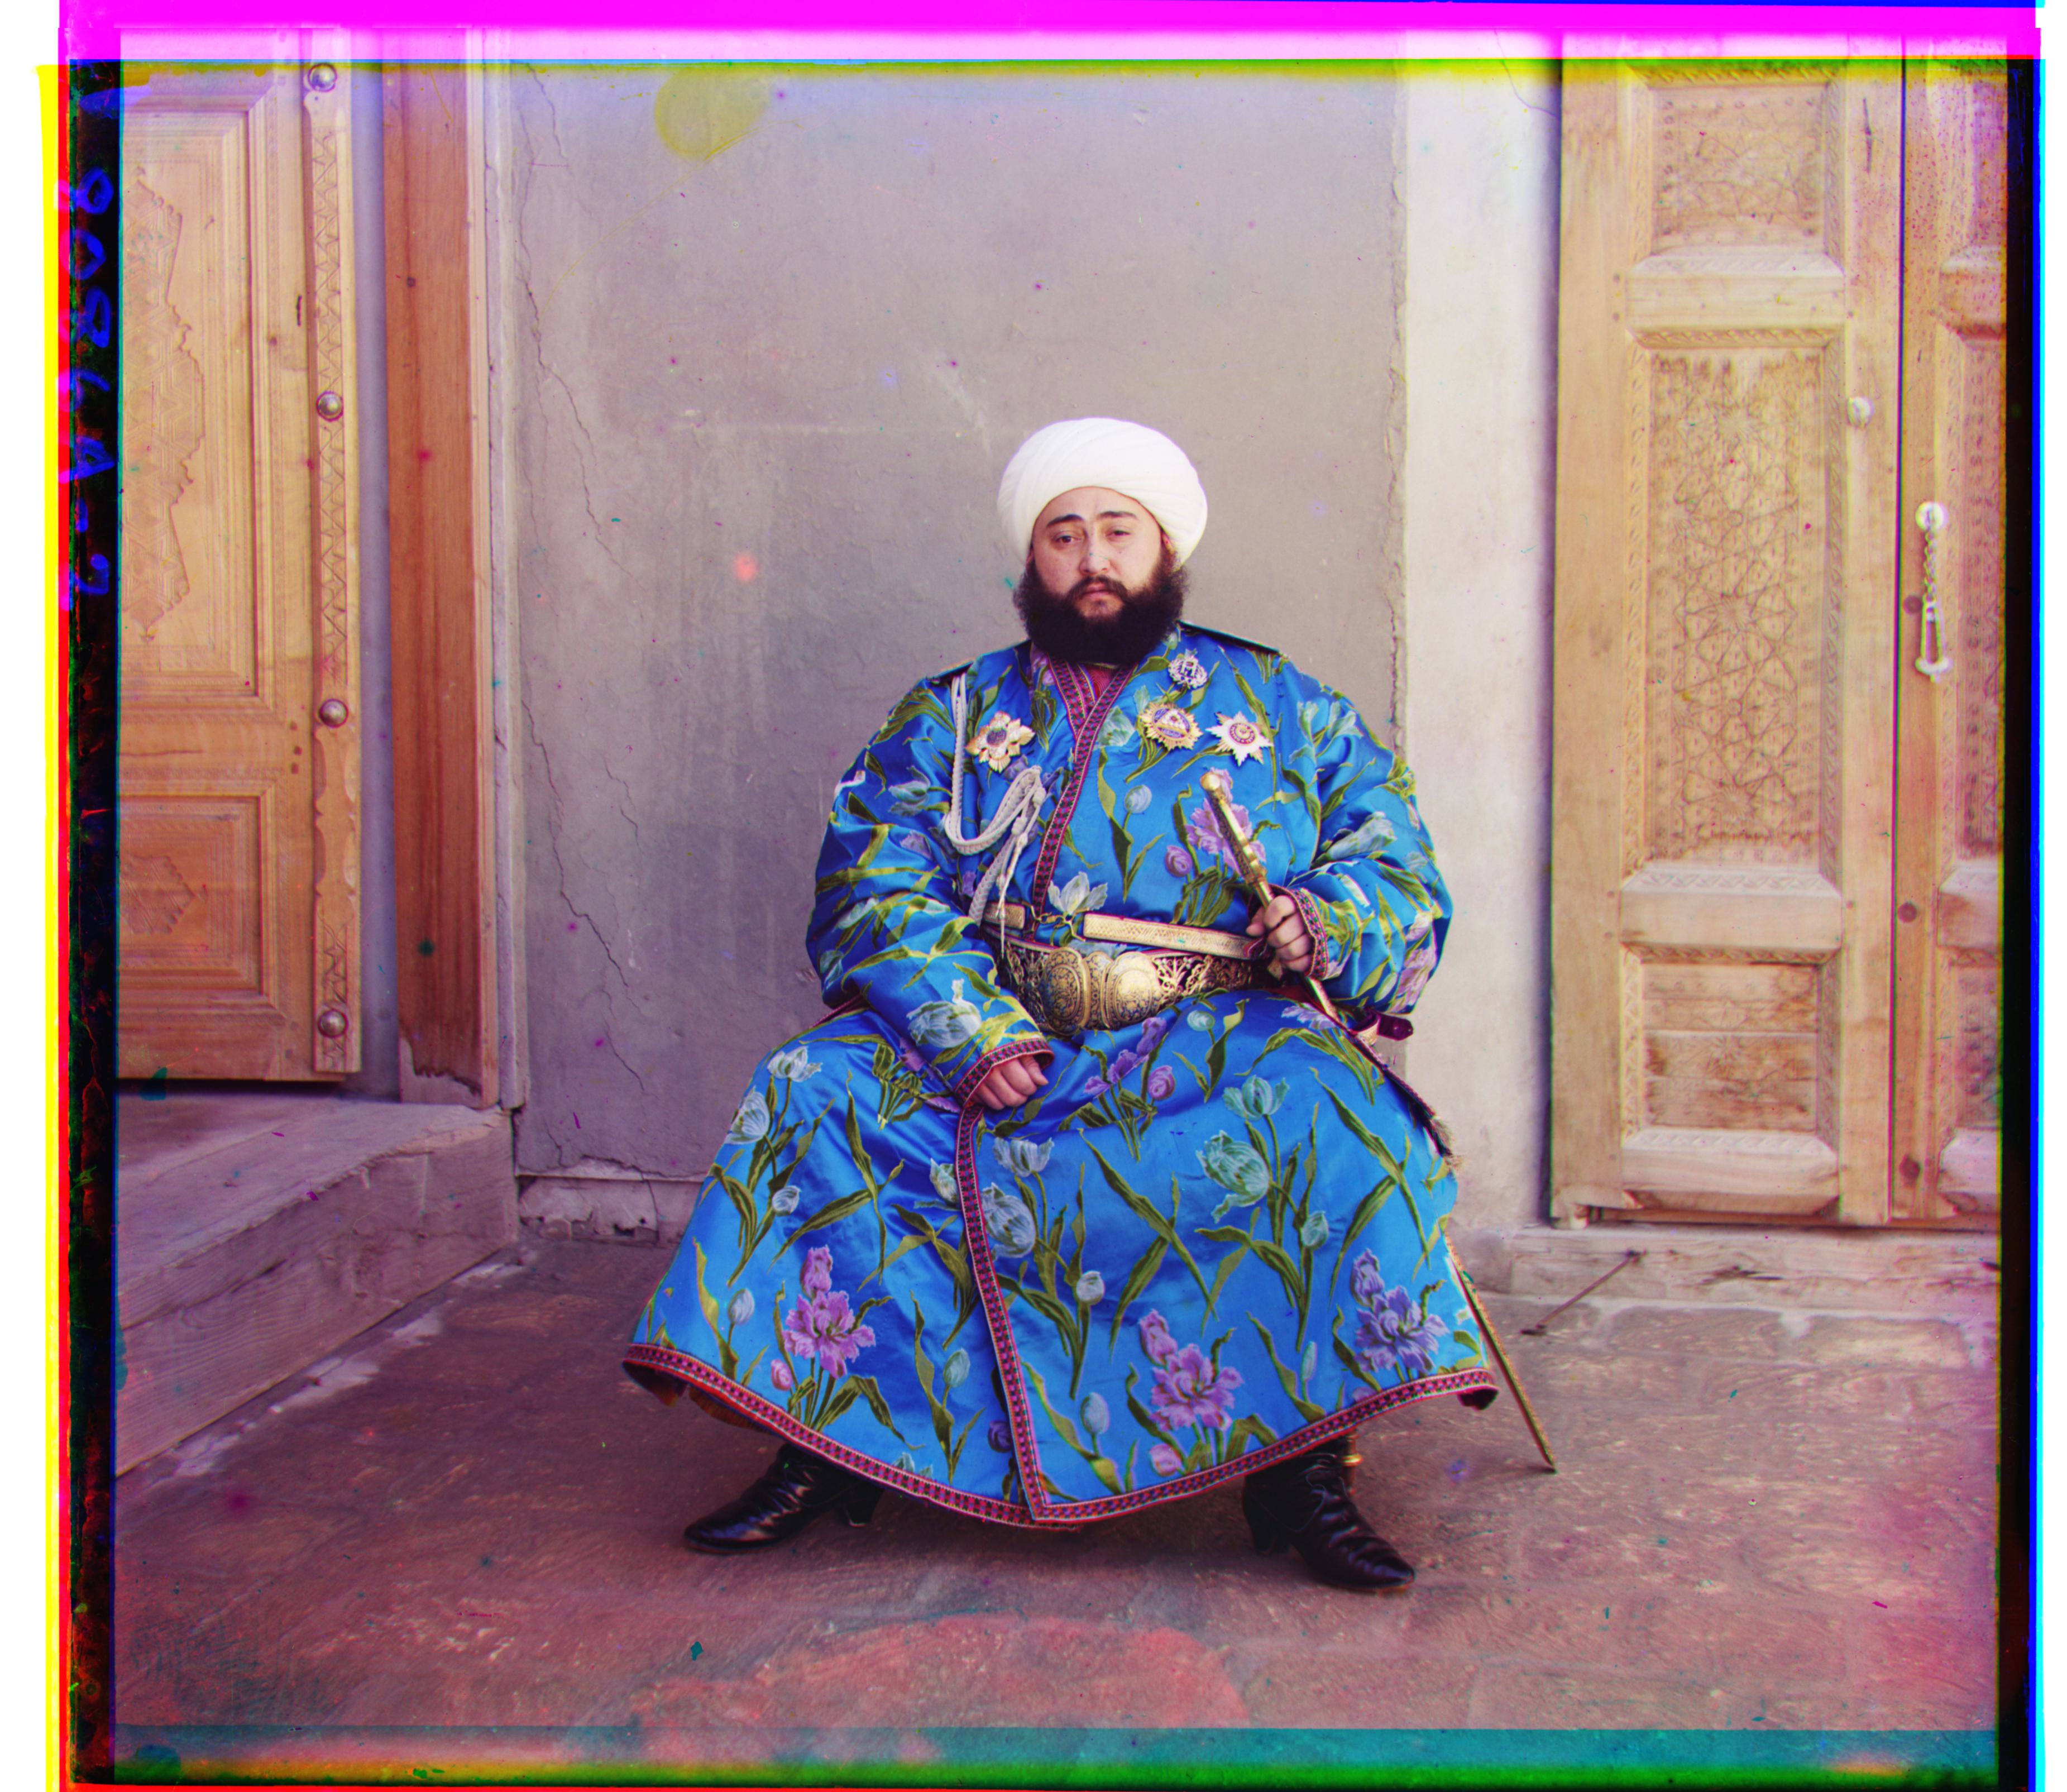
Aligned with Canny filter
G: (22,50), R: (40,106)
4. Auto cropping borders (Bell & Whistle #2)
All of the images above have some uneven borders that are not part of the image. So I attempted to implement an automatic cropping function.
I focused on getting rid of the black border that exists around each of the original B/W color channel image strips, as seen in the examples below:


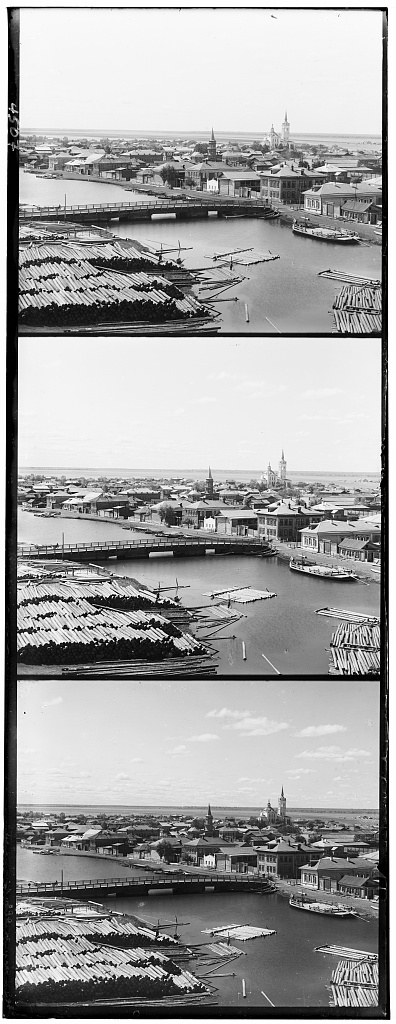
To accomplish this task, I took each of the B/W channels and summed them twice: once across the horizontal axis only and once across the vertical axis only. Then I divided each sum by the number of pixels that were added together. This resulted in two arrays per channel; one representing average B/W values across each pixel row, and the other representing average B/W values across each pixel column. With this information, I was able to easily crop the left, right, top and bottom sides of the image by determining a threshold representing the color black (close to 0) and determining the innermost rows and columns with average pixel values that fell under this threshold. To avoid long runtimes, I only scanned through rows and columns in the outer thirds of the image. I did this for each of the three channels per image, again taking the innermost rows and columns from the channels to determine the final cropping “coordinates” for the image.
I kept my autocropping implementation completely separate from my alignment implementation. In other words, I obtained the alignment coordinates and cropping coordinates separately, then applied the cropping coordinates only after it was properly aligned. This was done because I had found pre-alignment autocropping to affect the quality of the final color image.
The following images were generated using this autocropping method, with a threshold average pixel value of 0.2.
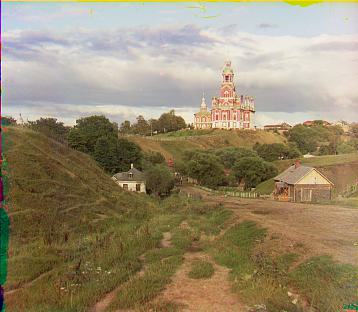
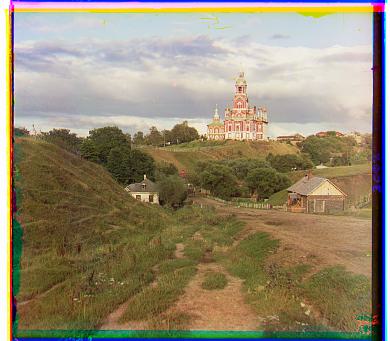
cathedral.jpg
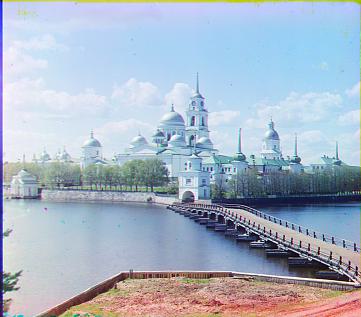
monastery.jpg
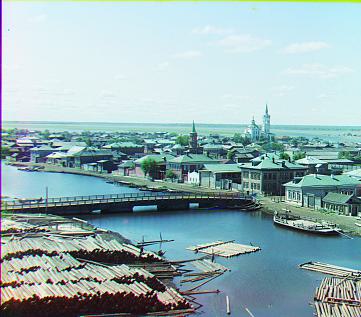
tobolsk.jpg
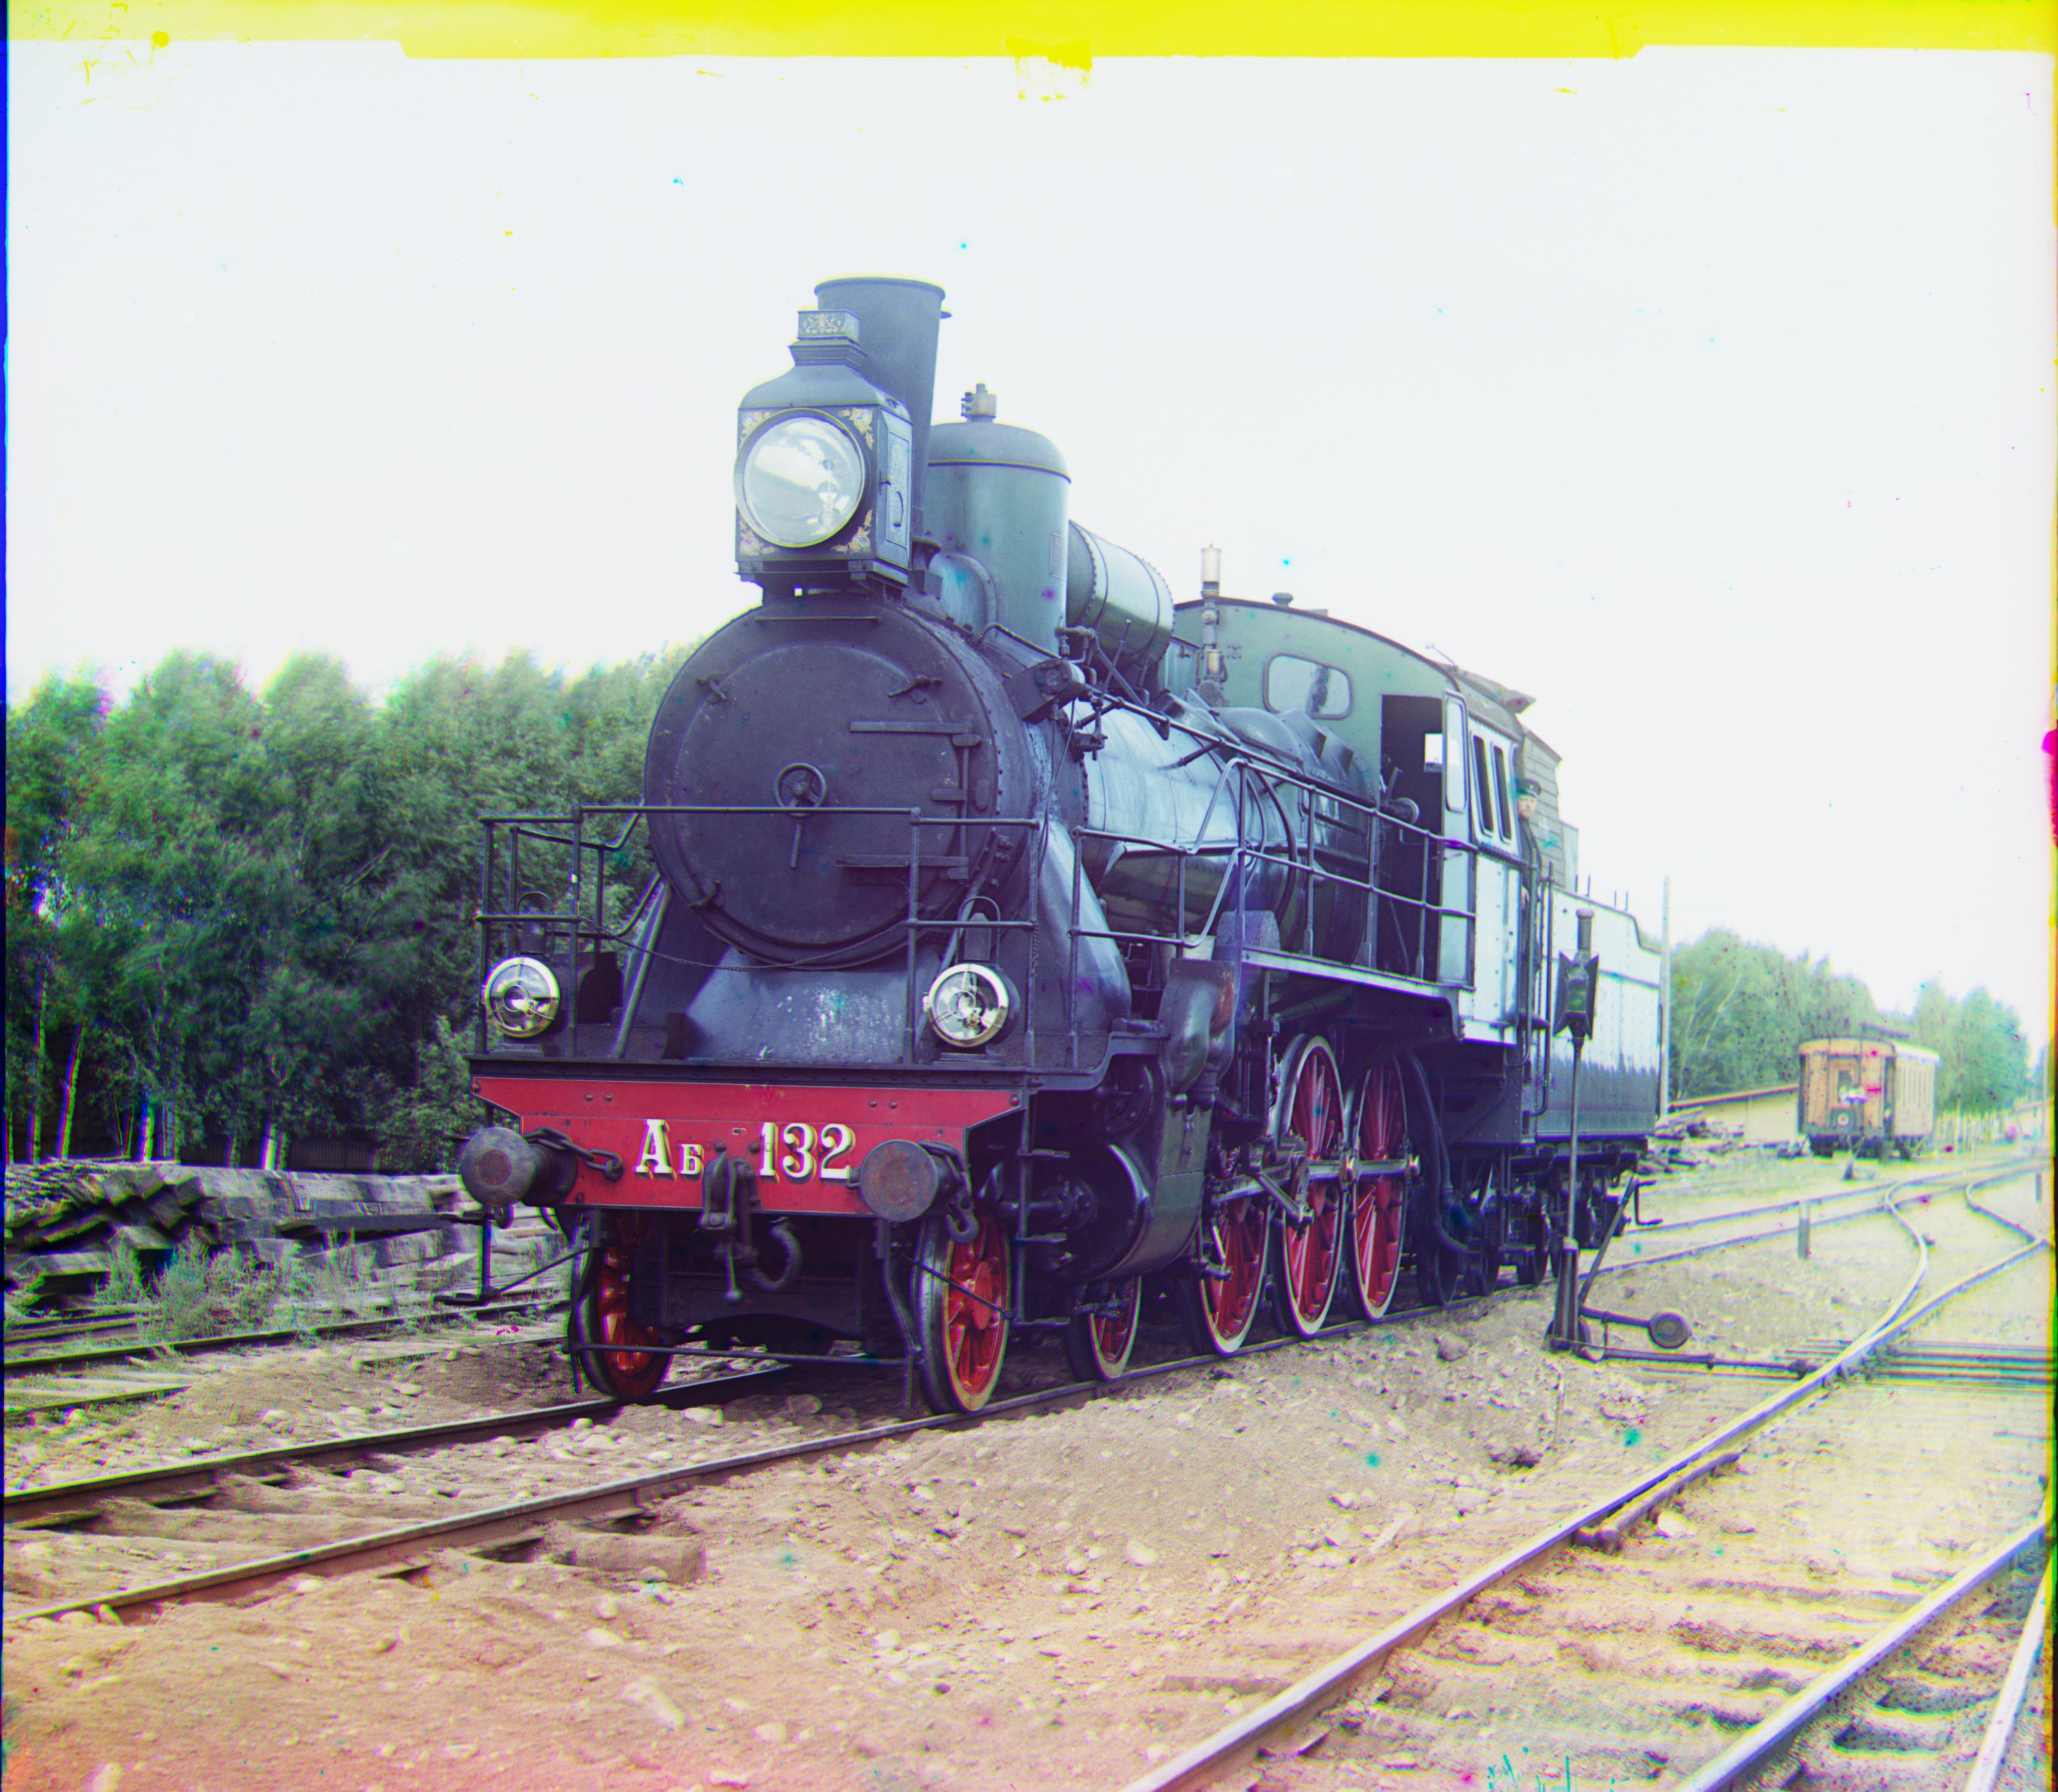
train.tif
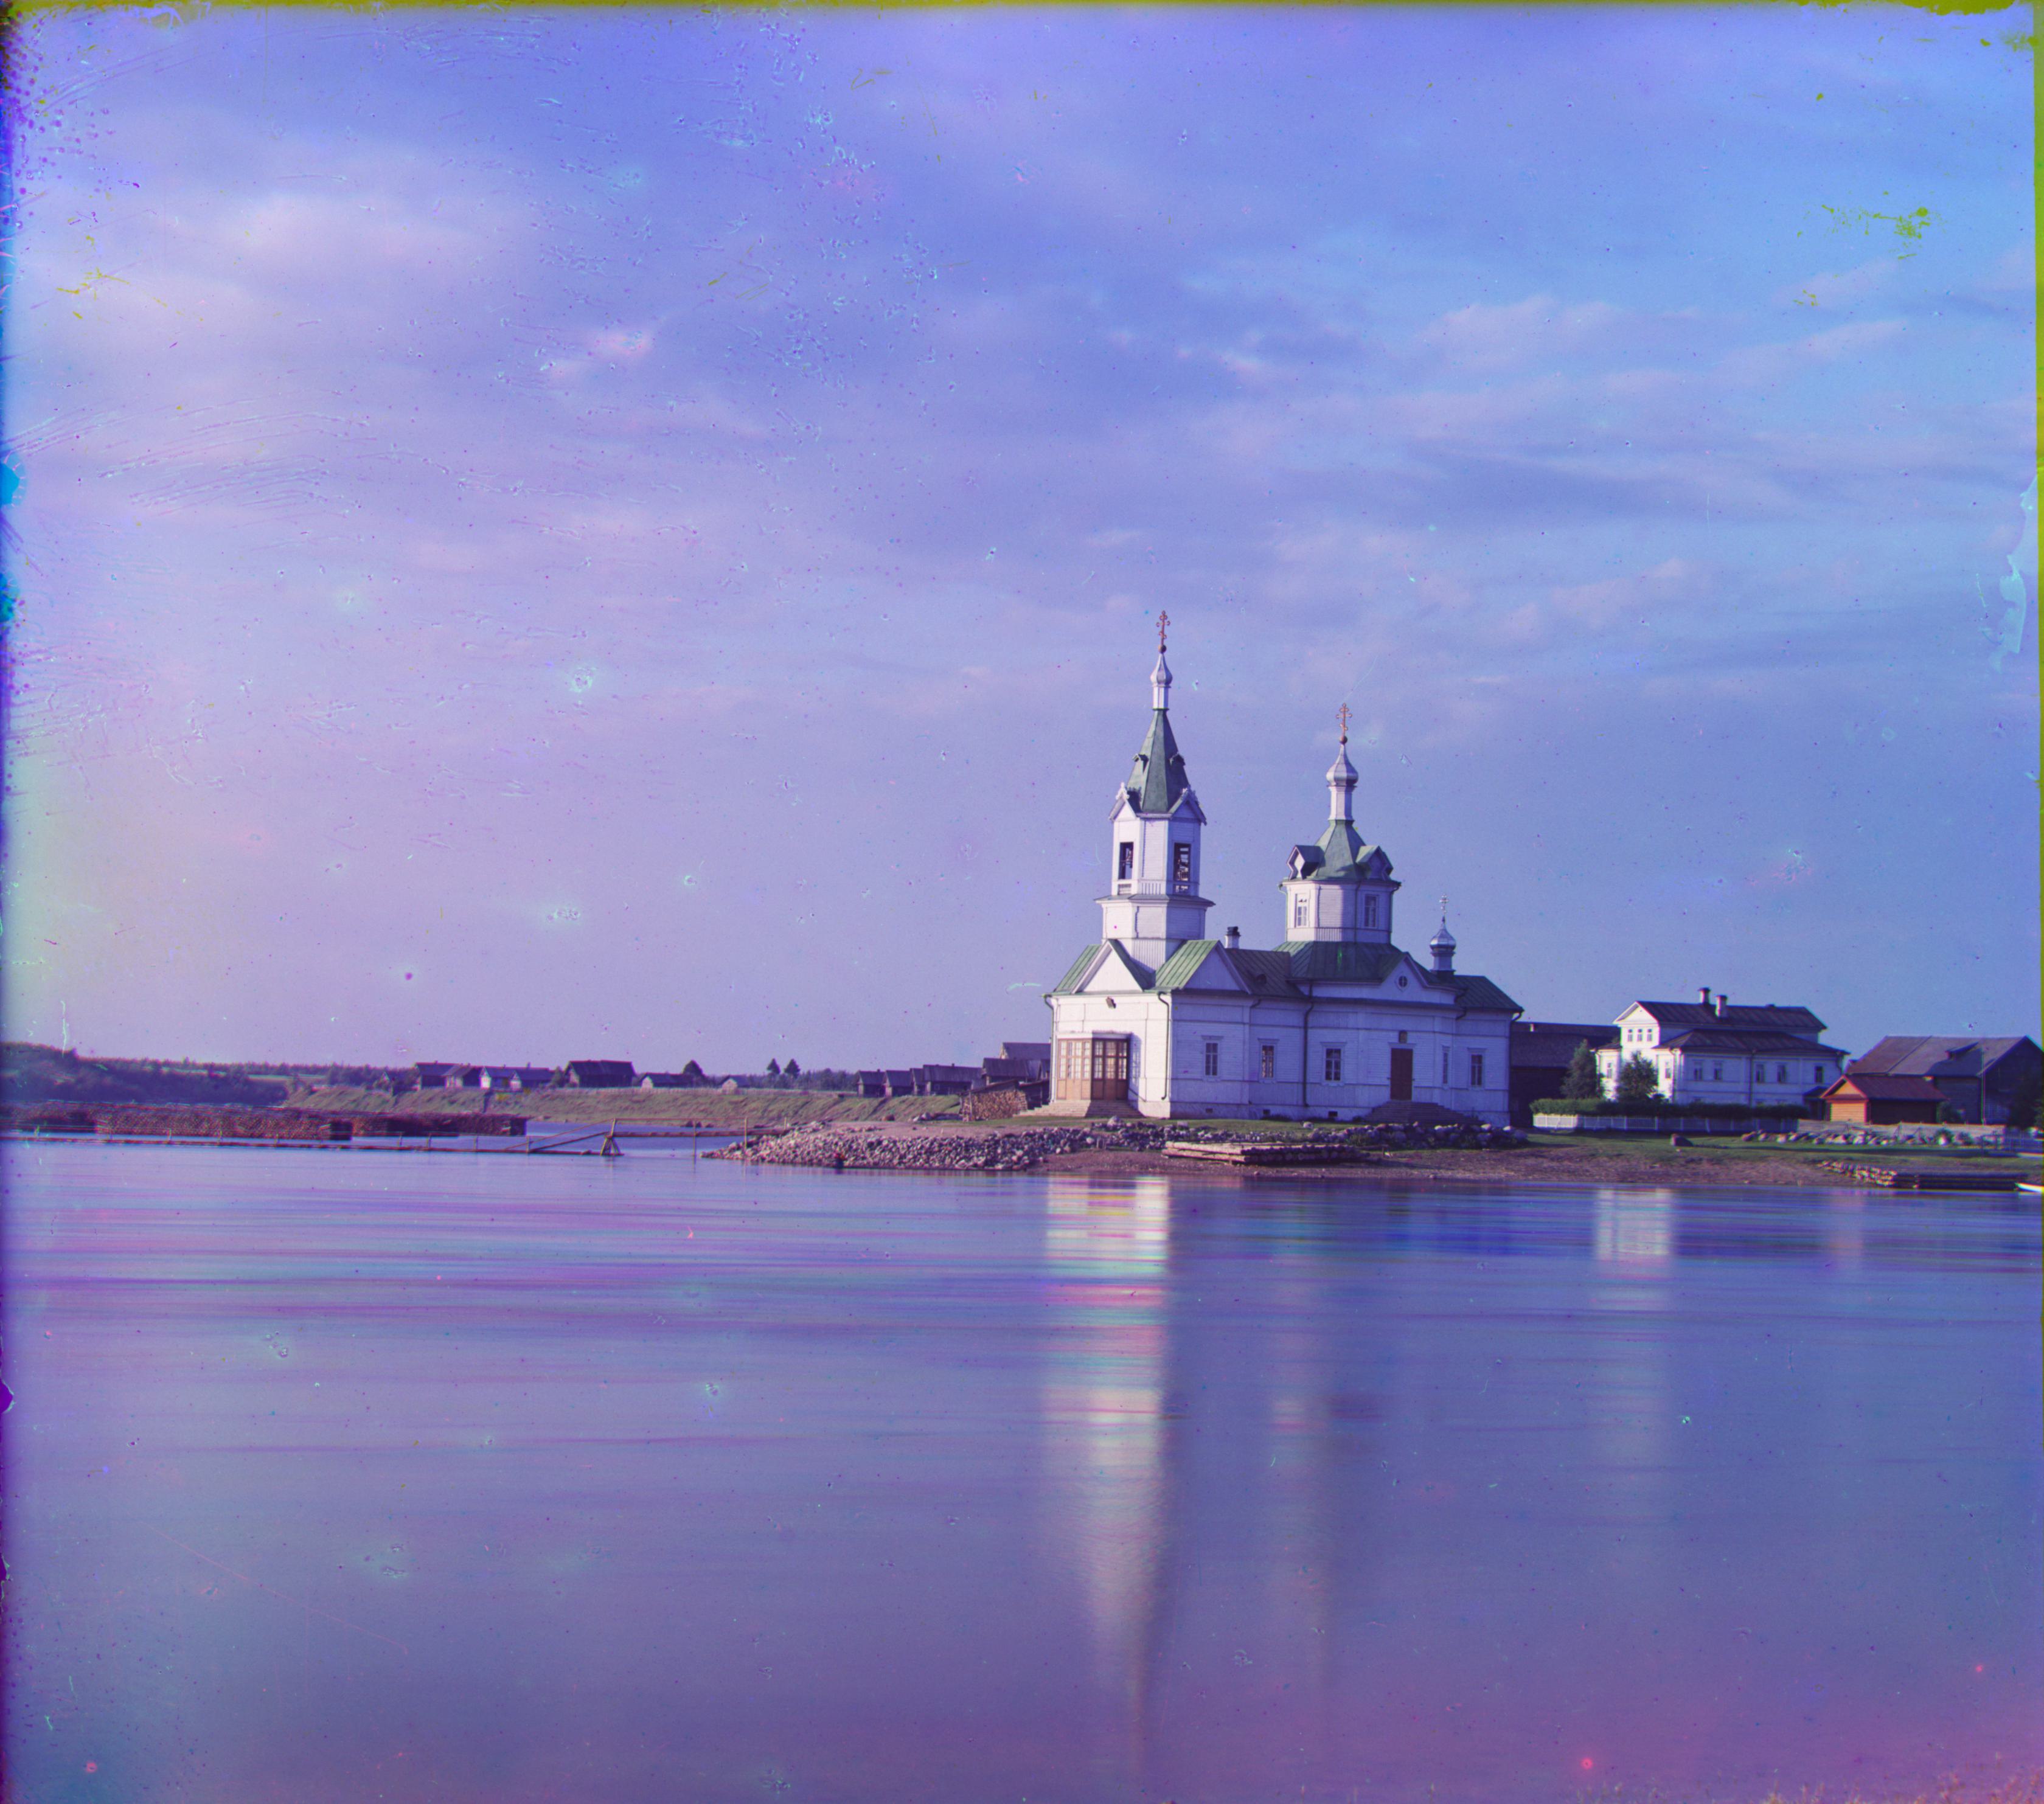
church.tif
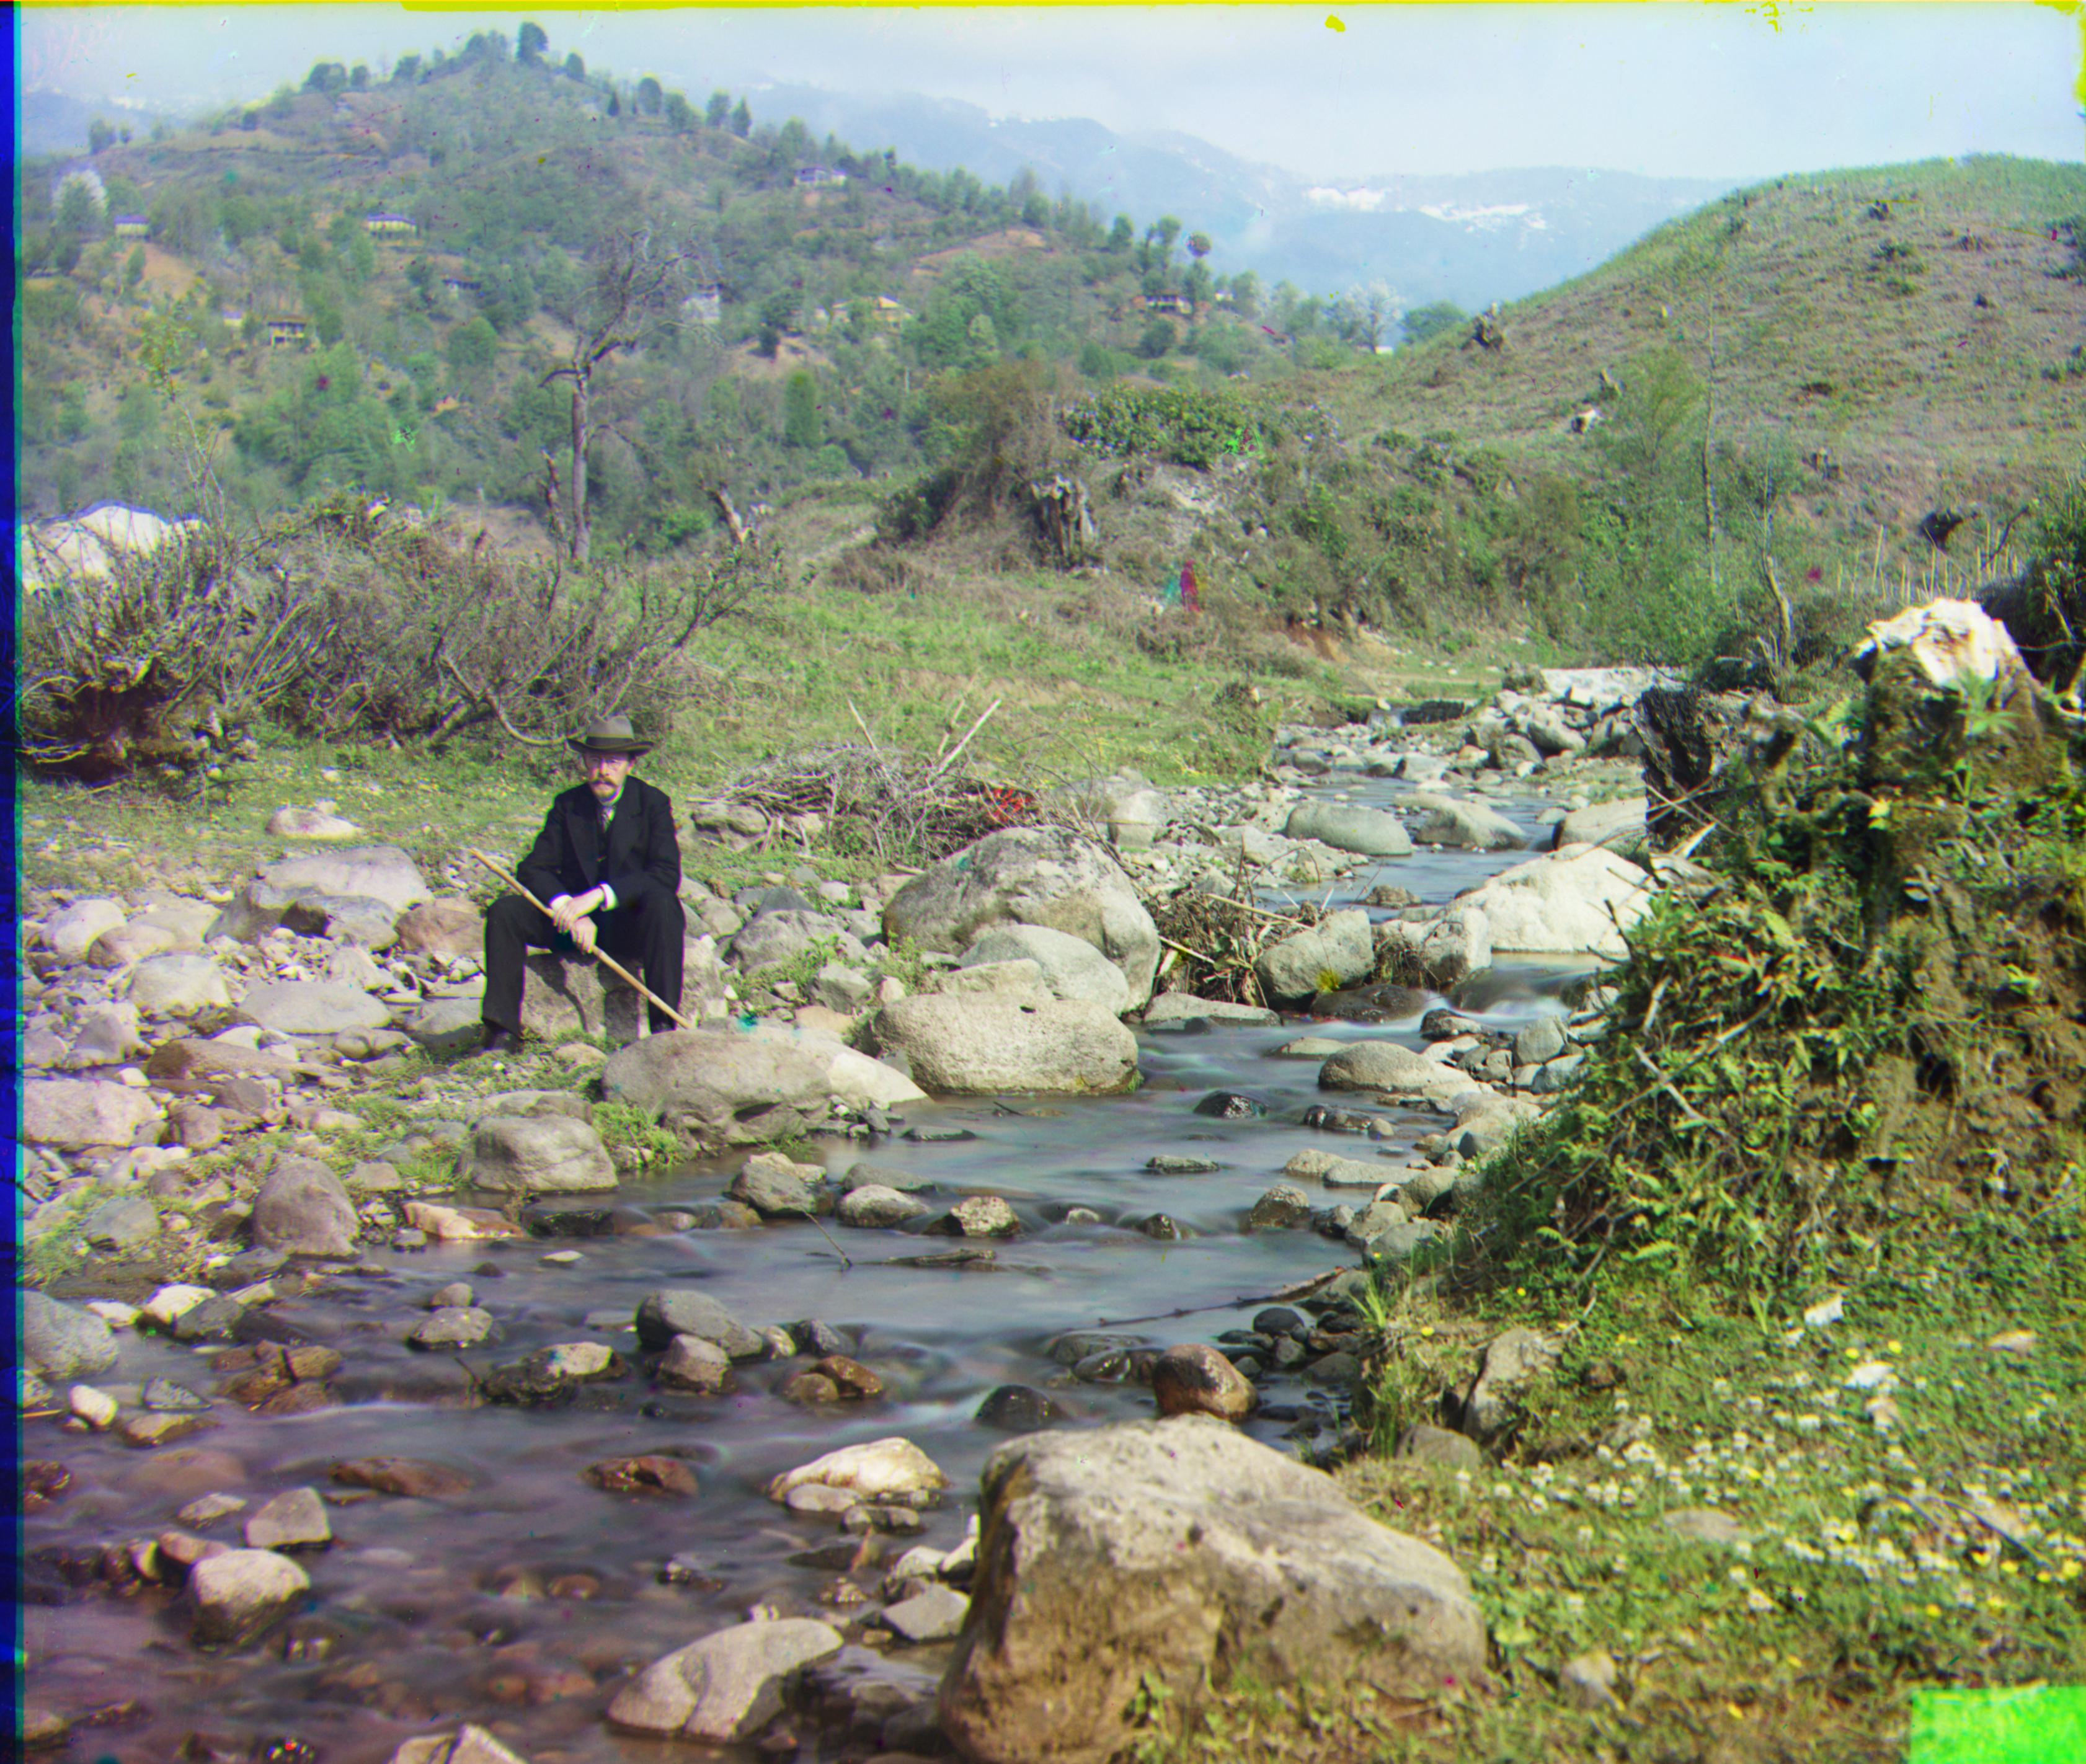
self_portrait.tif
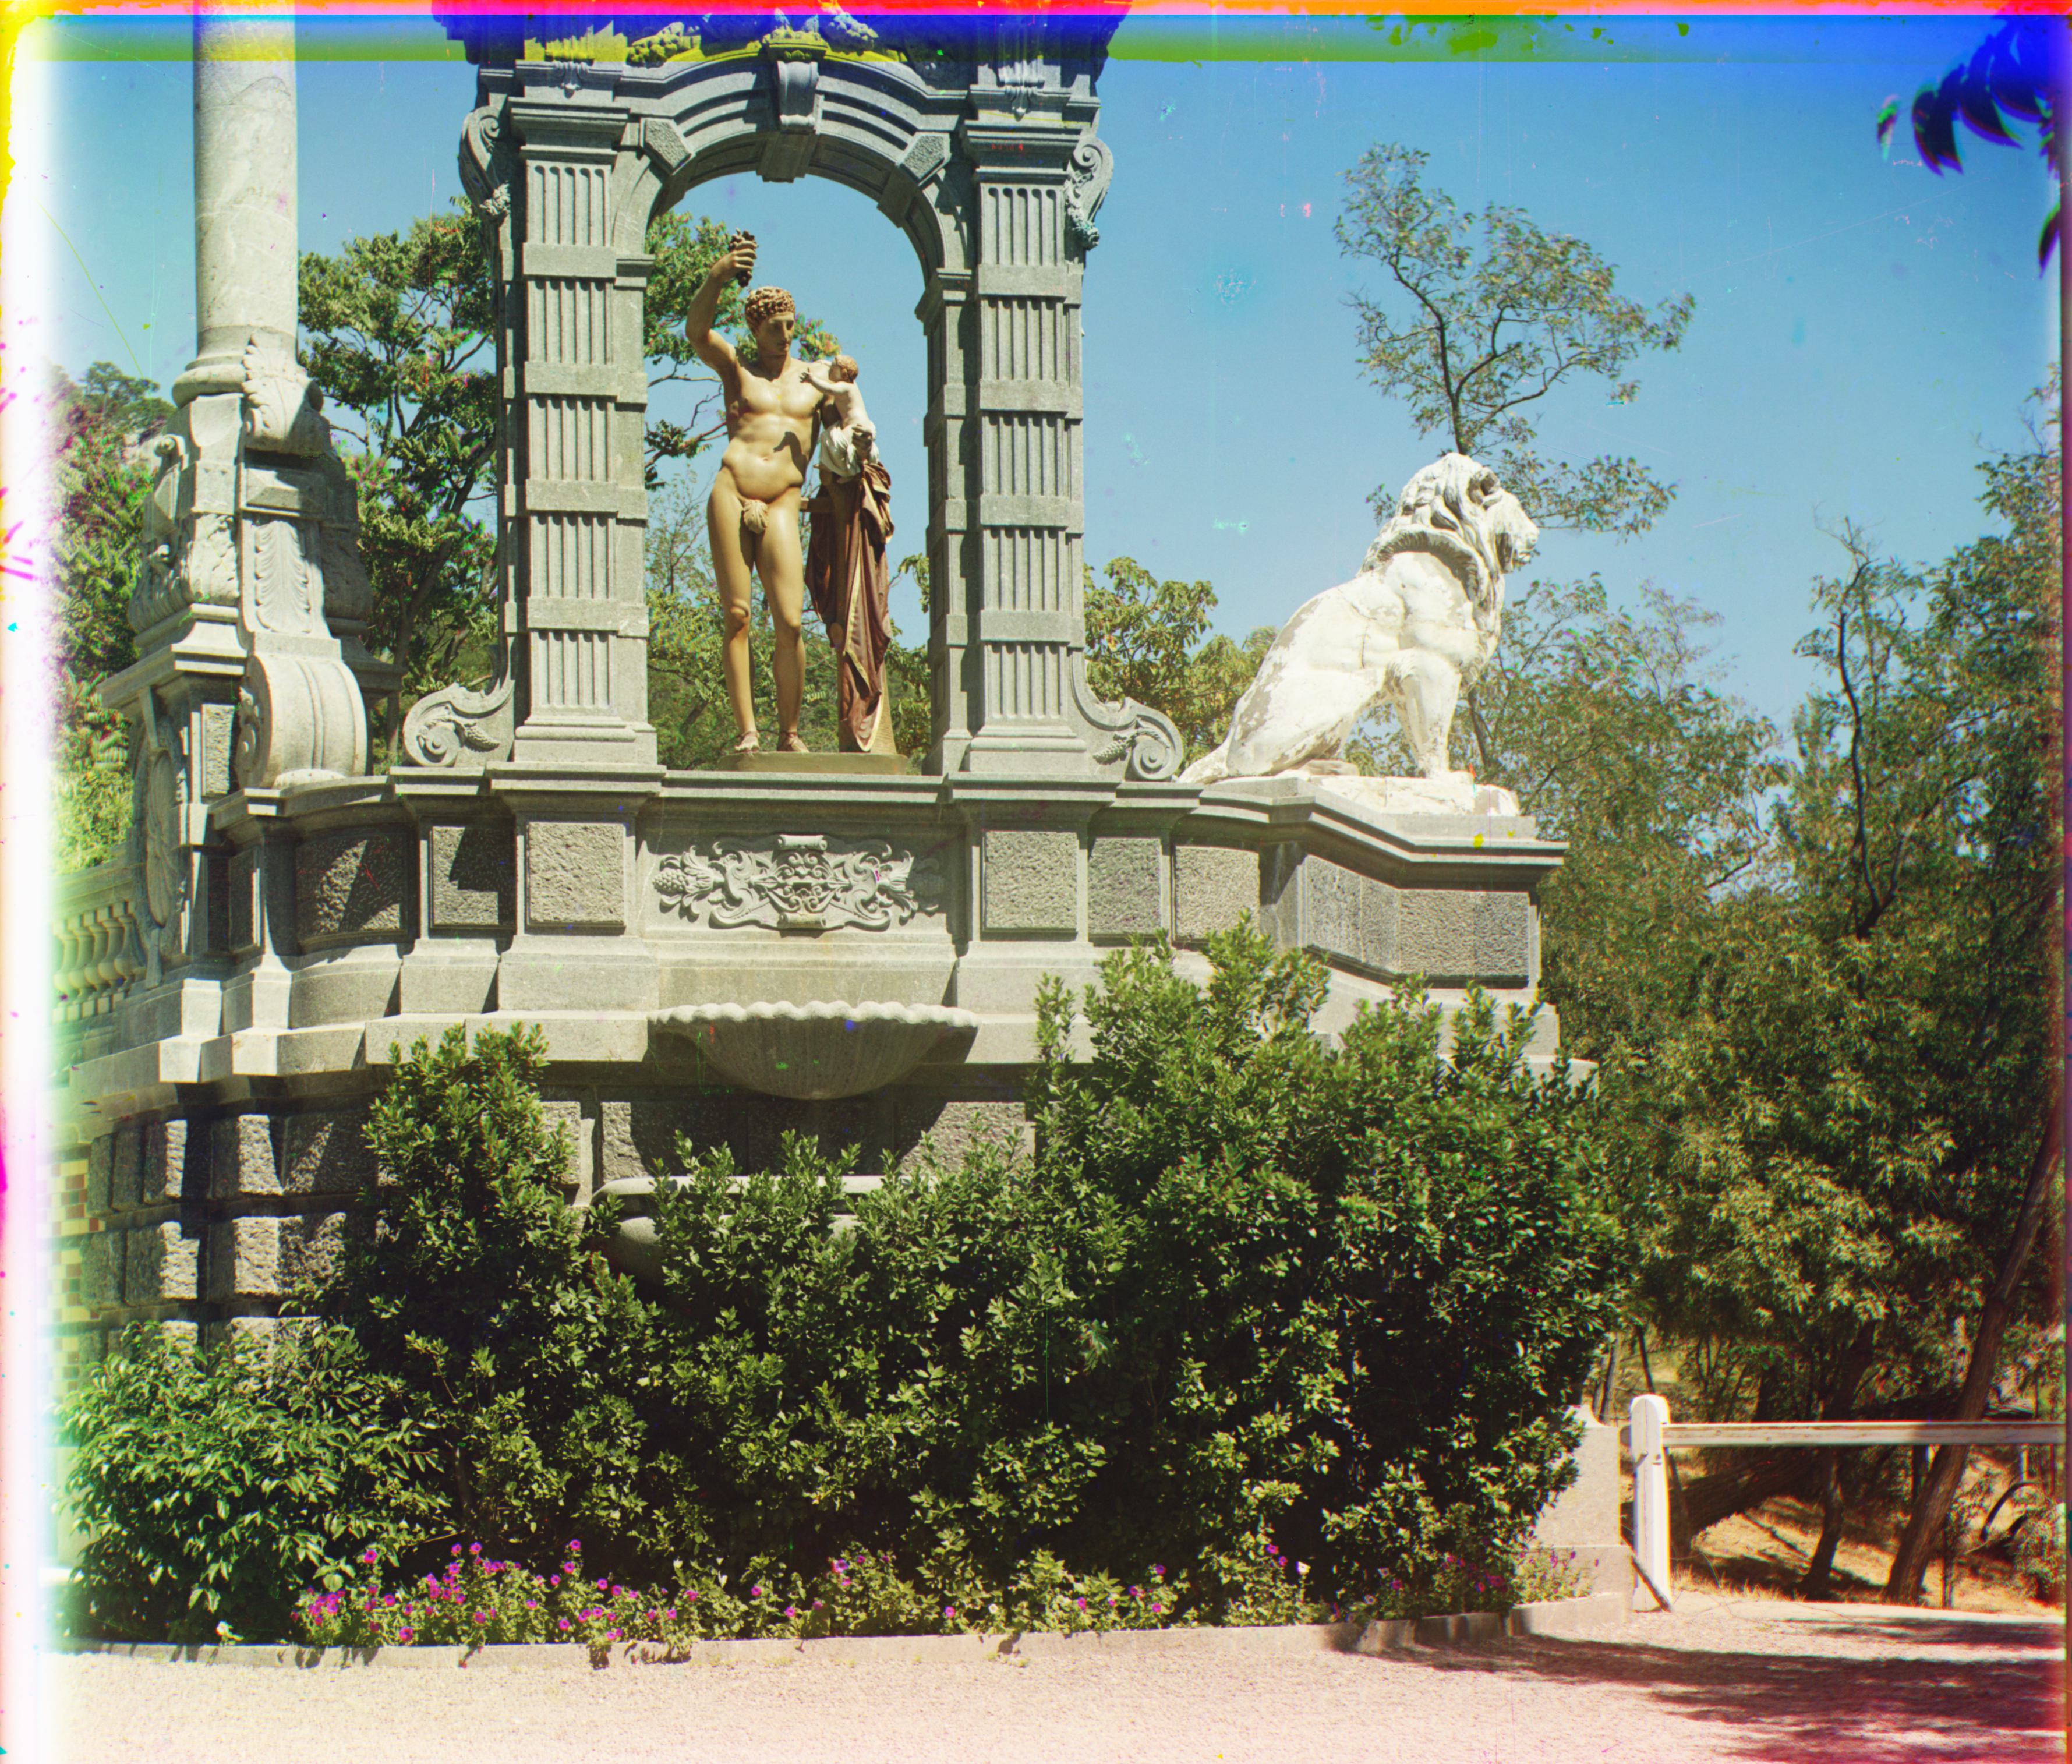
sculpture.tif
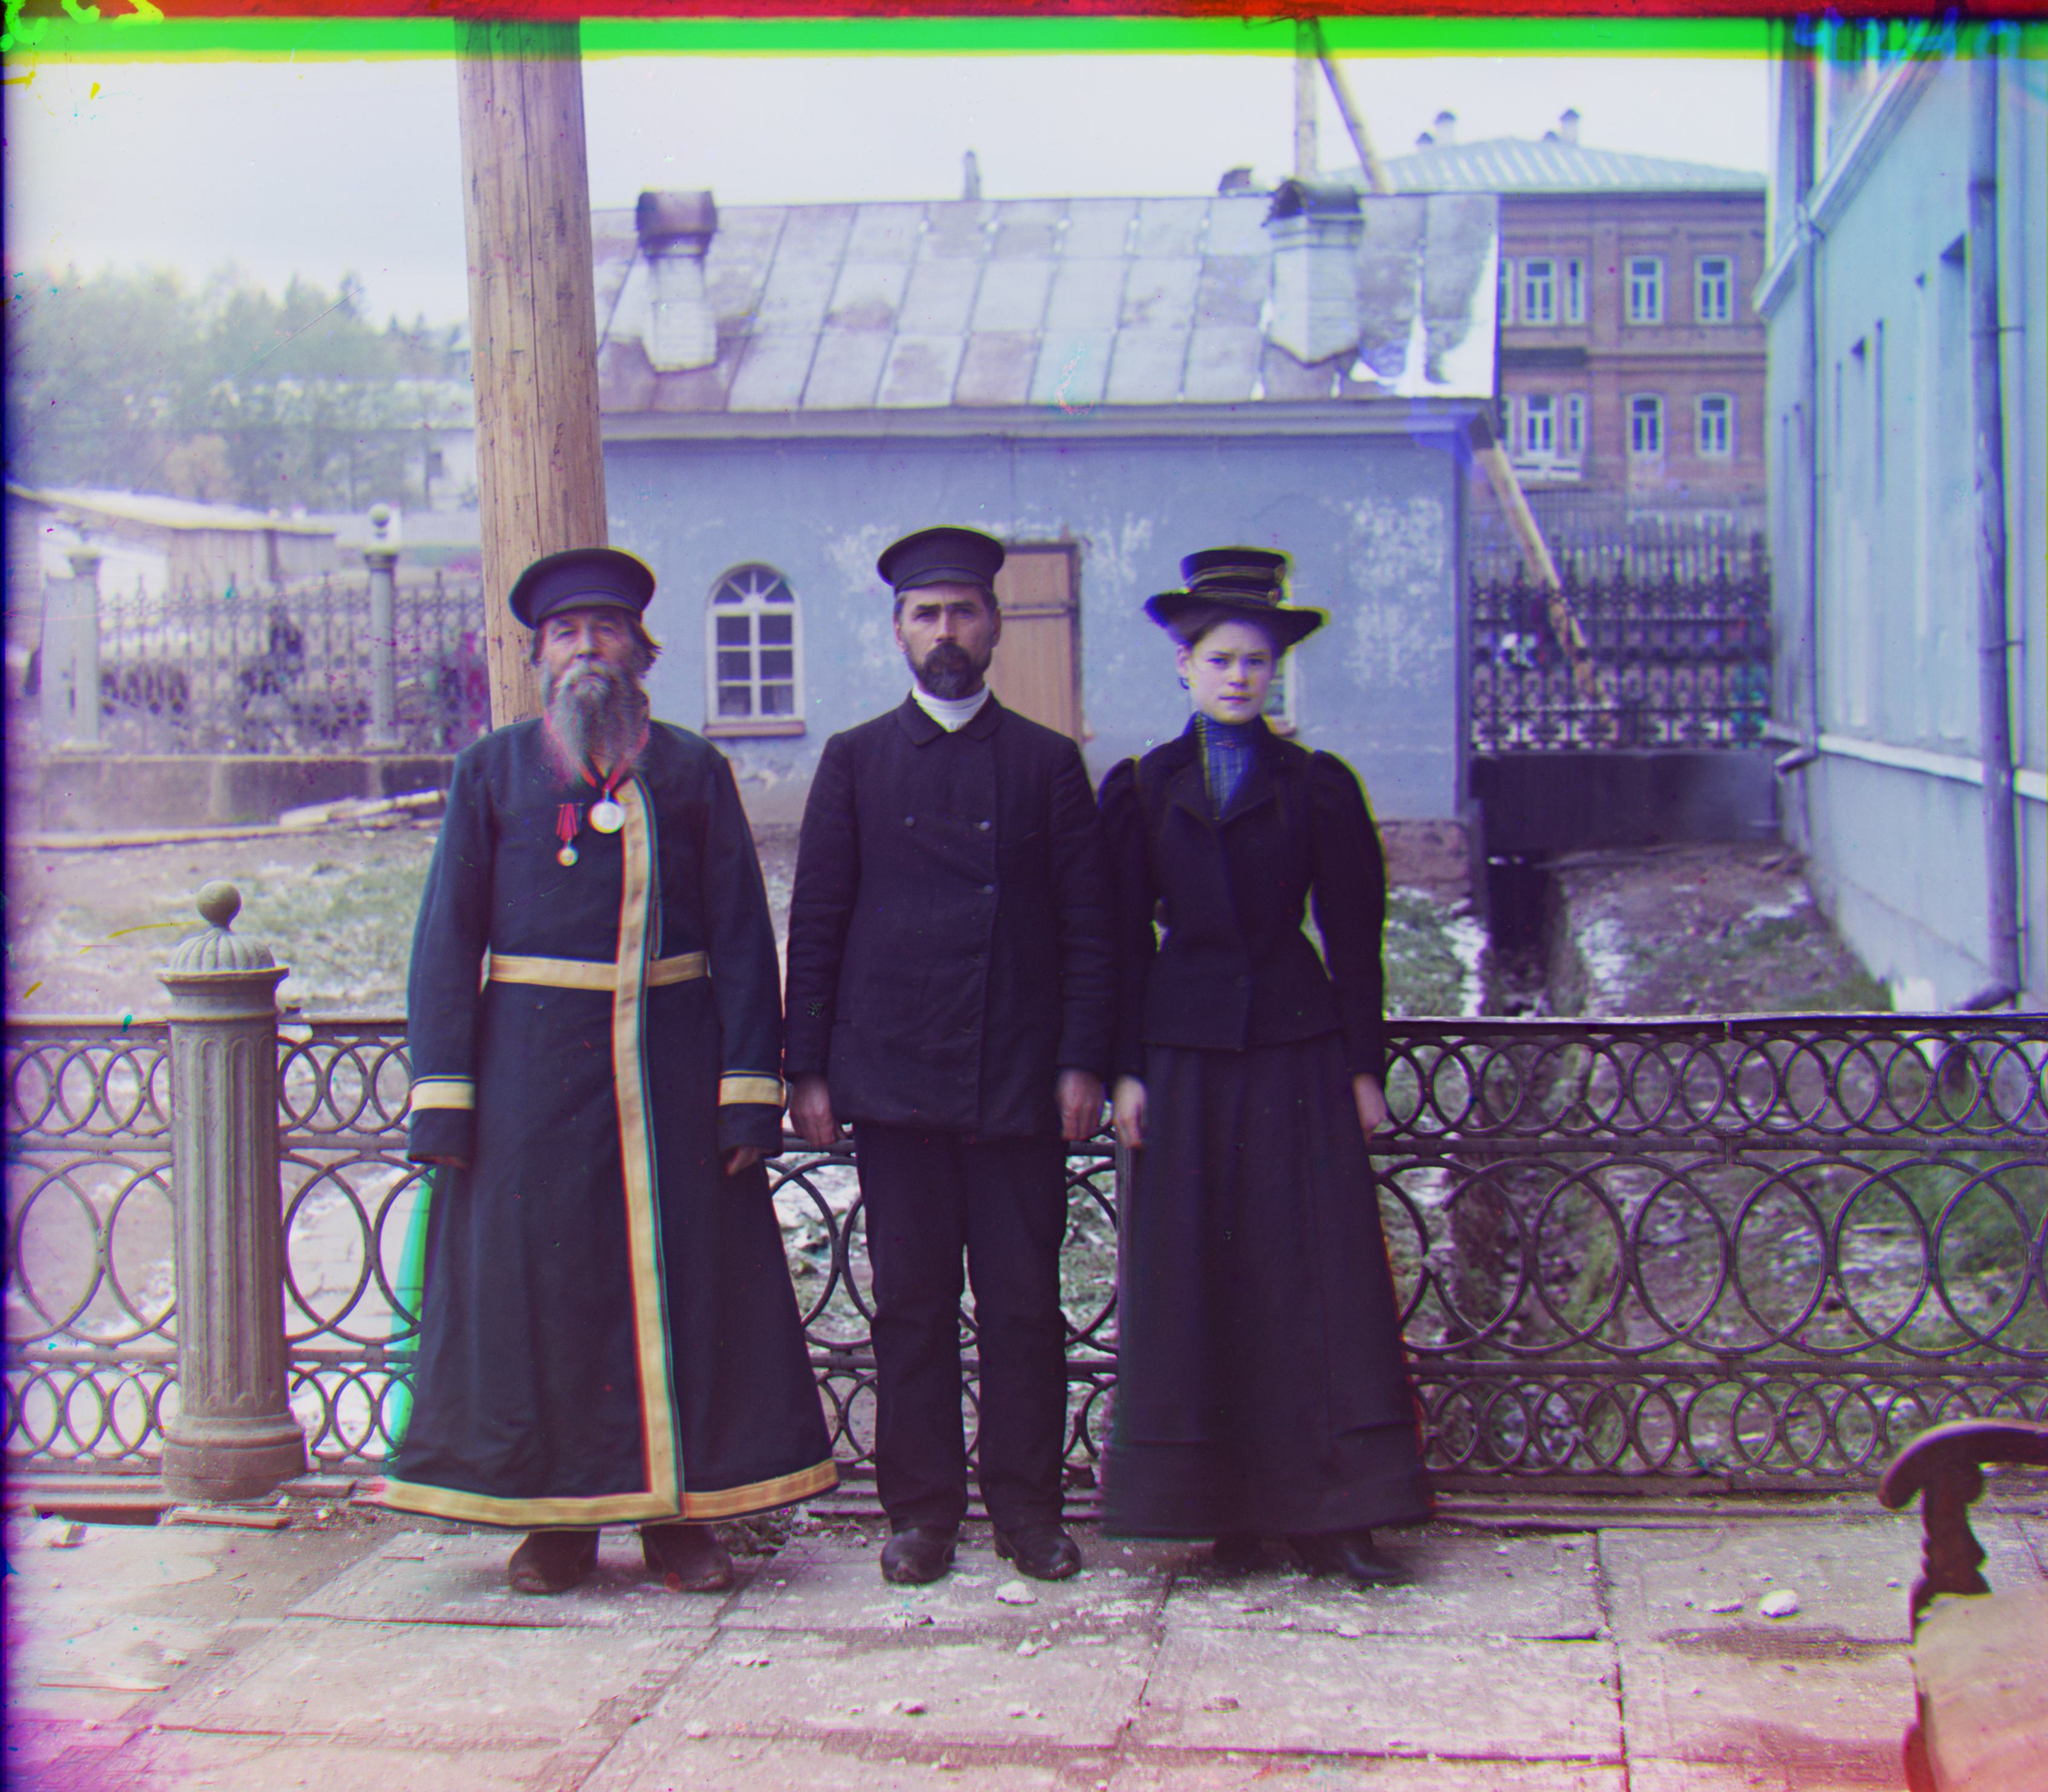
three_generations.tif
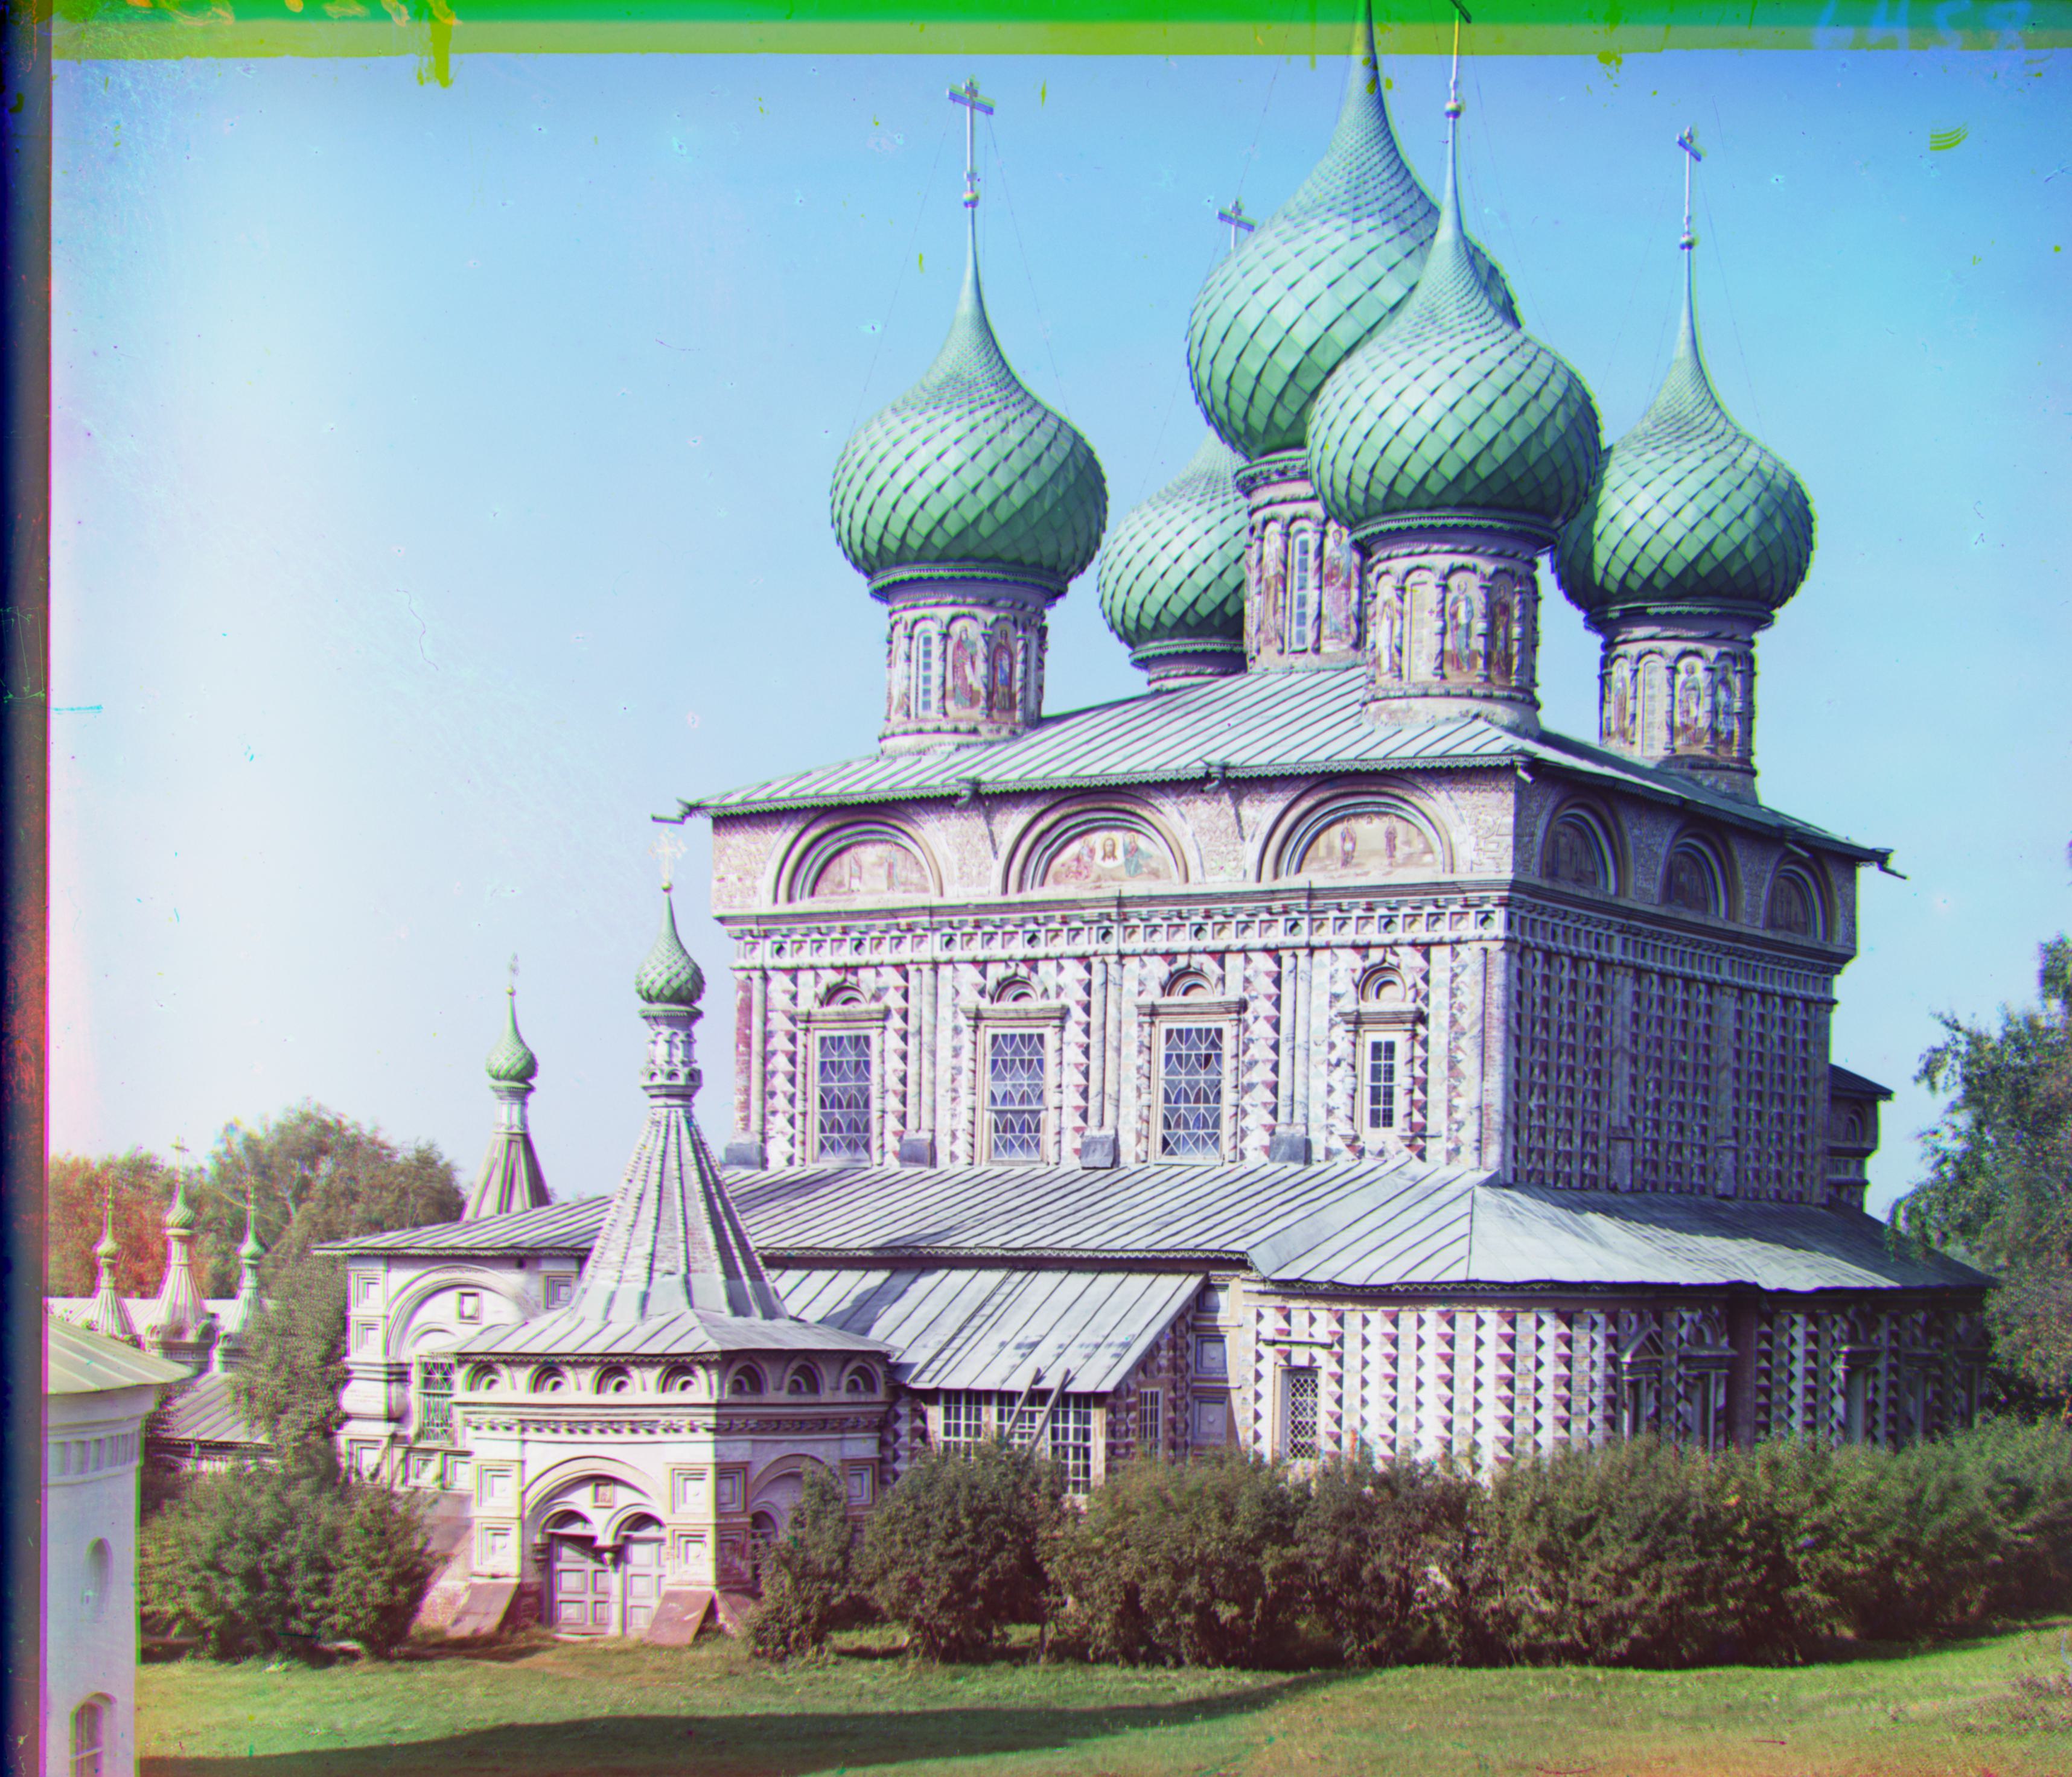
onion_church.tif
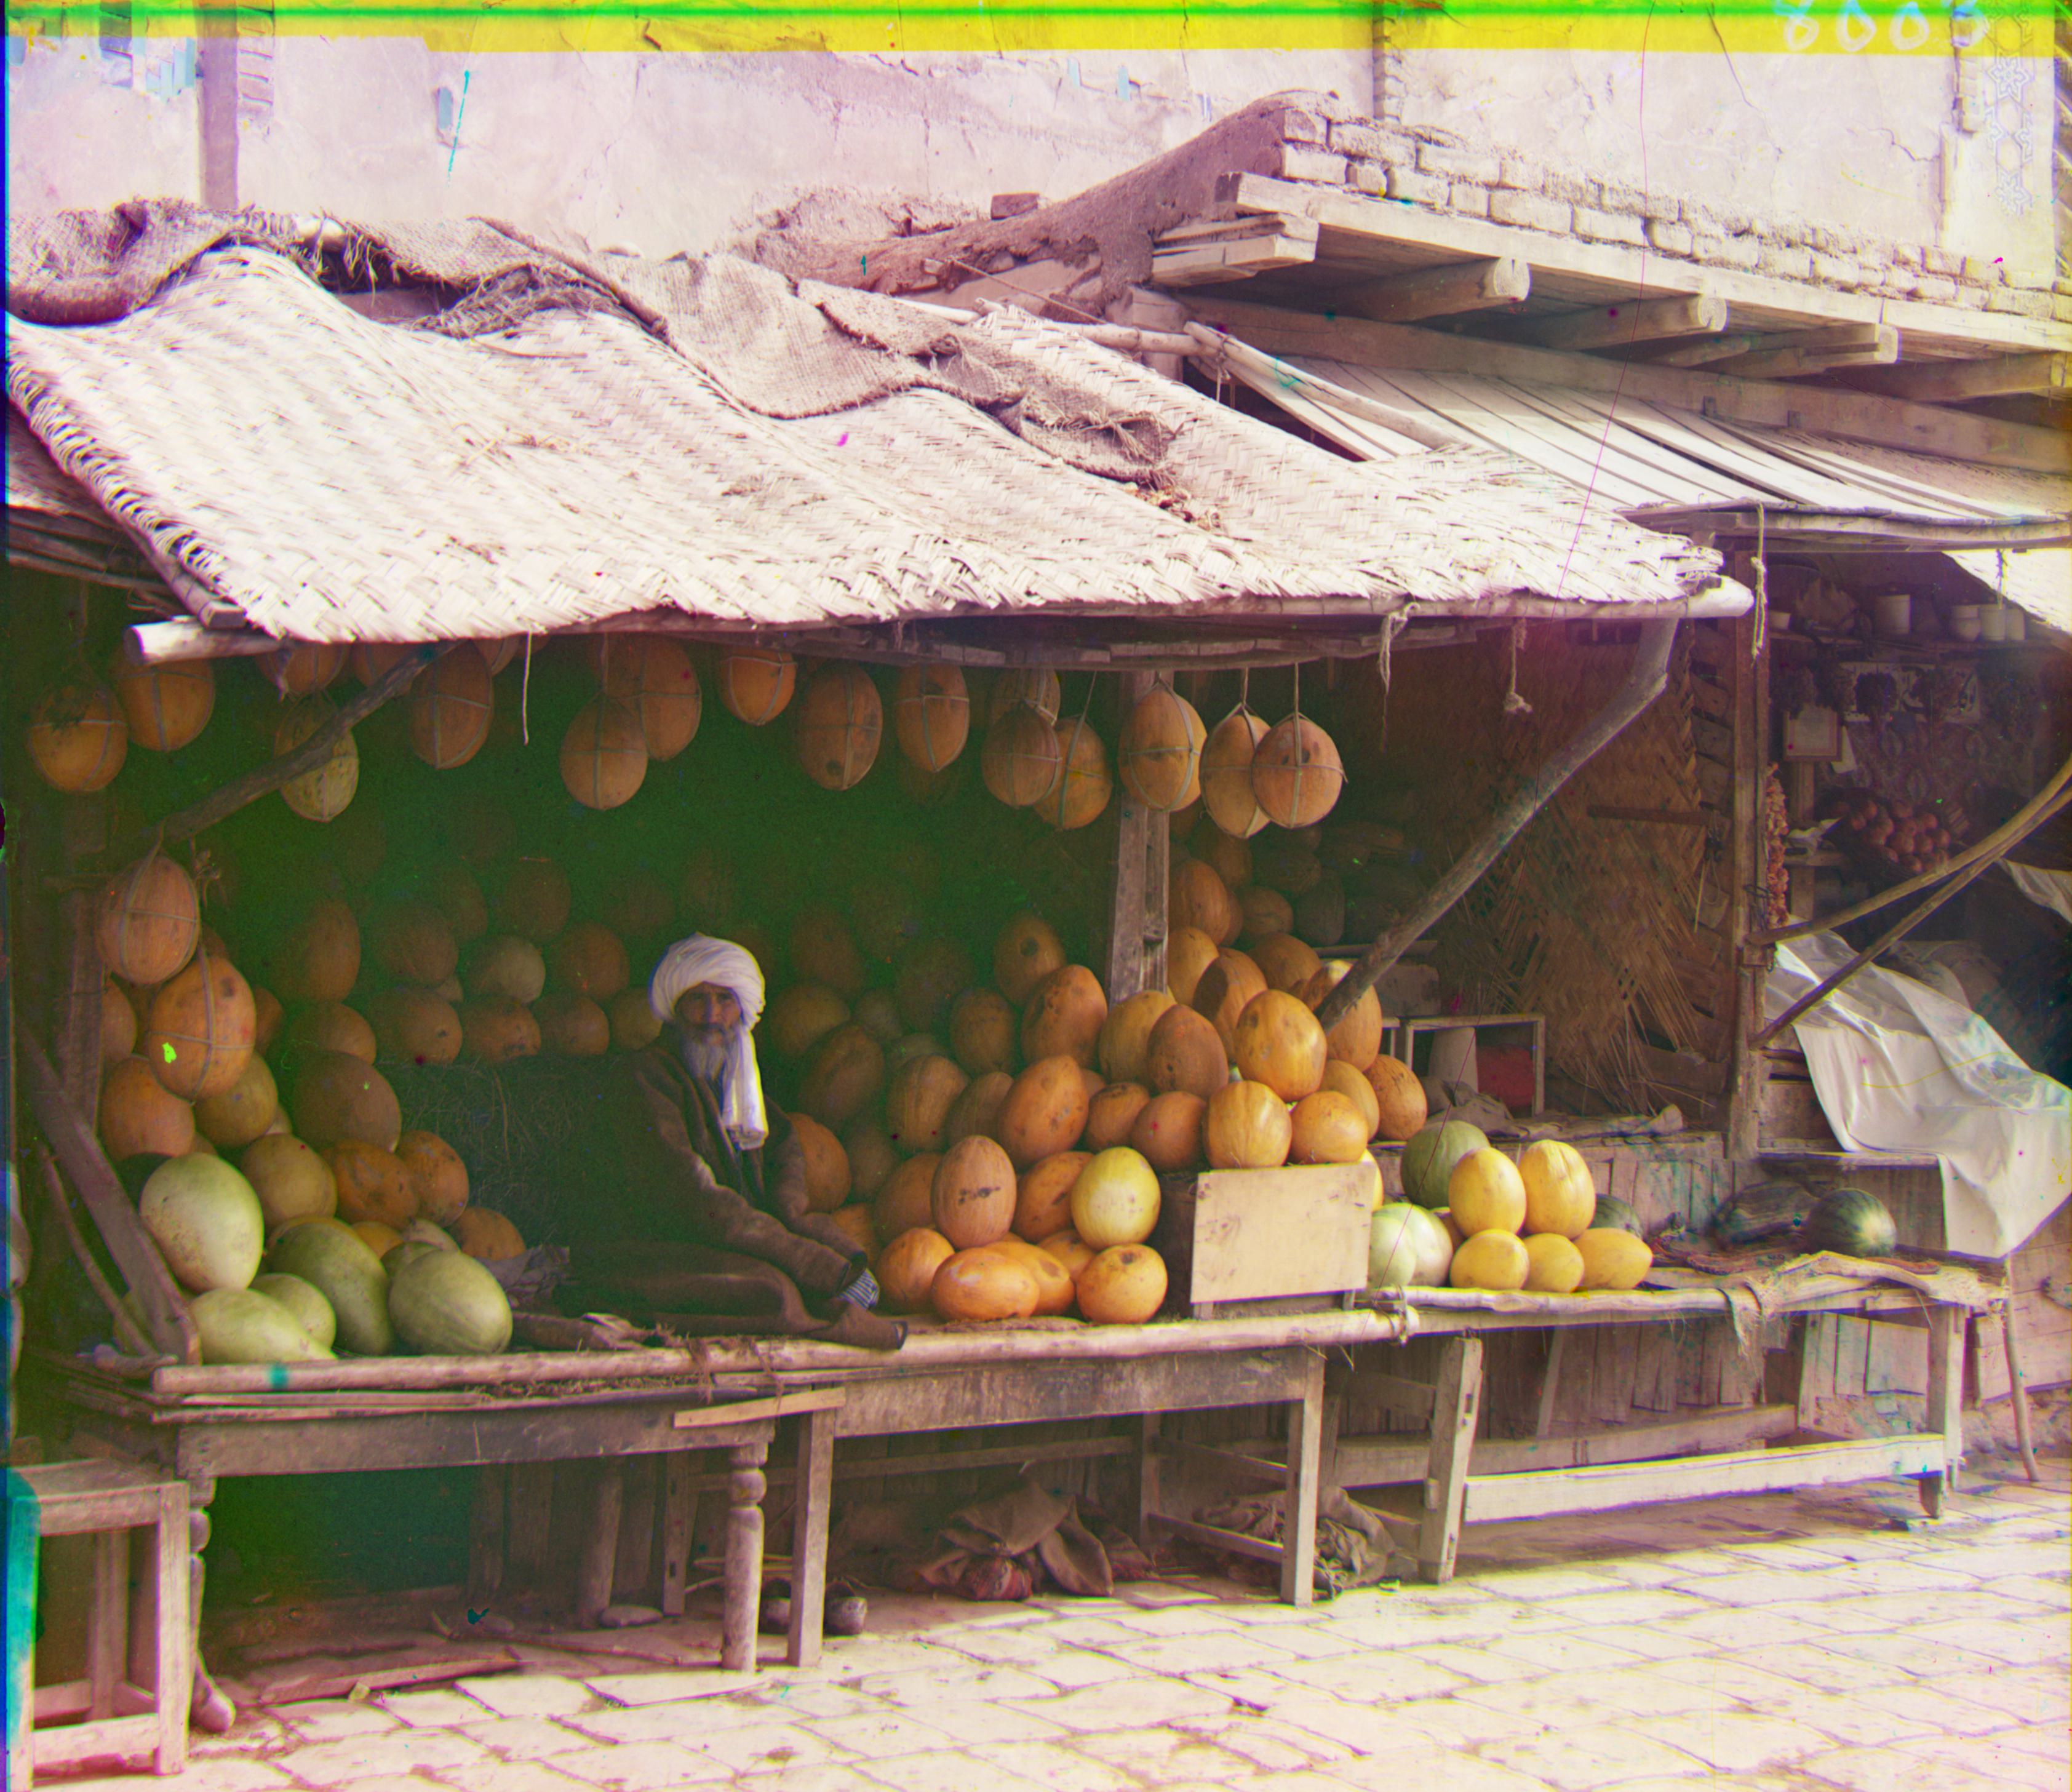
melons.tif
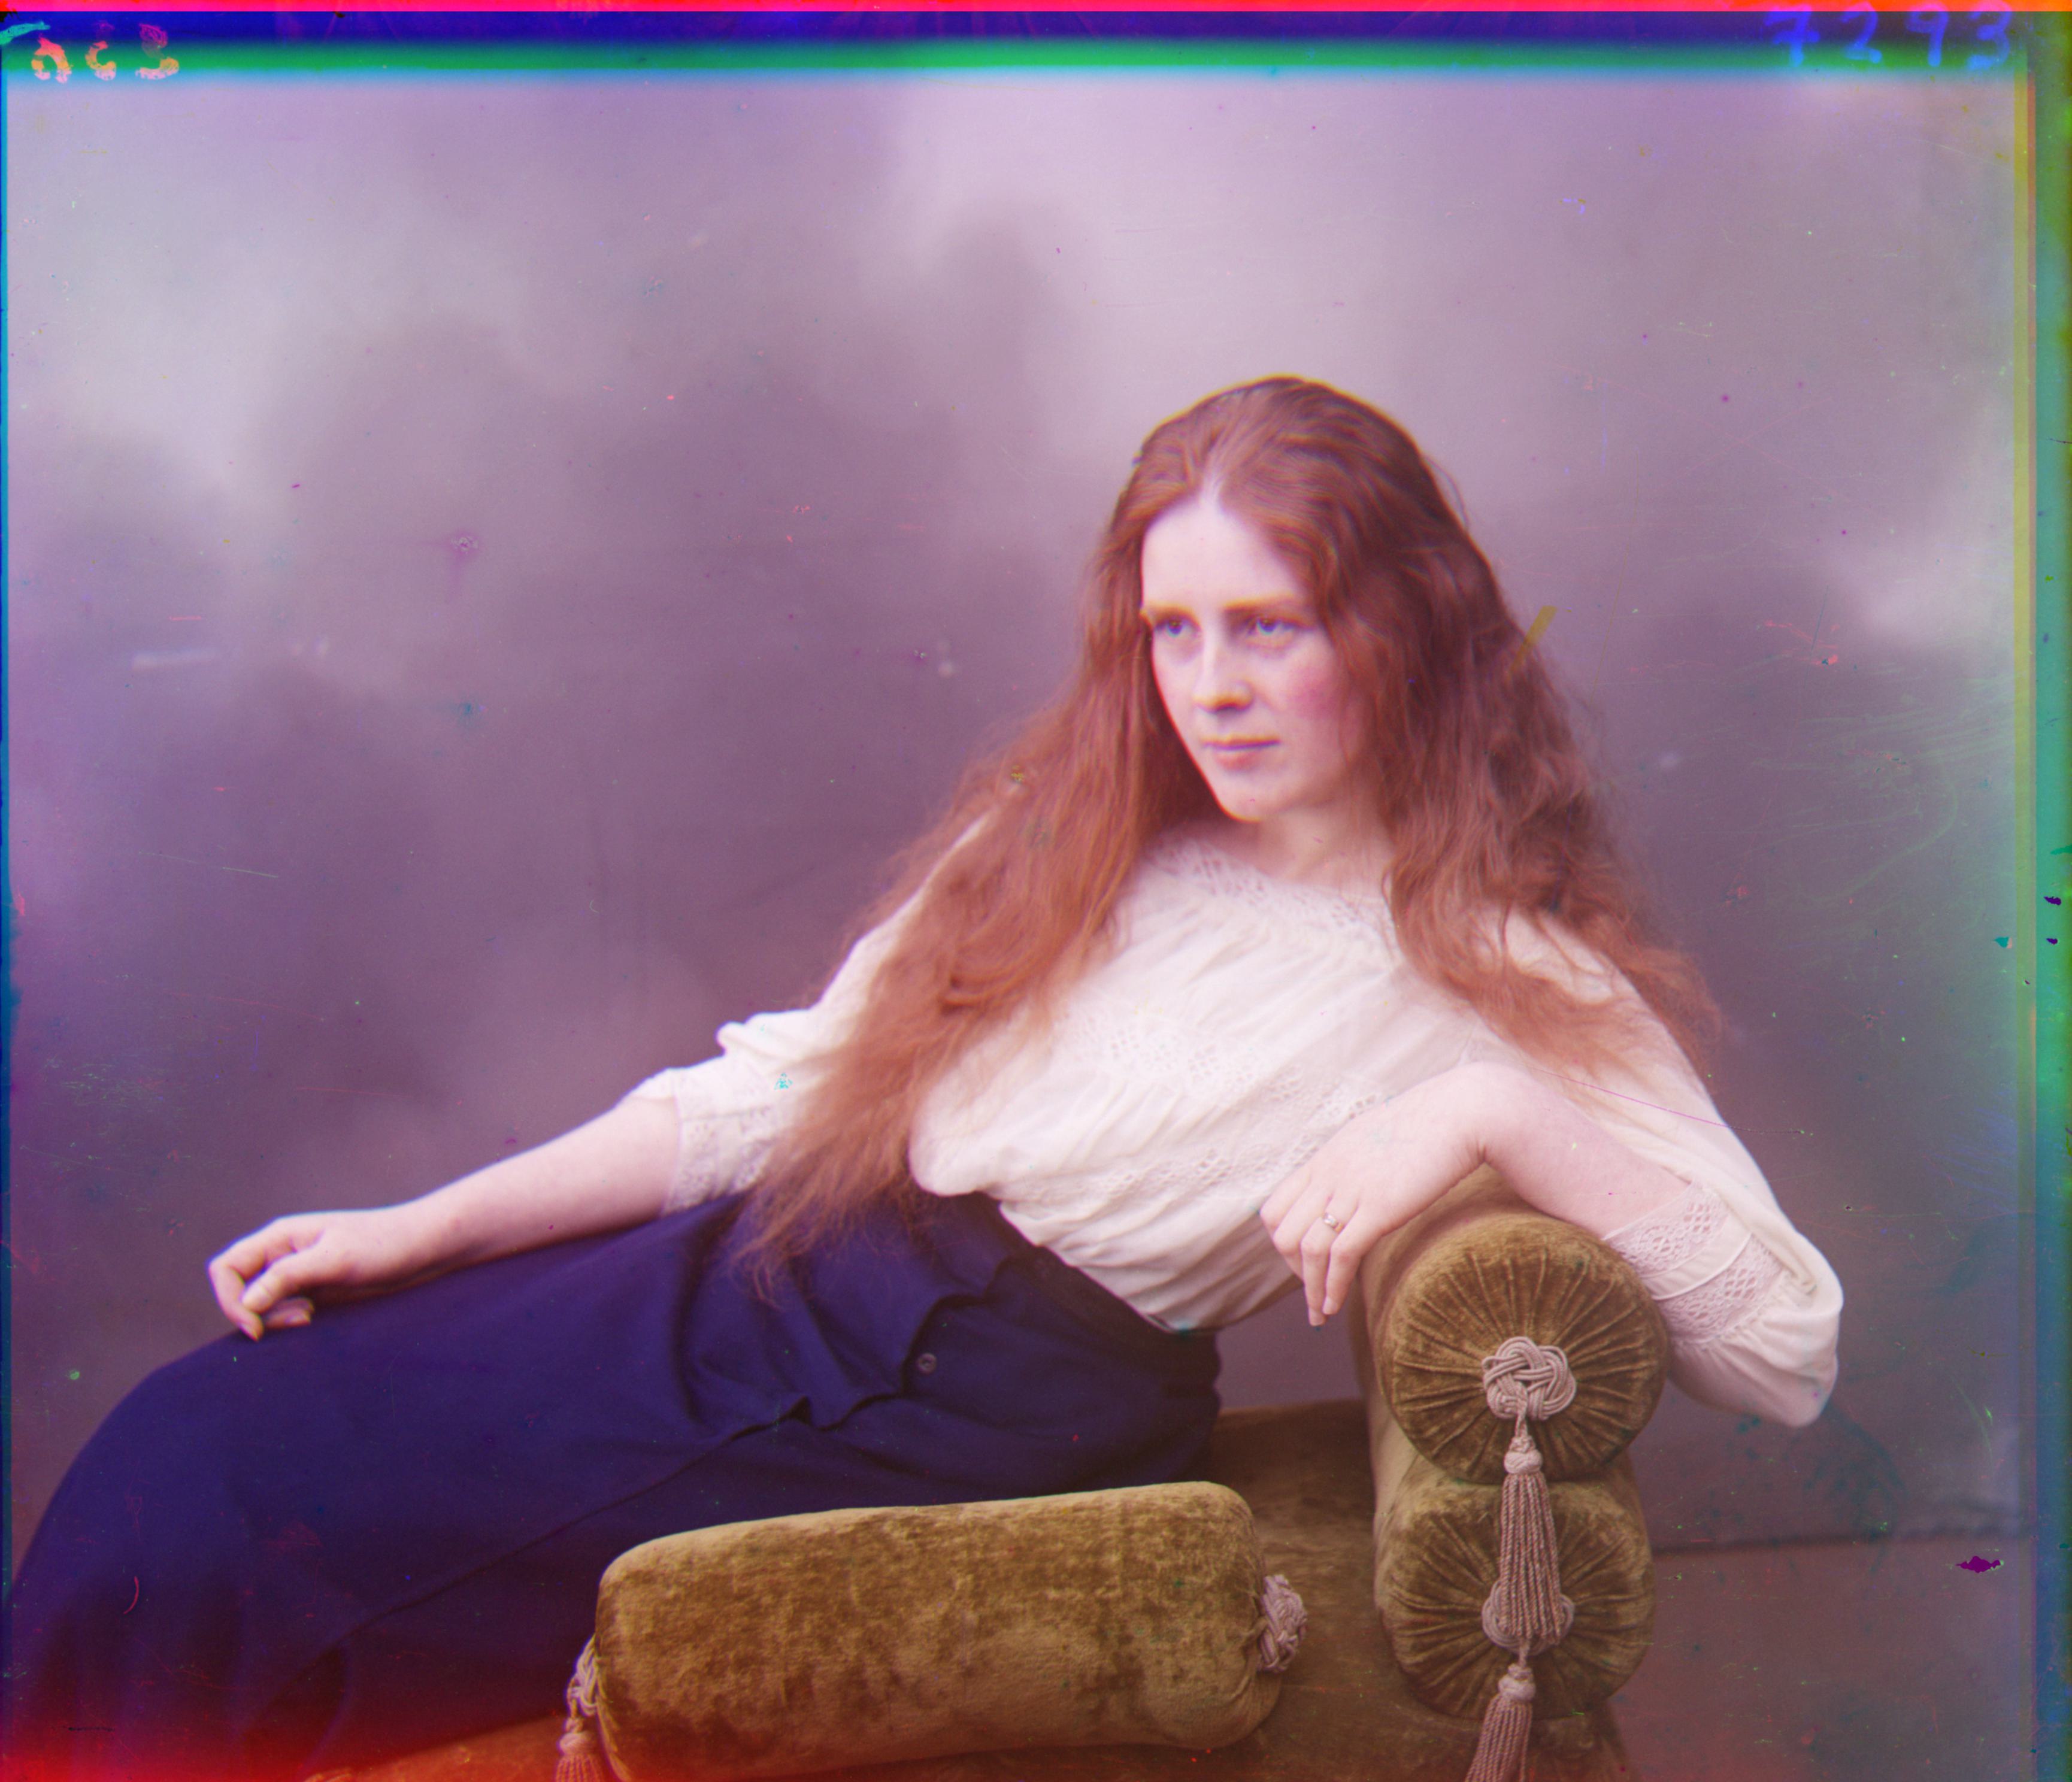
lady.tif
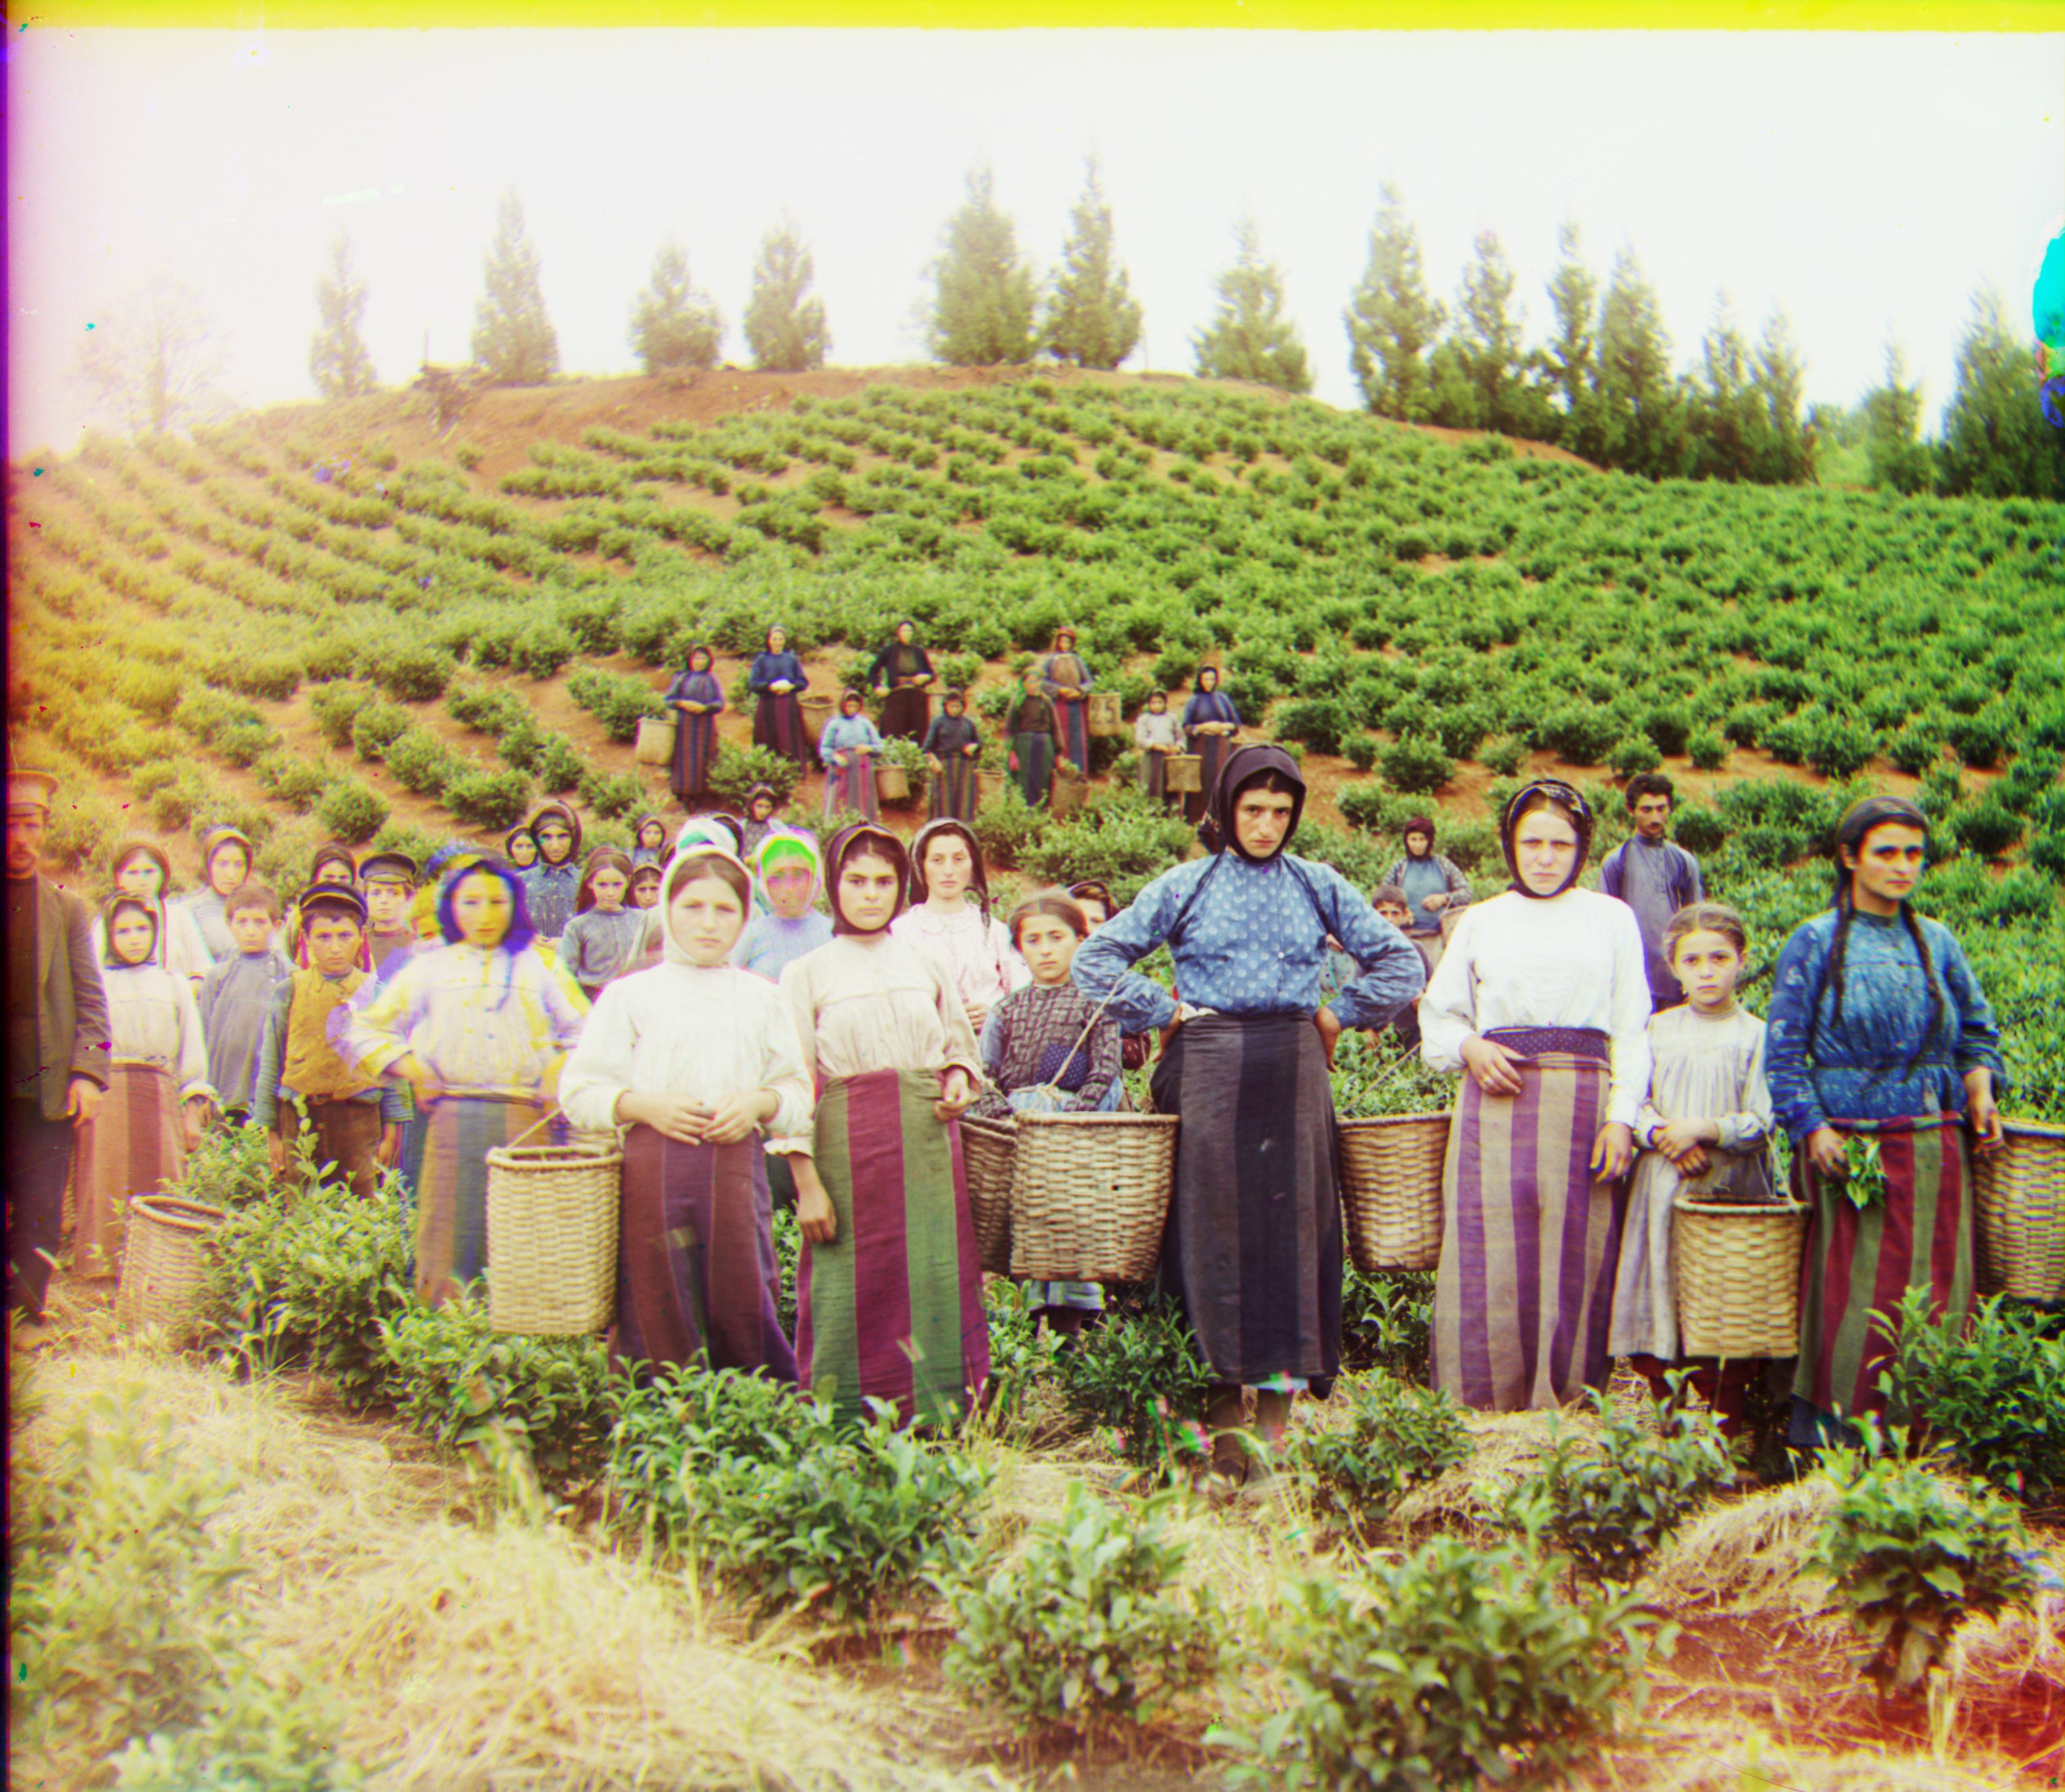
harvesters.tif
icon.tif
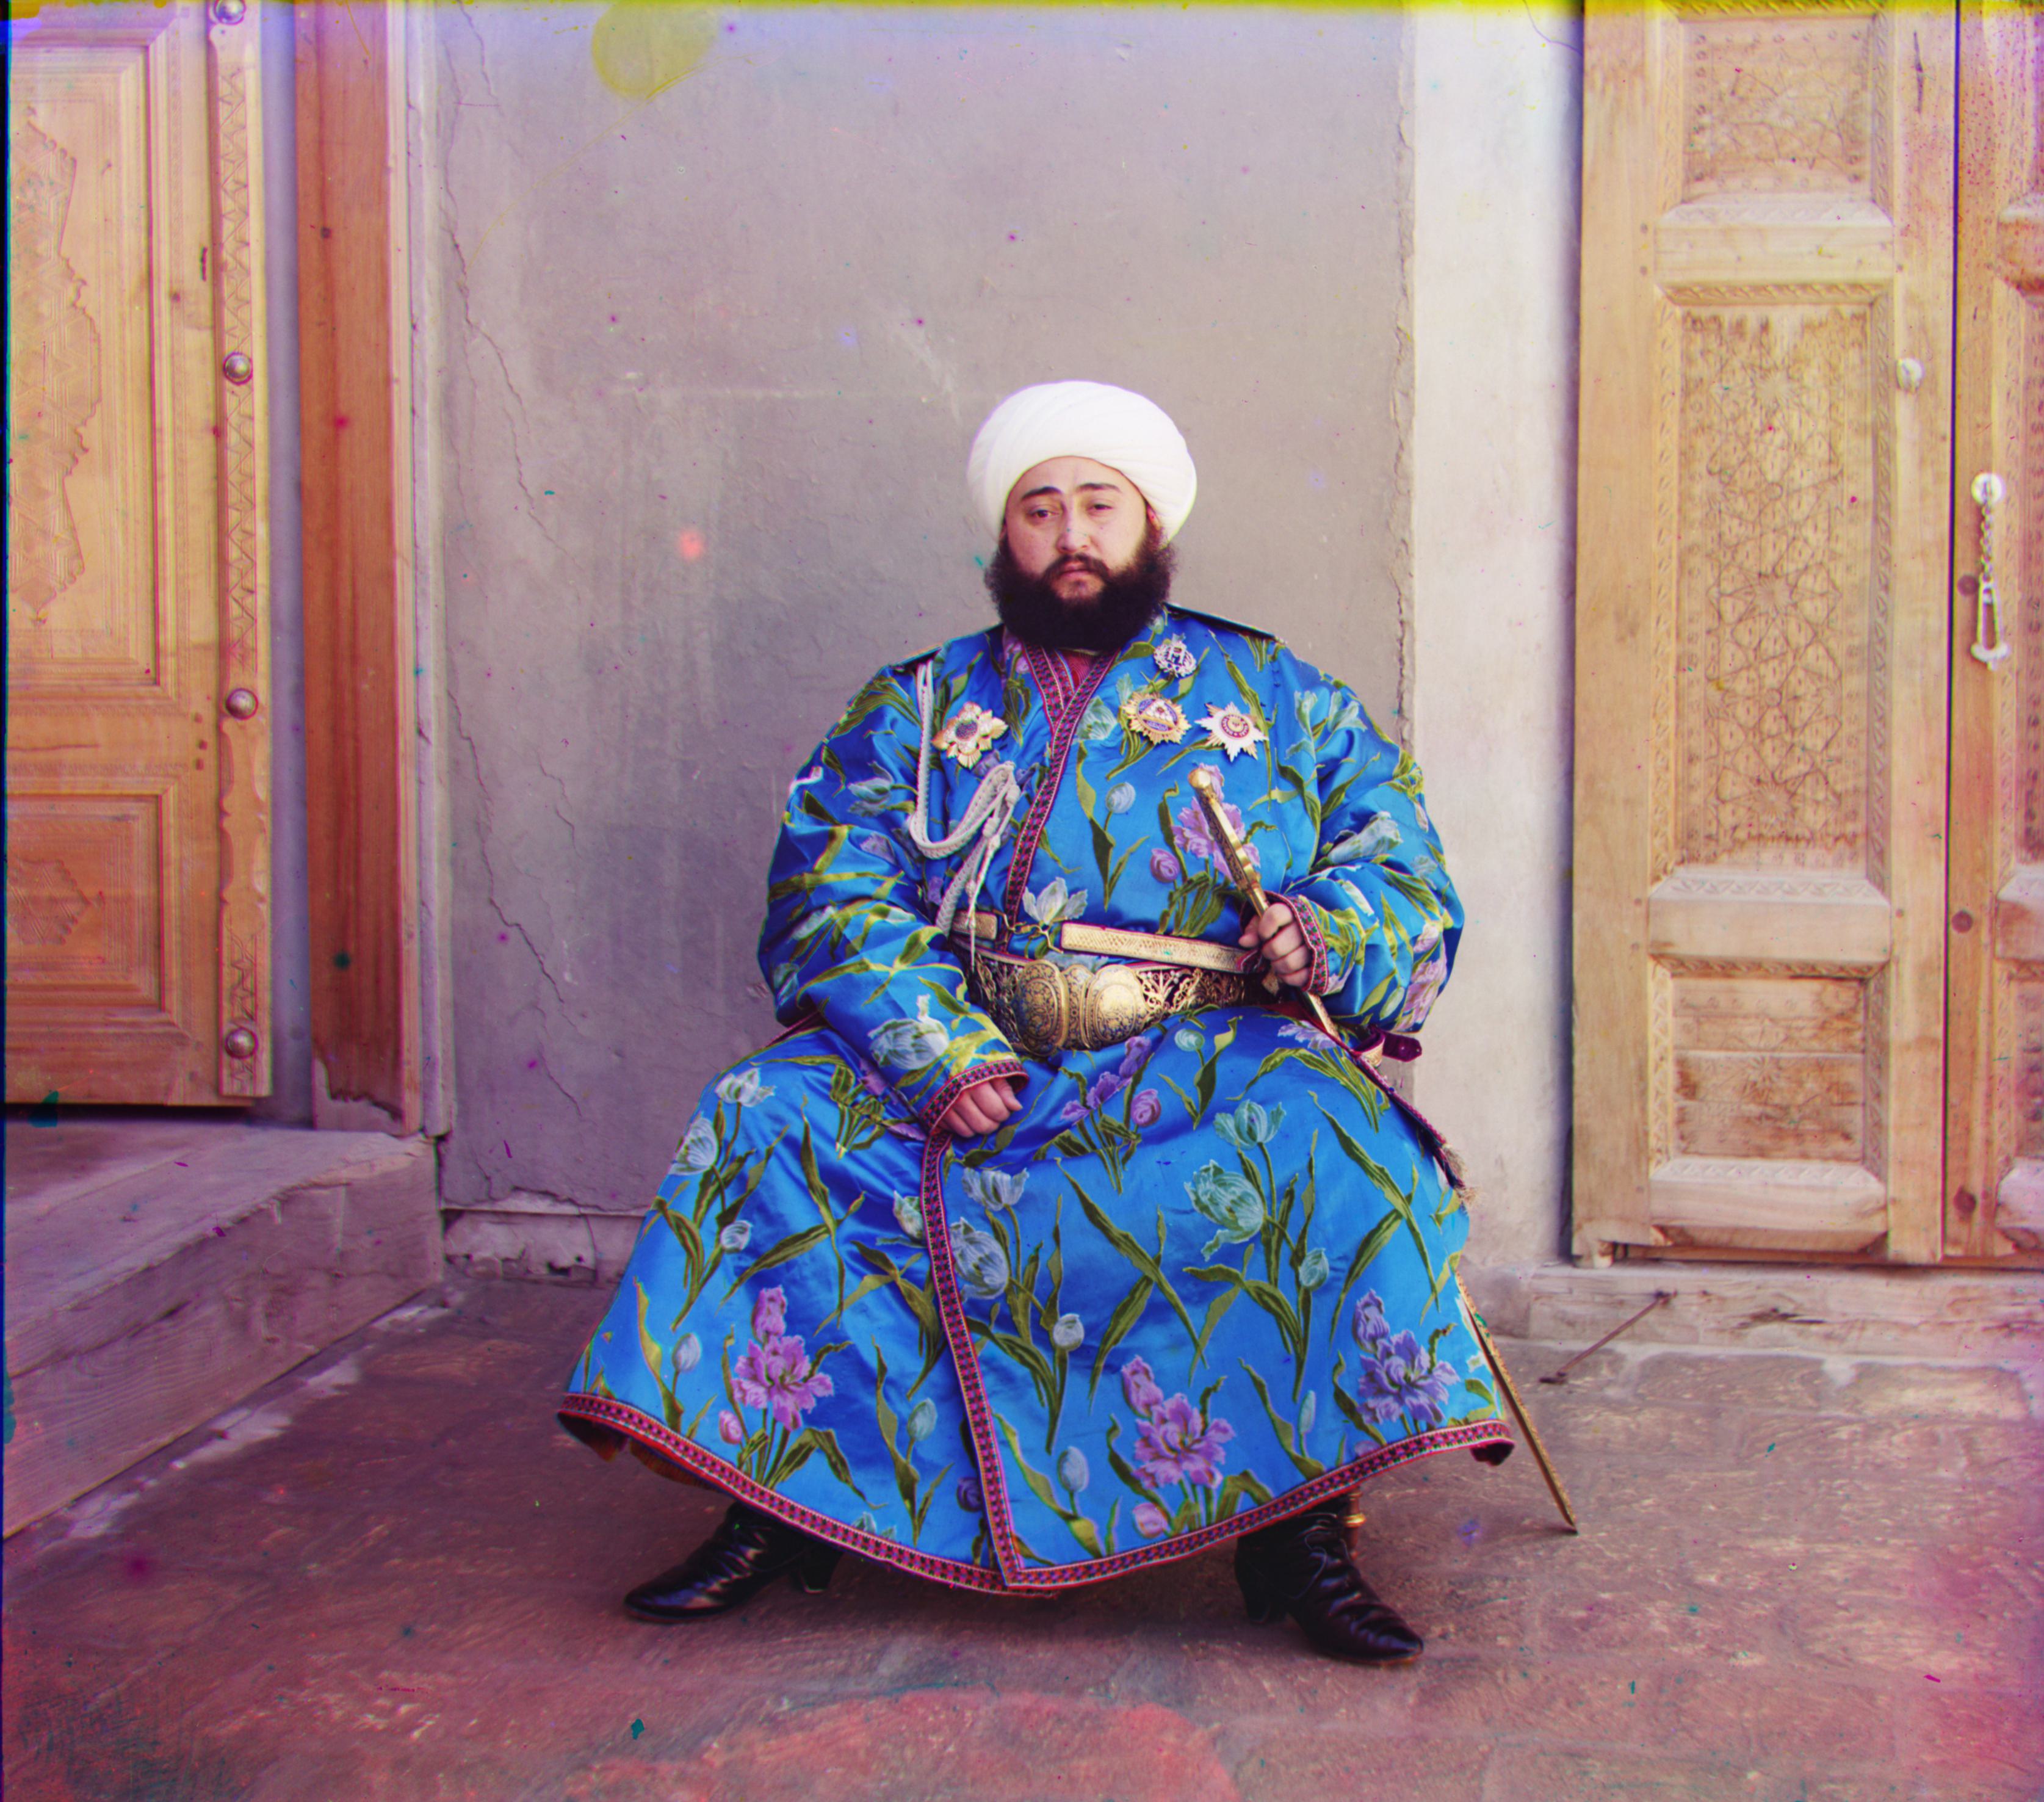
emir.tif
It’s a noticeable improvement compared to the uncropped alignments, but a lot of the images still had some black or colored borders. I think part of this is due to the quality of the B/W color channel image strips; some of the images had more washed out black borders than others, especially on the top and left sides. To fix this in the future, I would probably try to play around with the threshold value, or perhaps find a way to auto-darken the borders before autocropping.
5. Extra images for fun
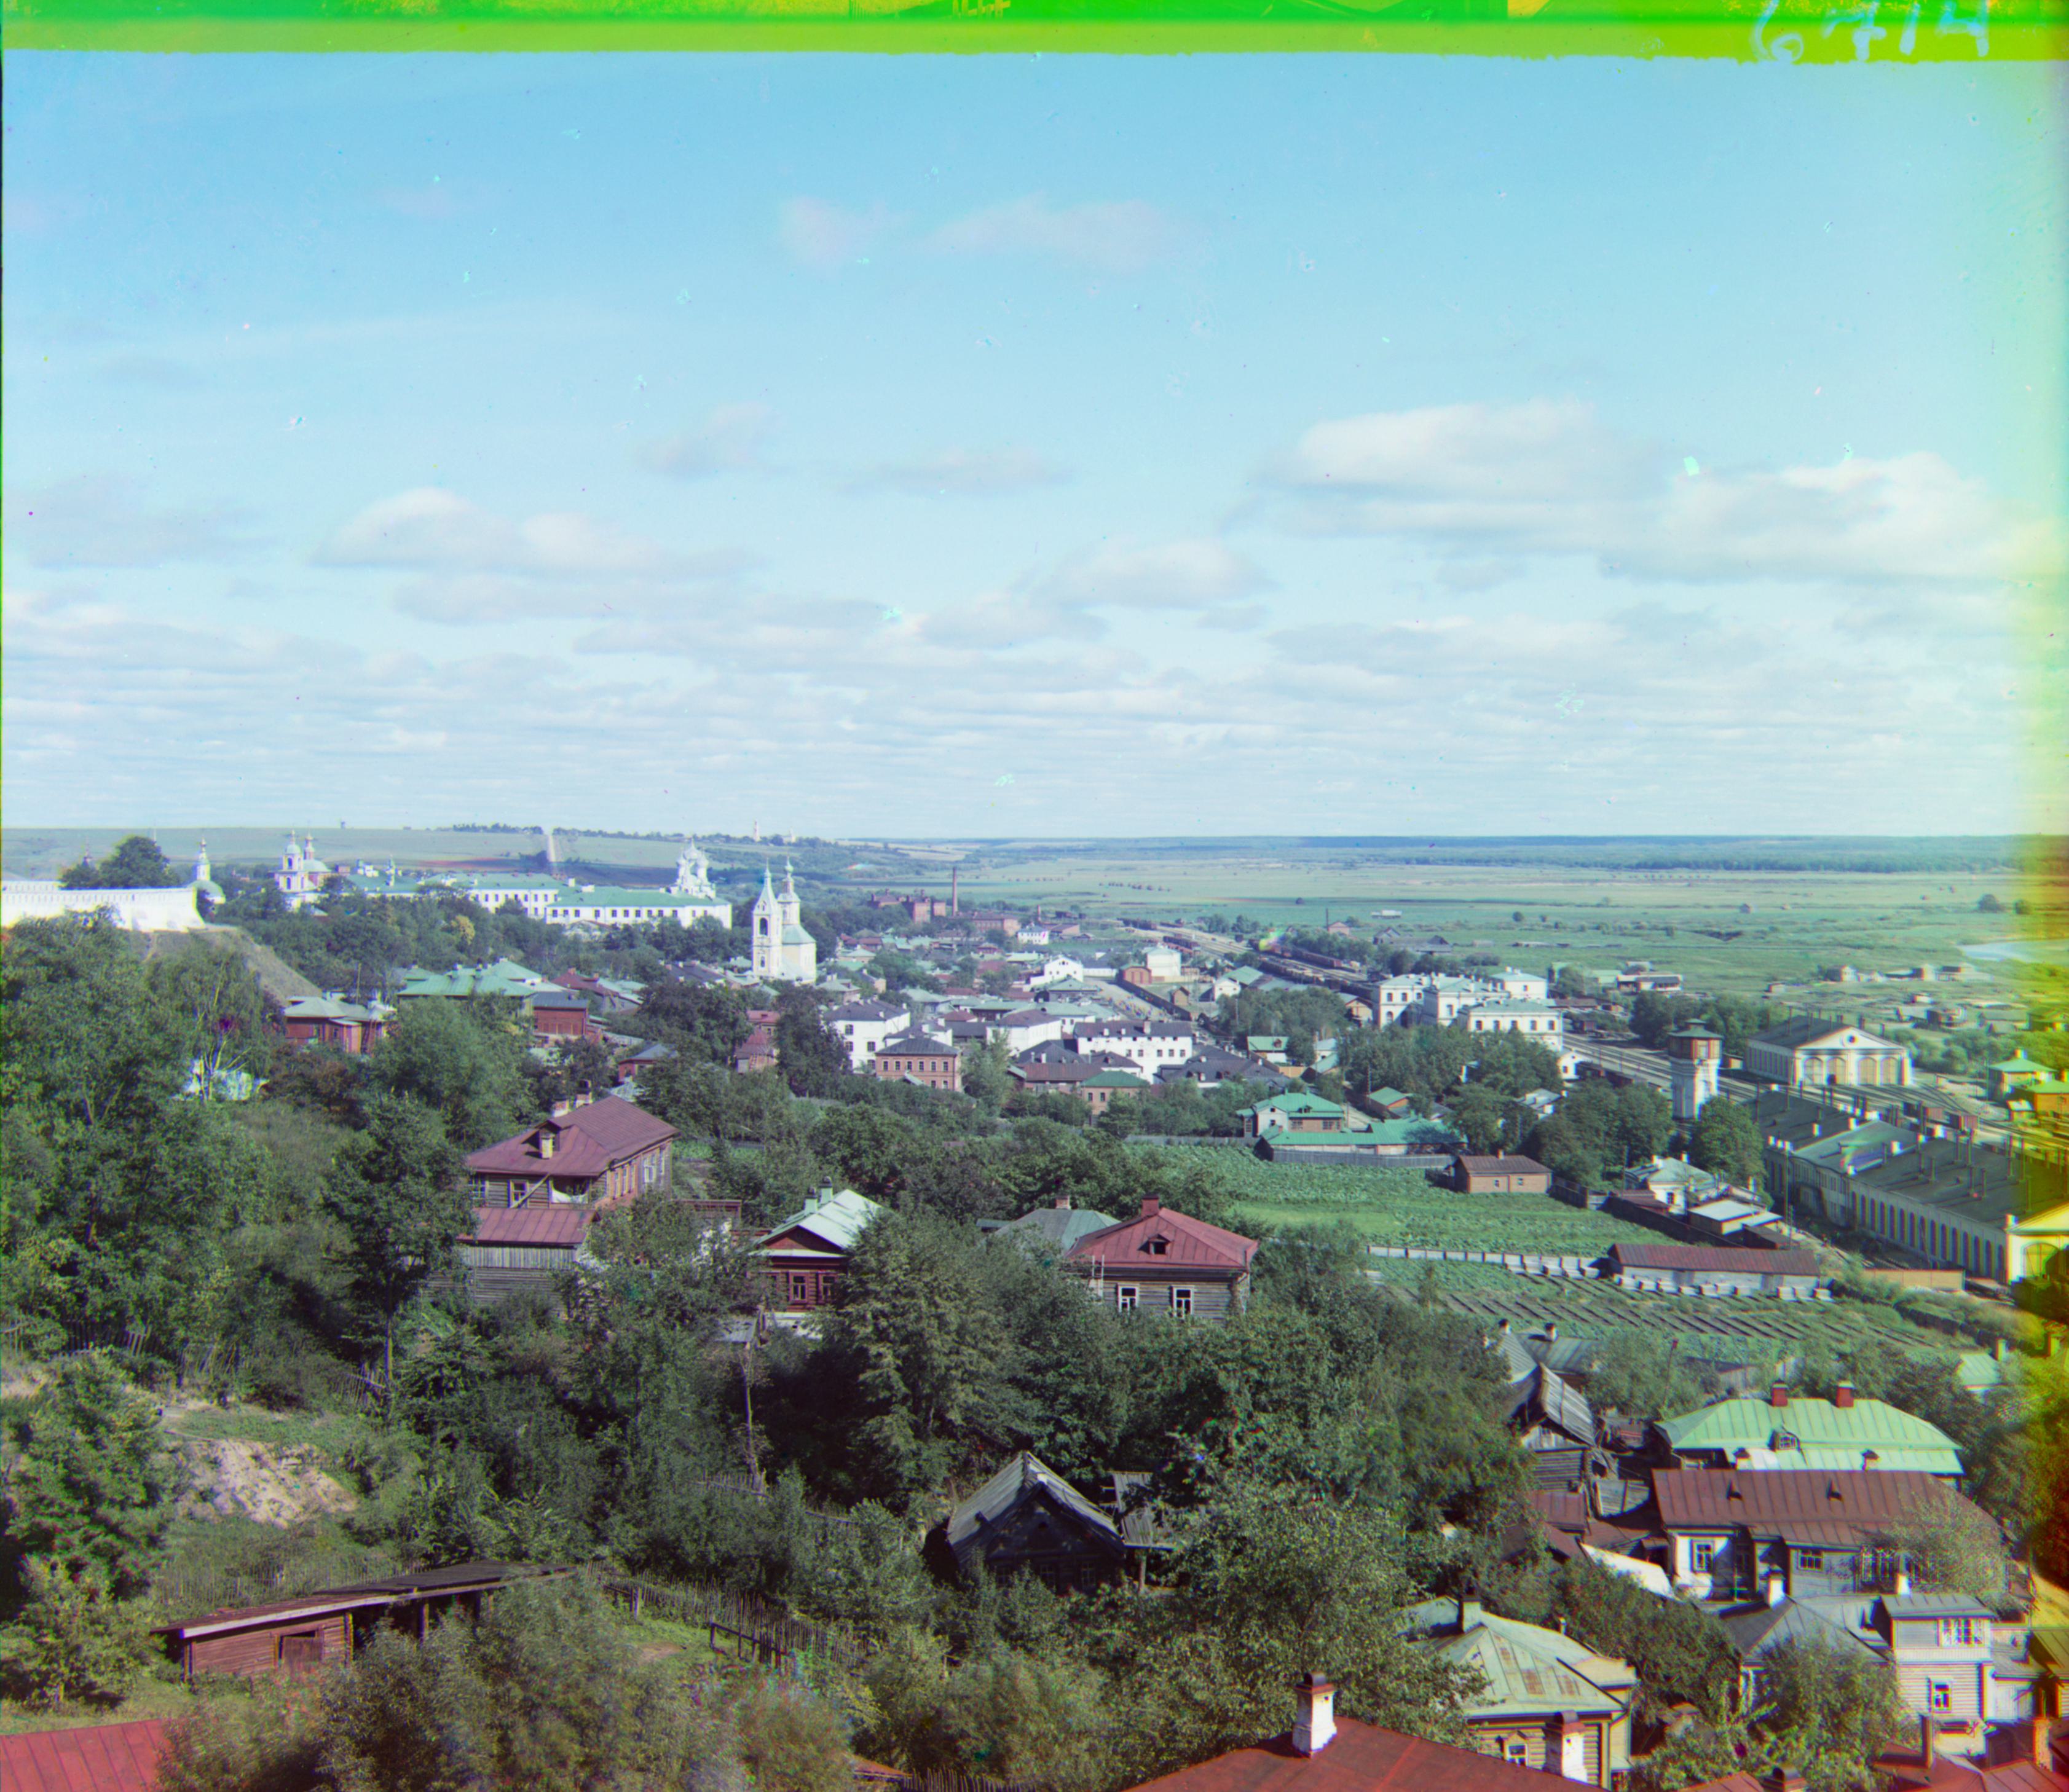
For fun, I aligned some more images from the Library of Congress website. Below are some of my favorites. All of them were aligned with pyramid speedup and raw pixel L2 norm alignment metric, except for vladimir.tif and mine.tif (they needed the Sobel edge detection filters to align properly).
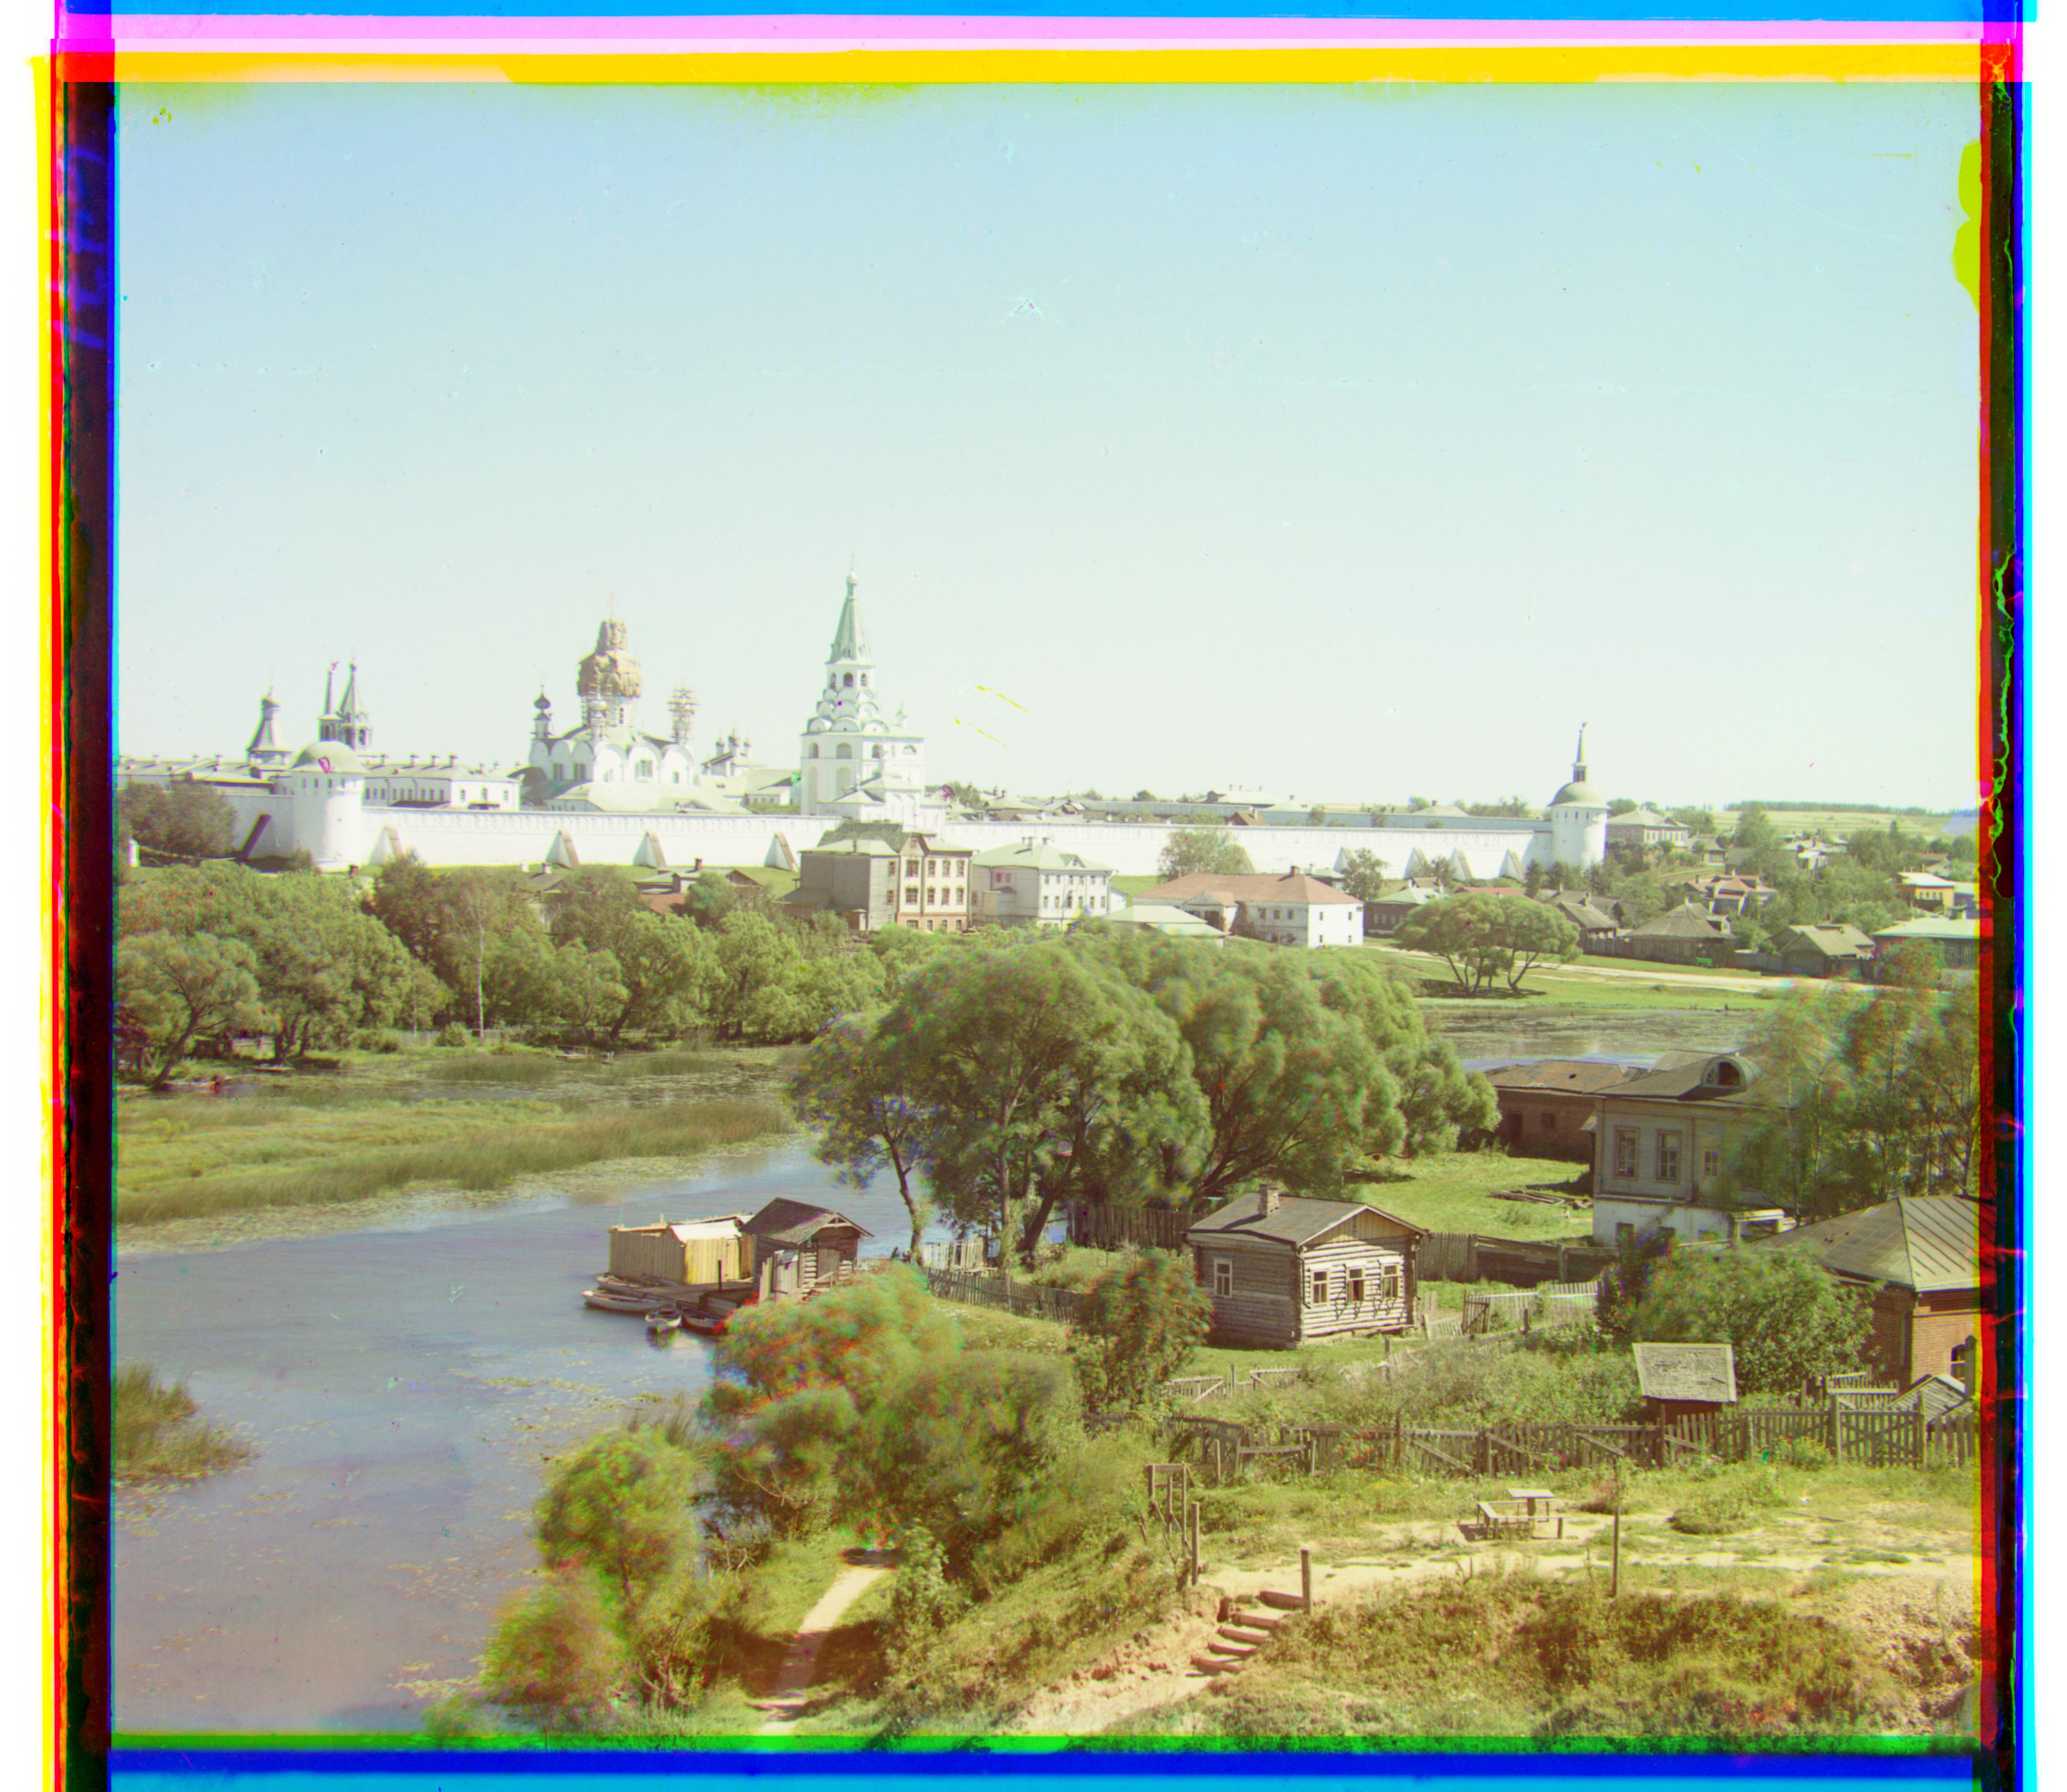
aleksandrov.tif
G: (14,70), R: (30,148)
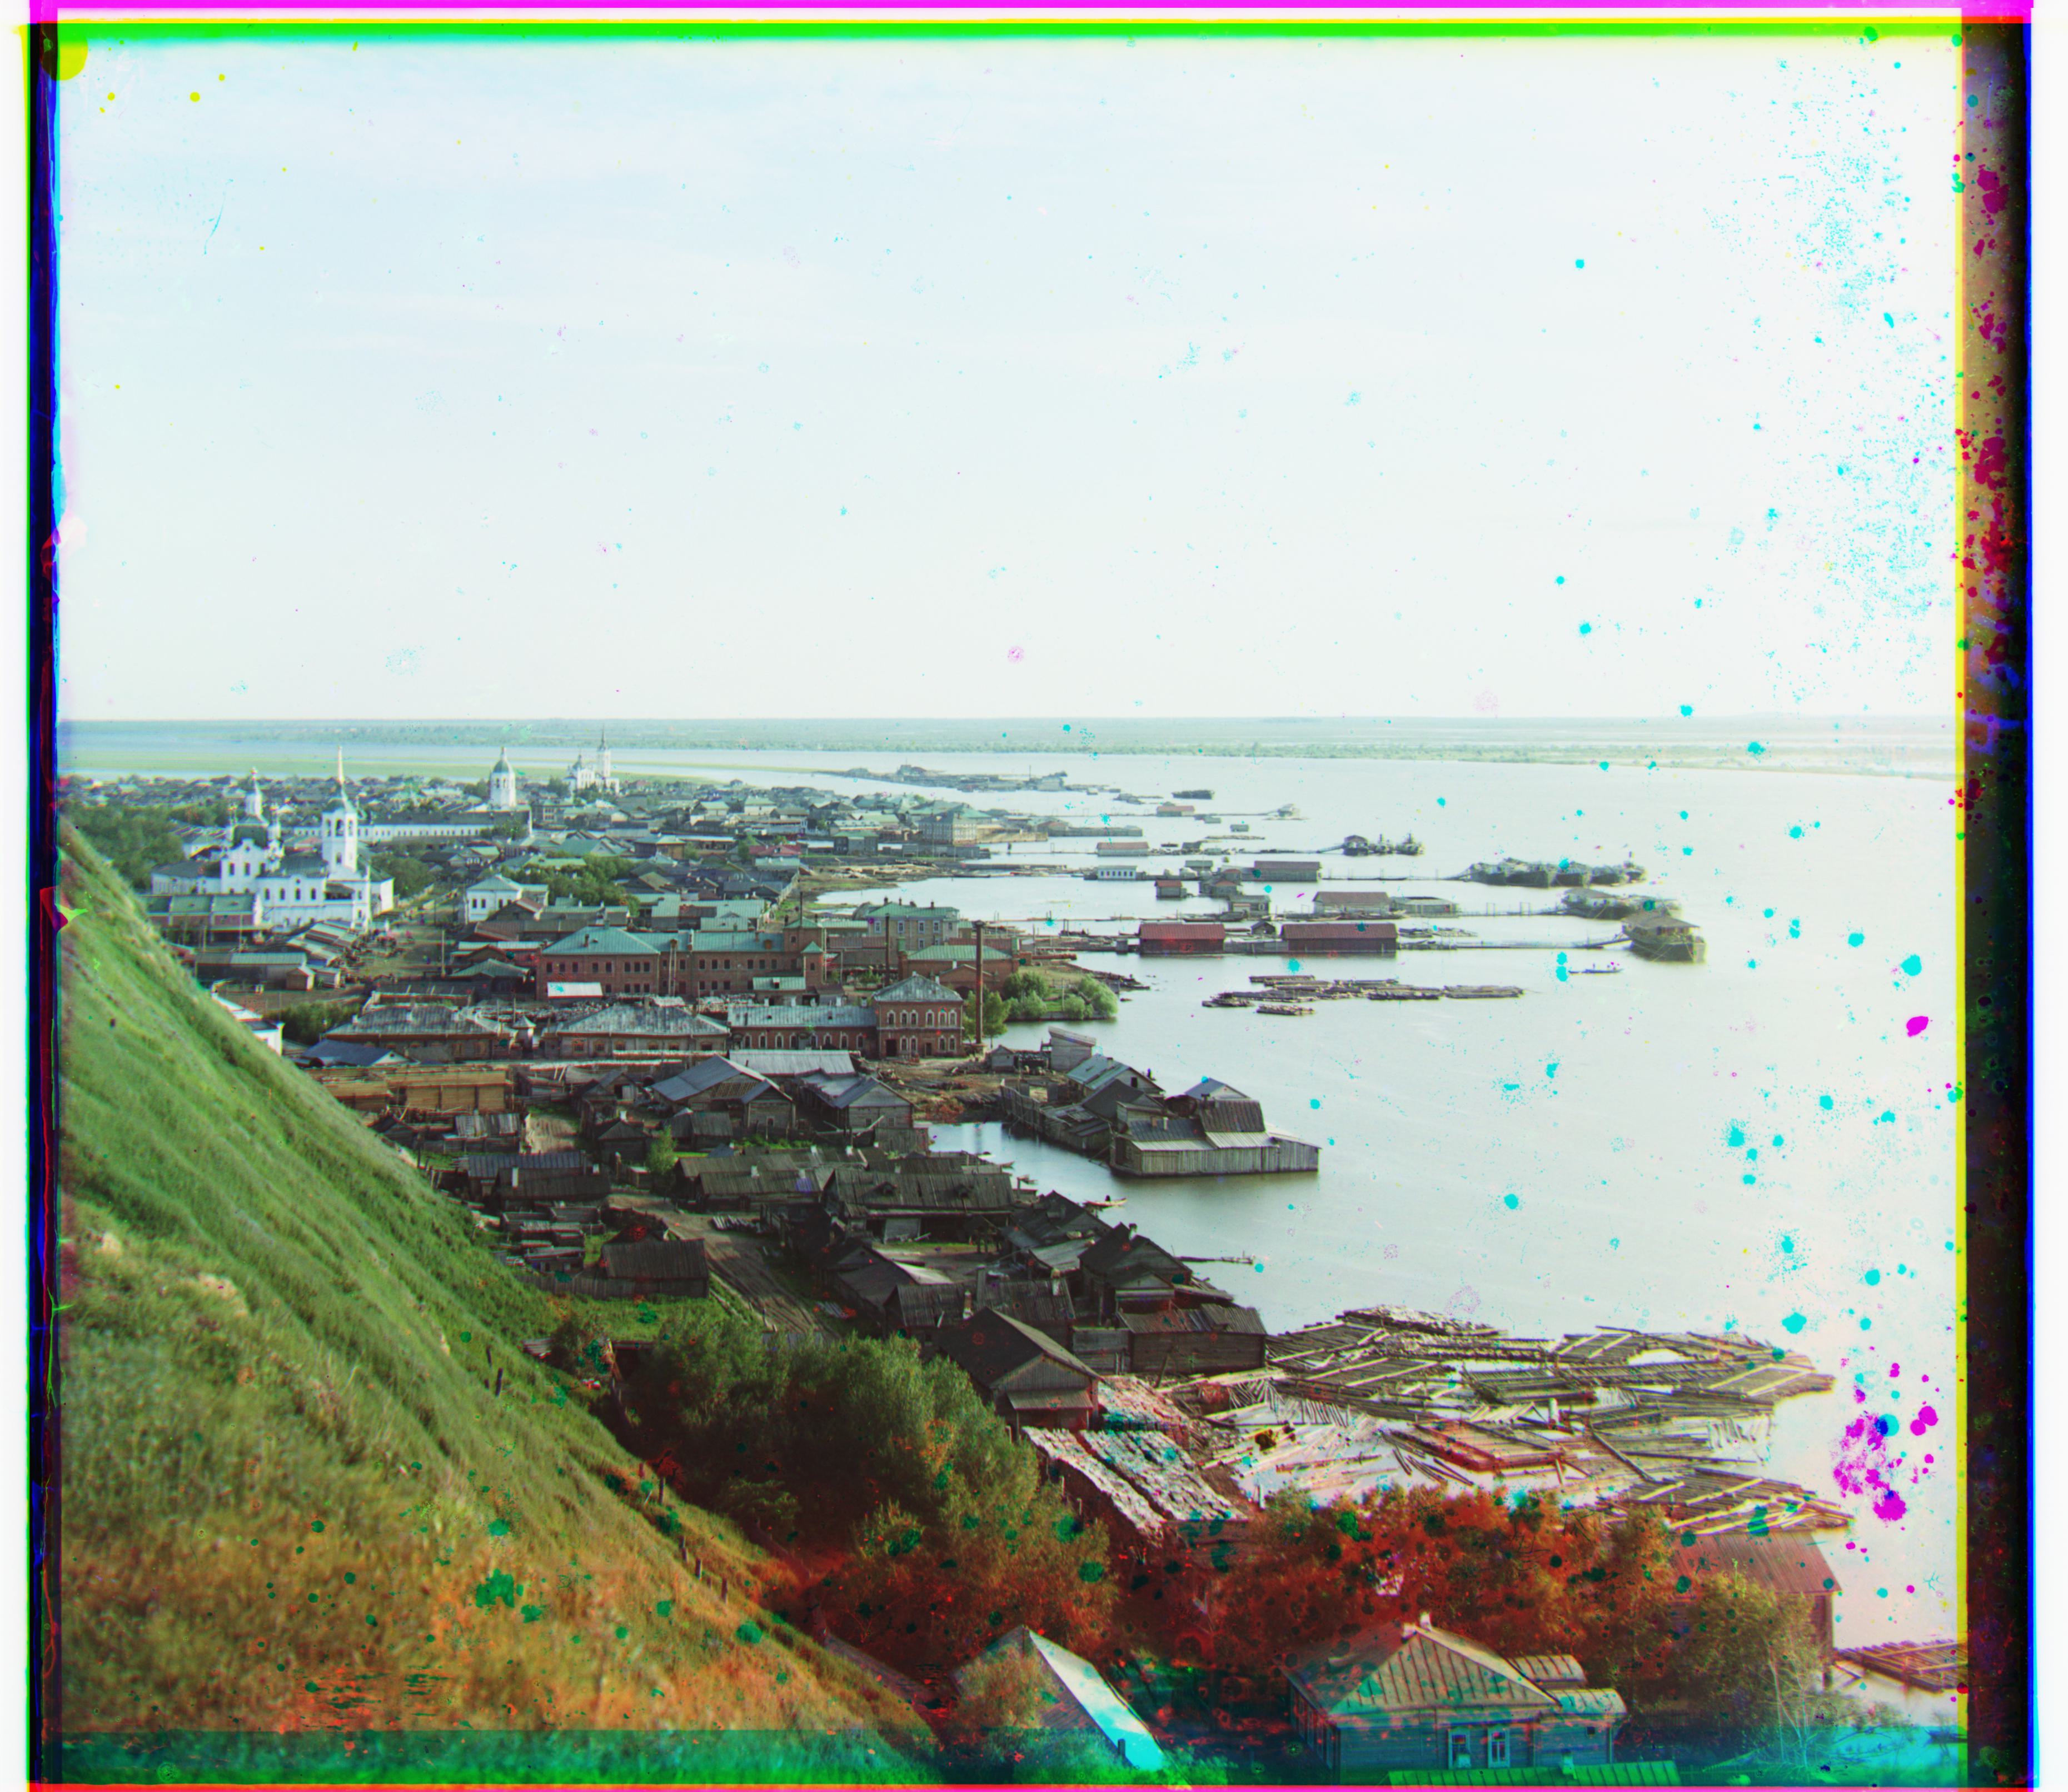
naberezhnaia.tif
G: (6,14), R: (2,42)
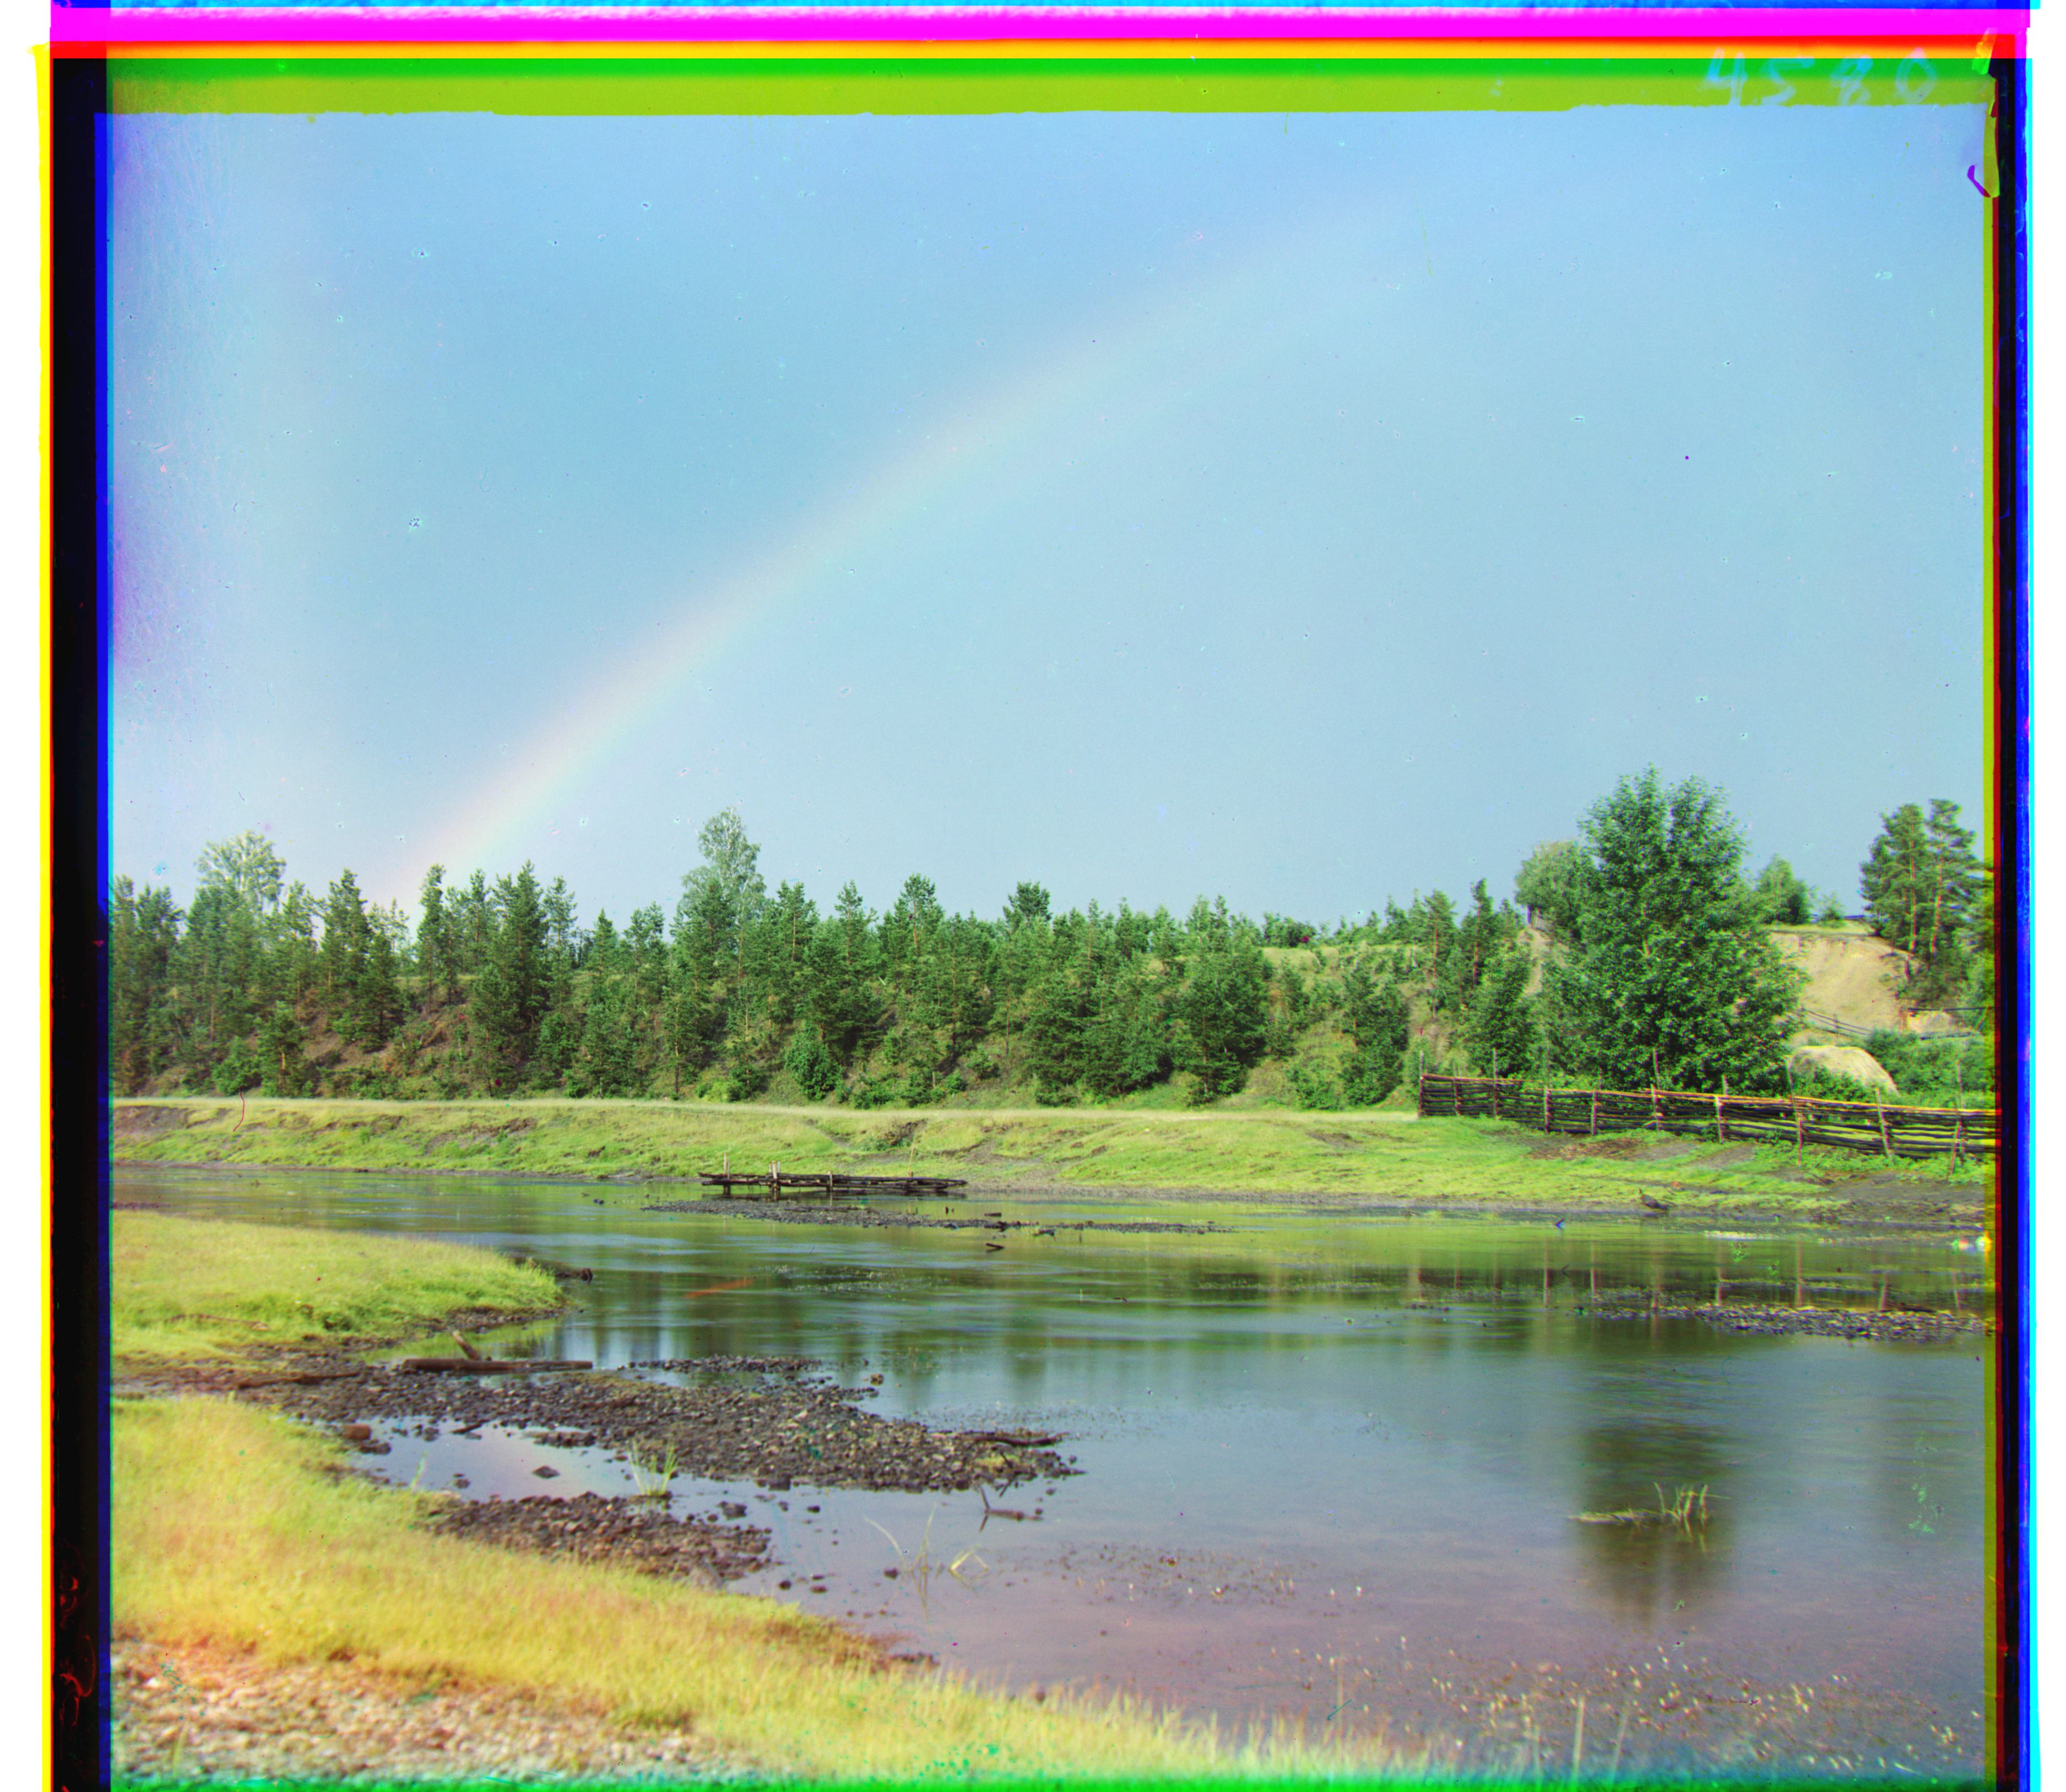
raduga.tif
G: (14,50), R: (18,106)
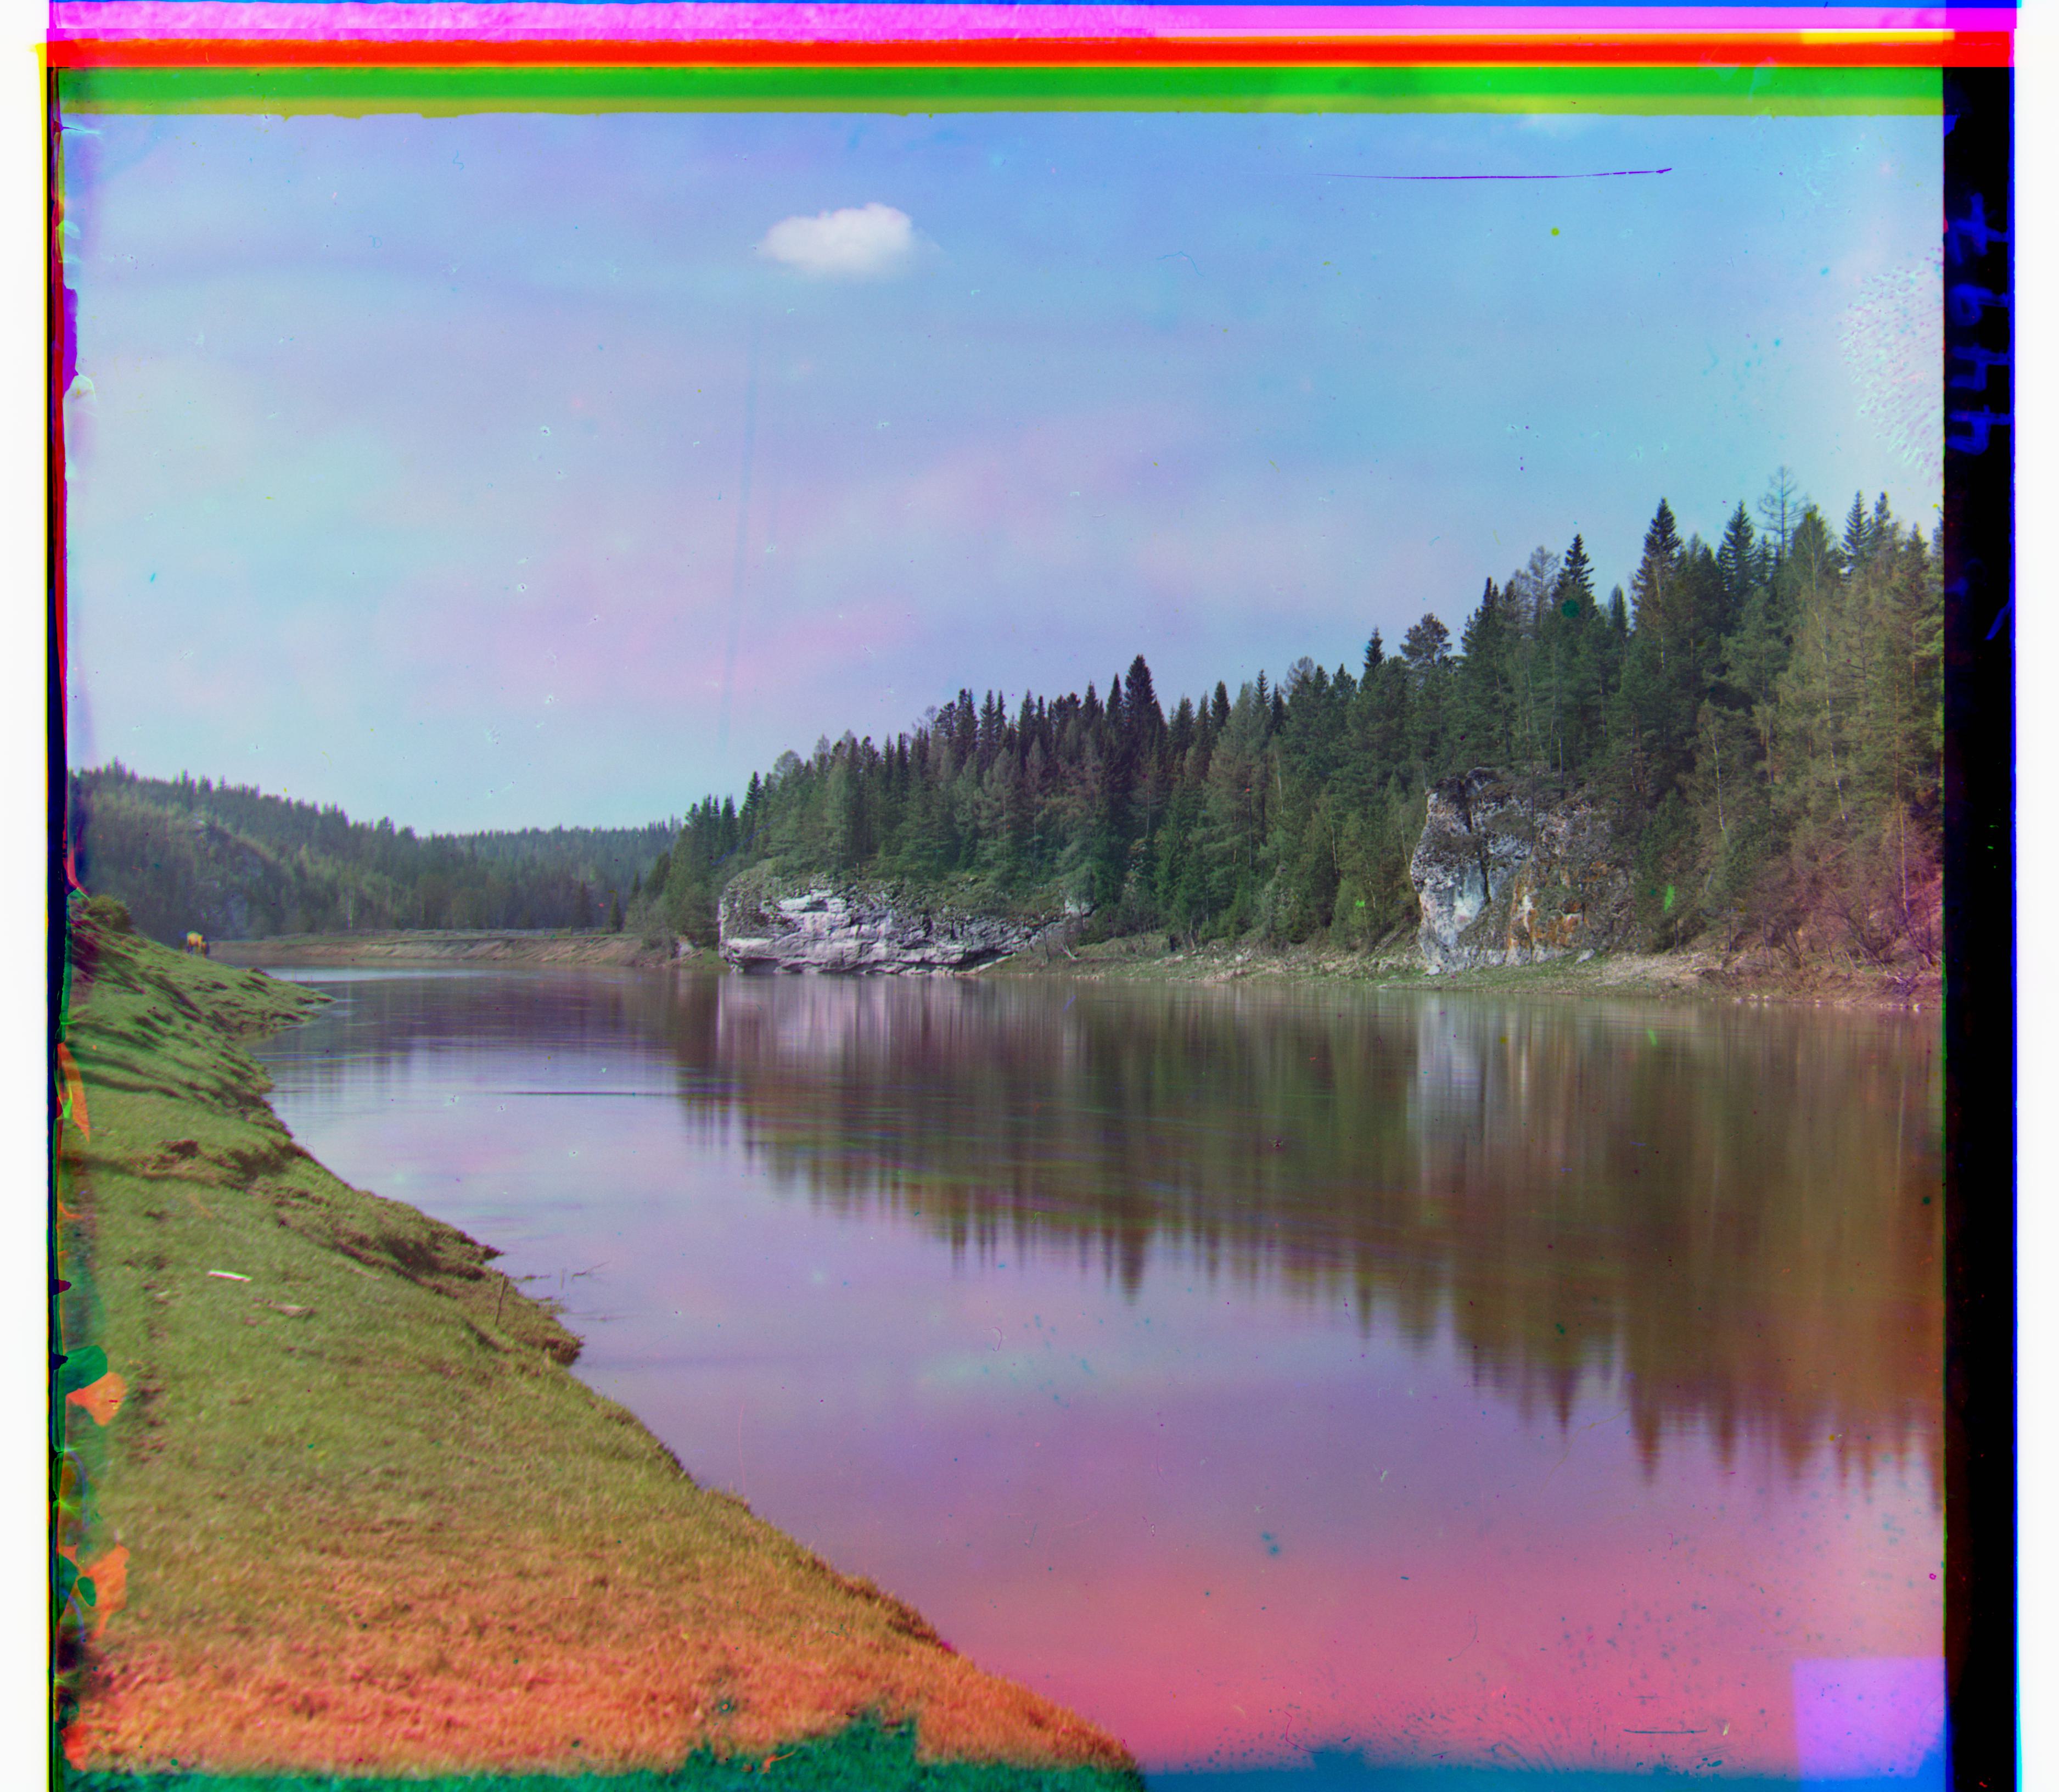
visyachii.tif
G: (0,52), R: (-4,122)
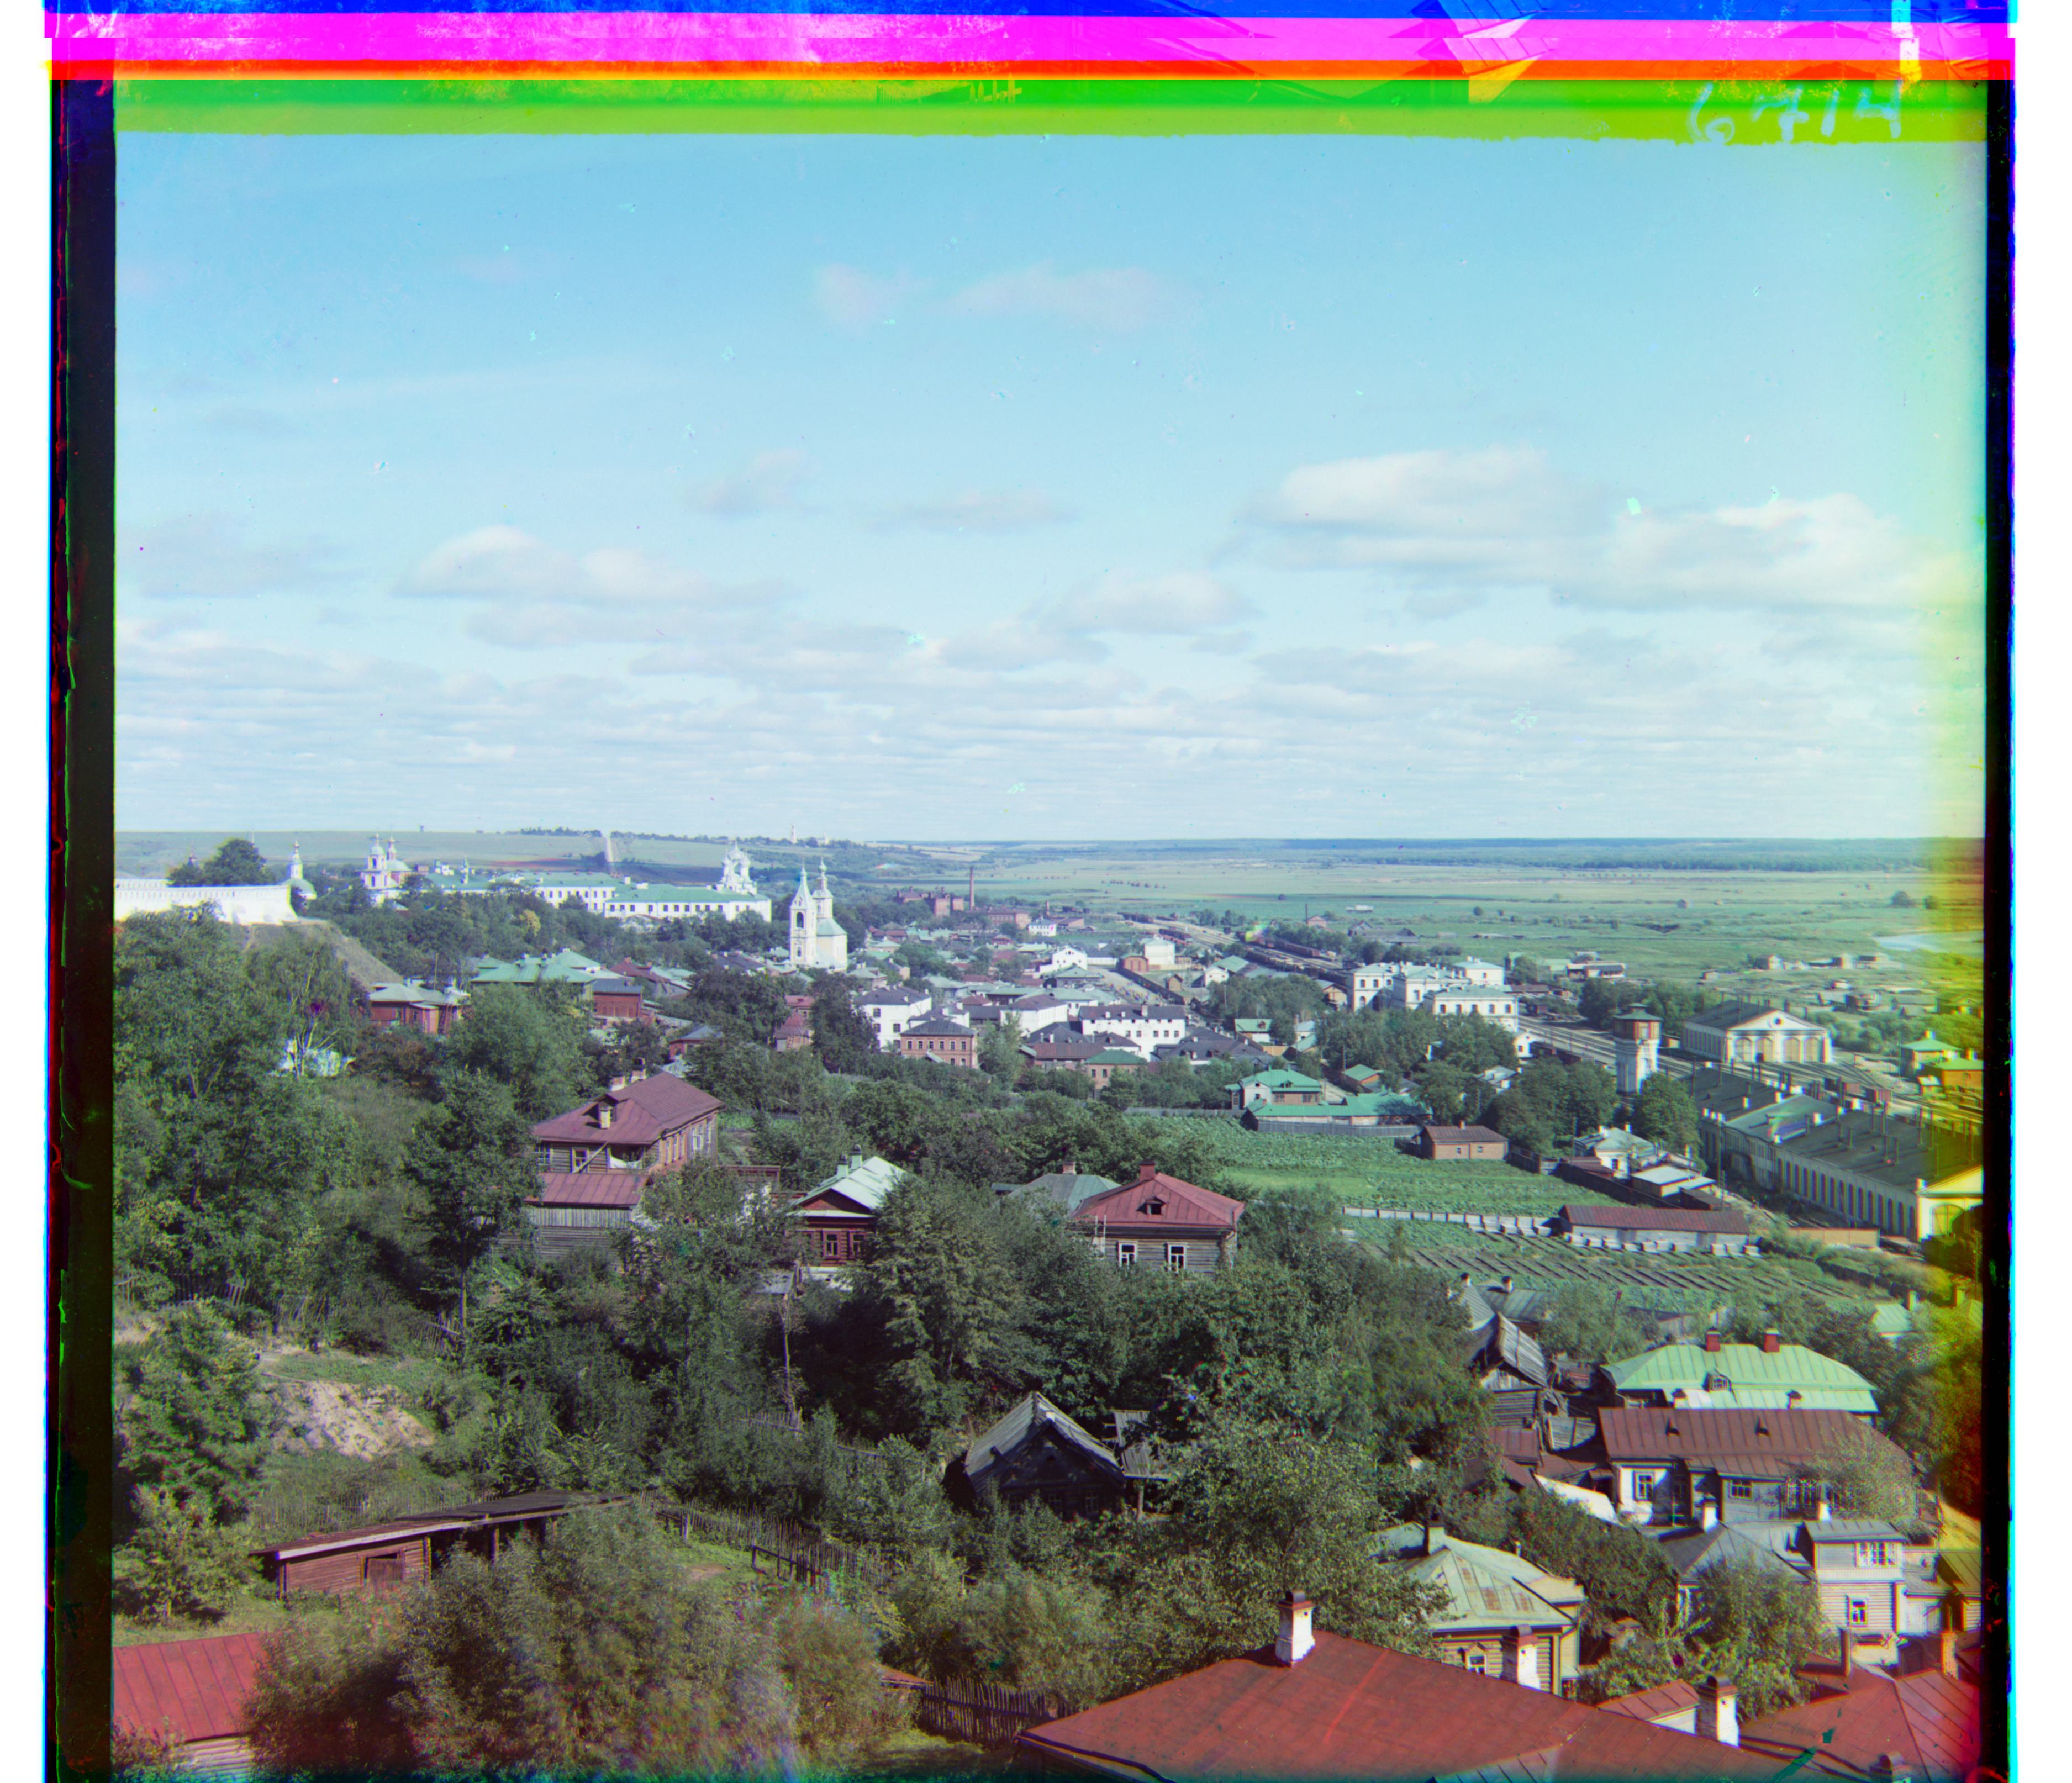
vladimir.tif
G: (10,68), R: (20,144)
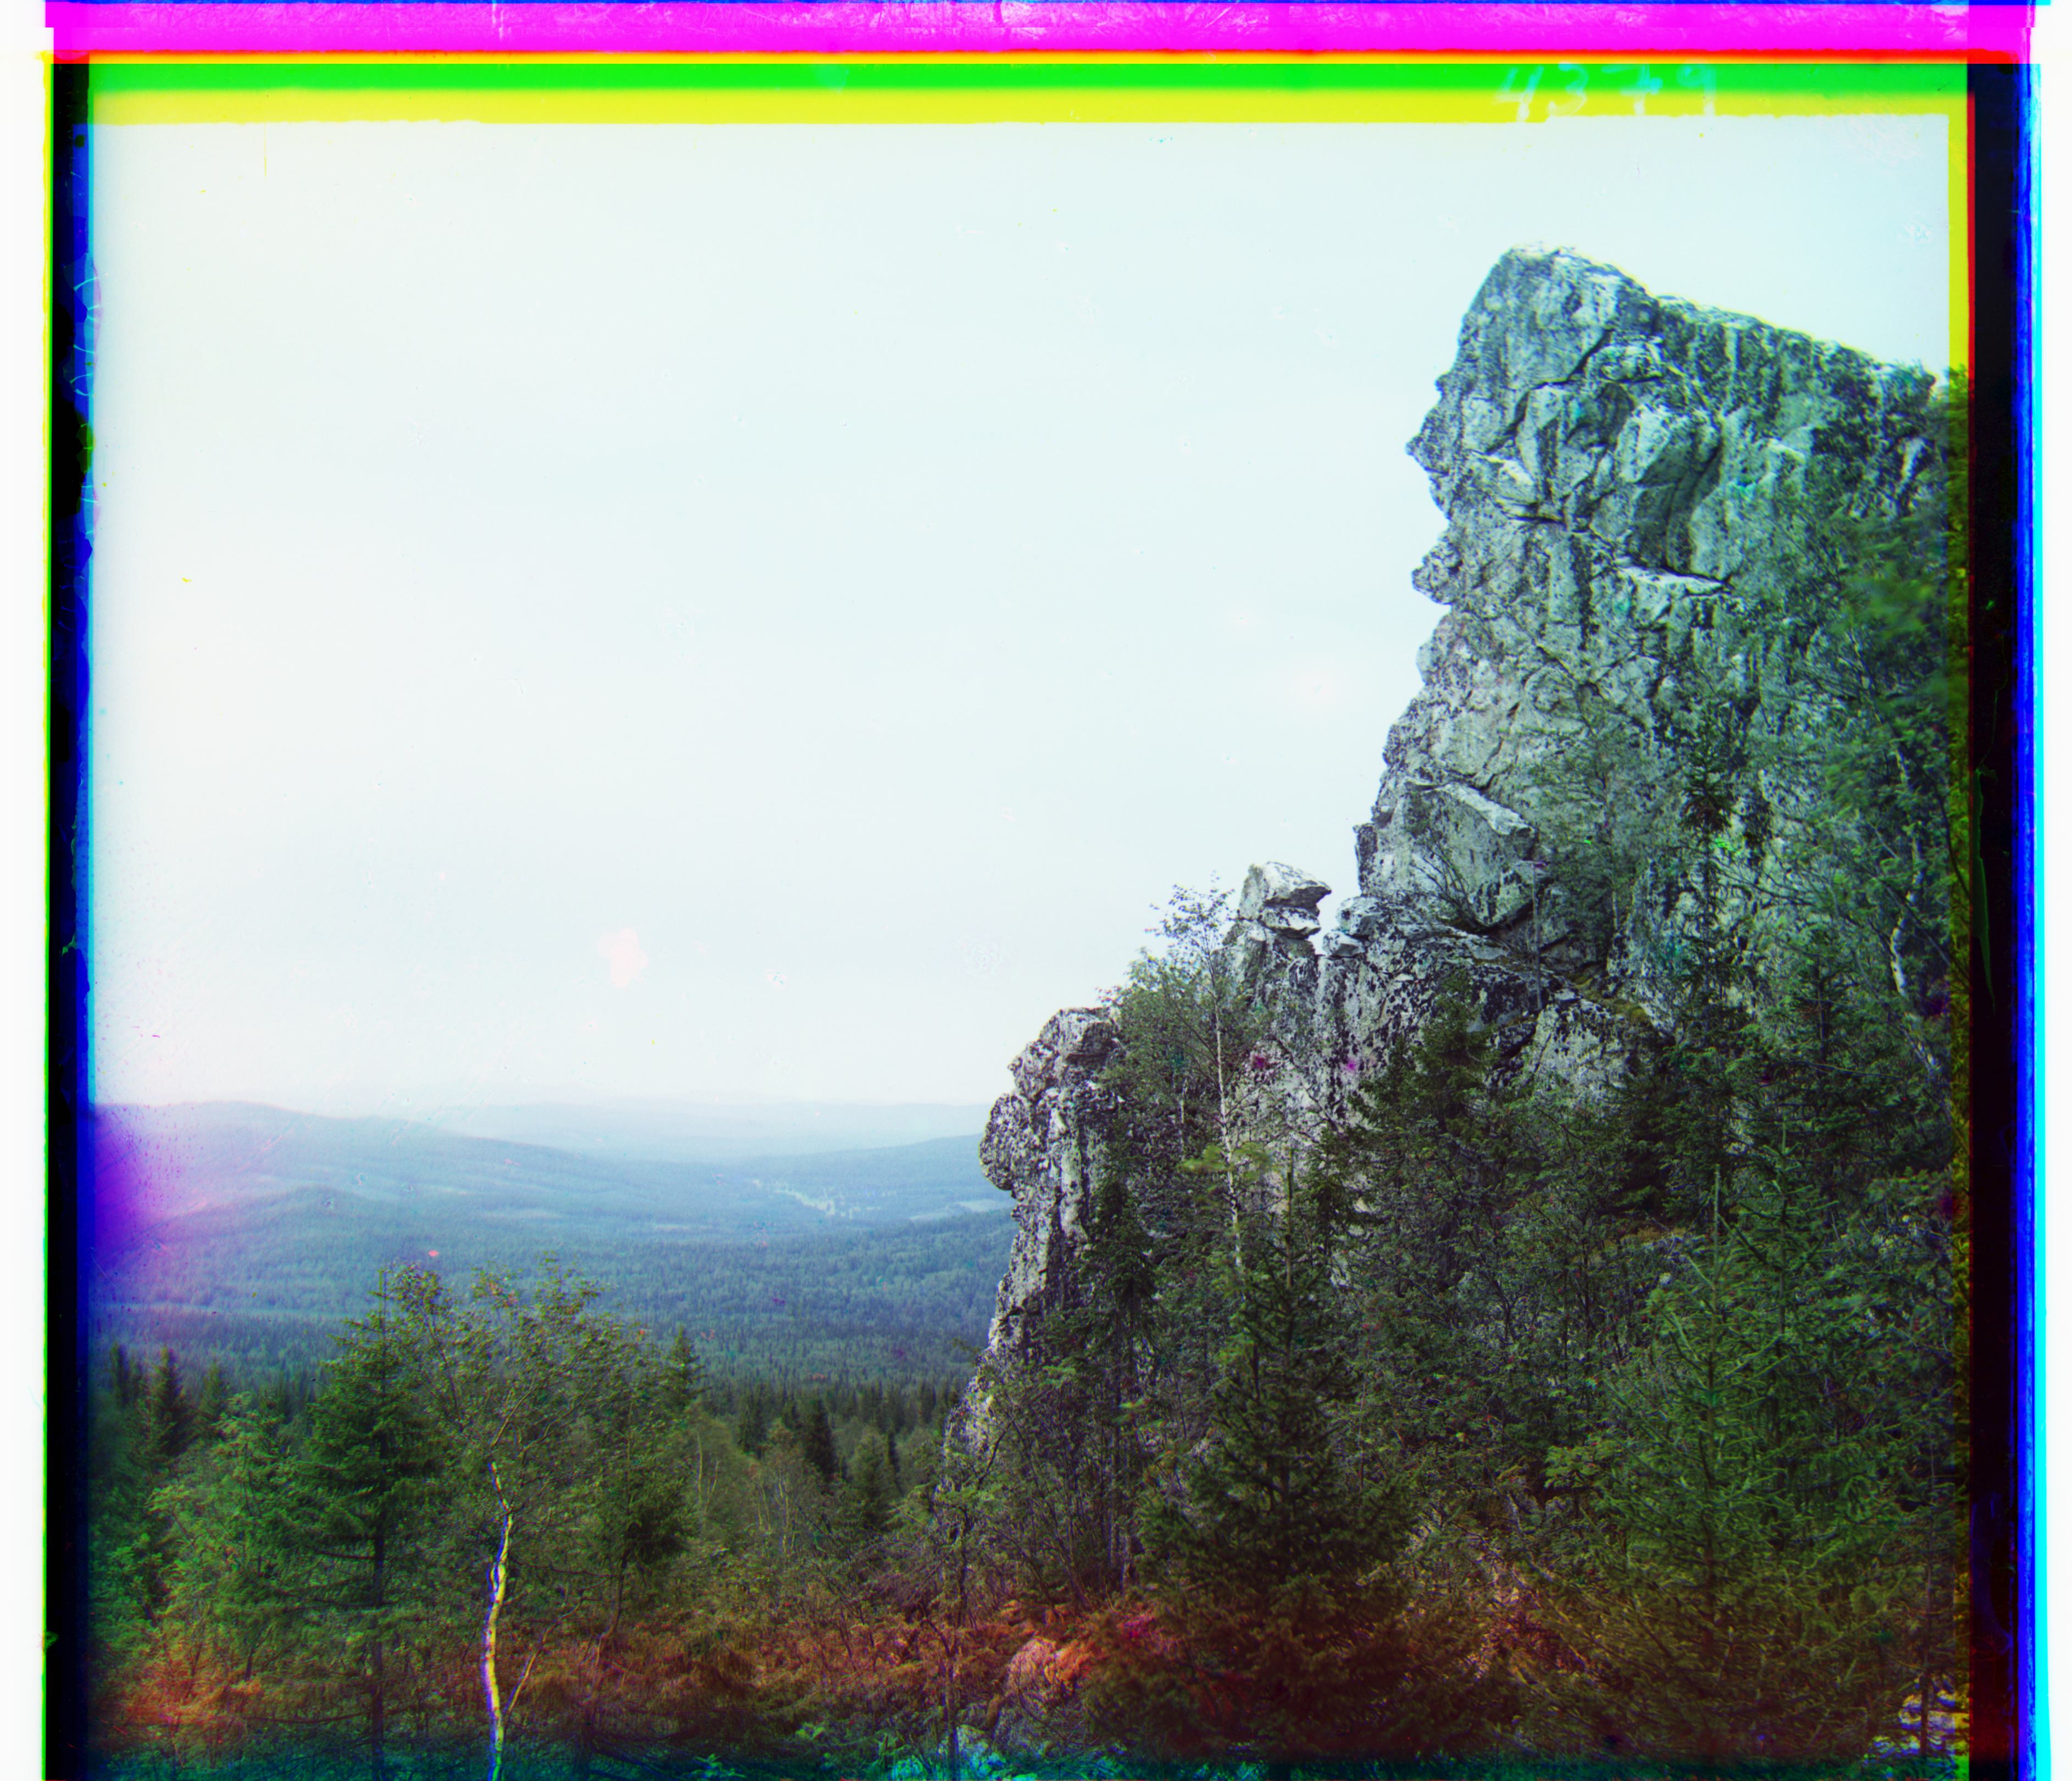
mine.tif
G: (22,50), R: (32,116)
With cropping at a threshold of 0.2:
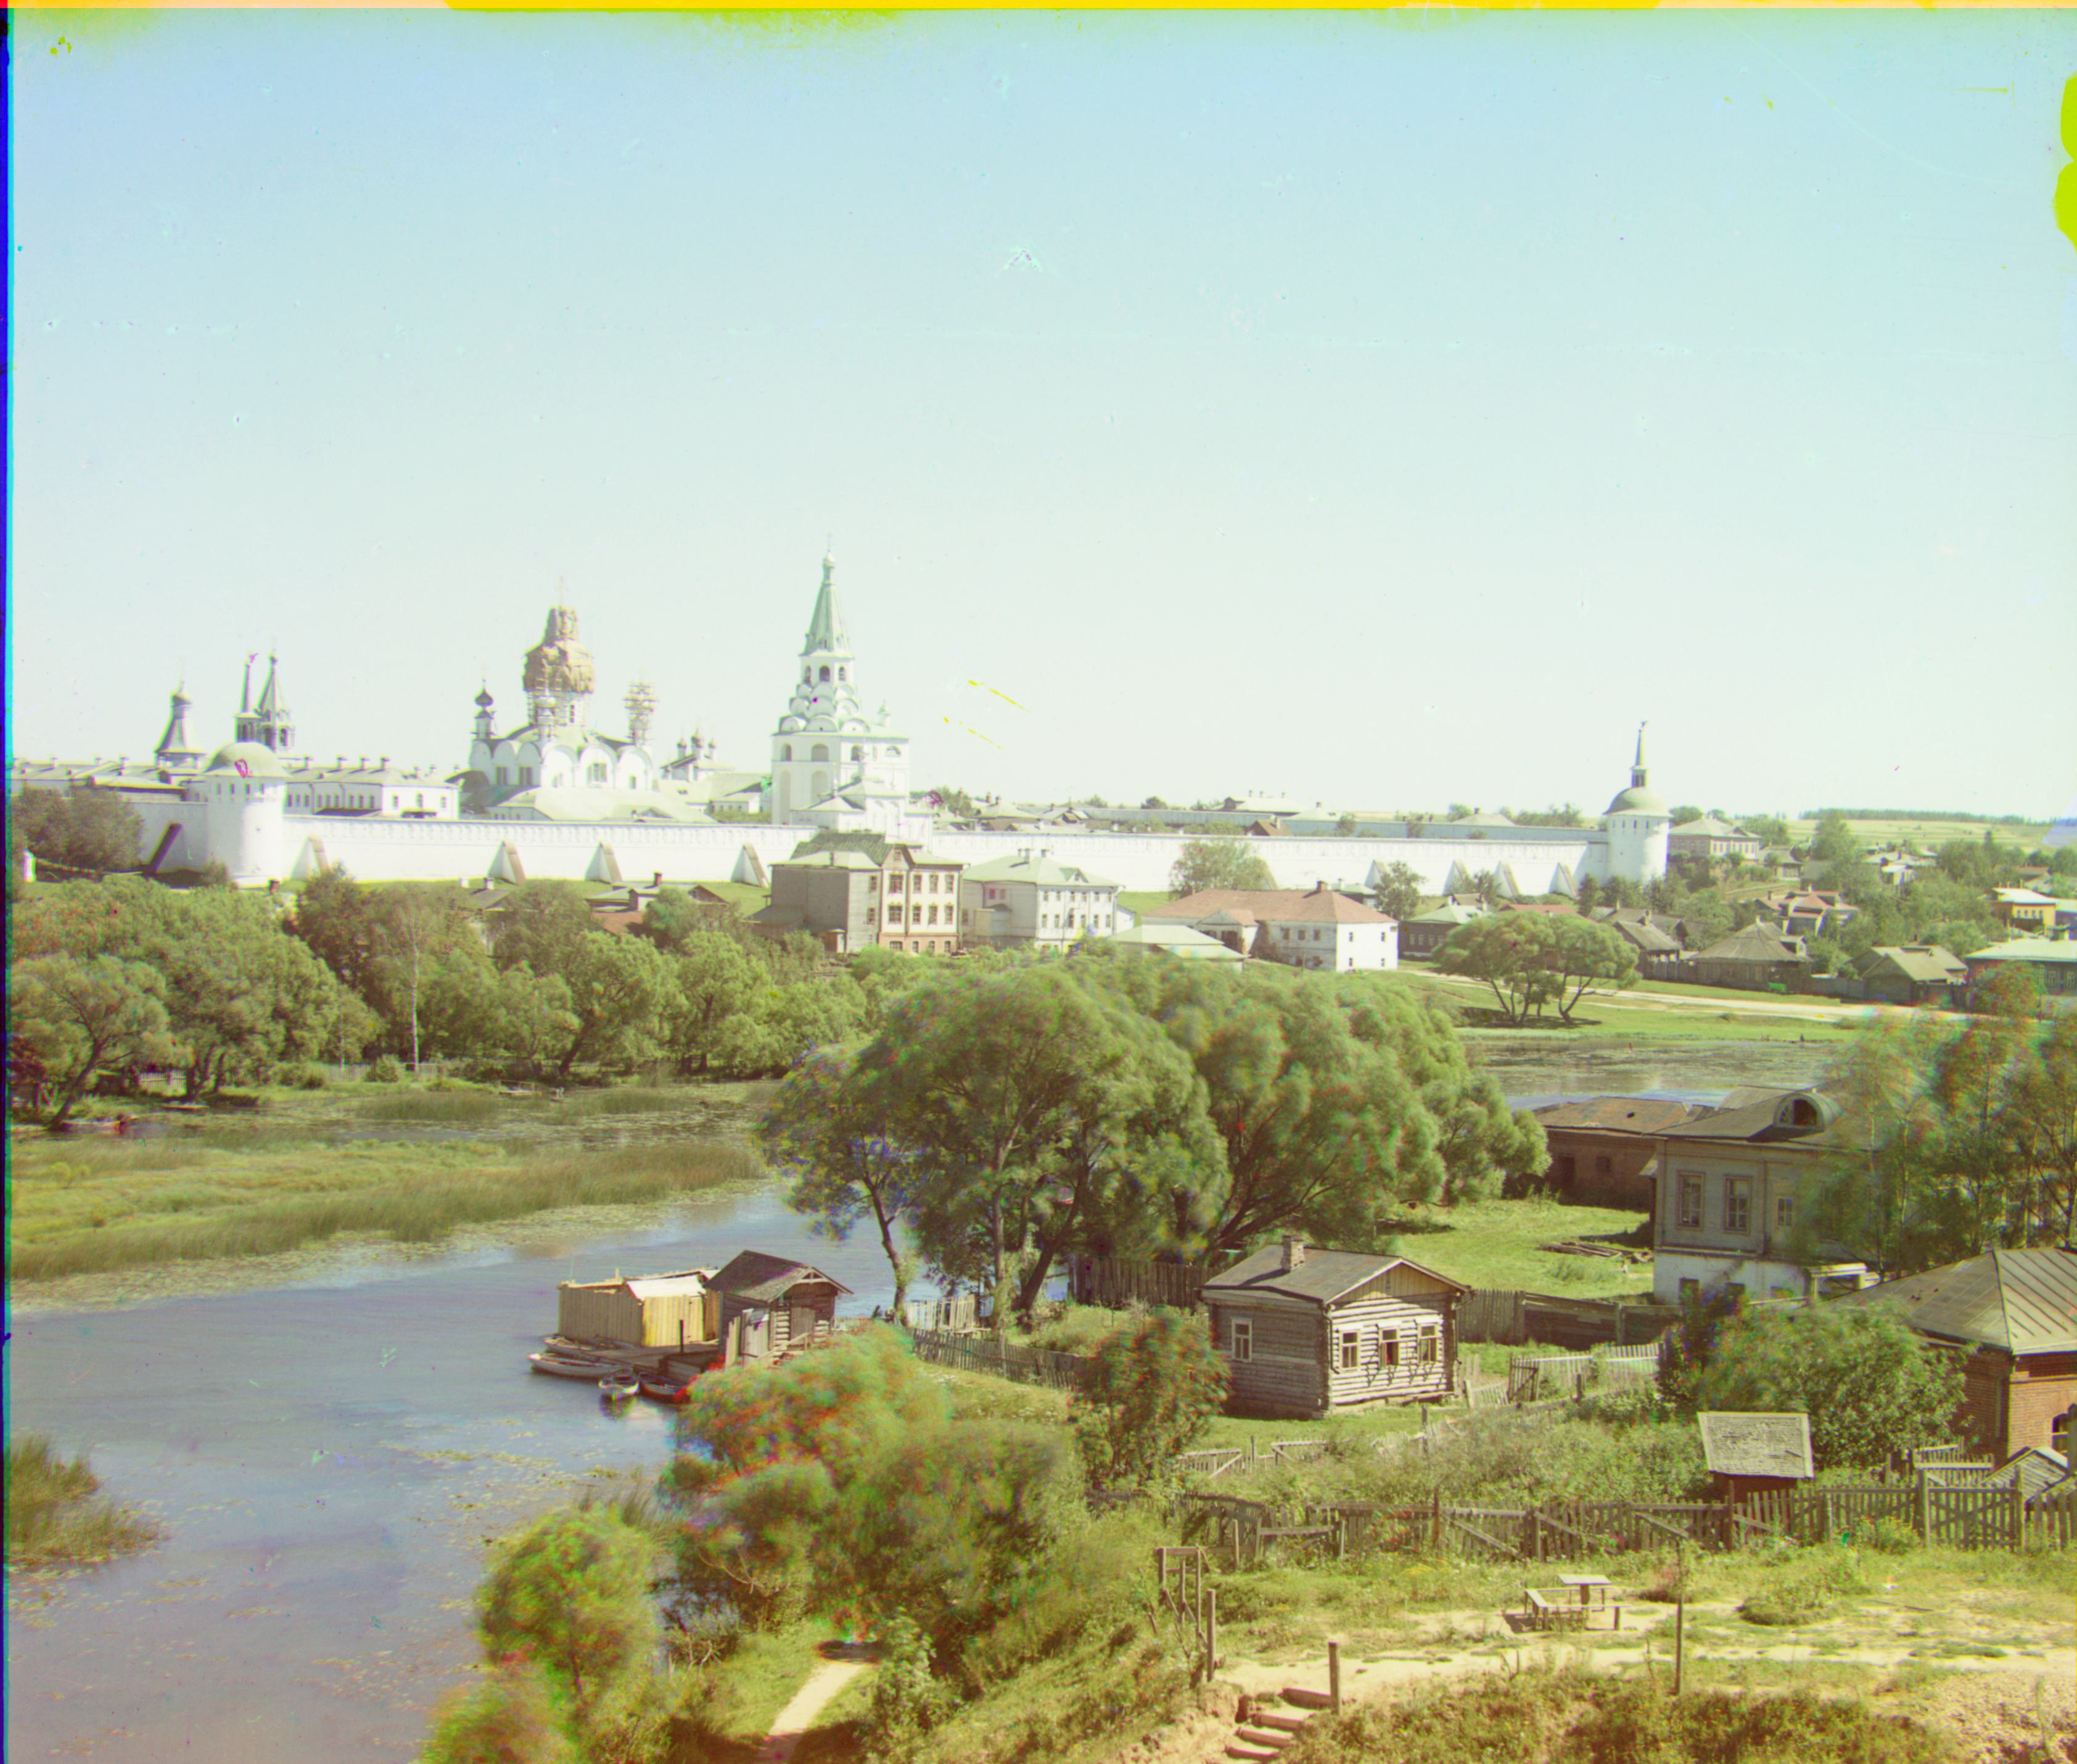
aleksandrov.tif
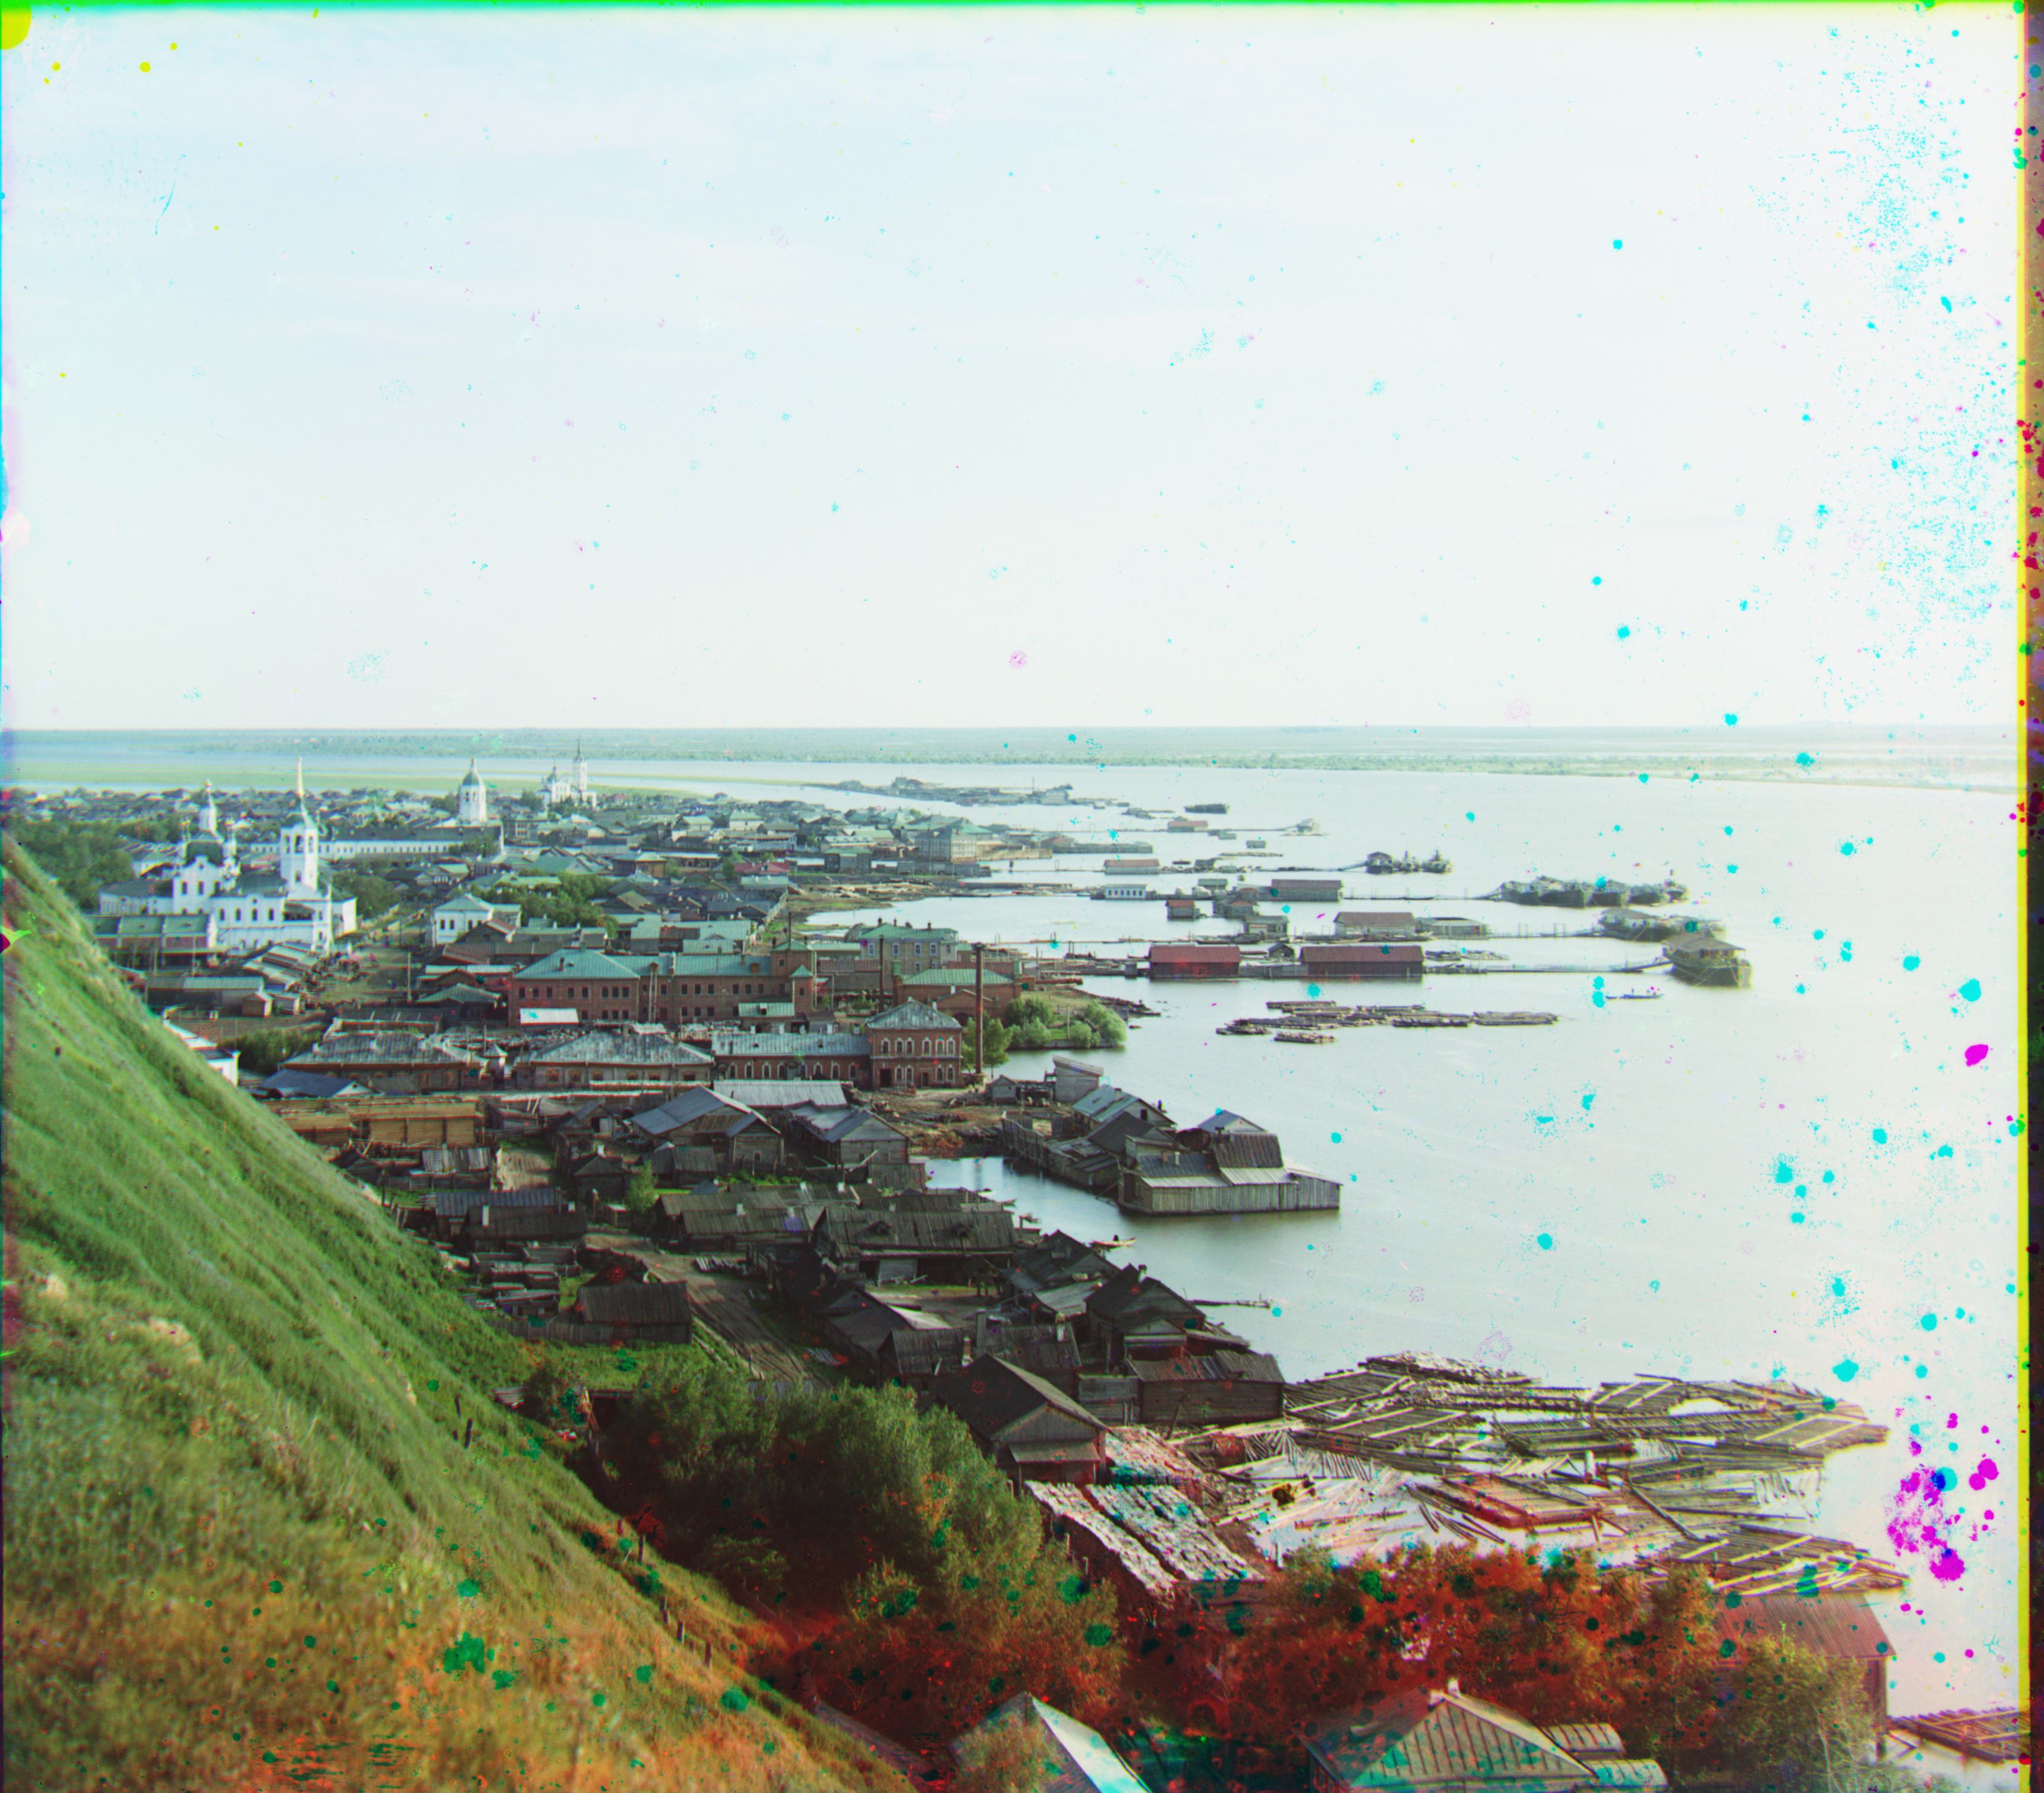
naberezhnaia.tif
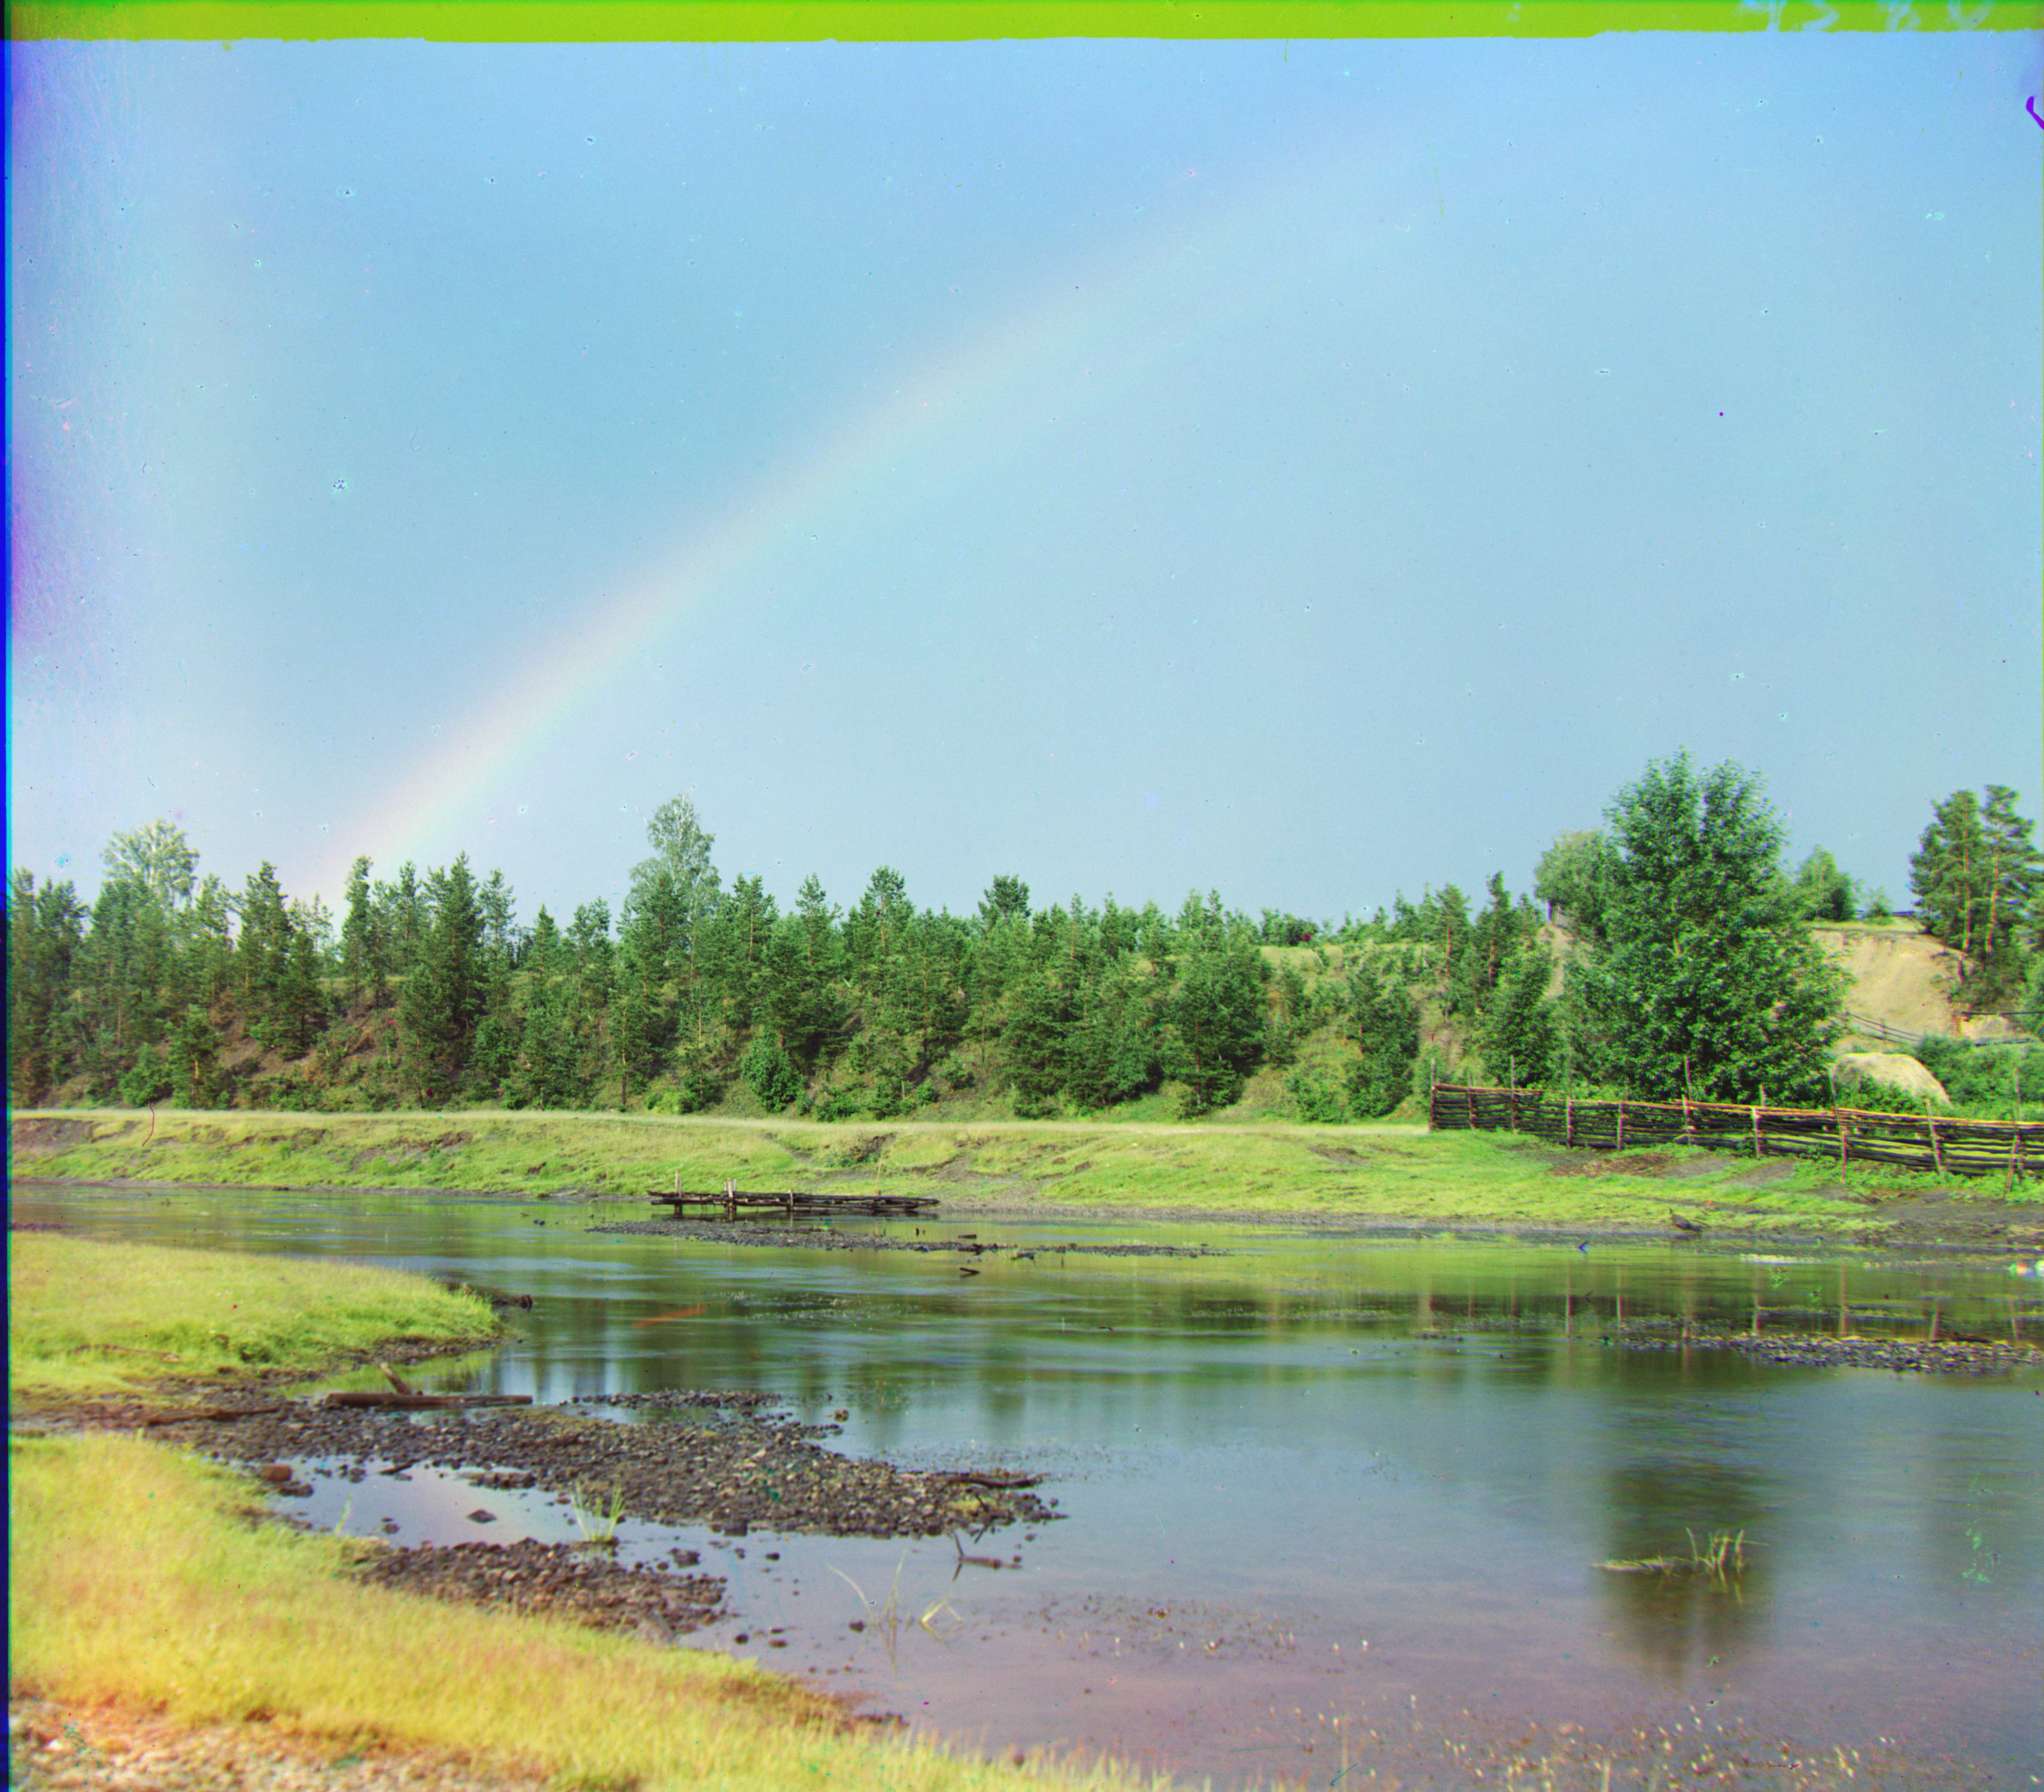
raduga.tif
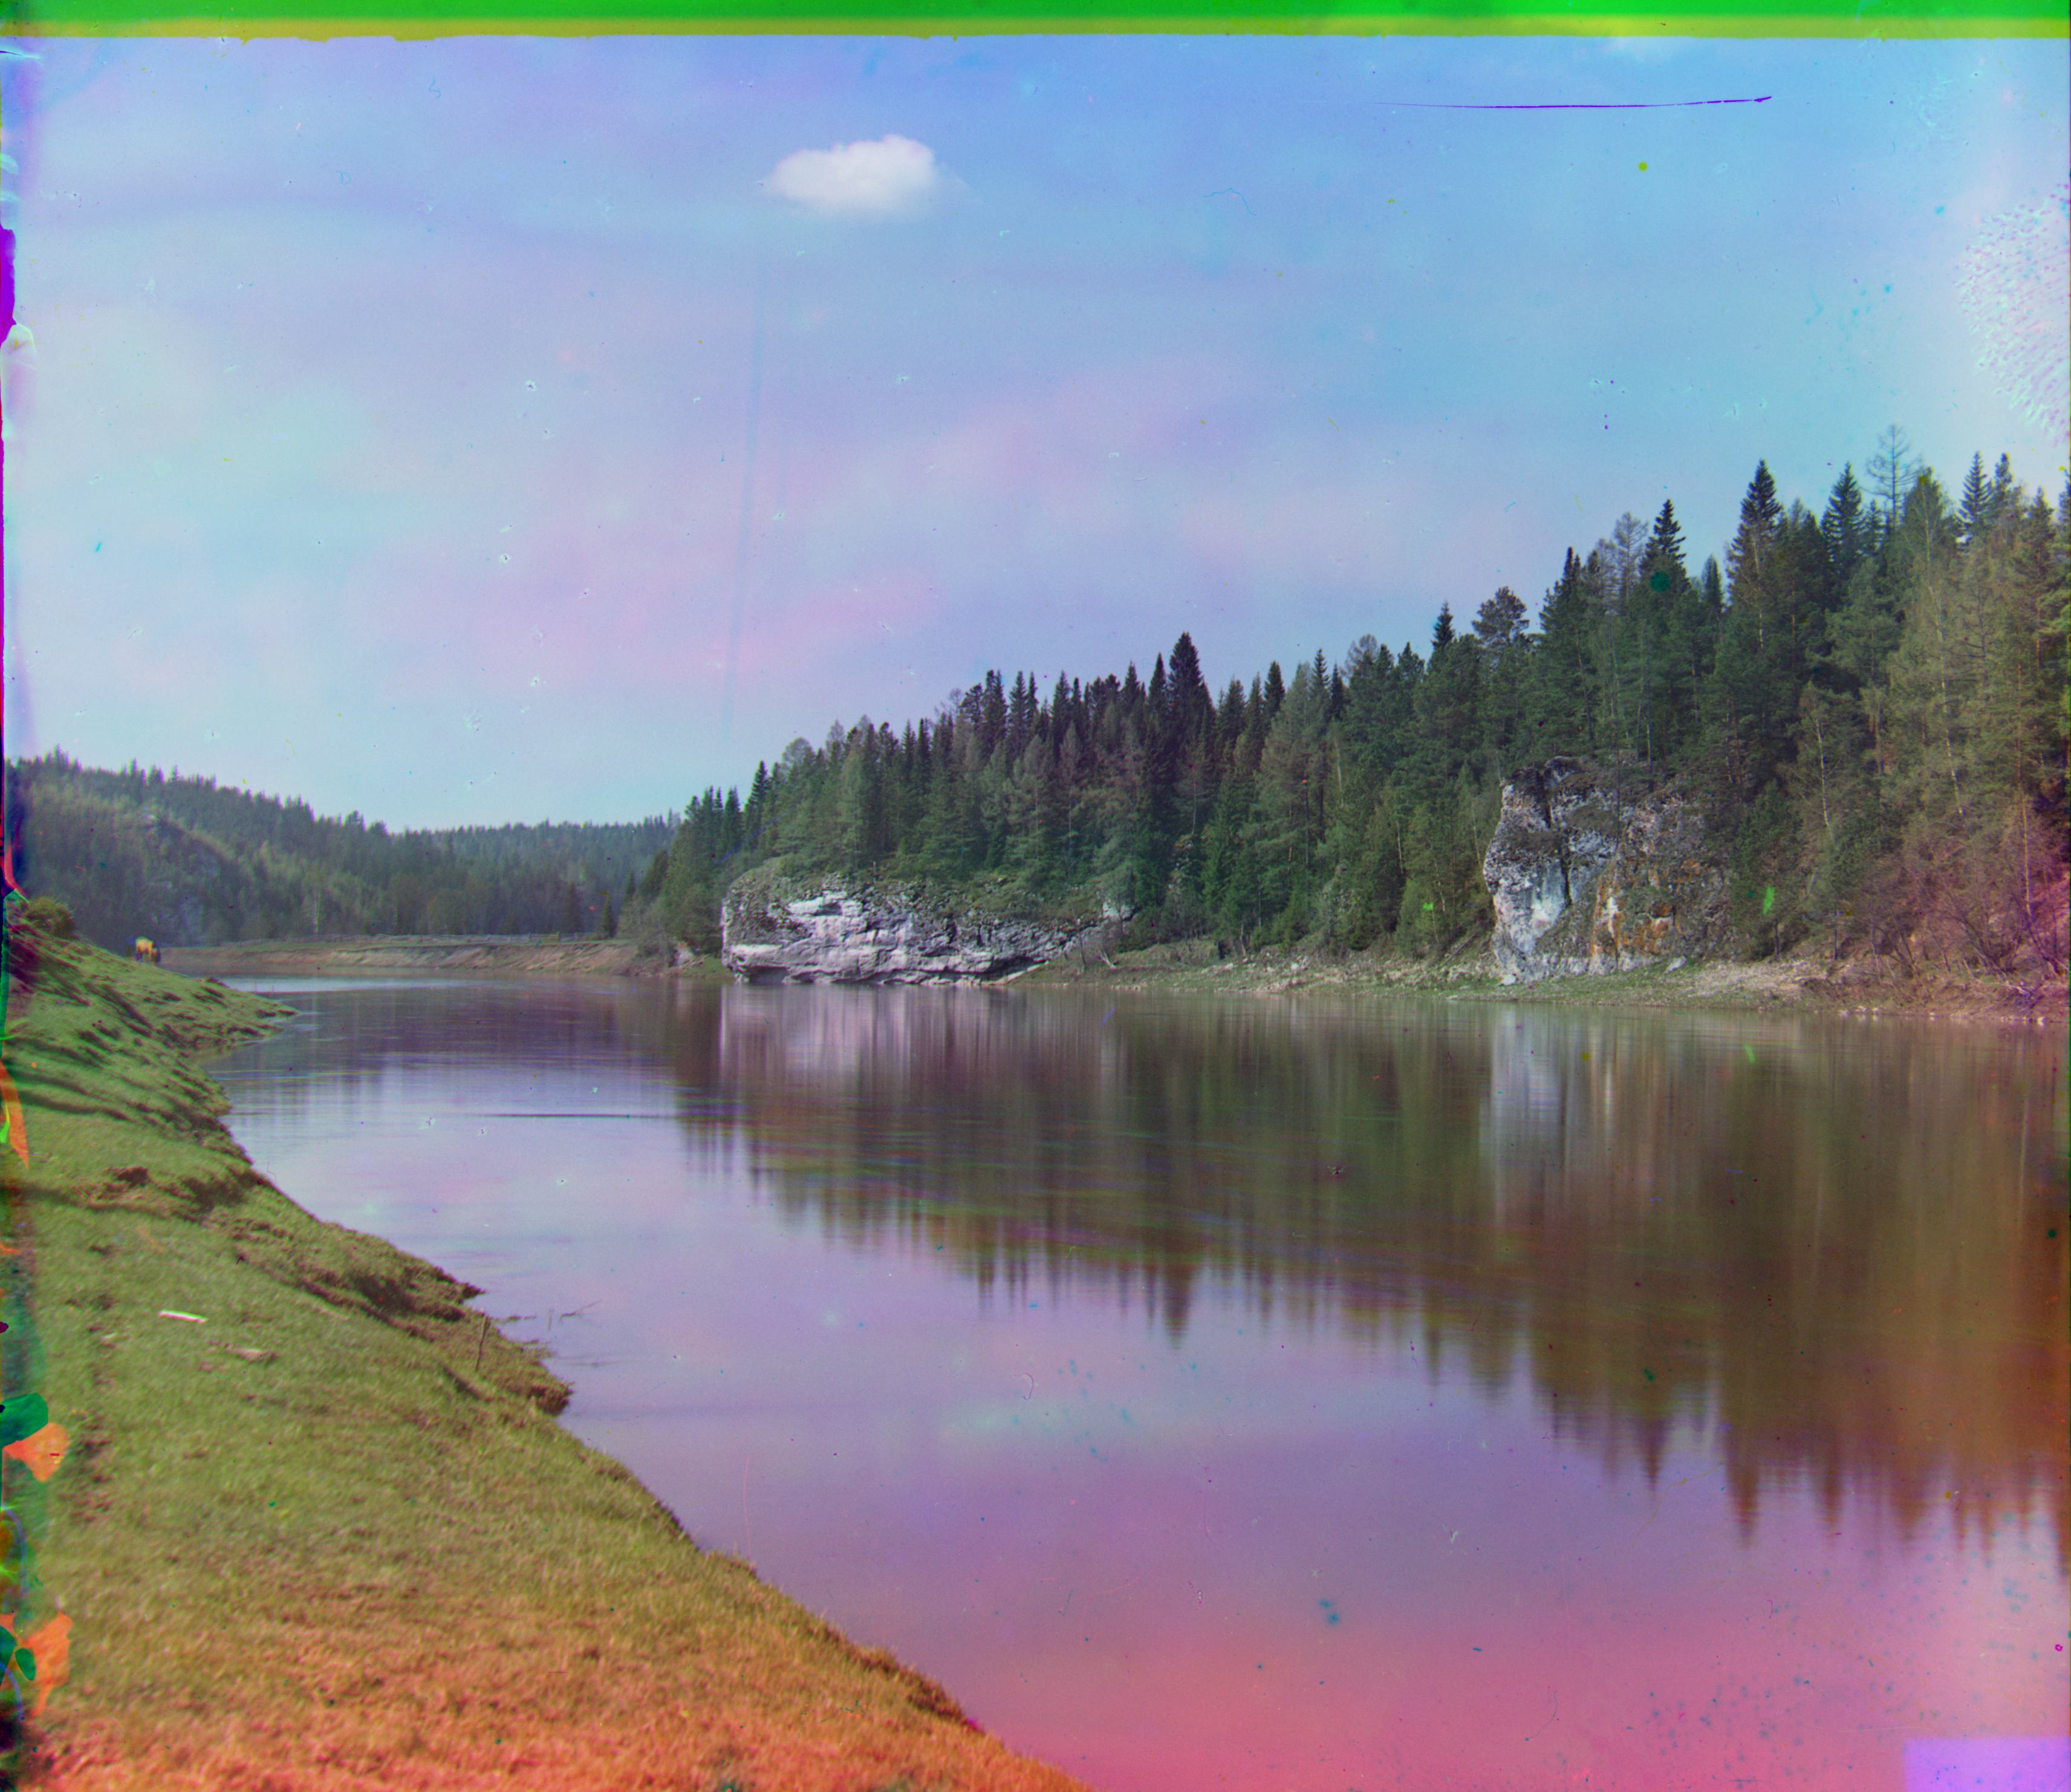
visyachii.tif
vladimir.tif
